Homeowners almost always have a list of projects to complete around the house. If interior projects are on your list, don’t let winter slow your progress. The truth is, there are several indoor maintenance projects that are ideal for winter.
1. Freshen Wood Trim and Moldings, Doors and Window Frames, Cabinets, etc.
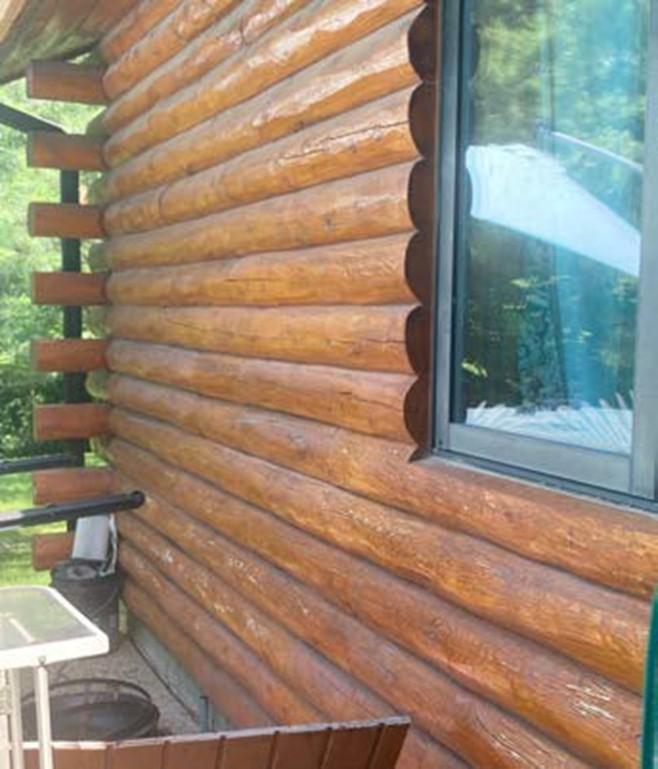
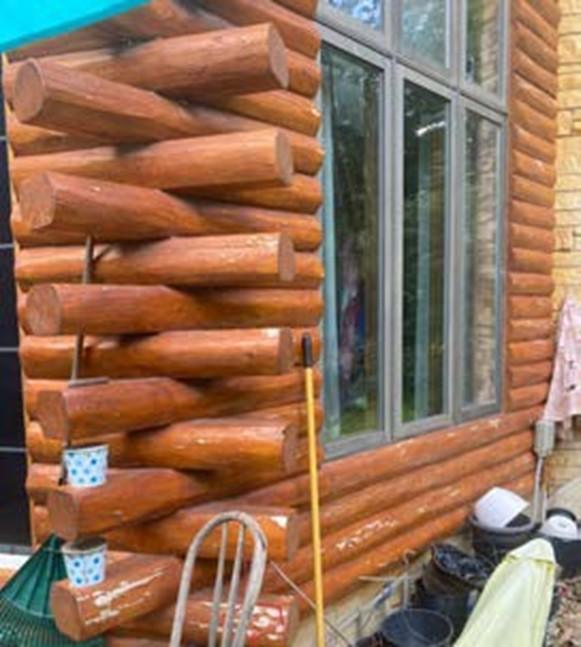
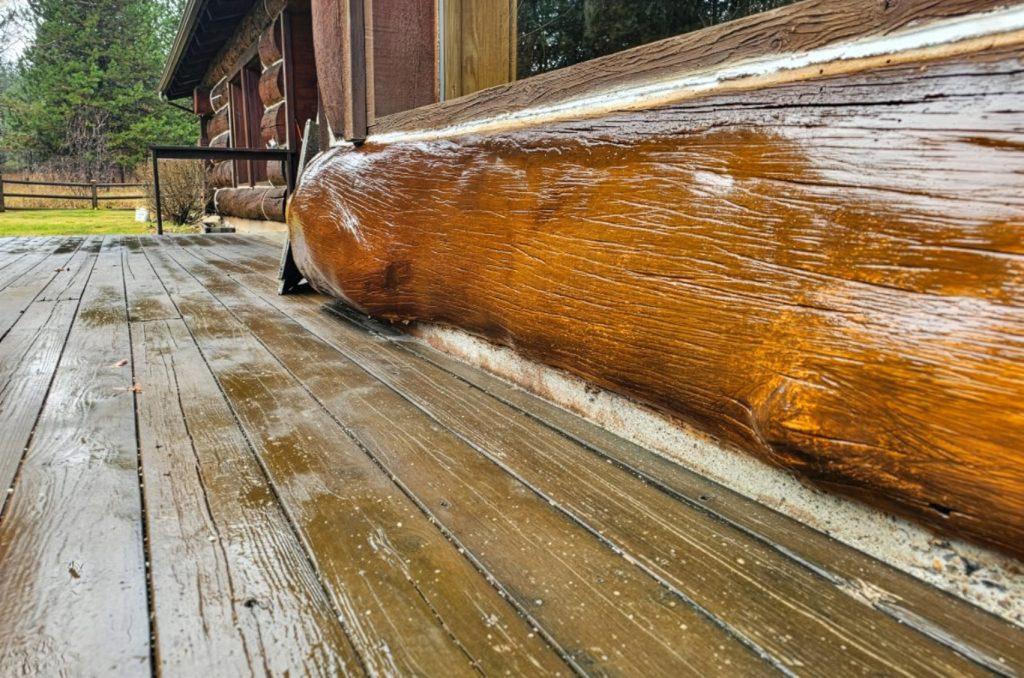
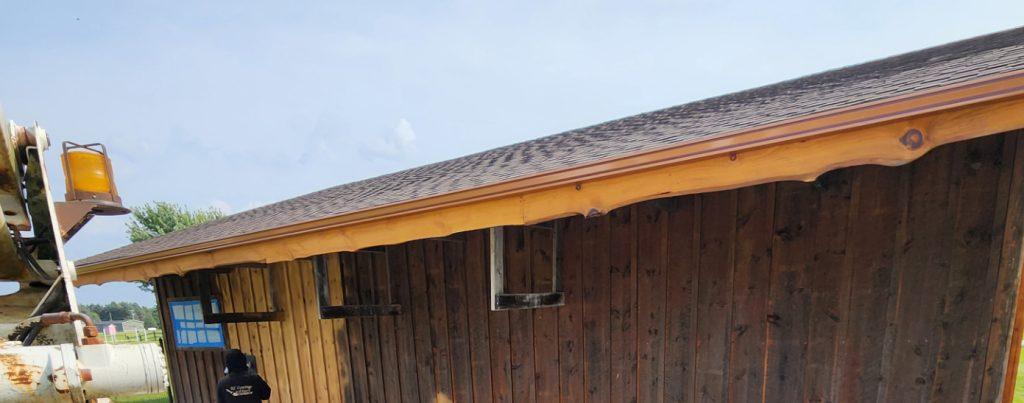
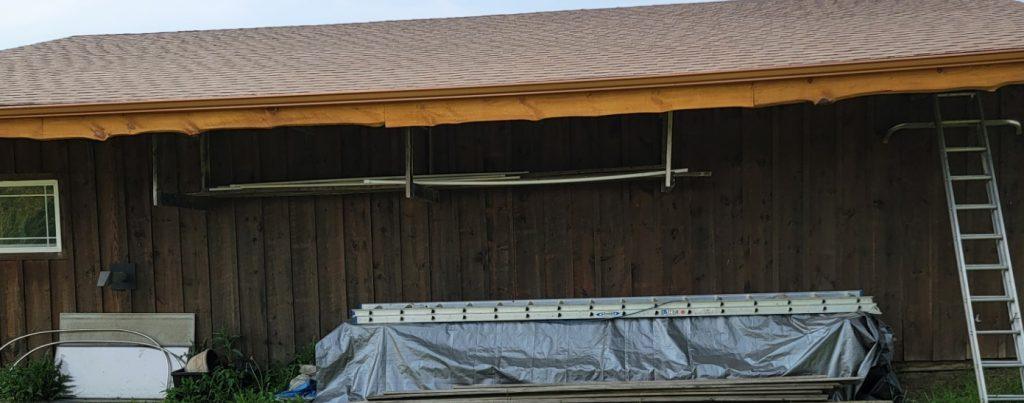
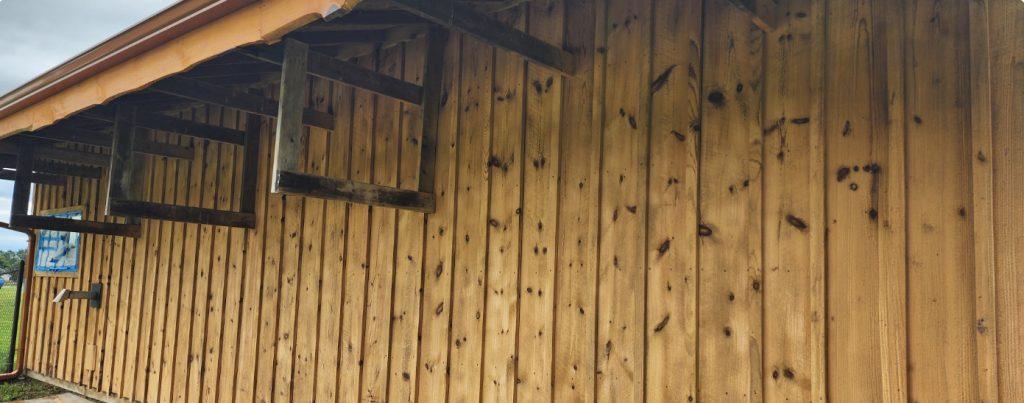
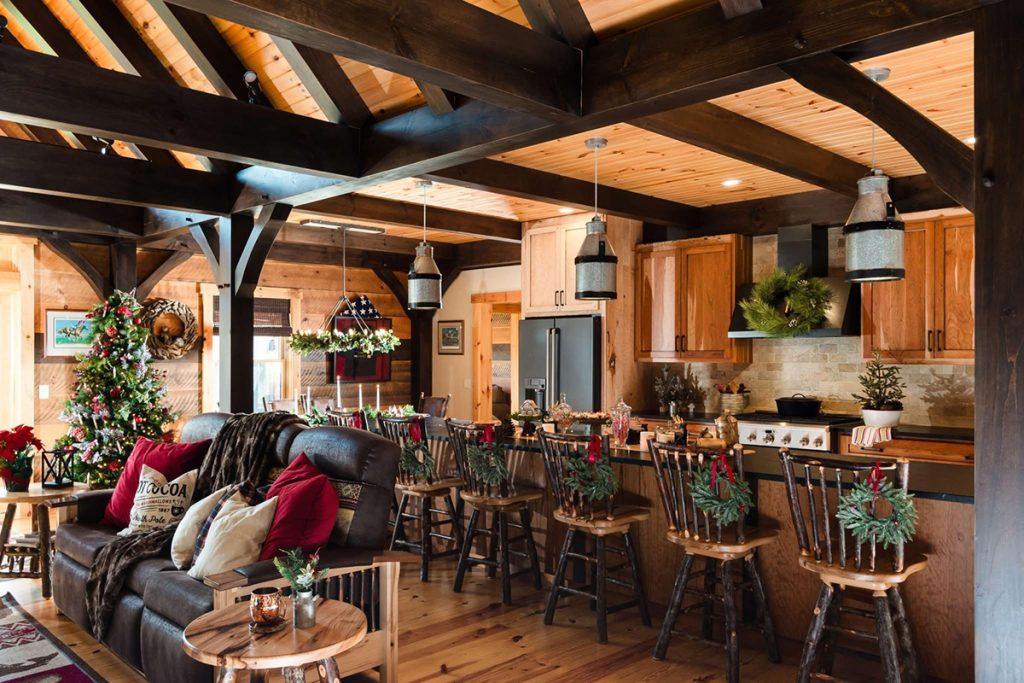
Freshening wood trims, cabinets, doors and window frames are perfect indoor maintenance projects for winter. Winter is the best time to stain inside because the air is drier than humid summer air and helps the finishes dry more quickly. You also can crack a few windows in winter to provide proper ventilation without worrying about bugs flying inside. Another reason to stain in winter is that you will get your inside projects done and have more time to do exterior projects when the weather improves. If you plan to hire a contractor, winter is a better time for interior jobs because they are slower in winter and usually offer off-season deals.
Keep in mind that you do things a little differently when staining interior trim than when staining walls. You’ll need to sand your trim, clean the dust, and then apply finish. You can apply color stain before you finish it with a clear topcoat, or just apply a clear primer Lifeline Prelude directly to wood. Then topcoat it with clear Acrylic Gloss or Satin, or PCS Clear Shield finish. If you would like to add more gloss to your wood trim, PCS Clear Shield is your best choice. Click here for application instructions.
2. Check for Air Leaks
Many indoor winter maintenance projects also help homeowners save money. In fact, one of the best money-saving maintenance tasks is checking for air leaks. According to HomeAdvisor, you can “stop energy-sucking, money-wasting air leaks by caulking, sealing and weather-stripping all of the seams, cracks, and openings in your home.”
There are a few DIY solutions for air leaks. According to the U.S. Department of Energy, reducing air leaks cuts heating and cooling costs, improves durability, increases comfort, and creates a healthier indoor environment for your family. A simple test for air leaks, hold a lit candle or incense stick next to potential sources of air leaks on a windy day. If the smoke blows horizontally, you have a leak to seal.
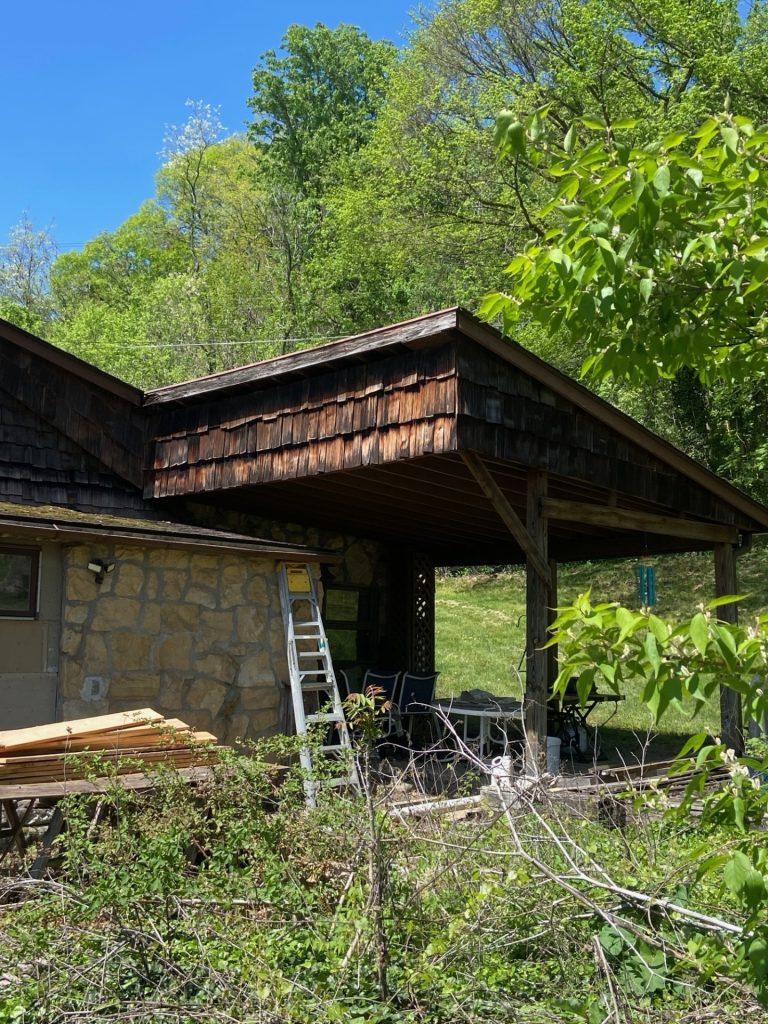
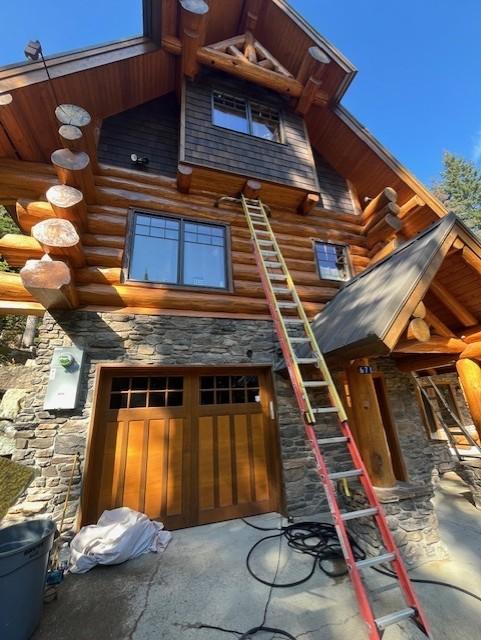
If your log home is too large for this task, please hire a professional log home contractor. You can find one in our Find a Contractor portal.
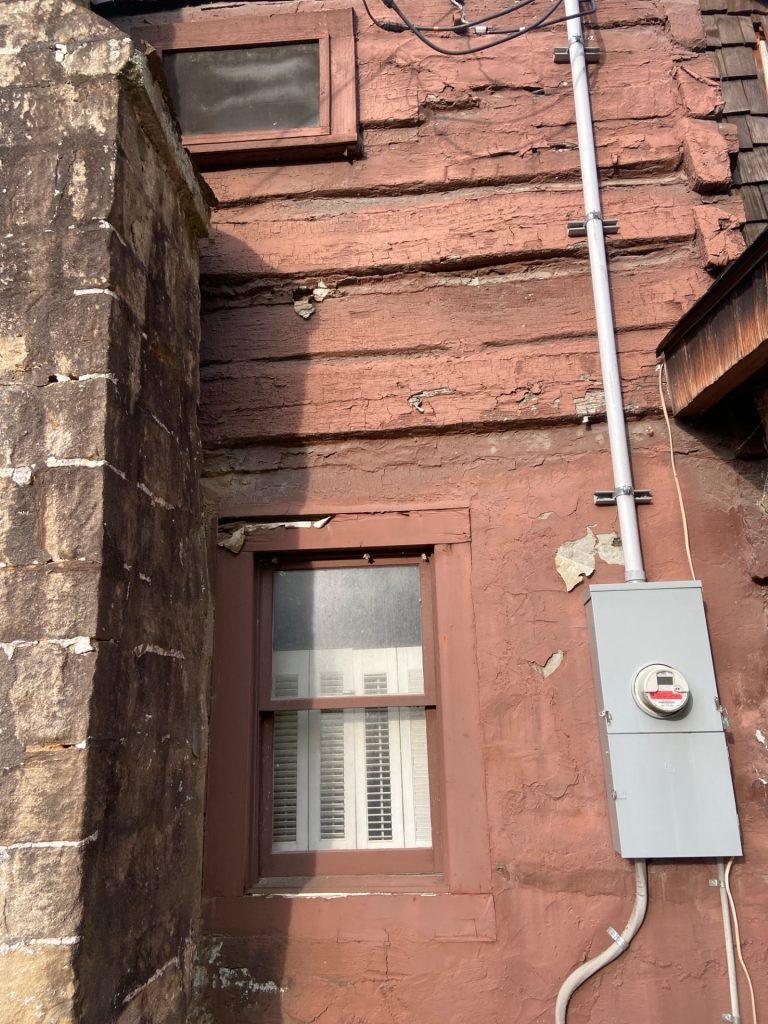
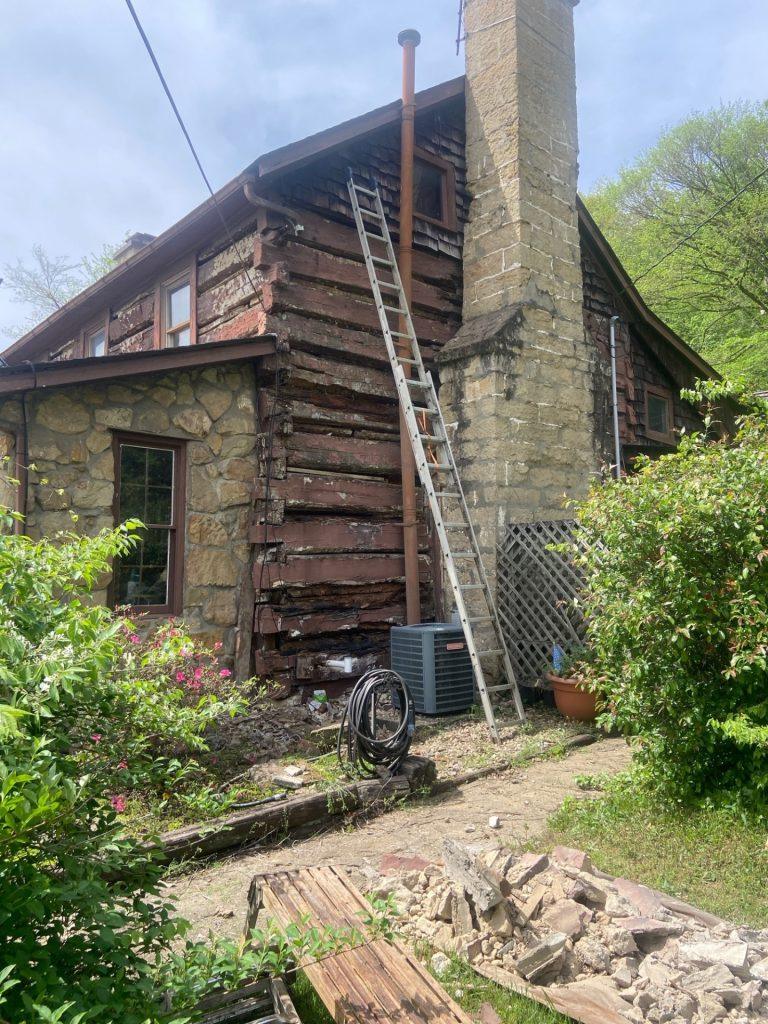
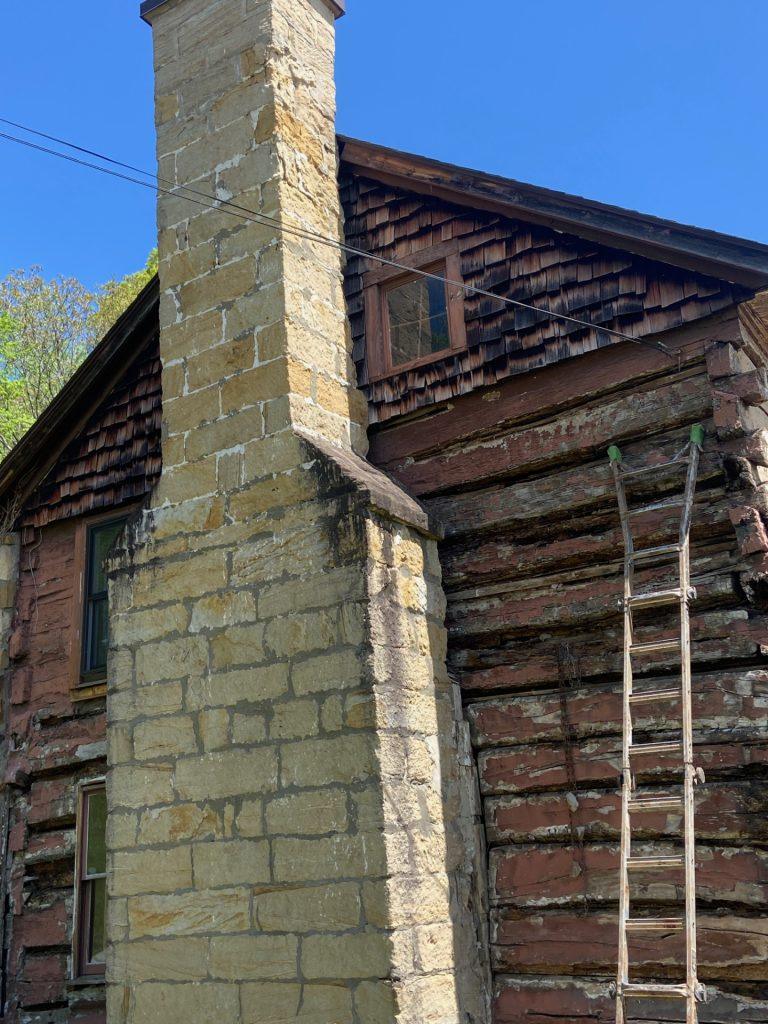
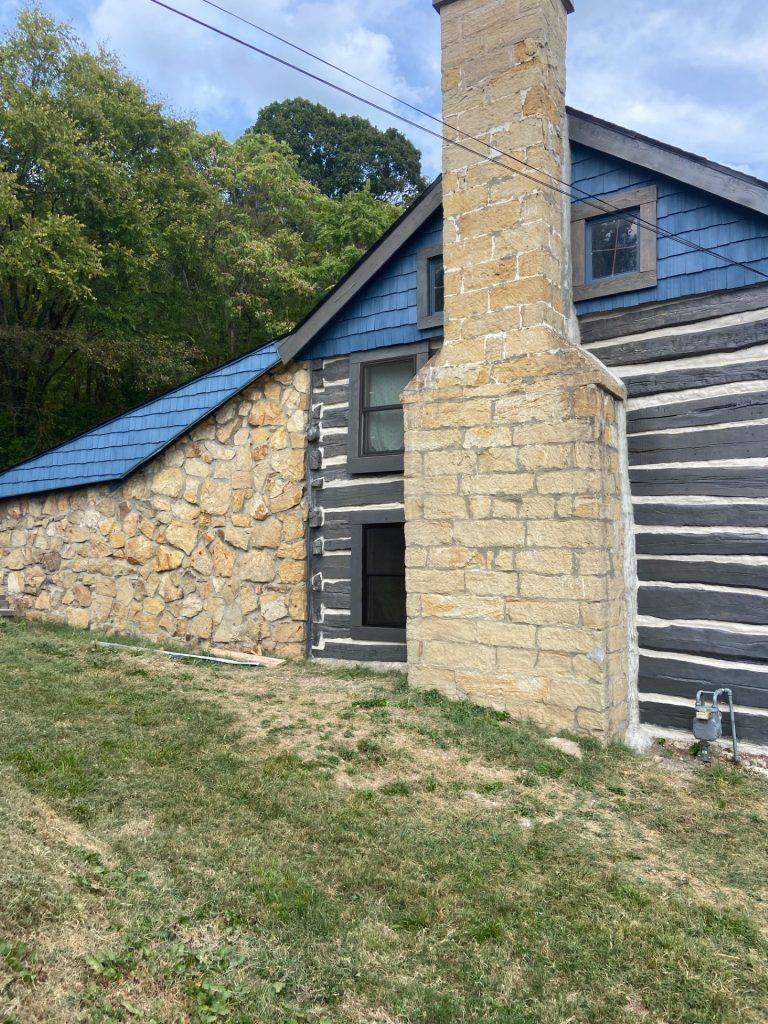
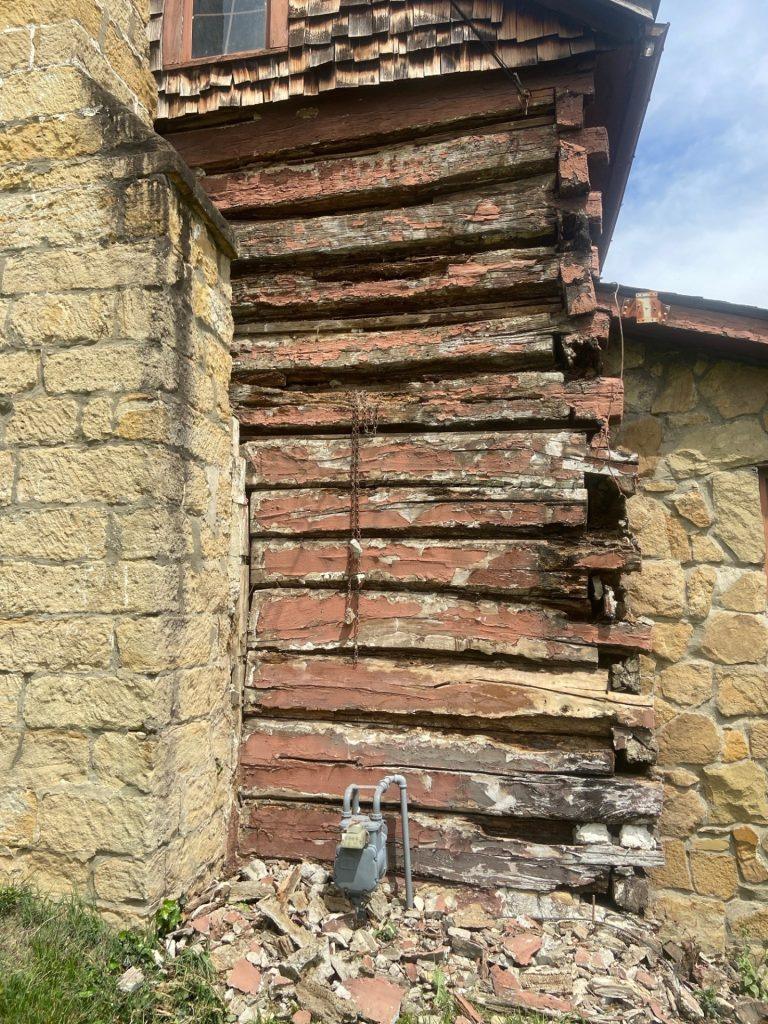
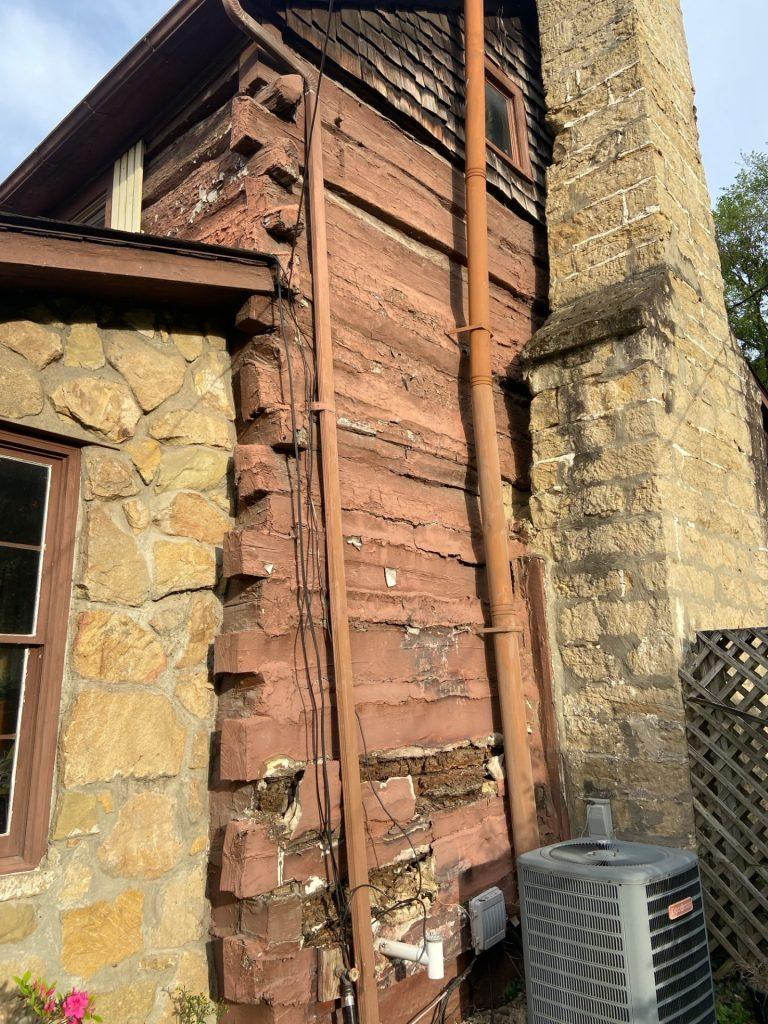
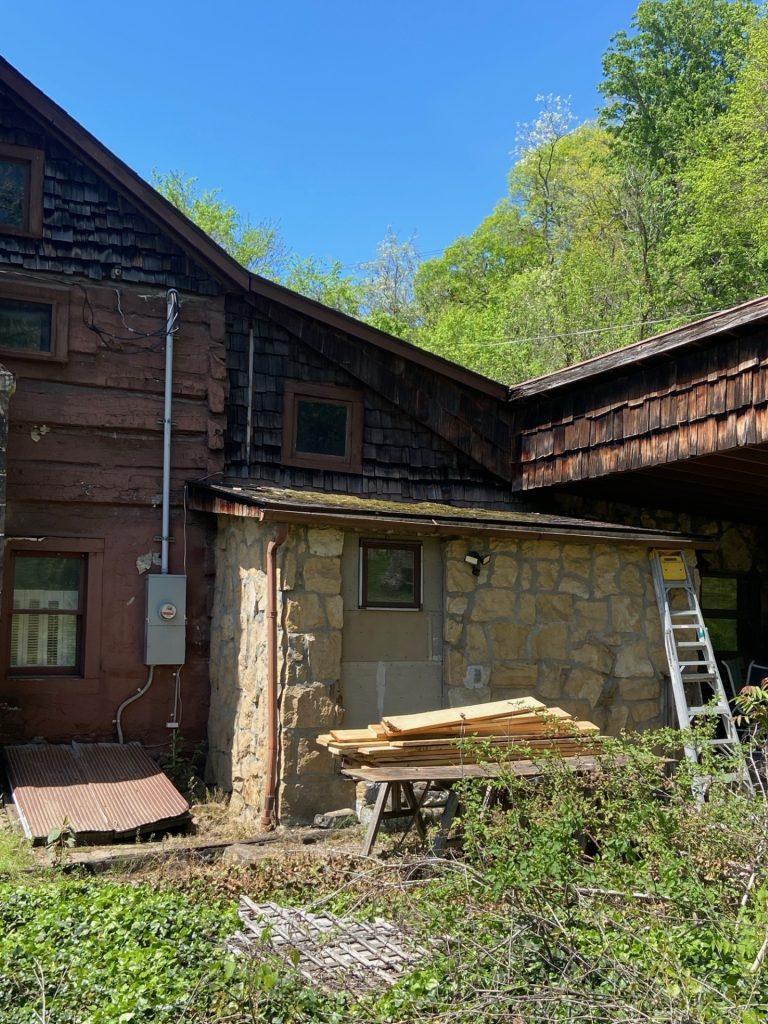
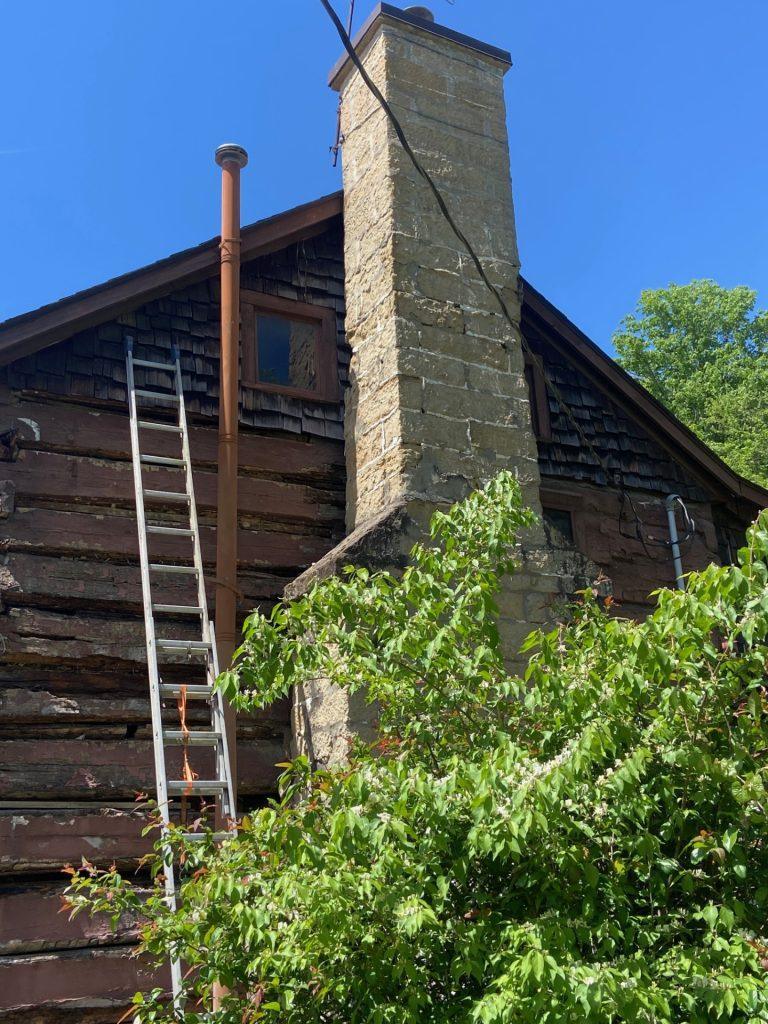
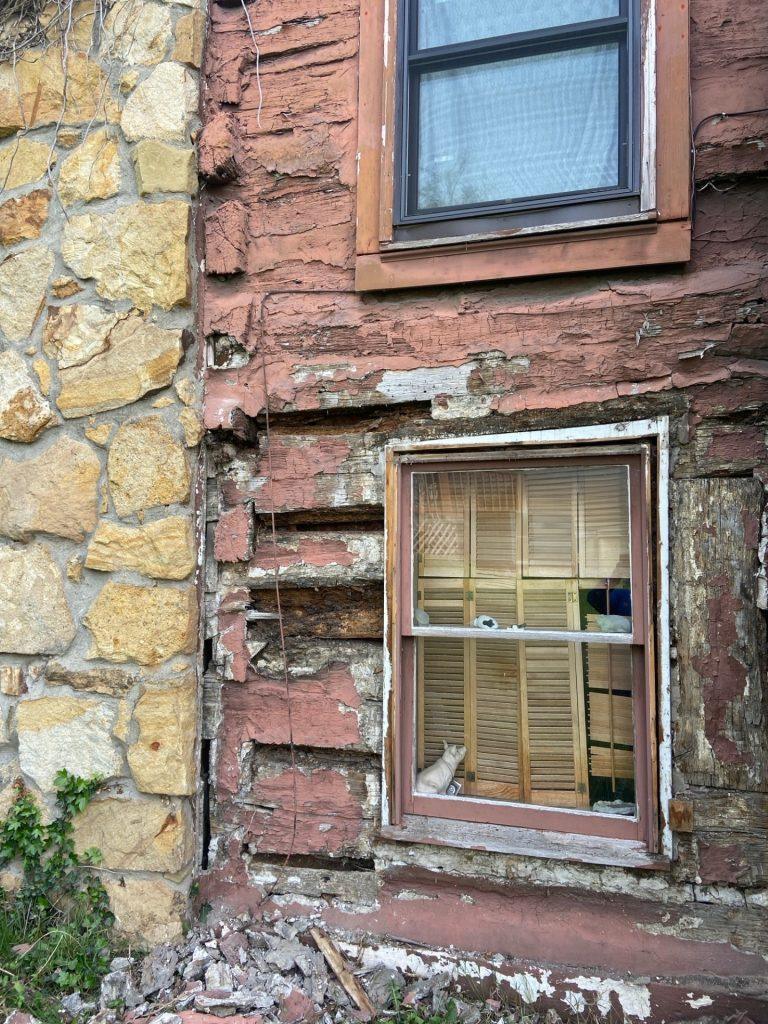
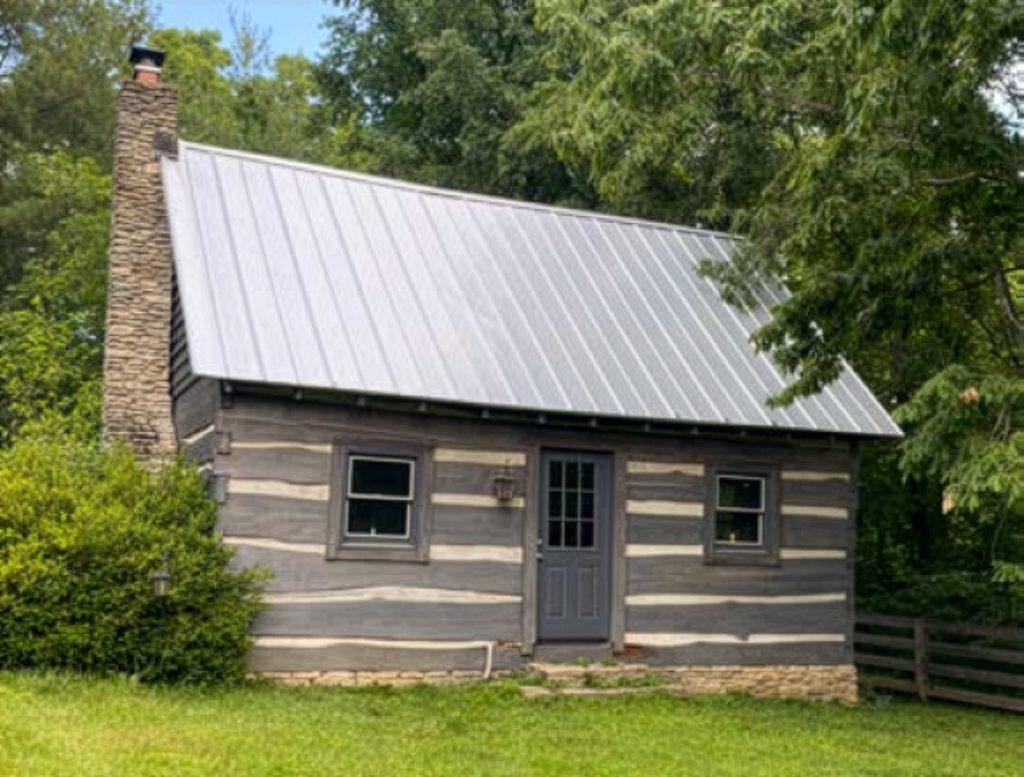
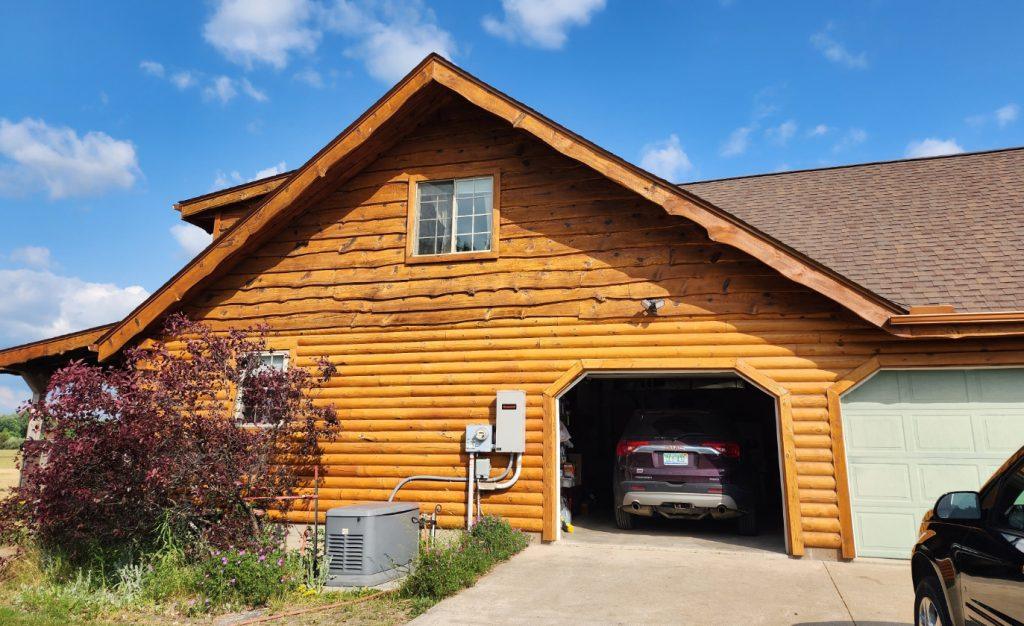
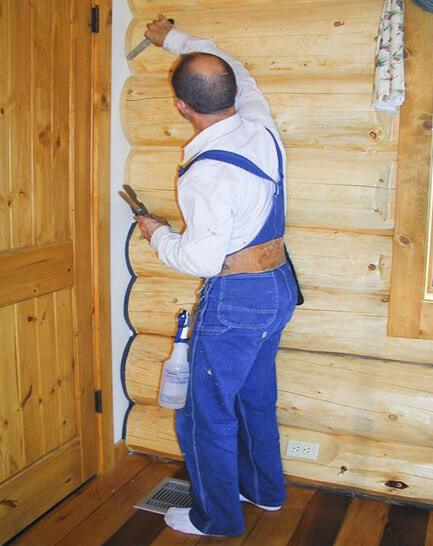
It’s especially important to check for air leaks if you have a log-style home since builders intentionally leave room for settling.

Sealing or caulking and weather-stripping are two common solutions. Seal and weather-strip doors and windows that leak air.
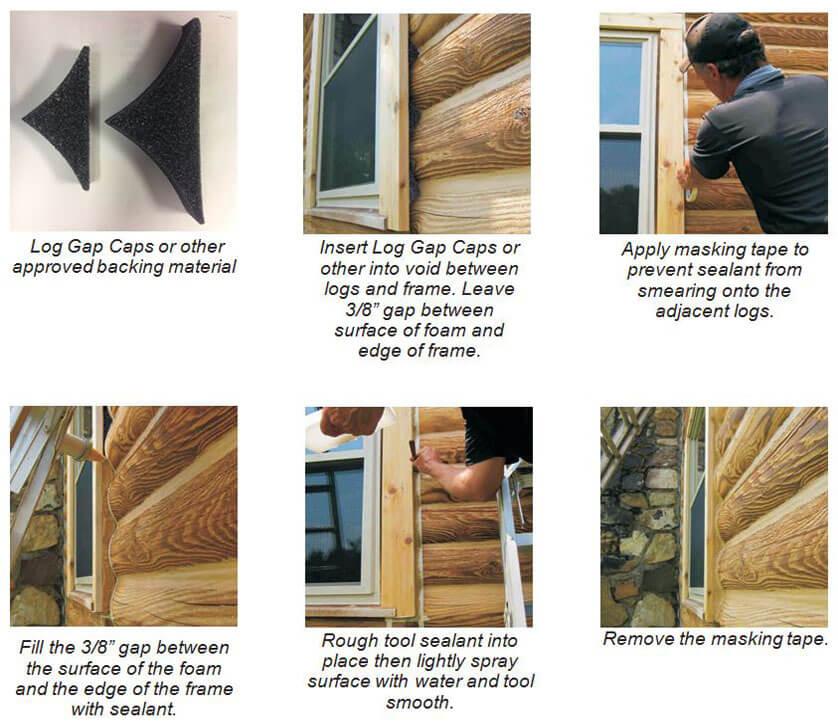
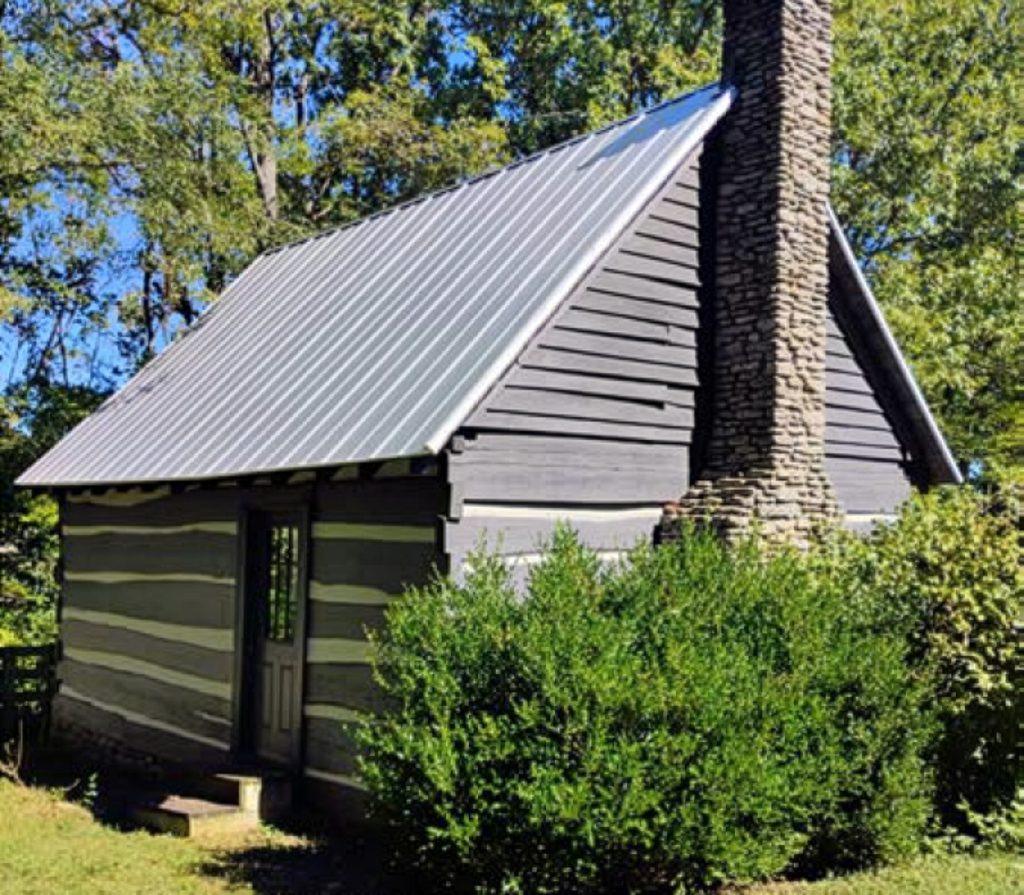
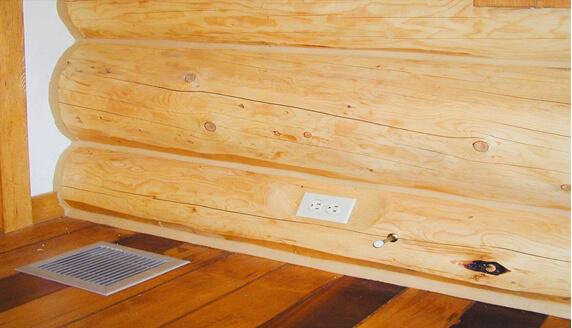
You also should caulk and seal air leaks where plumbing, ducting, or electrical wiring enters through walls, floors, ceilings, and soffits. Cover your kitchen exhaust fan when not using it, ensure your dryer vent is not blocked, and seal air leaks around your chimney, furnace, and gas-fired water heater vents.
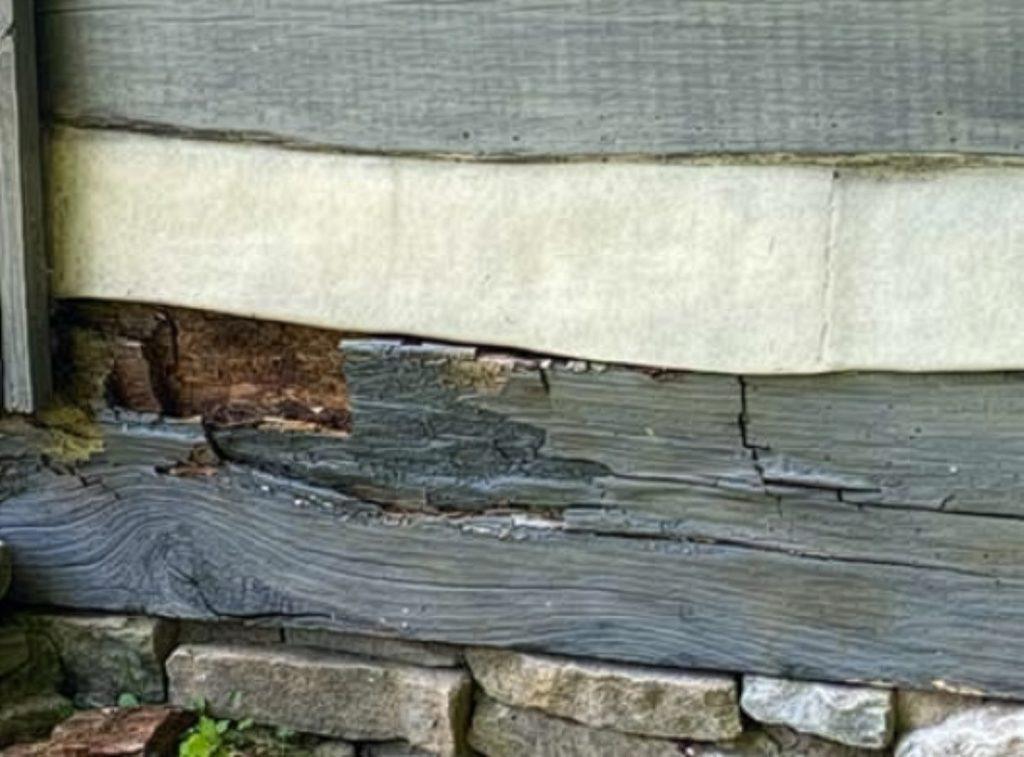
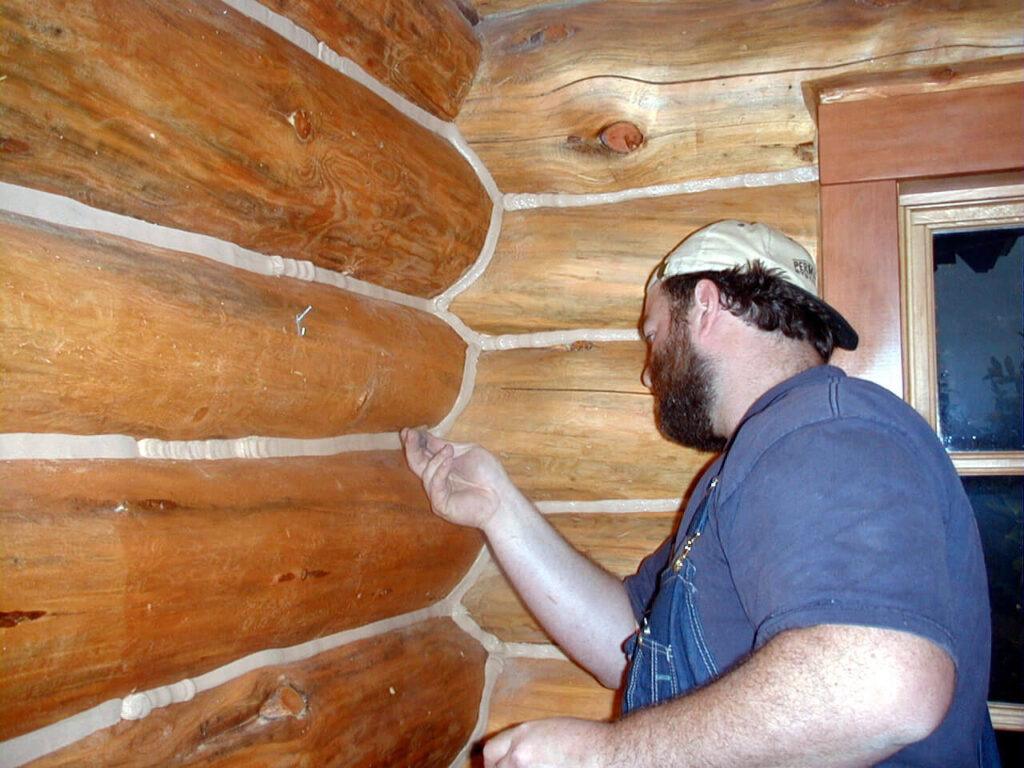
Sealing the leak with Energy Seal or Perma-Chink prevents water penetration along with air infiltration. Next you have to decide if you want to attempt to correct the problems yourself or use a professional contractor. For log home owners, here’s where things can get a bit tricky. Most painters and contractors are familiar with sealing and caulking conventional homes, but log homes are different and it takes someone with log structure experience and expertise to do the job correctly. Plus, general purpose caulks and sealants found at local hardware stores and DIY outlets just don’t offer the performance that’s required for the unique needs associated with log homes.
If you need help finding someone in your area who has experience doing this type of work, give us a call and we will provide you with referrals 1-800-548-3554. You can also find a contractor near you by following this link Find a Contractor.