Ever since Perma-Chink Systems introduced borate treatments to the log home industry over 20 years ago, its products have been the preferred method of protecting log homes from wood-destroying insects and decay fungi. We are still the world’s largest supplier of borate-containing preservatives for log homes, and although there are other borate-based products now available, most are based on technology developed by Perma-Chink Systems back in the late 1980s.
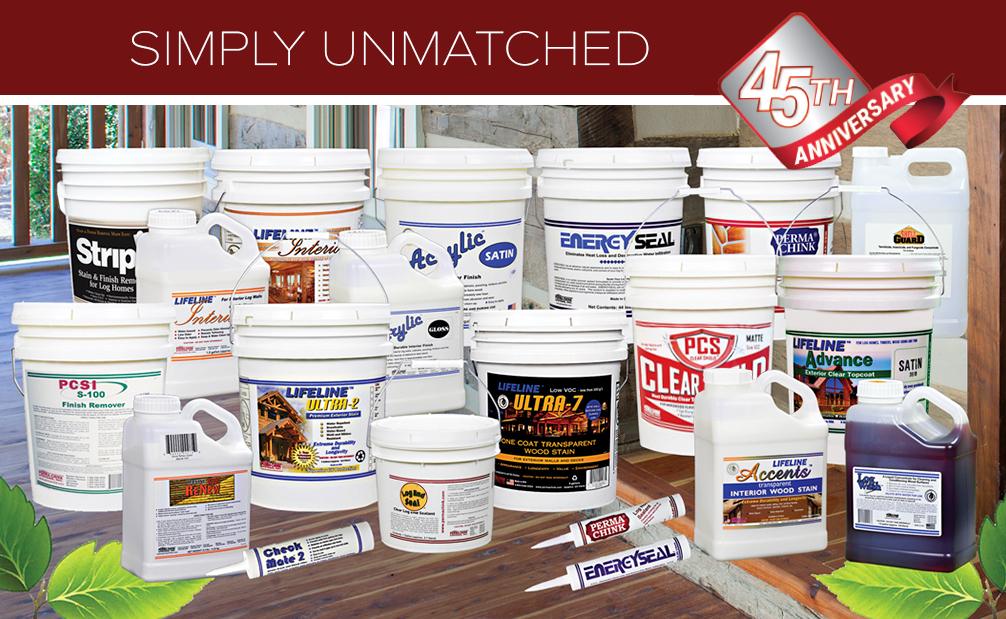
Perma-Chink Systems Borate-Based Preservatives/Pesticides
Shell-Guard® RTU – A borate/glycol formulation that requires no mixing and can be used directly out of the container. Shell-Guard RTU is the most recent development in borate preservative technology. It is not just a diluted version of Shell-Guard Concentrate but an entirely different formulation. A Lifeline finish may be applied one or two days after application.
Shell-Guard Concentrate – A thick, viscous liquid borate/glycol that must be mixed with water for use. It requires a minimum of two weeks drying time and must be washed down with water before applying the first coat of Lifeline™ finish.
Armor-Guard® – A powdered borate that’s dissolved in water at a rate of one pound per gallon. Since it contains no glycols, it does not penetrate deep into the wood and should only be used to protect new, un-infested wood members. A Lifeline finish may be applied one or two days after application.
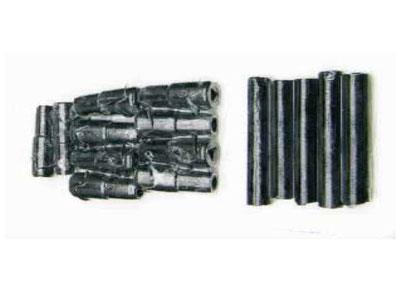
Cobra Rods – Fused borate rods that are inserted into the wood, providing localized protection to high risk zones like log ends and the base of posts. In addition to the borate, Cobra Rods contain a small amount of copper oxide to increase their efficacy against some species of decay fungi.

Application Equipment
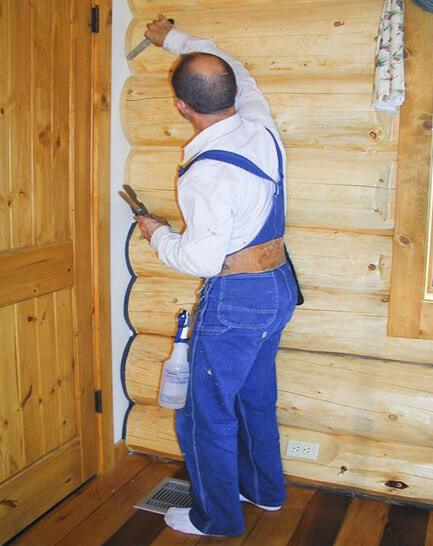
Any type of pump-up compressed air sprayer is suitable for applying Shell-Guard RTU, diluted Shell-Guard Concentrate, or solutions of Armor-Guard. Either a cone or fan spray tip will work. Do not attempt to use an airless sprayer. Airless sprayers put out a fine liquid mist that can be carried away with even a slight breeze. In addition, the high surface area of the small droplets allows the water contained in the solution to rapidly evaporate leaving behind a high concentration of borate and in the case of Shell-Guard RTU and Concentrate, mixed glycols that form a sticky film on the surface of the wood rather than penetrating into the wood.
For treating small areas, you can use a brush or hand sprayer to apply borate solutions.
Application Information
Applications of Shell-Guard RTU, diluted Shell-Guard Concentrate, and solutions of Armor-Guard MUST be made to BARE wood.
If the surface of the wood has any type of coating, finish, or water-repellent on it, or if a mill glaze is present on the surface, the active borate ingredient will not penetrate into the wood and the wood will remain unprotected.

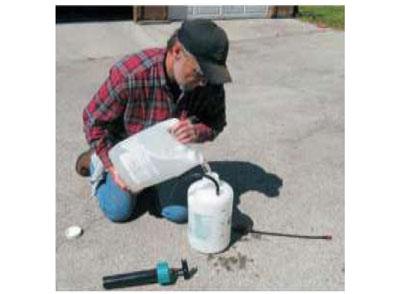
Product Preparation
Shell-Guard Concentrate – Pour Shell-Guard Concentrate into a pail. Do not attempt to mix the concentrate in a sprayer. If you do you run the risk of the heavy concentrate blocking hoses and spray tips. Add an equal volume of water, warm water works better than cold water. Physically stir the mixture until the mixed solution is uniform and there is no thick concentrate remaining at the bottom of the pail. Using a paint mixer in an electric drill will speed the mixing process. Once the diluted Shell-Guard is completely mixed and uniform pour the solution into the spray tank. The mixed solution must be used within 12 hours, after that the borate will begin to drop out of solution. Do not leave diluted Shell-Guard Concentrate in the sprayer overnight, it will block up the spray tip.
Armor-Guard – Add the volume of water you plan to use into a pail (do not attempt to mix product in a sprayer) and then add Armor-Guard powder at a rate of one pound (2 of the scoops that are included in the 17 pound pails) per gallon of water. It helps to agitate the water as you slowly add the Armor-Guard. Keep agitating until there are no visible lumps and the solution begins to clear. Allow any undissolved particles to settle to the bottom of the pail then decant the clear liquid into your spray tank. Do not leave unused solution in your sprayer overnight. The borate will drop out of solution and block up the sprayer.
Shell-Guard RTU – No preparation is required. Shell-Guard RTU is used “as is” right out of the container. Any unused solution may be poured back into the original container.
Borate Solution Applications
Step 1: Be sure the surface of the wood is clean and dry before starting. NEVER WET THE WOOD RIGHT BEFORE APPLYING A BORATE TREATMENT. If you do, the wood cells will be saturated with water, preventing the borate solution from absorbing into the wood.
Step 2: If you have an adjustable spray tip, set it to either a fan or cone, fairly coarse spray. If set to a fine spray, it will be more susceptible to wind drift and it will take longer to complete the job.
Step 3: Start spraying the solution at the bottom of the wall and work your way up. If the solution begins to run down the wall, you are applying too much. You only need to wet the surface, not saturate it.
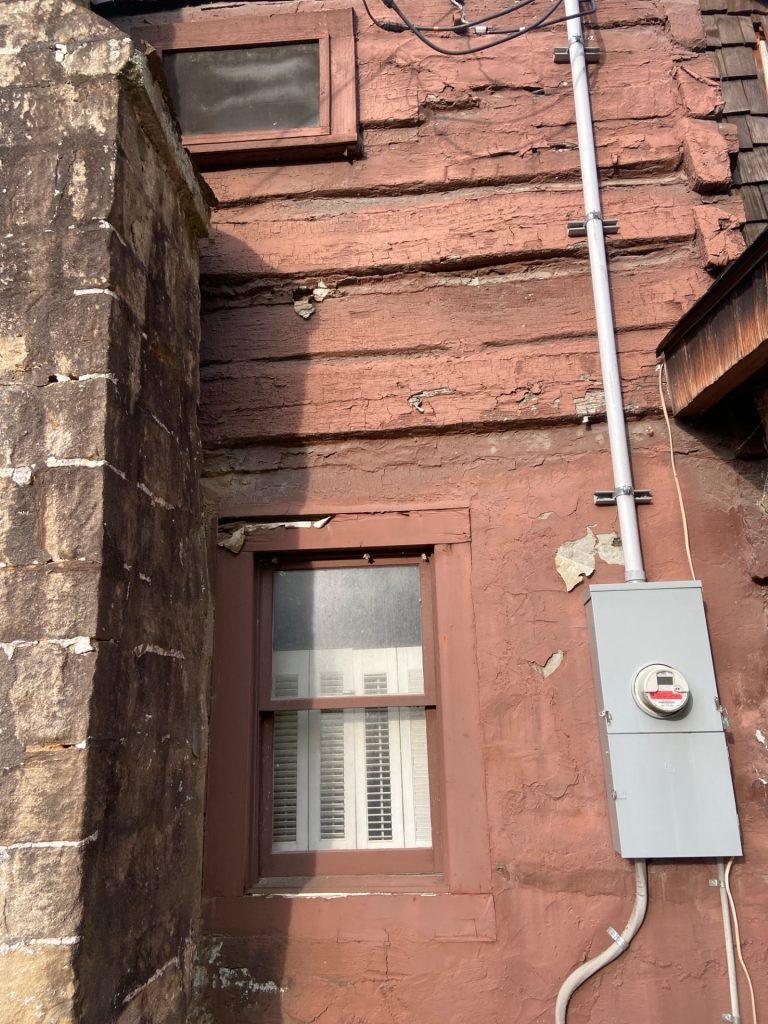
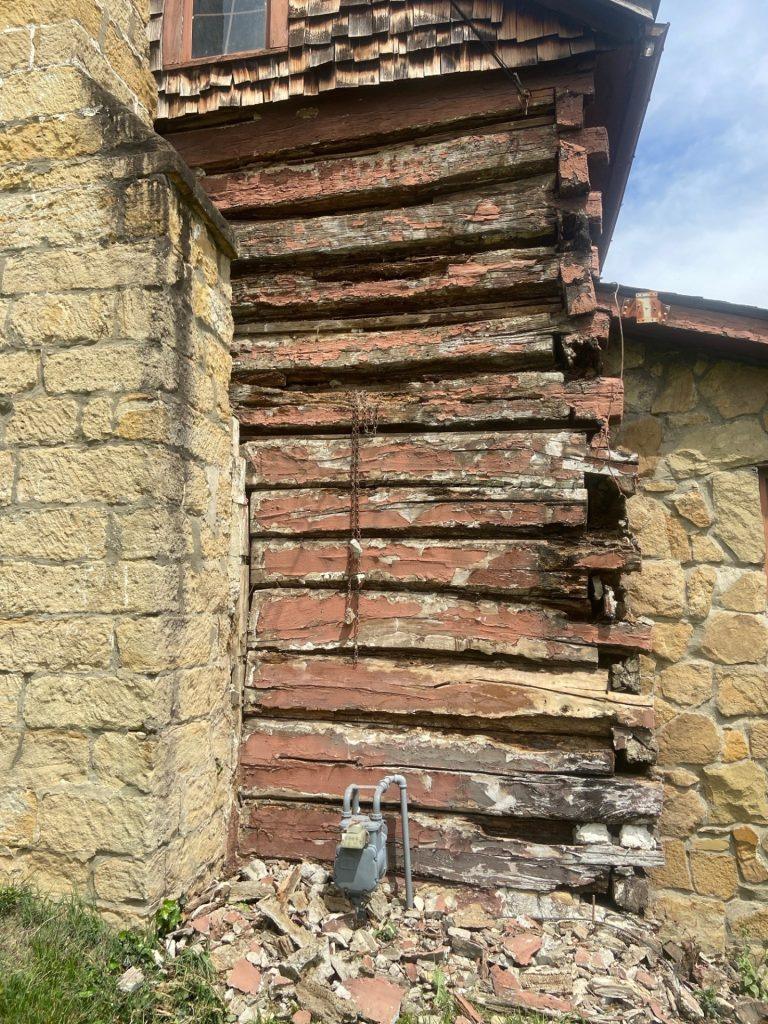
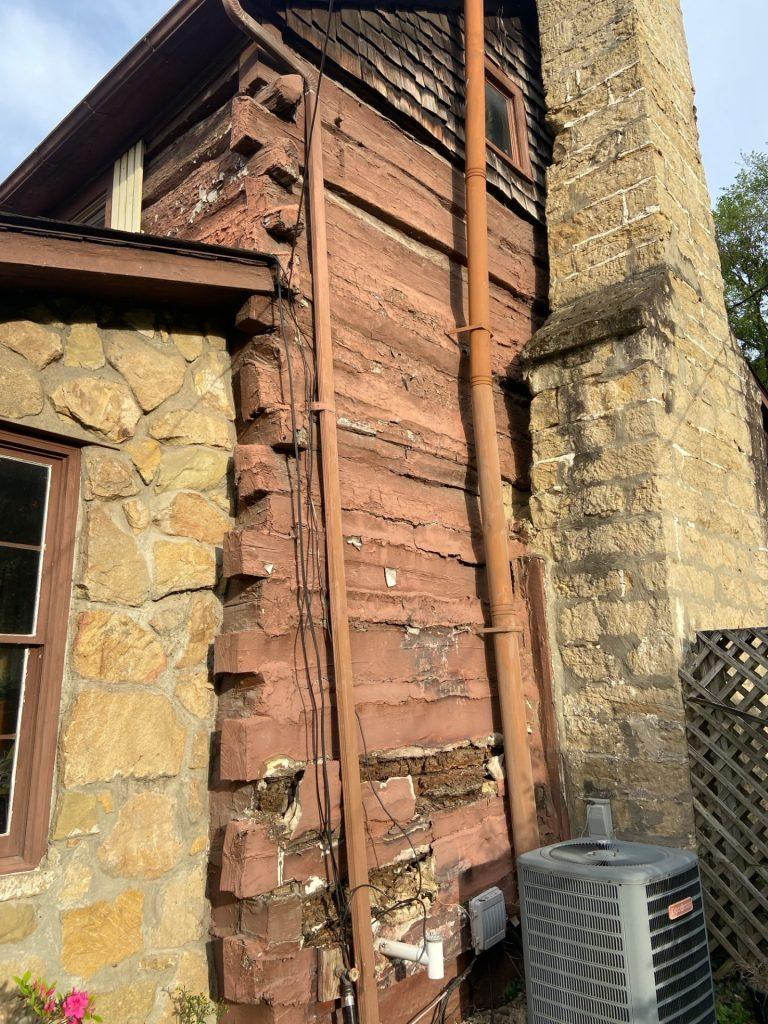
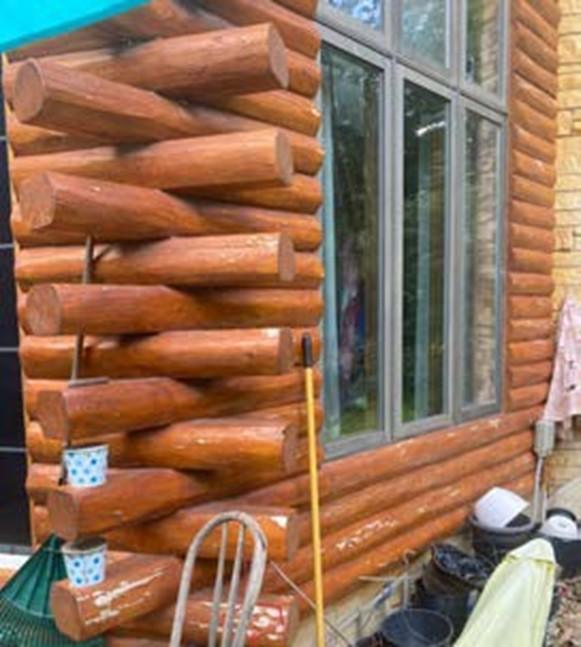
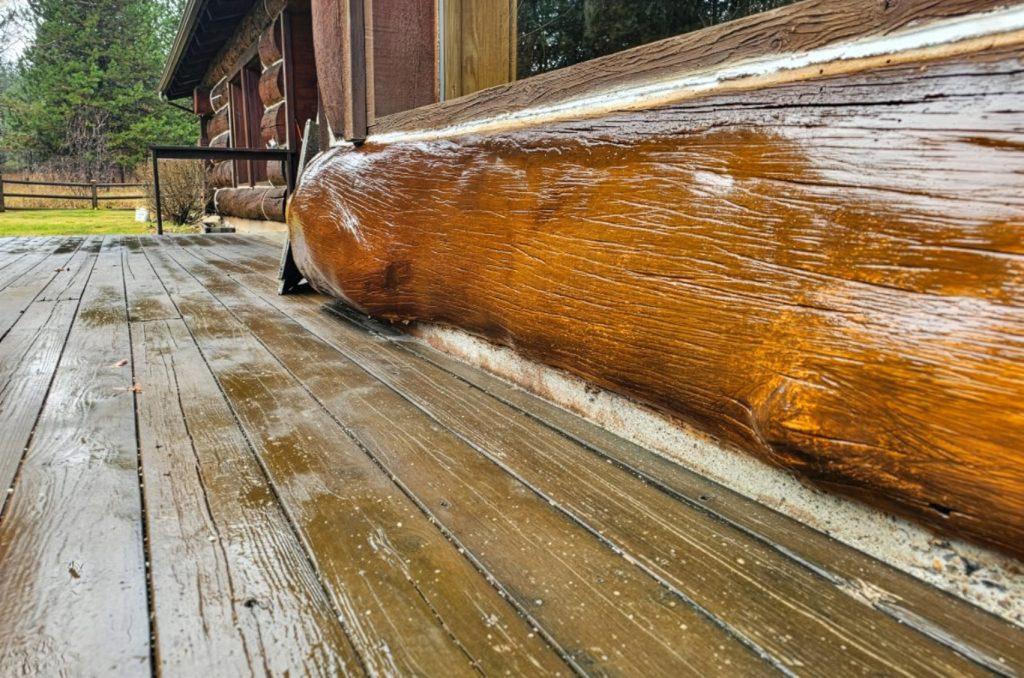
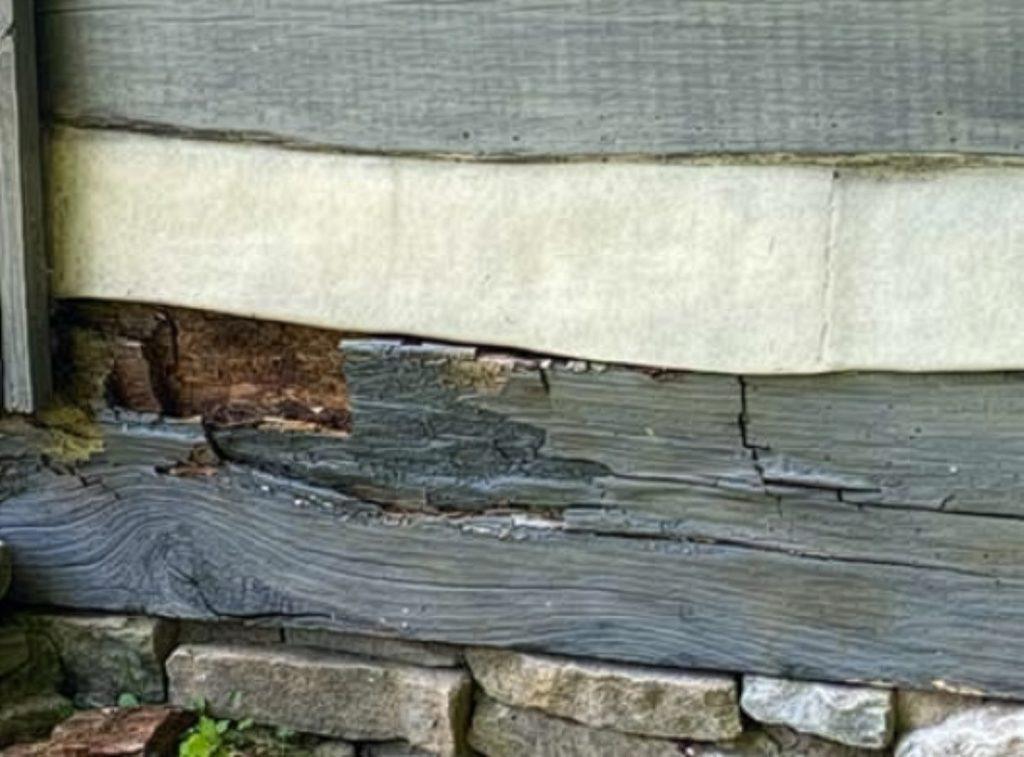
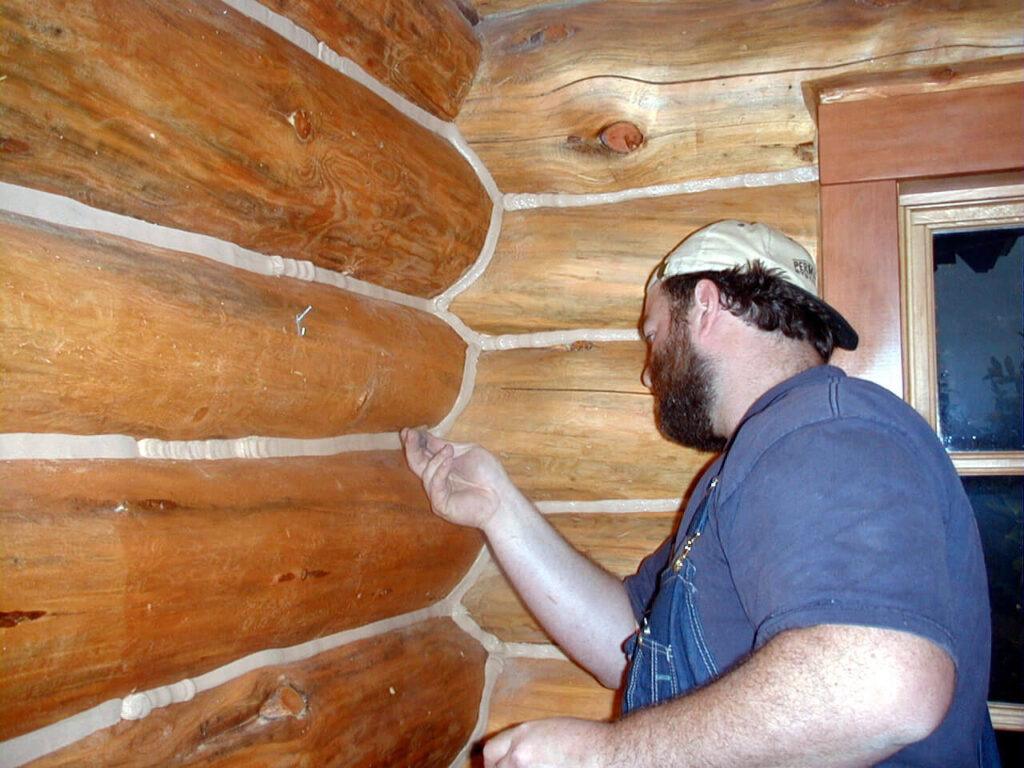
However, on exposed log ends, keep applying the borate solution until it no longer absorbs into the wood. Log ends are typically the most decay-prone areas of a log home and need the greatest protection. Be sure to get some borate into all upward-facing checks and fissures. It is not necessary to back-brush the borate solution. If you miss a small spot (less than an inch in diameter) here and there, don’t worry about it; the solution will spread out in the top layer of wood.
Step 4 (Shell-Guard RTU and Armor-Guard): In the case of a treatment with Shell-Guard RTU or Armor-Guard, the surface will be ready for the first coat of finish within a day or two. If, for some reason, there is a delay in applying a finish, it’s not a problem. The borate treatment will typically not have to be reapplied unless there is a torrential downpour within three days after the application. However, do not purposely wash the surface for at least a week after treatment. You run the risk of removing some of the active ingredient.
Step 4 (Shell-Guard Concentrate): After a treatment with diluted Shell-Guard Concentrate, you must wait at least two weeks for the active ingredient to make its way into the wood and for the glycol constituents to dry before applying any sealants or a finish. Even then, there may still be enough glycols remaining on the surface to interfere with the adhesion of the finish. We recommend washing any walls treated with diluted Shell-Guard Concentrate with a two cups per gallon Log Wash™ solution one or two days before the application of the first coat of Lifeline™ finish but no sooner than two weeks after the initial Shell-Guard application.
Step 5. Wash hands, clothing and equipment with soap and water.
Step 6. For long-term protection, exterior wood surfaces that have been treated with a borate solution should be coated with a Lifeline exterior finish. If the exterior surfaces are to remain bare, a re-application should be made every six years, regardless of which product is used.
Interior borate treated surfaces do not require a water repellent coating.
Maintenance
Shell-Guard RTU and Shell-Guard Concentrate treatments are permanent and should never need to be re-applied. In the case of a borate treatment using Armor-Guard, if the home is subsequently stripped or media blasted, an additional treatment is recommended once the wood is bare.
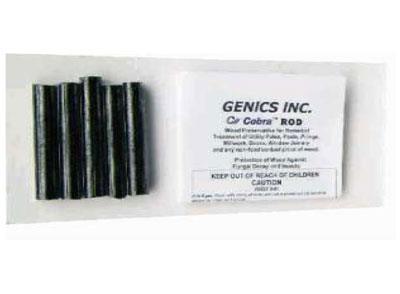
Cobra Rods Installation Information
Cobra Rods may be used to help eliminate an existing localized decay problem, or to prevent decay from talking hold in a high risk area like the bottom of a support post. They may be installed in wood members that are bare or have already been finished. Cobra Rods are two inches long and although are labeled as being 1/2” in diameter, they are actually 7/16” so they easily fit into a 1/2” diameter hole. A black plastic plug is supplied with each Cobra Rod.
Equipment
Electric drill with a 1/2” diameter bit
Screw driver
Trowel
Energy Seal™ or Woodsman™ sealant
Small amount of stain and topcoat (optional)
Installation
Step 1: Drill a 1/2” diameter hole in the wood to a depth of at least 3” deep. This depth leaves room for the rod and the plug. For large diameter round or rectangular logs, two rods may be inserted into the same hole, but drill the hole at least 5” deep.
Step 2: Insert the Cobra Rod into the hole as far as it will go.
Step 3: Insert the plastic plug and using a screwdriver, twist it clockwise to set the plug into the hole.
Step 4: The plastic plug may be hidden from view by placing a layer of appropriately colored Energy Seal over the end. The Energy Seal may then be stained to match the surrounding wood.
Step 5: Wash hands with soap and water.