Media Blasting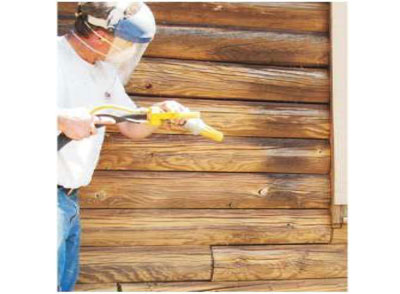
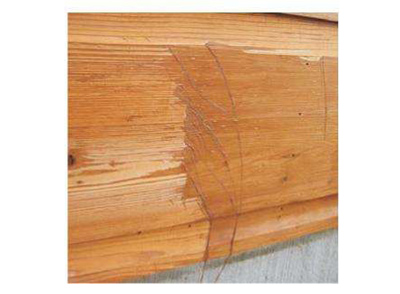
Although we rent and sell the Blaster Buddy™ and furnish crushed recycled glass blasting media, we usually advise do-it-yourself homeowners to use chemical finish removers along with pressure washing because the process can be easily accomplished by an average homeowner. And since it is less susceptible to surface damage, chemical finish removers result in a more attractive finished surface.
However, when performed by an experienced professional, media blasting can effectively and efficiently remove the most stubborn existing finish. We do recommend that you first inspect a home that has been media blasted before making your final decision about which method of finish removal you want to use.
Media blasting consists of using corncob grit, walnut shells, glass beads, baking soda, dry ice, or recycled crushed glass to abrade the finish off the wood. We prefer crushed glass since it is very efficient, relatively inexpensive, and does not impregnate the wood with organic material that can later mold. Plus it is very safe for the environment.
Once a home has been media blasted, there are two steps that are often overlooked but need to be followed:
Step 1: Blow off as much dust and debris as possible using compressed air.
Step 2: Wash the wall down with a two cups per gallon Log Wash™ solution no more than seven days prior to staining. It is not necessary to use a pressure washer, a garden hose will do. Clean from the bottom up and rinse from the top down. Rinse well and allow the wood to dry before applying a color coat or Prelude™ Clear Wood Primer.
This removes all of the loose wood fibers and dust that may still be remaining on the surface and ensures better adhesion of the finish to the wood.
Sanding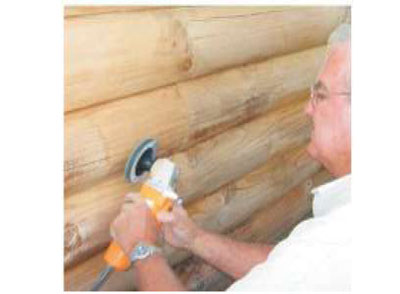
Sanding can effectively remove an existing finish, but it is time consuming and a lot of work. The use of sanding disks rather than sandpaper can save you both time and money but you need to be careful not to create swirl marks in the wood. When sanding exterior surfaces, never use anything finer than 80 grit.
Water-based film forming finishes require some wood texture for good adhesion, especially on exterior surfaces. Osborn™ Buffing Brushes work great for removing raised wood fibers (feathers) that may have resulted from aggressive pressure washing but they are not suitable for removing finishes.
A sanded wall is not clean! Always wash down sanded walls with two cups per gallon Log Wash solution no more than seven days prior to staining. It is not necessary to use a pressure washer, a garden hose will do. Clean from the bottom up and rinse from the top down. Rinse well and allow the wood to dry before applying the first coat of finish.
Using a Chemical Finish Remover
It is always best to use finish removers supplied or approved by Perma-Chink Systems. Never use finish removers containing potassium or sodium hydroxide. They disrupt the chemistry of the wood and can lead to discolorations appearing under the finish. Before purchasing any finish remover be sure to obtain a sample and test it on your existing finish to see how well it works. Finish removers do not dissolve finishes; they only soften them enough to allow the finish to be removed with pressure washing.
Tools & Equipment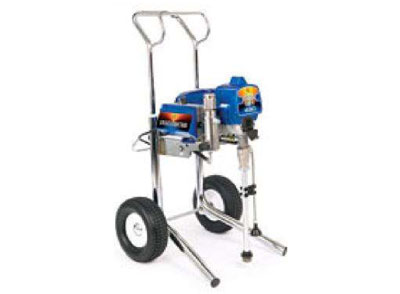
Before you start have all of the tools that you will need at hand and be sure that they are clean and in good working order. These may include:
- Paint brushes
- Paint scraper
- Stiff nylon brush (never use a wire brush)
- Airless sprayer*
- Wet and dry rags
- Water hose
- Gas powered pressure washer with an output of 2 to 3 gallons per minute (gpm)
- Tarps
- Recommended safety equipment such as eye protection and rubber gloves
Note: Most quality airless spray equipment will handle our S-100™. On the other hand, for applying StripIt®, you will need a professional grade airless sprayer with an output of at least 0.54 gpm. In either case, there are a couple of minor modifications that have to be made before using them. The first thing is to change the tip to a 0.021 tip orifice. We stock universal 521 tips in case you cannot find one locally. If a smaller diameter orifice tip is used, it will take longer to apply the proper amount of finish remover and the tip may become clogged. In addition, since a small orifice produces a fine mist there is a greater chance of wind drift onto surfaces that you may not want to strip.
Once the stripping process is completed, it’s of utmost importance to replace the 0.021 tip with a 0.015 or 0.017 tip for applying our stain and topcoat. The second thing is to remove any sprayer strainers, screens and/or filters. Our finish removers are somewhat thick and viscous, so having to pass through screens and filters will impede the flow of product through the sprayer and may eventually clog it up.
Preparation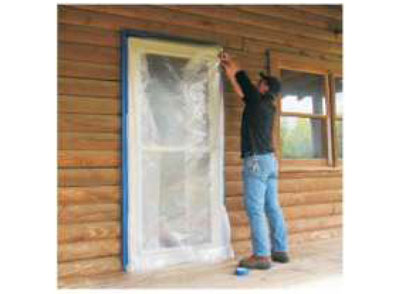
Before you start be sure to remove downspouts and cover or mask off any areas that you don’t want to strip. Finish removers will soften both stains and paints. You may wish to protect window and door trim with plastic sheeting. If you do get some finish remover on an area that you don’t want to strip, immediately wash it or wipe it off with a wet rag. If you have a deck or porch floor that you want to protect it’s best to cover it with a tarp. Although neither S-100 nor StripIt is highly toxic to plant life, it is best to either cover plants or wet them down prior to starting then rinse them off when stripping is complete.
Application and Removal
Step 1: Thoroughly read the label and be sure to wear the proper safety equipment and eye protection. Starting at the bottom of the wall, apply the finish remover with a brush or airless sprayer according to the directions for use. Be sure to follow the directions pertaining to the application rate; if applied too thinly the finish remover may not work and you will have wasted your time and money. Be sure to give the product time to work. On hot dry days, work on small sections of a wall at a time so that it does not dry out.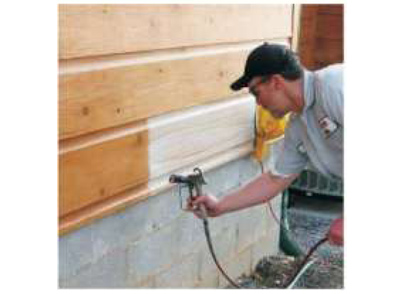
Step 2: Allow the finish remover time to soften the finish. It may take 30 minutes or several hours depending on the existing finish, product and temperature. If you see that the S-100 is beginning to dry, mist it with a light spray of water. For drying StripIt apply another coat on top. In colder weather conditions it may take many times longer for the finish to soften than it does in warm or hot weather. On cool days you can apply the finish remover to the entire wall late in the afternoon or early evening and leave it on overnight. Neither S-100 nor StripIt will damage the wood or cured Perma-Chink sealant, even with prolonged contact.
Step 3: Once the finish has softened, use a pressure washer to remove the chemical stripper along with the finish. The use of a 15-degree fan tip works well. Start at the bottom of the wall and work up. You don’t want to wash away the chemical stripper from those areas you are not ready to strip. Hold the pressure washer wand at a 30- to 45-degree angle from the wall. The objective is to “peel” the softened finish off of the surface, not blast it off with a lot of water pressure. This will help avoid gouging the surface and severe feathering. If there are some spots of remaining intact finish, try scraping them off with a paint scraper or a stiff nylon brush before they dry.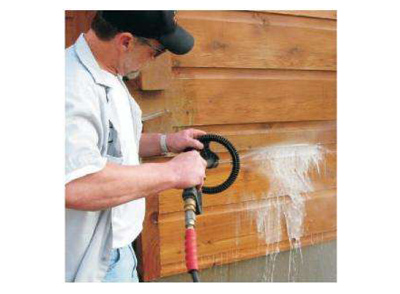
Step 4: Once the entire wall is completed, begin the rinsing process starting at the top of the wall and work your way down. Rinsing off all remaining chemical residue and bits of loose finish is very important for the long term performance of the new Lifeline finish system.
Step 5: If after rinsing there are still remnants of finish remaining on the wall, repeat the process until all of the existing finish is removed. It is not necessary to reapply the stripper to the entire wall. Only use it on those areas that need it.
Step 6: Once the entire wall is completely bare rinse the entire wall starting at the top and work your way down. Allow the wall to dry before making your final evaluation.
Step 7: If pressure washing the wall has feathered the surface you may wish to lightly sand it or use an Osborn Brush to remove the feathered wood fibers. Never use sandpaper or Osborn Brushes finer than 80 grit on exterior surfaces. Sanded or brushed surfaces MUST be washed with two cups per gallon Log Wash solution and the surface allowed to dry before the first coat of finish is applied.