
Log Gap Caps
Foam Inserts for Windows and Doors
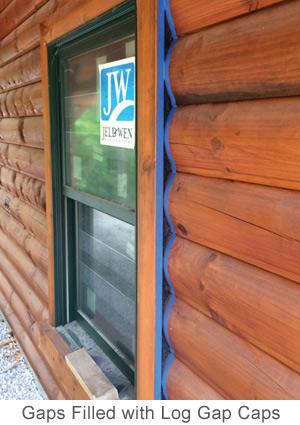
Round logs leave curved spaces when they meet the straight edges of window and door trim. Those openings enable outside air to flow through, even when the surrounding construction looks tight.
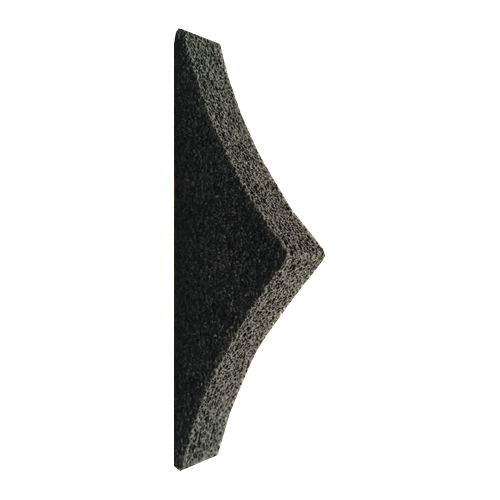
These log gap caps were designed to fill irregular gaps before sealant is applied. The flexible foam compresses into the opening, providing an even surface for the finished seal.
Log Gap Caps fit most log profiles. Their uniformity works with common log diameters. The foam resists moisture, mold, and rot. Once installed, the sealing system transforms into a reliable defense for log homes.
Shop Available Sizes
Two sizes cover the log diameters commonly found in log home construction. Small caps fit up to 8-inch logs. The larger option fits 9- to 11-inch logs. Browse our log gap caps for sale below to match the insert to your project.
Product Information
Deep spaces around window and door trim should not be filled with sealant first . Log Caps fill the void first, then leave an even surface for the sealant or chinking applied over it.
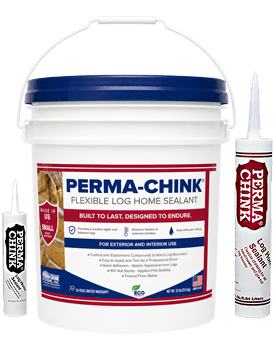
Proper backing also helps control sealant thickness across the joint. That matters as the surrounding wood moves over time. Once the log gap caps are seated, Energy Seal or Perma-Chink completes the exterior seal.
Features
- Flexible foam conforms to most log profiles
- Two sizes accommodate common log diameters
- Resists bacteria, mold, and more
- Creates backing for consistent sealant thickness
- Trims easily with scissors for log siding applications
- Works with Energy Seal and Perma-Chink sealants
How to Store
Keep unused inserts together in their original box between projects. A dry indoor storage area keeps them clean. Proactive measures ensure you will be ready for the next job. Avoid placing heavy materials on top of the box. Compressed or misshapen foam will be harder to position around trim.
How to Apply
Press the foam into the open crevice with a trowel until it sits firmly behind prospective sealant areas.
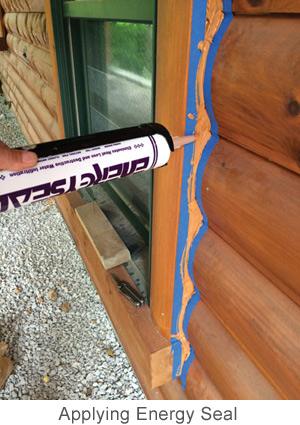
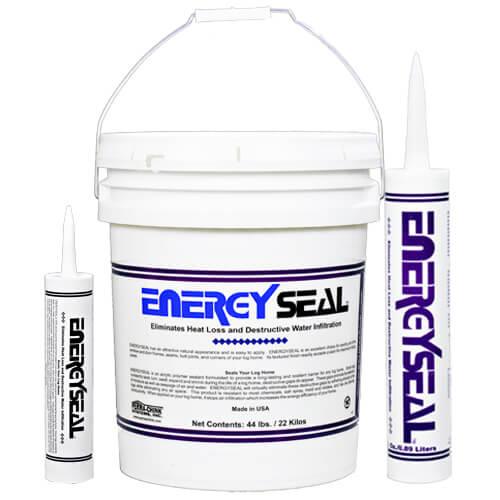
Place masking tape along the trim before work begins. Apply Energy Seal over the insert, then tool the surface. Check the edges for good contact. The surrounding wood will indicate weak points. Remove the masking tape as soon as tooling is complete. Do this before the sealant begins to set.
Maintenance
Cover remaining foam after installation. Direct sunlight will degrade exposed material over time. Once sealed, periodically inspect the finished joint around windows and doors.
Cracks or separation in the sealant deserve attention before the backing underneath becomes exposed.
Application Information
Log Gap Caps and Energy Seal work together to seal windows and doors of log homes. Our one-page application instructional PDF can be viewed here: Log Gap Cap Application Step-by-Step
Application Steps
Step 1
Insert Log Gap Cap into the crevice using trowel.
Step 2
Apply Energy Seal™ and tool smooth.
Step 3
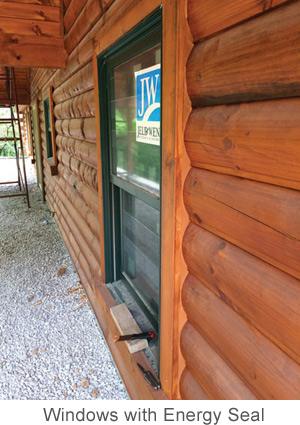
Remove masking tape as soon as tooling is complete.
Frequently Asked Questions
Your questions about Log Gap Cap answered.
Do I need to use backing material?
Yes. For proper adhesion and elasticity of sealants, backing materials should be used. Read more here.
Can I use any foam for backing?
No. The wrong foam, like pink or blue colored foam, will “out-gas” and cause blisters in sealants.
How do I smooth out my sealant?
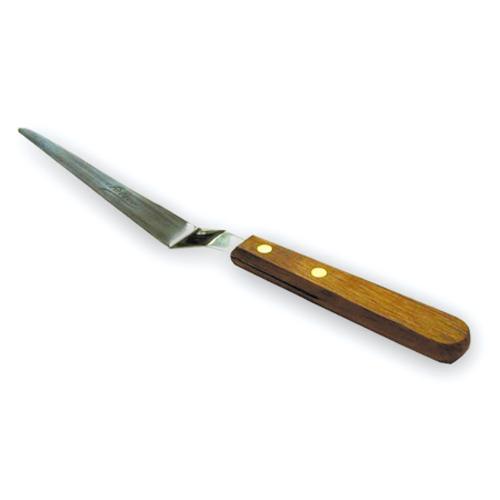
For a smooth finish, spray the sealant with water and smooth it using a metal spatula. You can learn more about the process of tooling here.