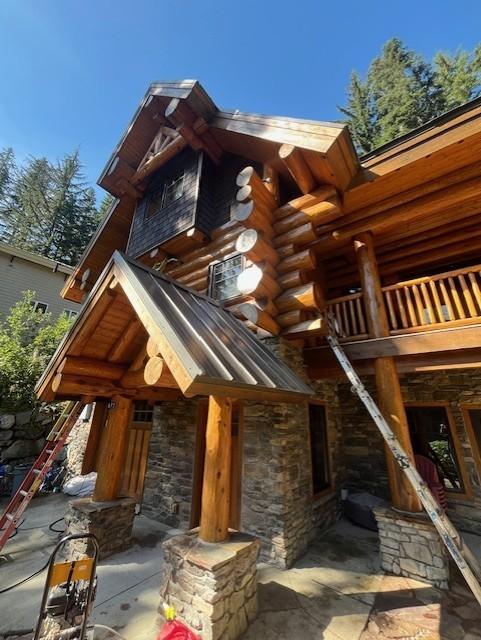
When it comes to using elastomeric sealants, considering the potential movement of your wood is almost always a smart move. Some important factors to consider that impact wood movement are moisture content, species type, type of cut (flat tangential cut or quarter sawn radial cut) and local environmental conditions. Not taking these into account has the potential to lead to costly repairs in the future.
Movement Threshold Related to Moisture Content
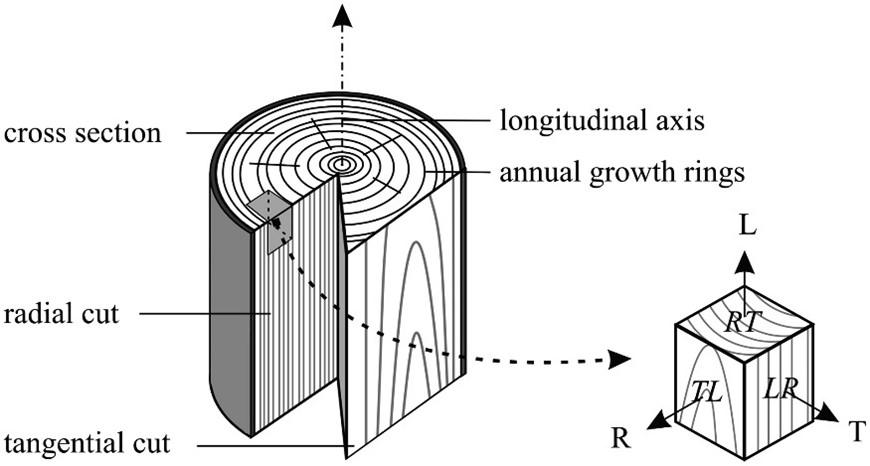
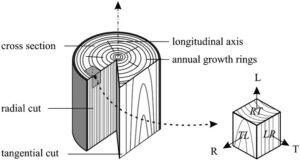
When a tree is first harvested the water content is usually extremely high. For example, depending on the wood species the moisture content can be 200% or higher in freshly cut green wood. However, it is not usually until the moisture content drops below approximately 30% that dimensional changes begin to occur. This is where bound water within the cell walls begins to leave resulting in dimensional shrinkage. These changes occur primarily in three different directions: tangential (T), radial (R) and longitudinal (L). See figure 1 below.
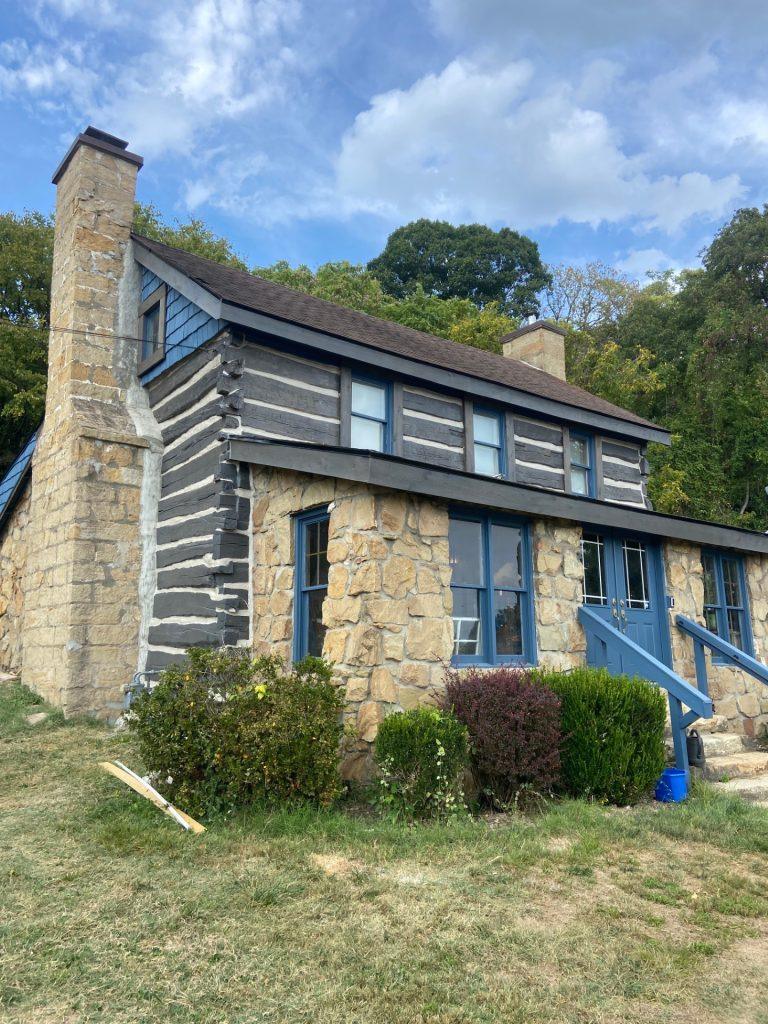
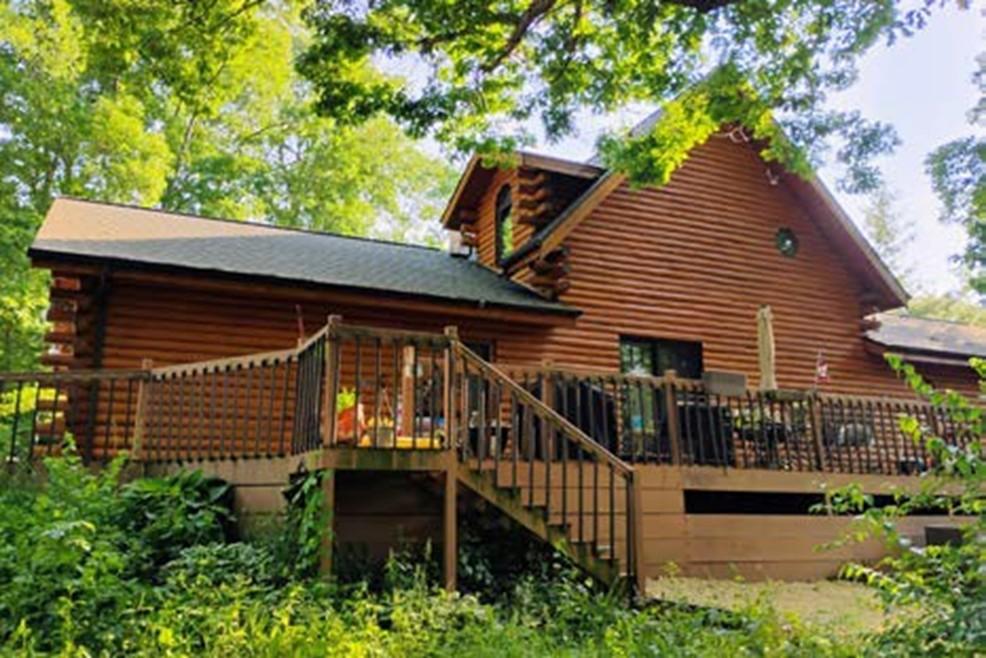
Log Cutting Method Impact on Movement
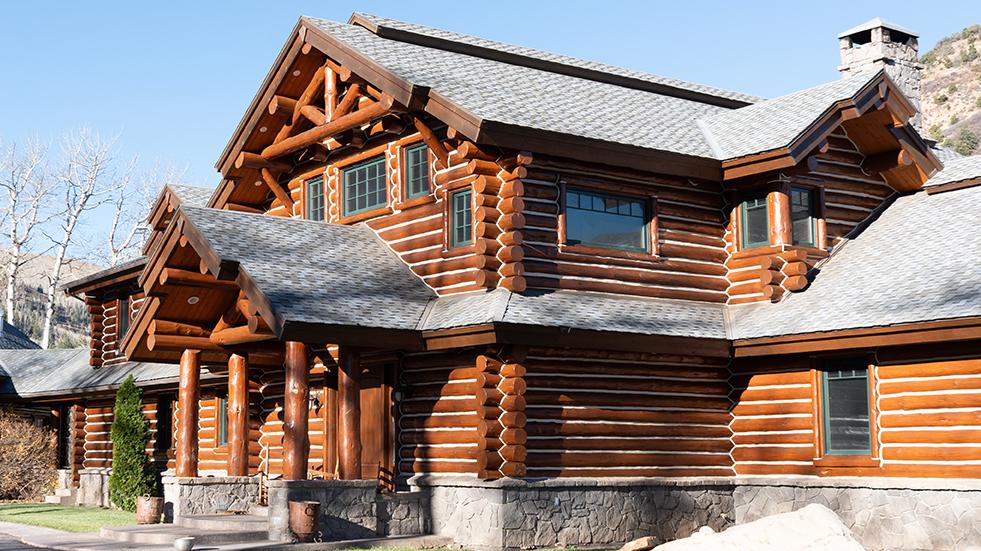
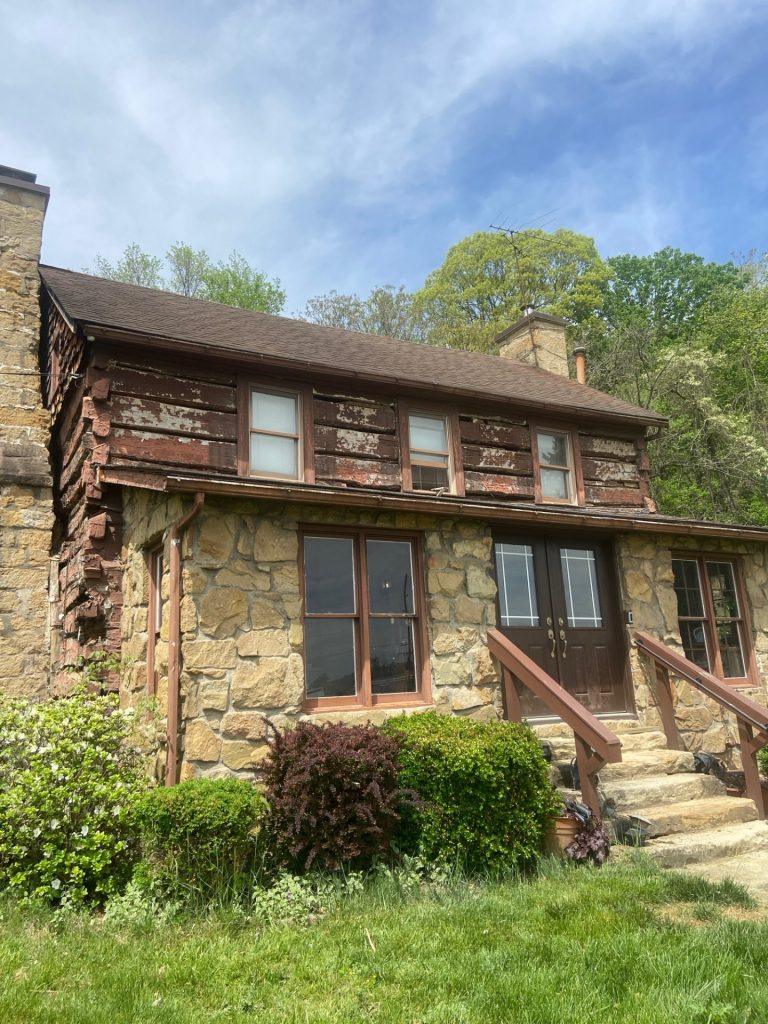
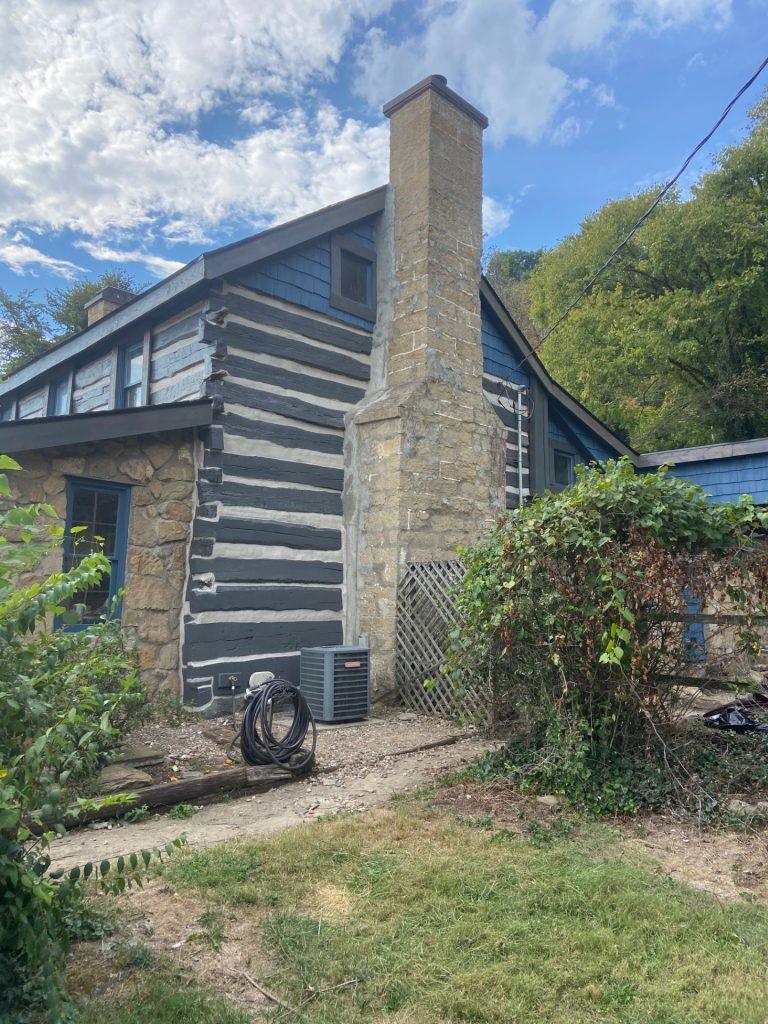
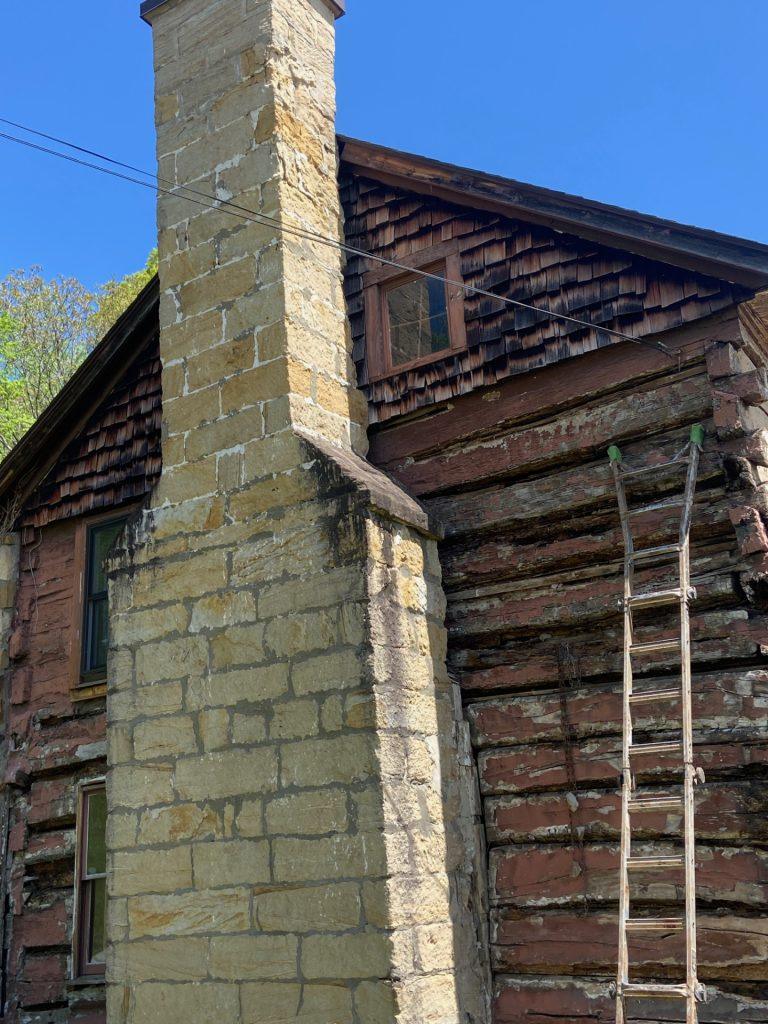
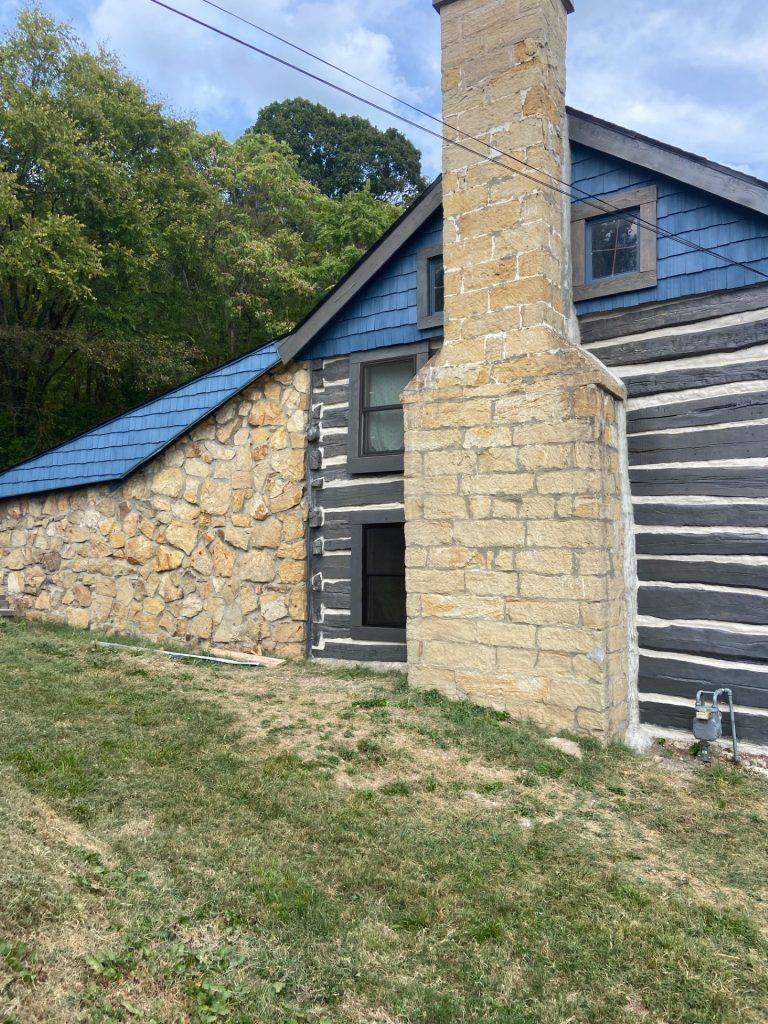
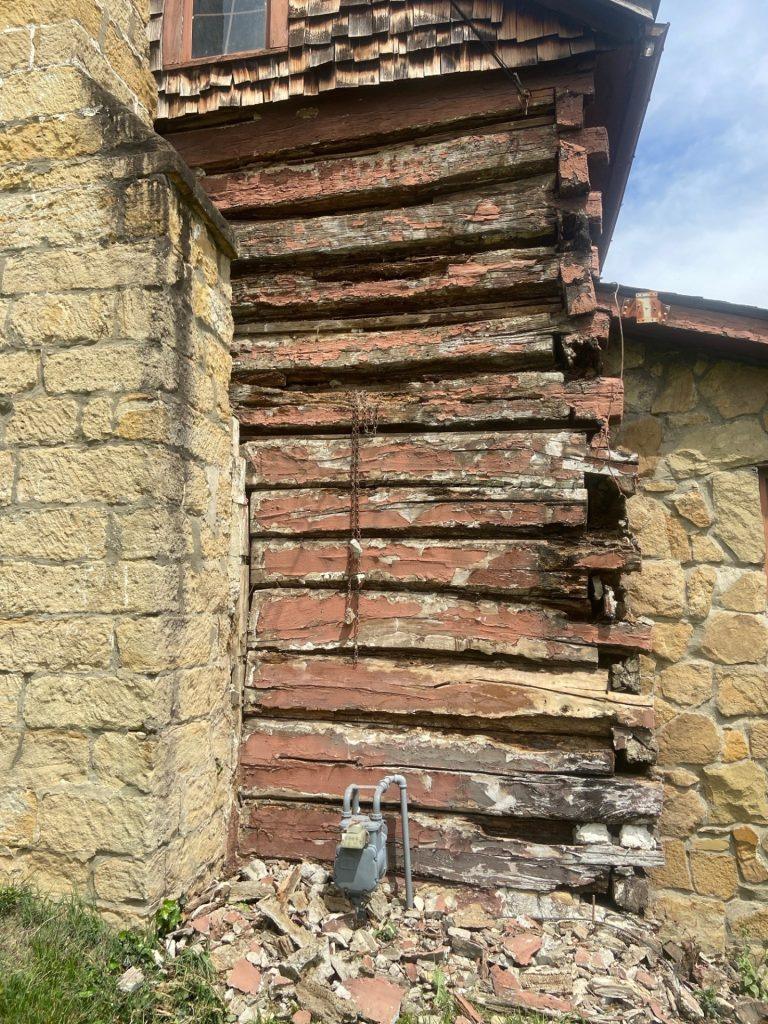
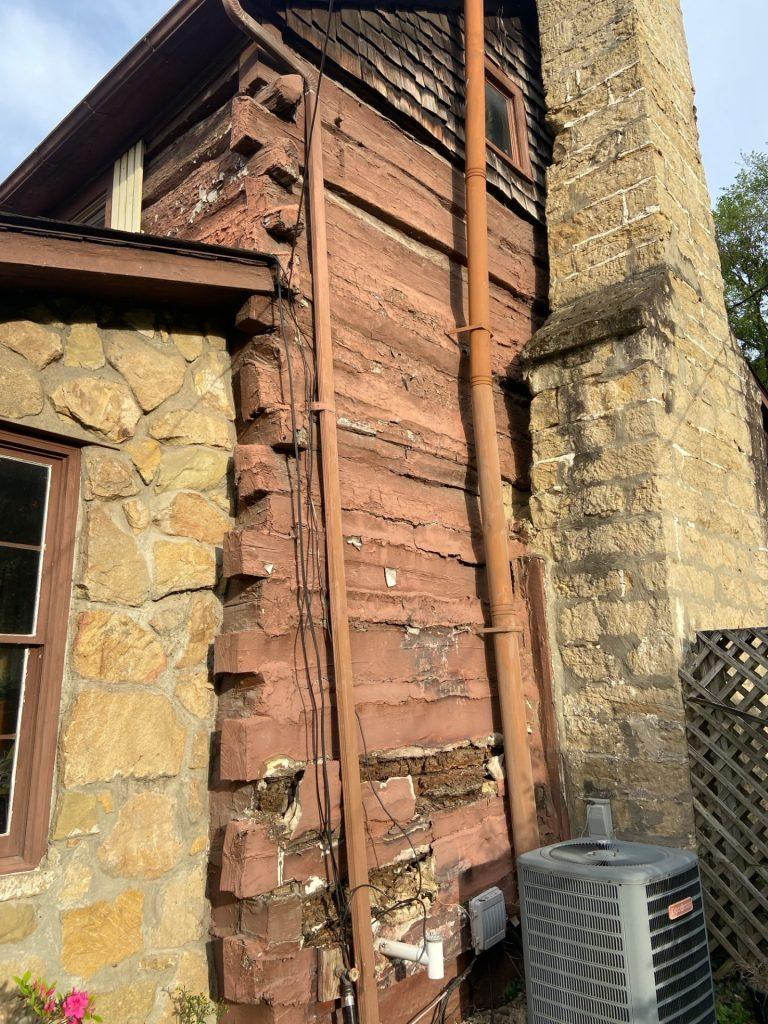
Wood does not move much in the longitudinal (L) direction. Therefore, a traditional house is framed with the two by fours placed in the longitudinal upright position and as a result the structure does not shrink or move very much. However, most wood cut for log siding falls somewhere in between radial and tangential cut and is not placed in a vertical position but rather a horizontal one. If the log siding is mostly the flat sawn tangential cut type a large amount of movement in the wood is possible. For example, depending on the pine species the percent shrinkage can range from 6.0 – 7.5% for a tangential cut board from green to oven dry. This translates to a twelve-inch-wide board shrinking by almost three quarters of an inch or more!
For round logs the movement component that causes the log home to shrink in size is the radial (R) movement. This is not nearly as much as the tangential movement but still can be quite large. In pine species the percent shrinkage can range from 2.0 – 5% from green to oven dry. Take for example a wall using ten-inch round logs and ten courses in height. The total wall shrinkage might be anywhere from two inches to as much as five inches.
One way to minimize all this potential movement is to use kiln dried wood. Doing so reduces the movement potential. In addition, using an inexpensive moisture meter can also be a great help in determining your woods moisture content at any point in time. Waiting for wood to equilibrate to its environment and reach a stable moisture reading is also very helpful. In general, we tell homeowners and applicators to be at least below 20% for the surface moisture content. However, being closer to 10% is ideal and is associated with lowest amount of risk for movement.
Joint Sizes to Minimize Effect of Movement
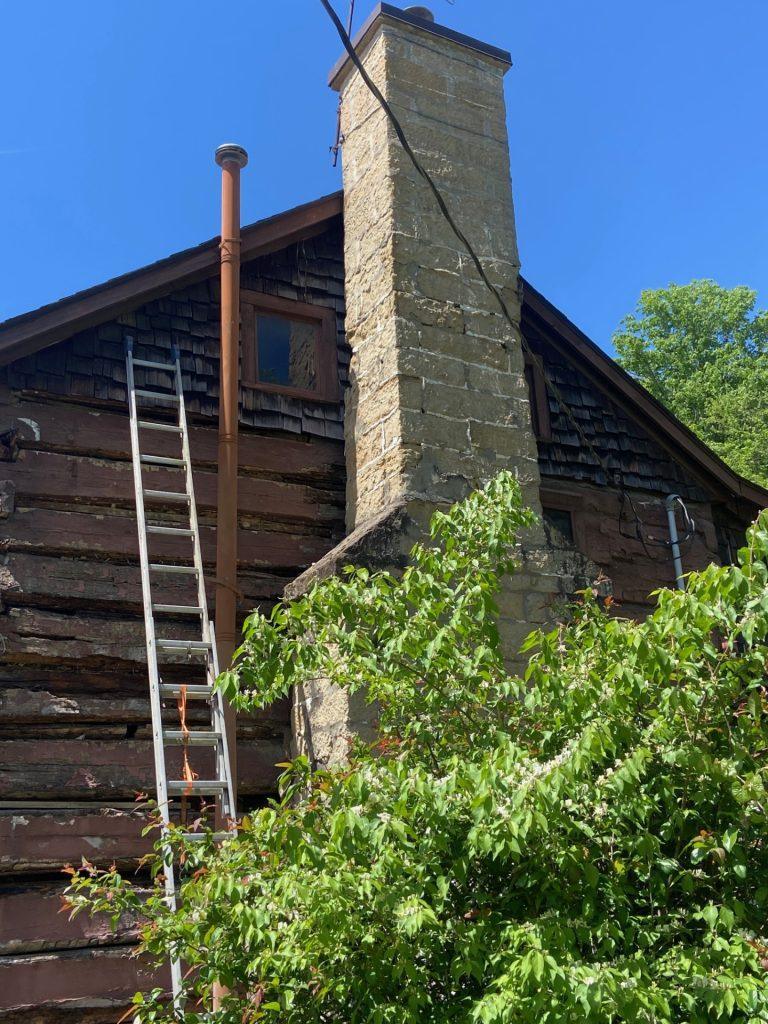
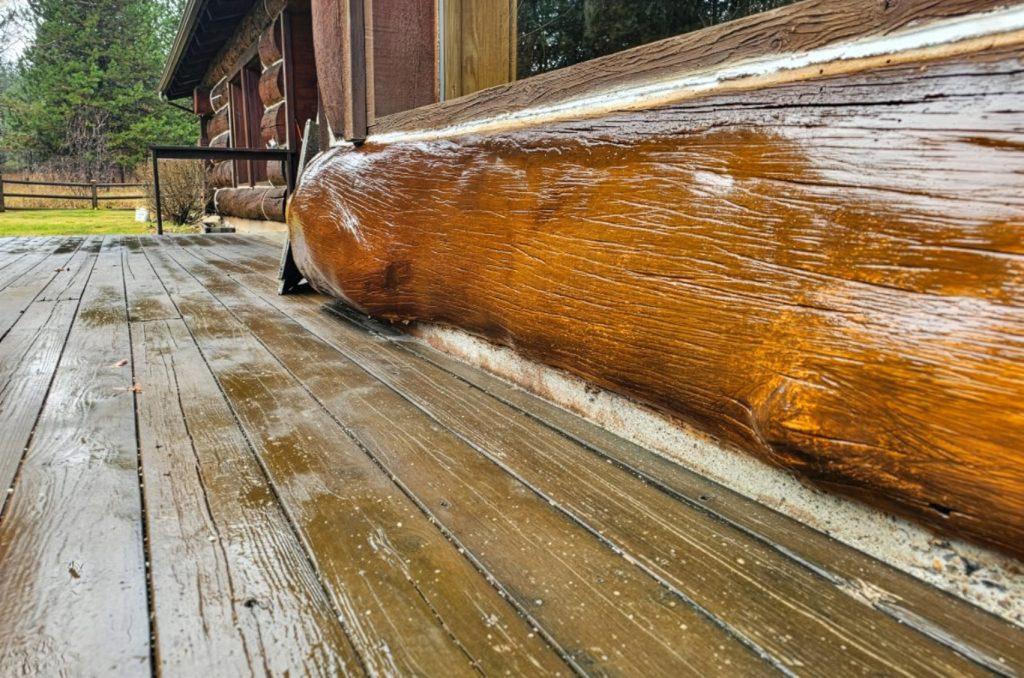
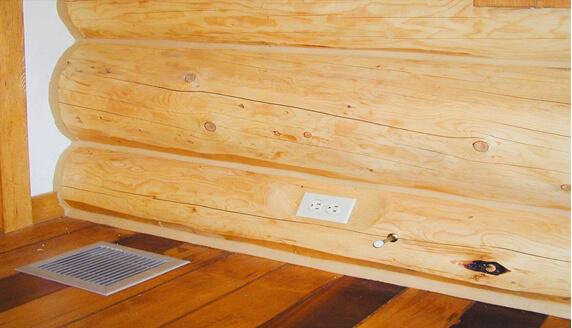
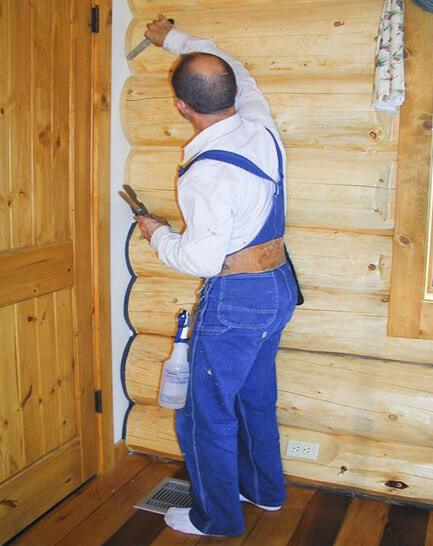
Another excellent way to minimize your risk is to pay careful attention to proper recommended joint designs for our sealants. We recommend the joint width for Perma-Chink chinking be a minimum of one inch for every six inches of log diameter or siding width (1:6 ratio). For example, a 15-inch log would have a chinking joint width of 2-1/2 inches wide minimum. For small gaps less than one inch we recommend using Energy Seal™, Woodsman™ or Check Mate 2 ™. The smaller gaps will have a much larger percent change in movement and need products specifically formulated to accommodate this large movement potential. Furthermore, following proper thickness as well as backing material recommendations is also very important to help reduce one’s risk.
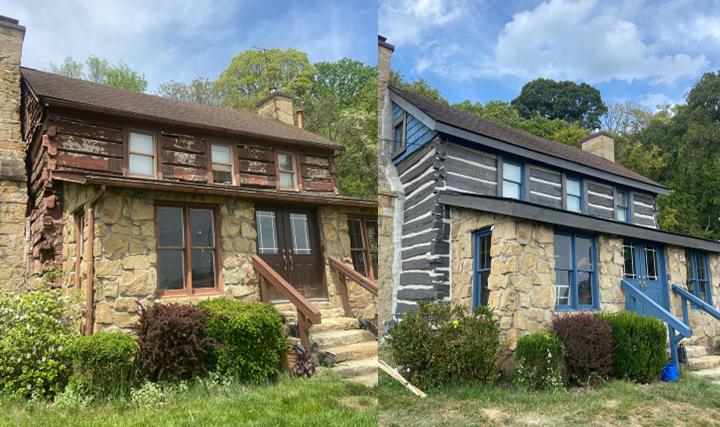
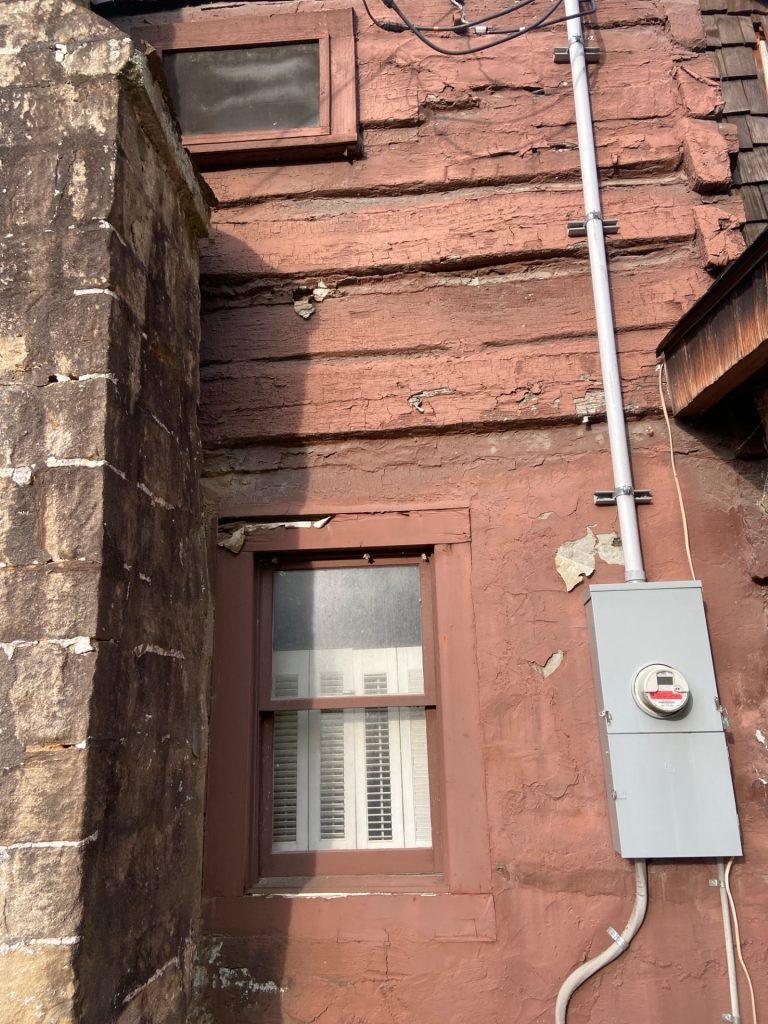
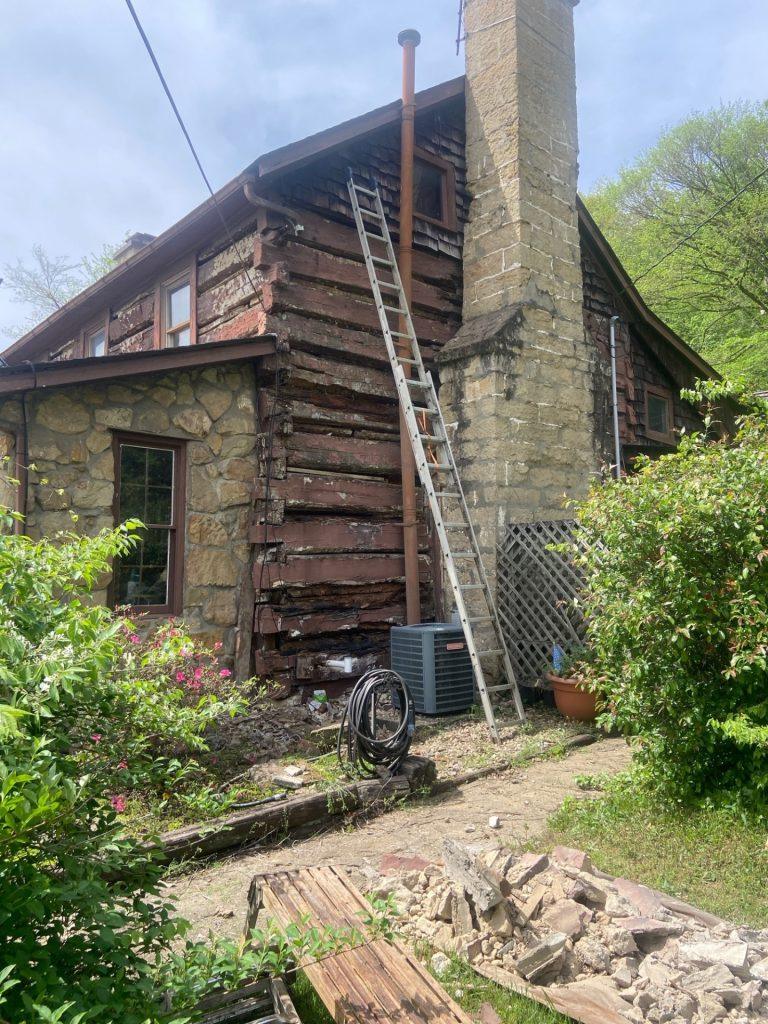
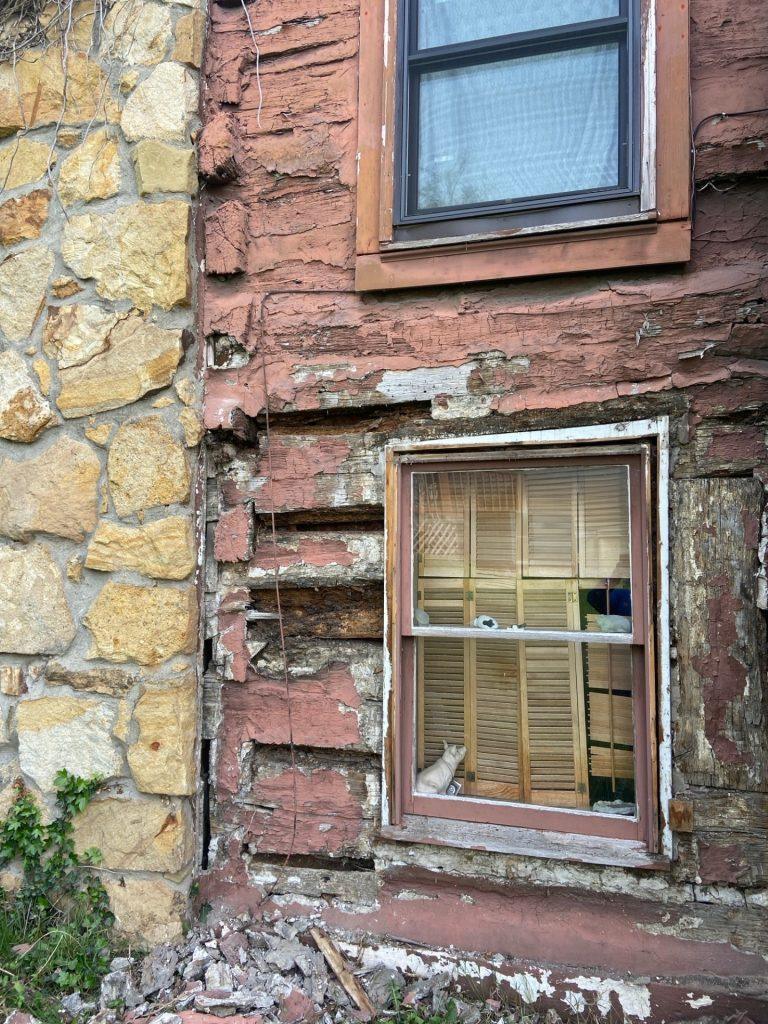
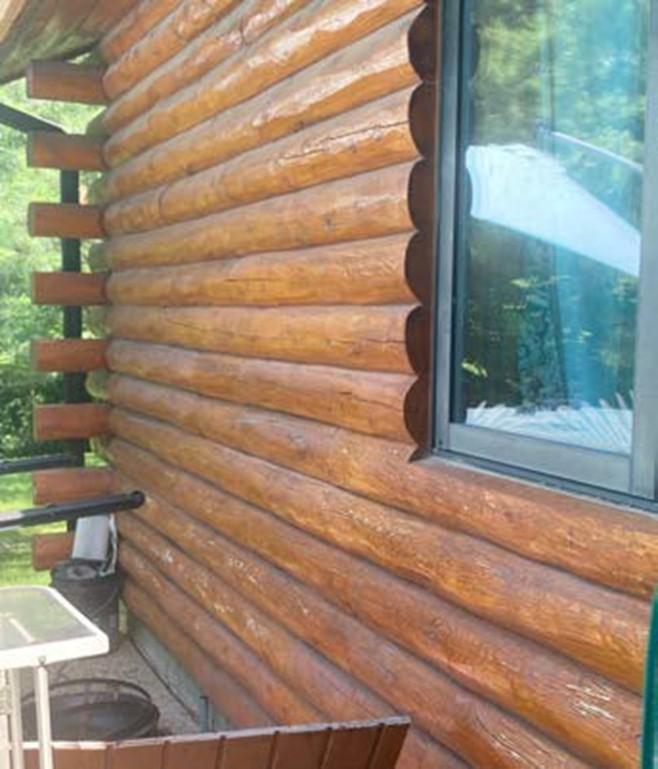
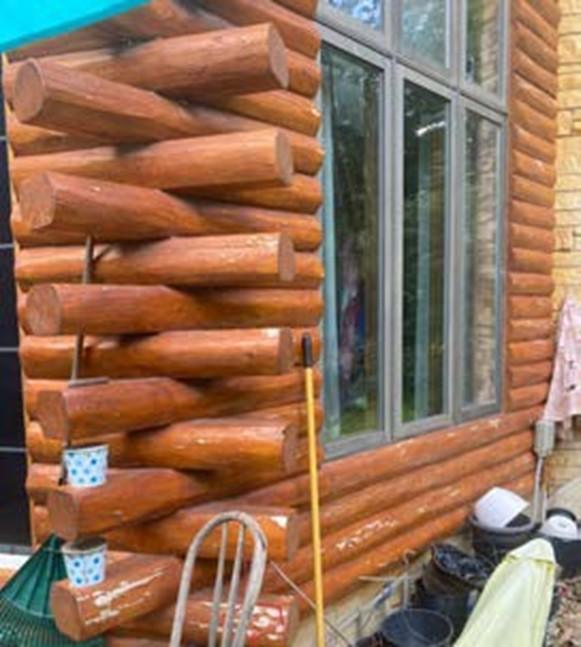
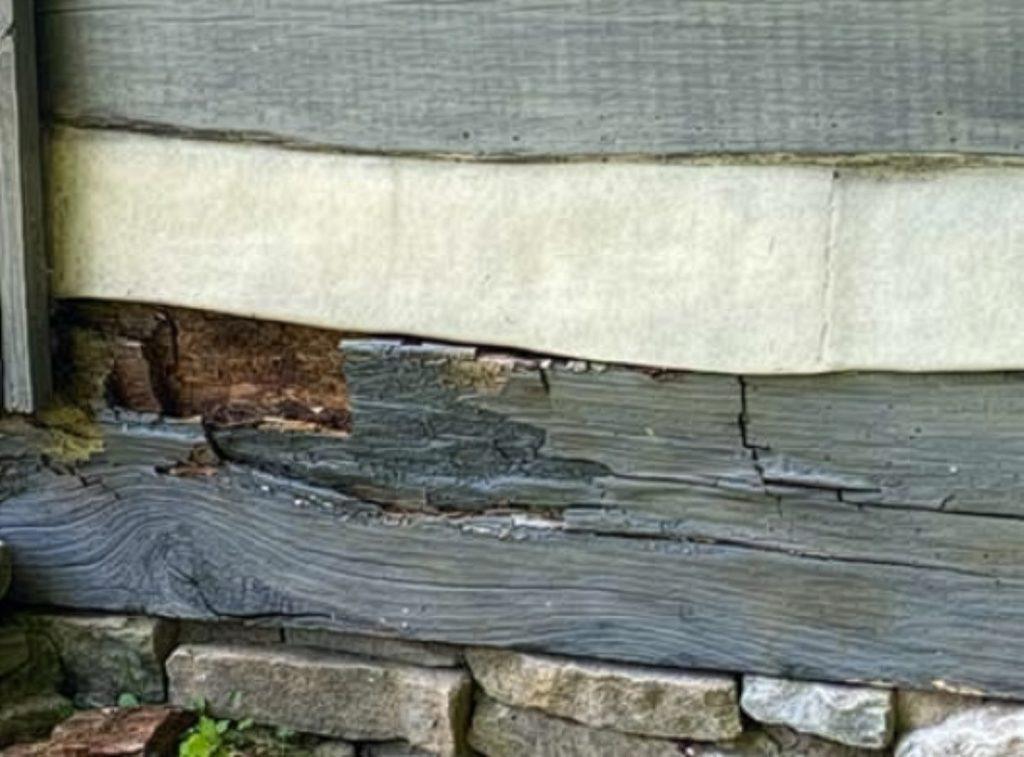
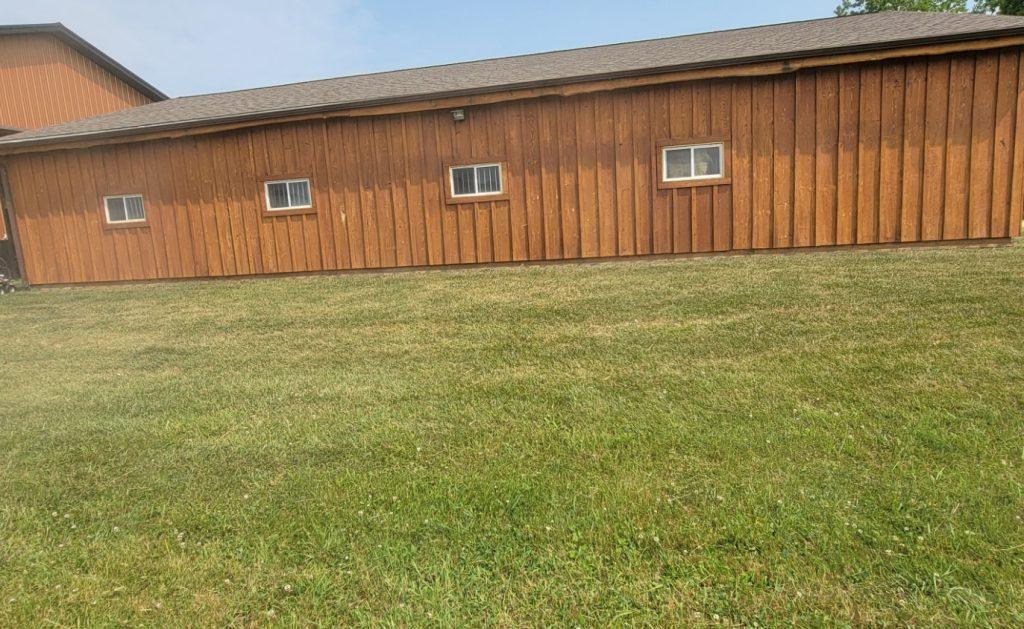
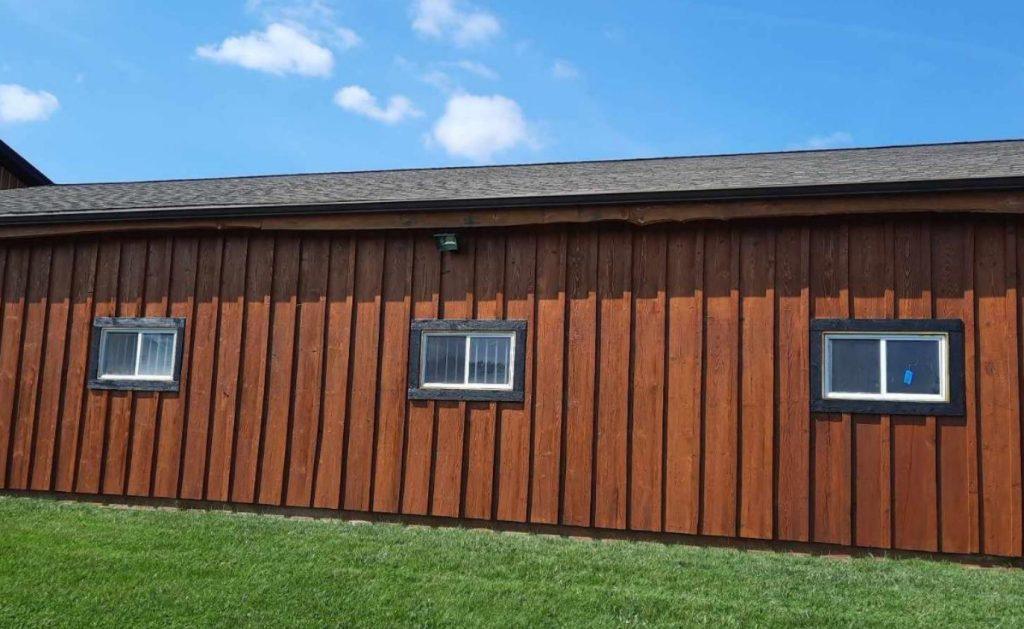
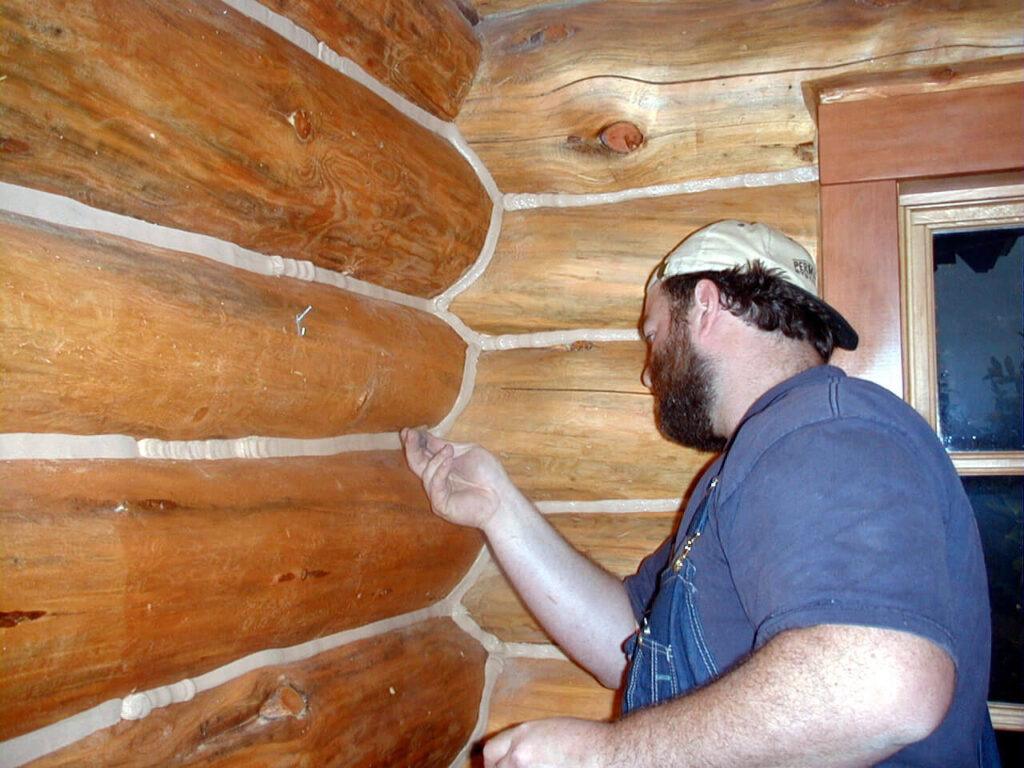
Failure to adhere to proper joint design coupled with large dimensional changes in wood can often lead to poor outcomes. In the example below green wood was used to maximize wood movement during curing. The chinking joint in (Figure 2) failed completely due to improper joint width and large wood movement. The starting width (1/4”) of this joint was nowhere near the 1:6 ratio recommended. The starting width for the joint below should have been three to four times as wide relative to the width of the wood.
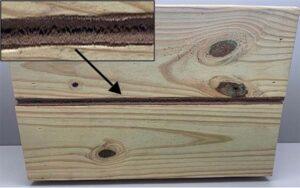
Chinking should never have been used in a joint this small; Energy Seal™ or Woodsman™ would have been much better options. The expansion in the joint due to shrinkage of the wood was very large, relative to the original starting width, resulting in cohesive failure across the entire joint length. Cohesive failure is where the sealant stays adhered to the top and bottom of a joint but fails by cracking down the middle of the joint. The box in figure two magnifies the crack so it is more visible.
Help Available Through Application Guide
To help aid in proper joint design, we provide our customers a Log Home Sealants Application Guide. This guide provides a great deal of helpful information regarding proper joint design. Our technical tips are additional sources of information on many topics of concern to the log homeowner. Don’t let wood movement be a source of failure for you. Instead anticipate the movement and come prepared with the right products, tools, and knowledge for success.