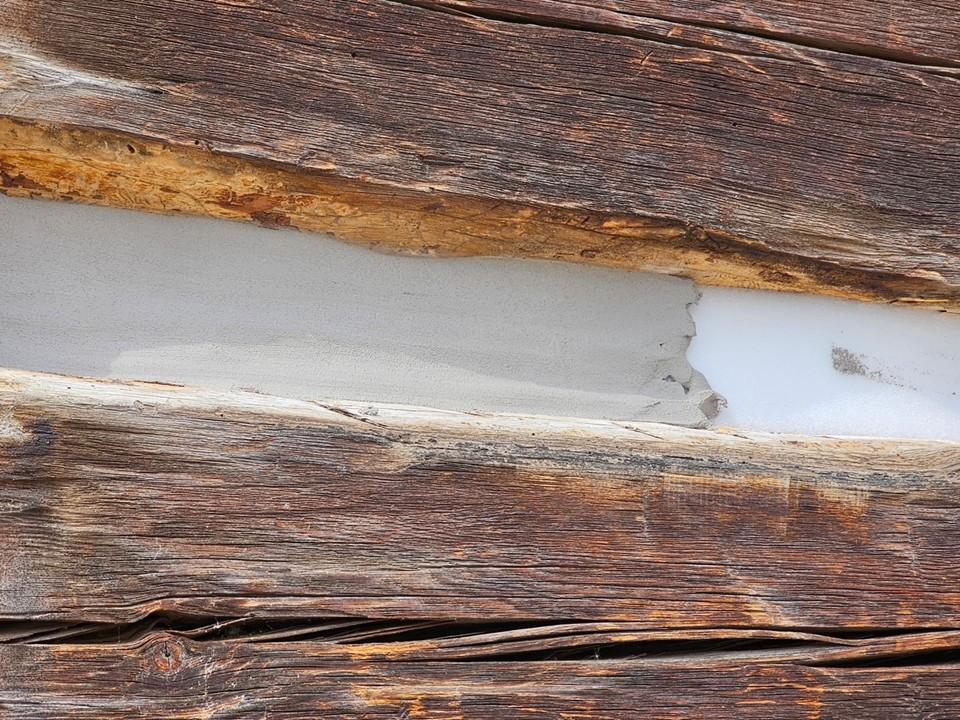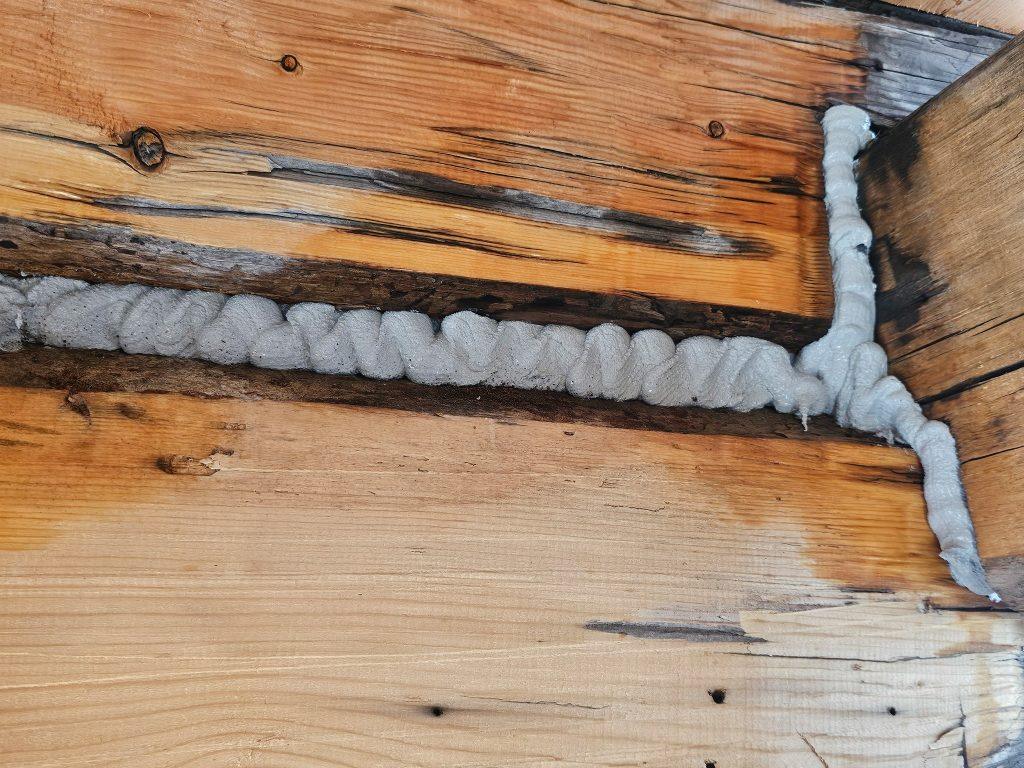
How Do Rips and Tears Happen?
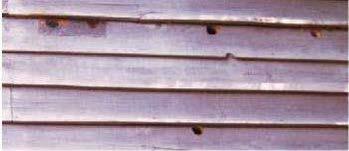
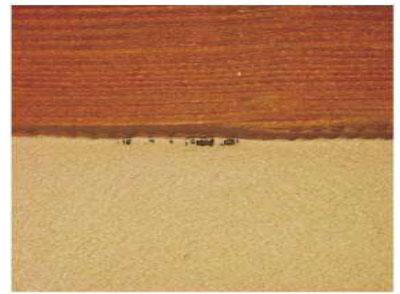
Occasionally rips and tears form in log home chinking, especially in new homes that have been constructed with fairly green wood. Most of the time these tears appear on the top edge of the chink joint. That’s because during the tooling process, most people tend to pull product from the top to the bottom of the chink joint, which results in a thinner than recommended layer of chinking along the top edge. In addition, people forget to “push” the chinking up against the top edge, resulting in inadequate adhesion. When the logs shrink, it puts a strain on the chinking and if it was not properly applied, it can pull away from the wood. So when working Perma-Chink®, it is important to keep pushing the product towards the top of the joint.
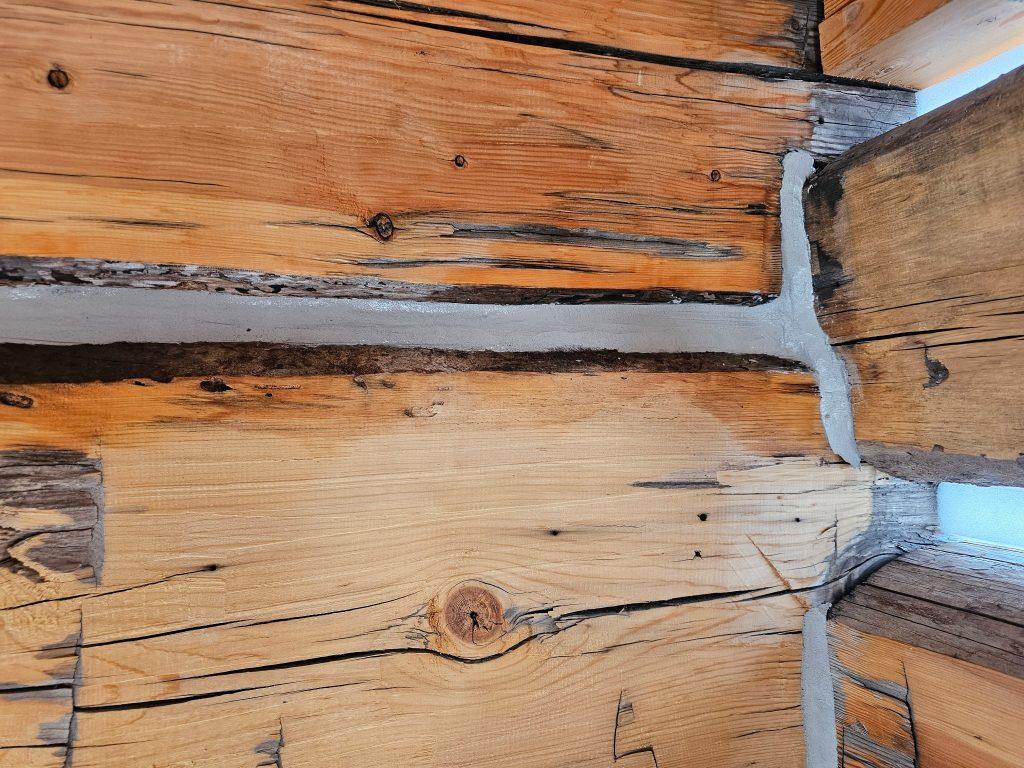
Before making any repairs, determine if the chinking was properly applied originally (see our Application Guide here for reference). If you find that the thickness along the top edge is consistently less than 1/8”, you may be faced with constant repairs as it will be better to cut it out and start over again. You won’t be able to apply another layer of Perma-Chink on top of what’s already there to bring it to the proper thickness. If you do, the added layer will probably develop blisters in it.
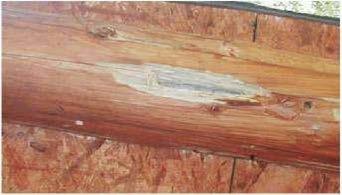
Our rule of thumb is that if a tear is less than one foot long, it can be repaired. If it is longer than one foot, the chinking should be cut out and replaced. The reason for this is that on long tears, the chinking tends to sag out, and there is no way to hold it in place while the repaired area cures.
Begin with making sure the area that you are repairing is good and clean. You don’t want any dirt to interfere with the adhesion of the chinking. It’s easier to make a repair using a tube of chinking or a bulk loading gun than it is to scoop some out of a pail.
Put a bead of chinking along the tear, making sure that you have good contact with the torn chinking and the wood. Once it’s applied, you can press it into place with a tool or your finger. Now use a small, inexpensive paintbrush with the bristles cut to about 2” long, dip it into some water to get the bristles wet, then work the chinking smooth with the brush. This will help match the texture of the chinking repair with the surrounding cured chinking.
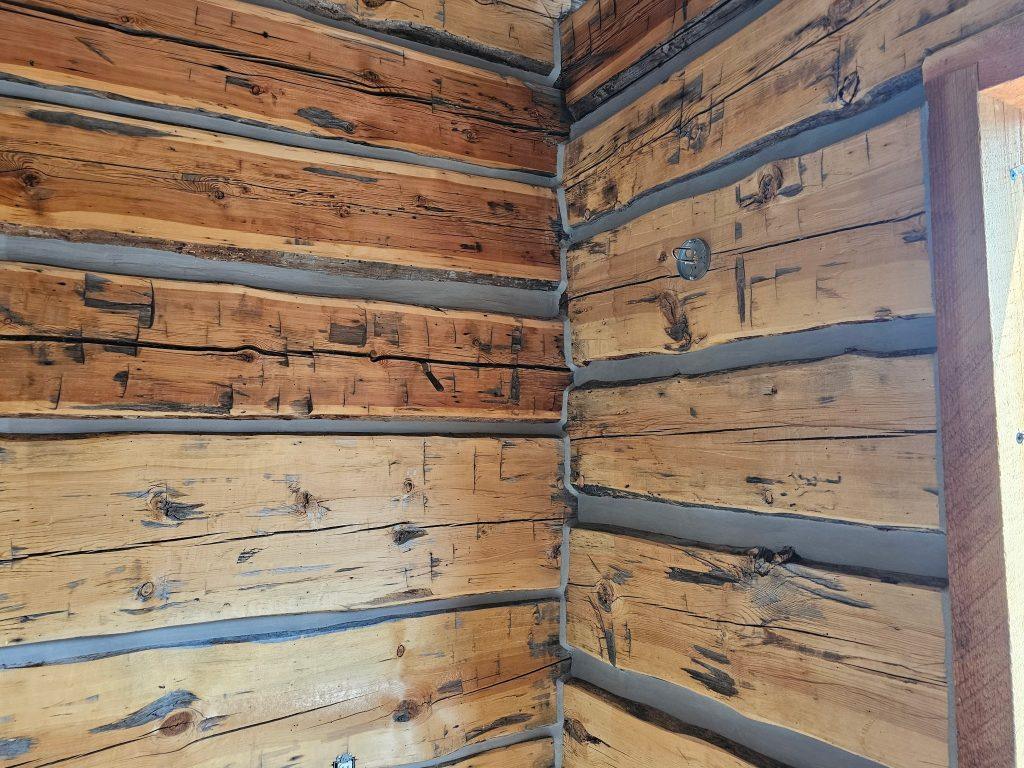
In the cases of older chinking in need of repair, it will be necessary to apply Chink Paint over the repaired area to make the color uniform.
Typically, the Chink Paint painted areas will be cleaner and brighter than the old, existing chinking, so you’ll probably want to Chink Paint all of the chinking to renew the look of your entire home. If you want to change the color of your chinking, this would be a good time to take advantage of Chink Paint.
What Causes Blisters?
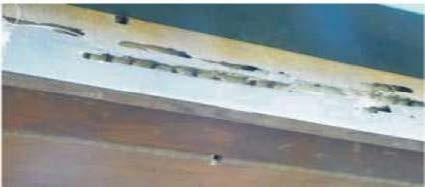
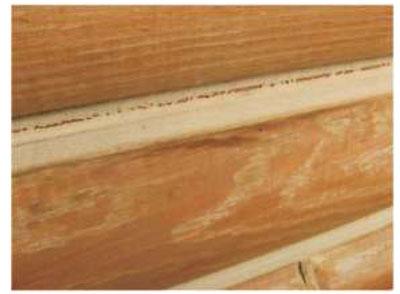
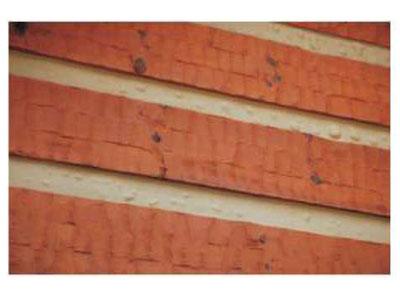
There are several causes of blisters forming in uncured chinking. The first is whenever chinking is applied in hot, direct sunlight. The surface quickly skins over, preventing the water vapor from escaping from the underlying material. This problem is usually easy to diagnose, since the blister will start to form in the middle of the product, and if the blister is cut away, you can still see chinking under the blister.
Another common cause of blisters is chinking over unsuitable backing materials. This includes blue board, pink board, and other colored EPS (expanded polystyrene) foam and bare wood. These materials out-gas and as they do, they can form blisters in the soft, uncured chinking.
Only those products recommended by Perma-Chink Systems should be used as backing materials for Perma-Chink Log Home Chinking. Some blisters can be directly attributed to the application process. If the chinking is “trowelled” in by hand, small pockets of air can become entrapped during the process. It is very important to “mash” out the chinking in order to work the air out.
Entrapped air also occurs when you apply very small beads of chinking with a tube or a bulk load gun if the tip cut too small, when compared to the size of the joint. Air can be trapped between the beads when it is smoothed out, leading to blistering.

It’s important to work the chinking, although most people are hesitant to do this as it tends to pull during the process. A light mist of water on the surface of the chinking will help prevent pulling, although some chinking professionals only wet the tool they are using, until they get ready to finalize the finish. It is never necessary to flood the surface of the chinking with water, a very light mist is all that you need.
There is no satisfactory way to repair a blister other than to completely cut out the blistered sections and re-chink the entire joint. If you try to cut out and fill in the blisters, you will end up with visible depressions along the chink joint. Once the blistered section is removed, be sure to check the backing material. If it’s the wrong material, replace it with the correct material; if it is bare wood, cover it with masking tape. If you don’t use the correct backing material, you run the risk of blisters reappearing in the repaired sections.


Read Our Application Guide
Read our Sealants Application Guide to learn the best practices, ensuring a beautiful log home for generations.