Blog & News
Curious to Know What Makes Your Log Home Exterior Different From the Rest?
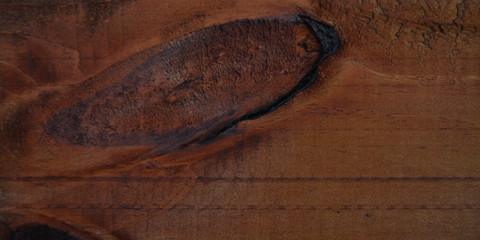
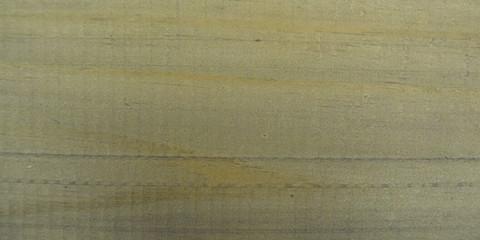
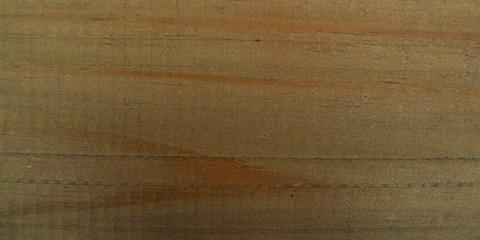
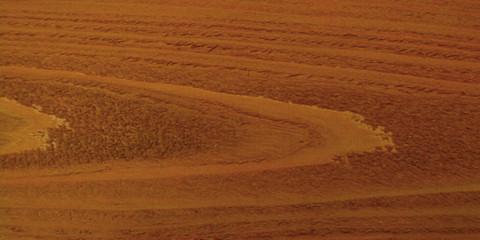
Perma-Chink Systems is dedicated to exceeding expectations, ensuring that our products reflect both our commitment to quality and our responsibility to the community. That’s why we go the extra mile to ensure our wood stains and finishes are crafted from the most environmentally friendly materials available. Our commitment to sustainability doesn’t just stop there—our products also deliver a refined, furniture-like finish that enhances the beauty of your wood. But unlike the furniture coatings, our finishes are designed to breathe to let the moisture evaporate from your logs.
LIFELINE stains and finishes from Perma-Chink Systems stand out for several reasons:
- Waterborne Formulation: Lifeline products are water-based, making them environmentally friendly and easy to clean up with soap and water.
- Breathability and Flexibility: These finishes form a breathable, elastic barrier that allows the wood to expand and contract with changing weather conditions, reducing the risk of cracking and peeling.
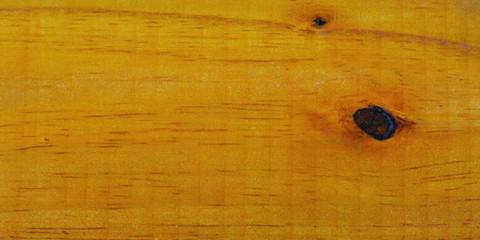
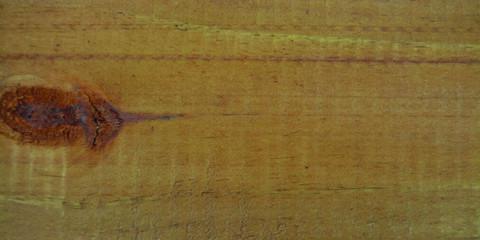
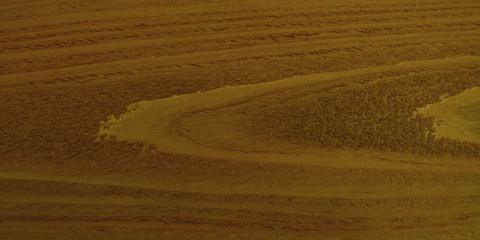
- UV Protection: Lifeline stains contain high-performance pigments and UV inhibitors that protect the wood from sun damage while highlighting its natural grain.
- Durability: The finishes are designed to be long-lasting, requiring minimal maintenance.
- Aesthetic Appeal: Lifeline stains enhance the natural beauty of the wood, providing a rich, vibrant finish that highlights the grain and texture.
- Safety: These products release no toxic fumes and are not flammable, making them safer to use.
- Ease of Application: Lifeline finishes are easy to apply and can be used over existing water-based stains, provided the surface is in good condition.
- Easy Maintenance: Lowest maintenance of any exterior wood finish.
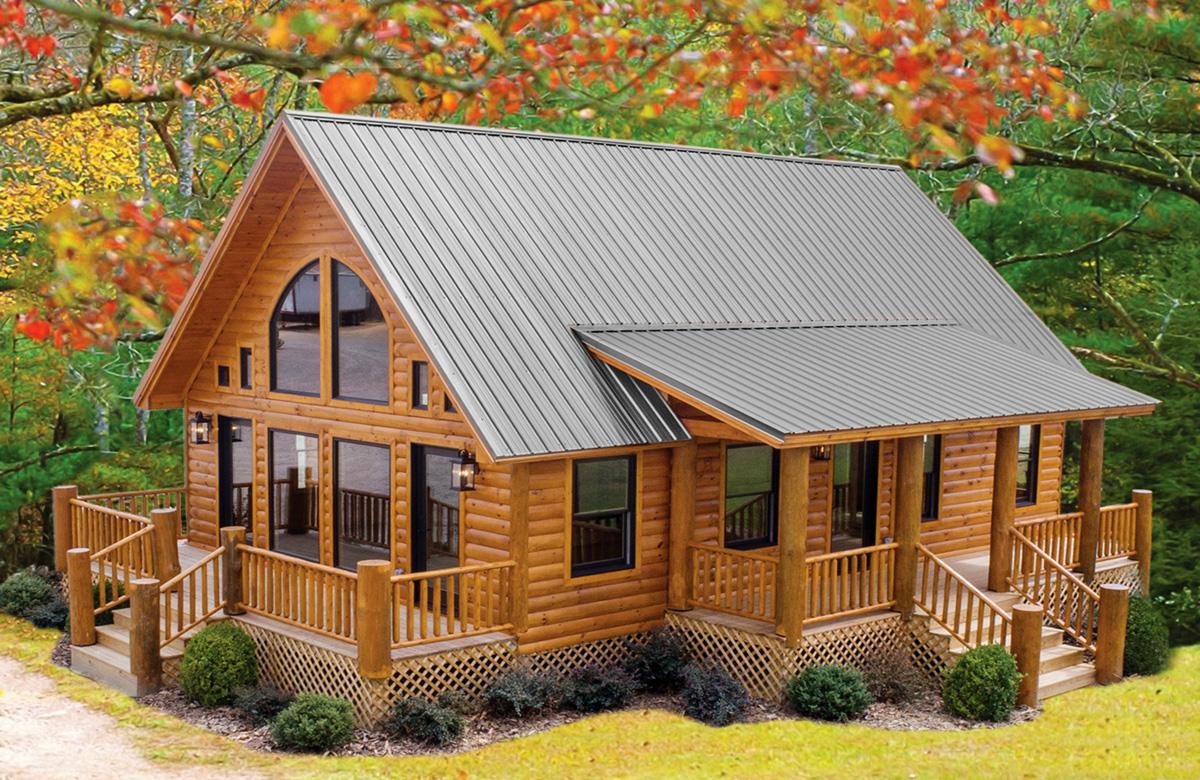
LIFELINE stains are a top choice for log homes and wooden structures, blending protection with stunning aesthetics. One of the key considerations for log and timber homeowners is selecting the right stain color. While many stains may look impressive immediately after application, the real test is whether they retain their beauty over time.
With LIFELINE, you’re choosing a high-performance finish that maintains its vibrant appearance long after application. Engineered with cutting-edge technology, LIFELINEis the most advanced wood stain available for log and timber homes in the world.
Request your free sample today and see for yourself how LIFELINE can preserve the beauty of your home, even as the seasons change. Order free samples by calling your local store at 1-800-548-3554 or order from our online store here.

John Ricketson
Project Manager – Hearthstone, Inc.
www.hearthstonegeorgia.com
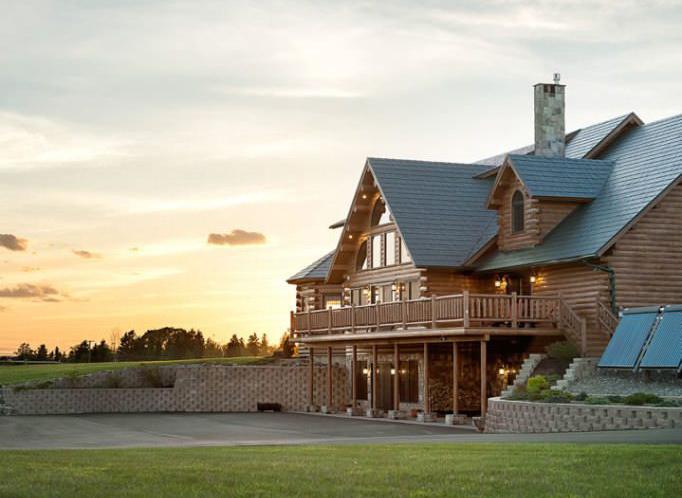
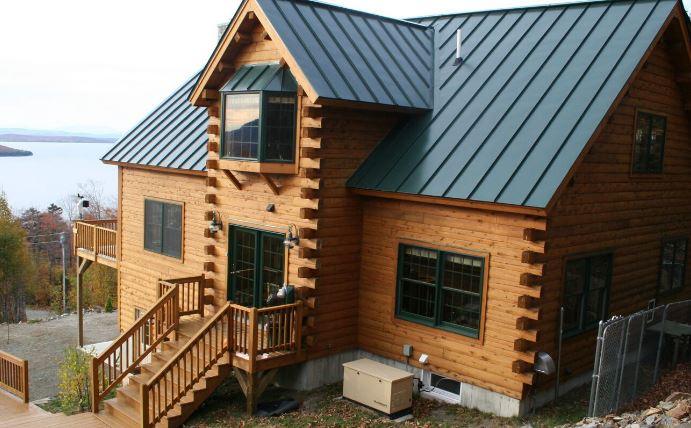
At every trade show, I get asked the same question: How long does Perma-Chink last? My answer has always been “I don’t know, we’ve only been using it for 37 years”[ed. note – as of 2019]. I built my log home in 1988 and used Tan Perma-Chink with Dark Honey Lifeline EX stain because I wanted a combination that was not too much of a contrast and the results were exactly what I had intended. The home has weathered and aged over the 32 years and I have re-stained it a couple of times, the last time being 8 years ago. The East side and North side required very little maintenance then, just a light cleaning with Log Wash and a renewal coat of Lifeline Advance. The South and West sides required a little more effort after cleaning due to exposure to weather and the sun. A refresher coat of Lifeline EX and Lifeline Advance Satin on the logs, gable end siding, and roof fascia got it to looking like new again.
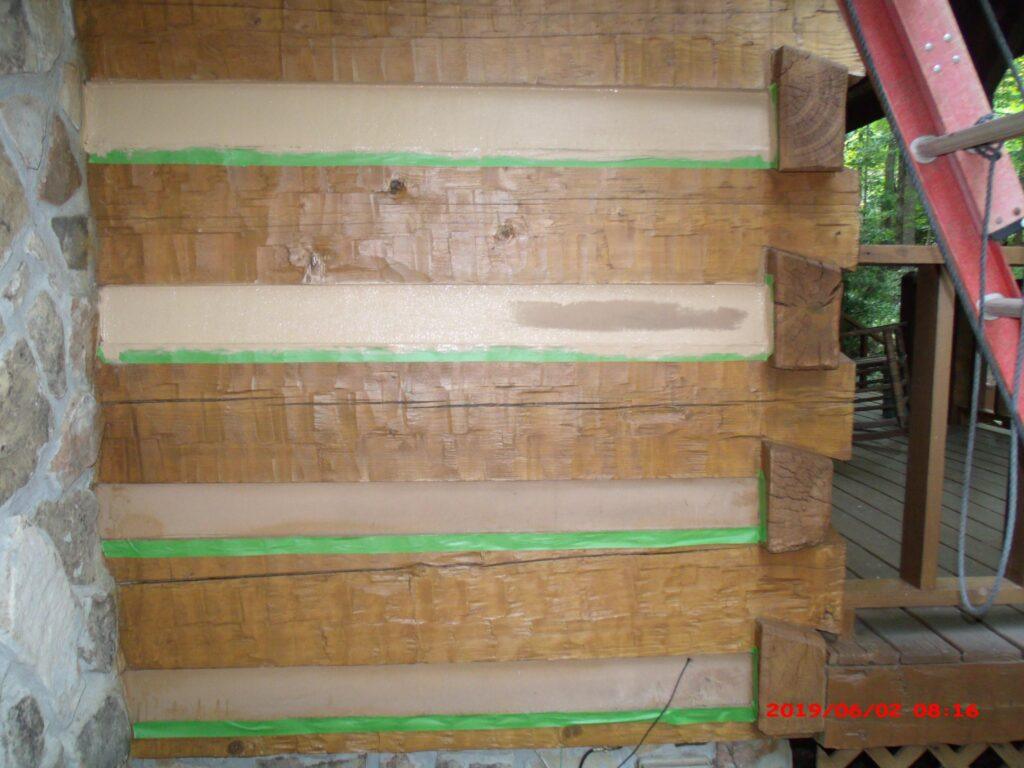
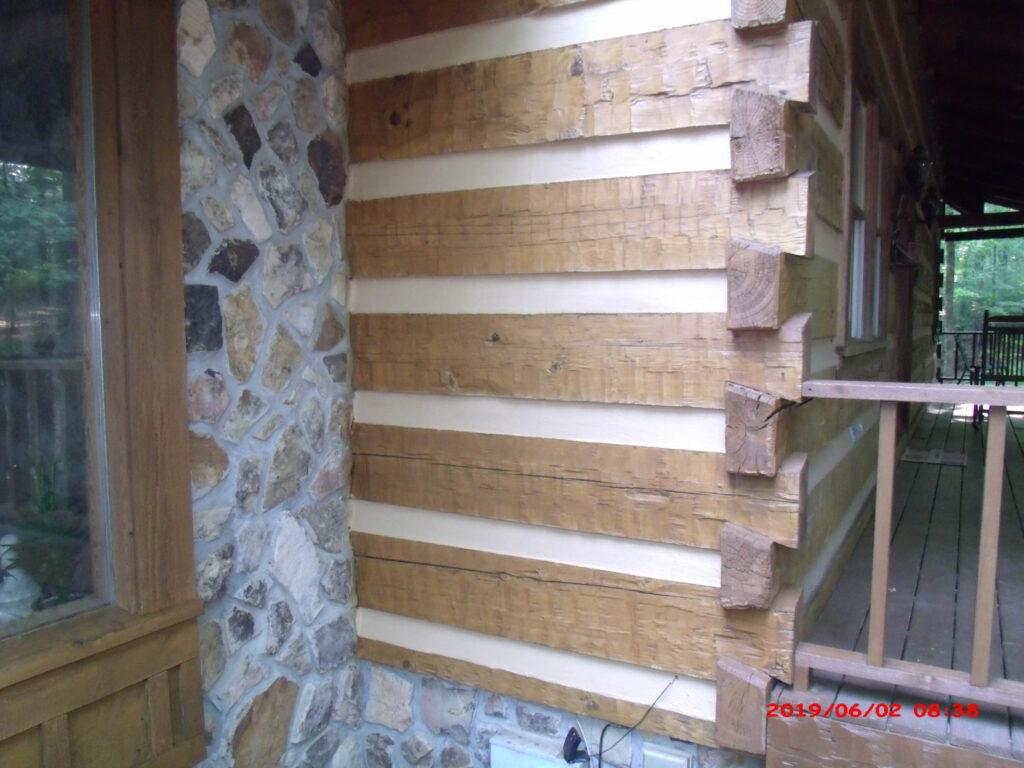

So, after 31 years, I took a close look at a log wall that has been exposed on the Southwest side, where it get as much abuse from the elements as possible, and here is what I found: Out of eight horizontal runs of Perma-Chink, only one showed any indication of age. This was course number 5 and is the one directly under the 32′ tie log that runs above the fireplace, where the interaction of the stonework to the log wall can sometimes cause the log to ‘hang up’ and not fully settle. This was confirmed by looking at the dovetail corner notch, where there had been some separation. Even though Energy Seal was not yet available, the caulking originally used there was still in good shape and there was no danger of air or water infiltration on the dovetail notch that sloped away from the home. Even with all of that, the Perma-Chink separation was less than 1/16th of an inch, and in that one run only, the other seven runs were still providing a perfect airtight and watertight seal.
The surface seemed to be slightly faded, so I got out my Frog tape and taped the lower edges of the chink spaces (because I am not as meticulous with a brush as most people) and proceeded to refresh the surface of the chinking with Chink Paint. Twenty minutes later, the surface on that wall was like new and I am looking forward to answering the question again at the next trade show with: “I don’t know, we’ve only been using it for 37 years and if you want to refresh the color or change the color, a little Chink Paint will quickly get your home as good as new.”
Why Perma-Chink Sealants Are the Best Choice for Your Log Home
Sealants play an essential role in our daily lives, from the windshield of your car to the bathtub, and even your windows. They keep water out, prevent air leaks, and ensure your home stays comfortable and protected. But not all sealants are created equal, and when it comes to log homes, the right sealant can make all the difference.
Everyday Examples of Sealants
You may not realize it, but sealants are all around us:
- The windshield of your car is held in place with a sealant to keep water out.
- There’s a bead of sealant around your bathtub to prevent water from seeping behind tiles.
- Your windows are sealed with a special material to stop cold air, rain, and drafts from entering your home.
If you take a close look, you’ll notice that sealants vary in texture, flexibility, and performance. The best sealants are those that remain flexible and durable across a wide range of temperatures, sunlight, and environmental conditions. And this is where Perma-Chink Systems really shines.
Why Choose Perma-Chink Systems Sealants?
So, why do homeowners choose Perma-Chink Systems sealants for their log homes? Here are three key reasons:
- Keep the Elements Out: First and foremost, Perma-Chink sealants provide a reliable barrier that keeps water, air, and insects where they belong—outside your home.
- Attractive Appearance: Our sealants are designed to blend seamlessly with the natural look of your log home, offering an attractive finish that complements your decor.
- Proven Performance: With a reputation for long-lasting durability and superior performance, Perma-Chink products are trusted by homeowners and professionals alike to deliver reliable, long-term protection.
Why Sealing a Log Home Is Different
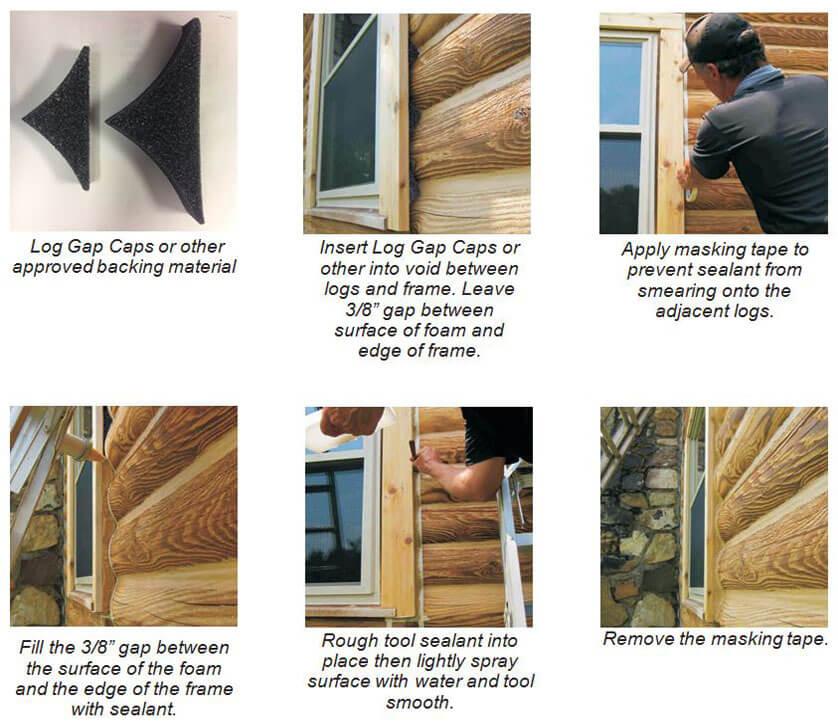
Sealing a log home presents unique challenges. Logs are naturally irregular, and when stacked on top of each other, gaps can form between the logs or around window and door frames. These gaps allow cold air, water, and even bugs to infiltrate your home. That’s where Energy Seal® comes in.
Energy Seal: The Ideal Solution for Log Homes
Energy Seal is a textured, acrylic polymer sealant specifically designed for log homes. It provides a flexible, durable seal that adapts to the natural movement of logs as they expand, contract, and shift with changing weather conditions. Here’s why Energy Seal stands out:
- Flexibility: Energy Seal’s flexibility allows it to maintain a tight seal as logs twist, turn, and shift with the seasons, ensuring that gaps don’t reopen over time.
- Water & Air Tight: It creates a resilient, water- and air-tight barrier, preventing moisture infiltration and keeping drafts at bay.
- Texture for a Natural Look: The textured surface of Energy Seal serves two purposes:
- Flat, Non-Shiny Finish: Once cured, Energy Seal doesn’t have the shiny, artificial look of typical caulking. Instead, it achieves a natural, matte finish that blends seamlessly with your logs and stain.
- Better Stain Adhesion: The textured surface also allows Energy Seal to accept stain more effectively, ensuring it blends in and virtually disappears when you stain your log walls.
Pro Tip: Staining Over Energy Seal
If you plan to stain over Energy Seal, here’s a helpful tip: choose a stain that’s slightly lighter than the color you intend to use for your logs. It’s easier to cover light-colored Energy Seal with a darker stain than it is to cover darker sealant with a lighter one.
Seal in Comfort, Save on Energy
By sealing your log home with Energy Seal, you’re ensuring long-lasting protection against the elements while also boosting your home’s energy efficiency. Don’t let gaps and cracks waste your energy and money—choose Perma-Chink Systems sealants for the best in performance, durability, and aesthetics.
Let us help you keep your home snug and energy-efficient this winter.
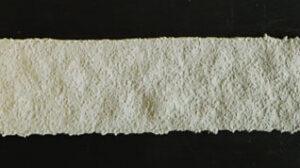
The RHEOLOGY of Perma-Chink
Theoretical aspects of rheology – a branch of physics – deal with understanding the relation of the flow and deformation behavior of material and its internal structure.
The rheology additives in Perma-Chink help ensure that the polymer properties meet specifications for the end use (texture, product film properties) and product quality.
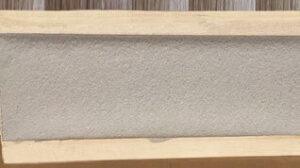
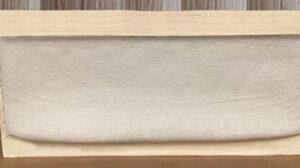
Rheological properties of Perma-Chink
- Greatly improved low shear (as in standing after application) results in high viscosity to prevent slumping
- High shear (as in pumping ) decreases viscosity to make the product easier to apply and tool.
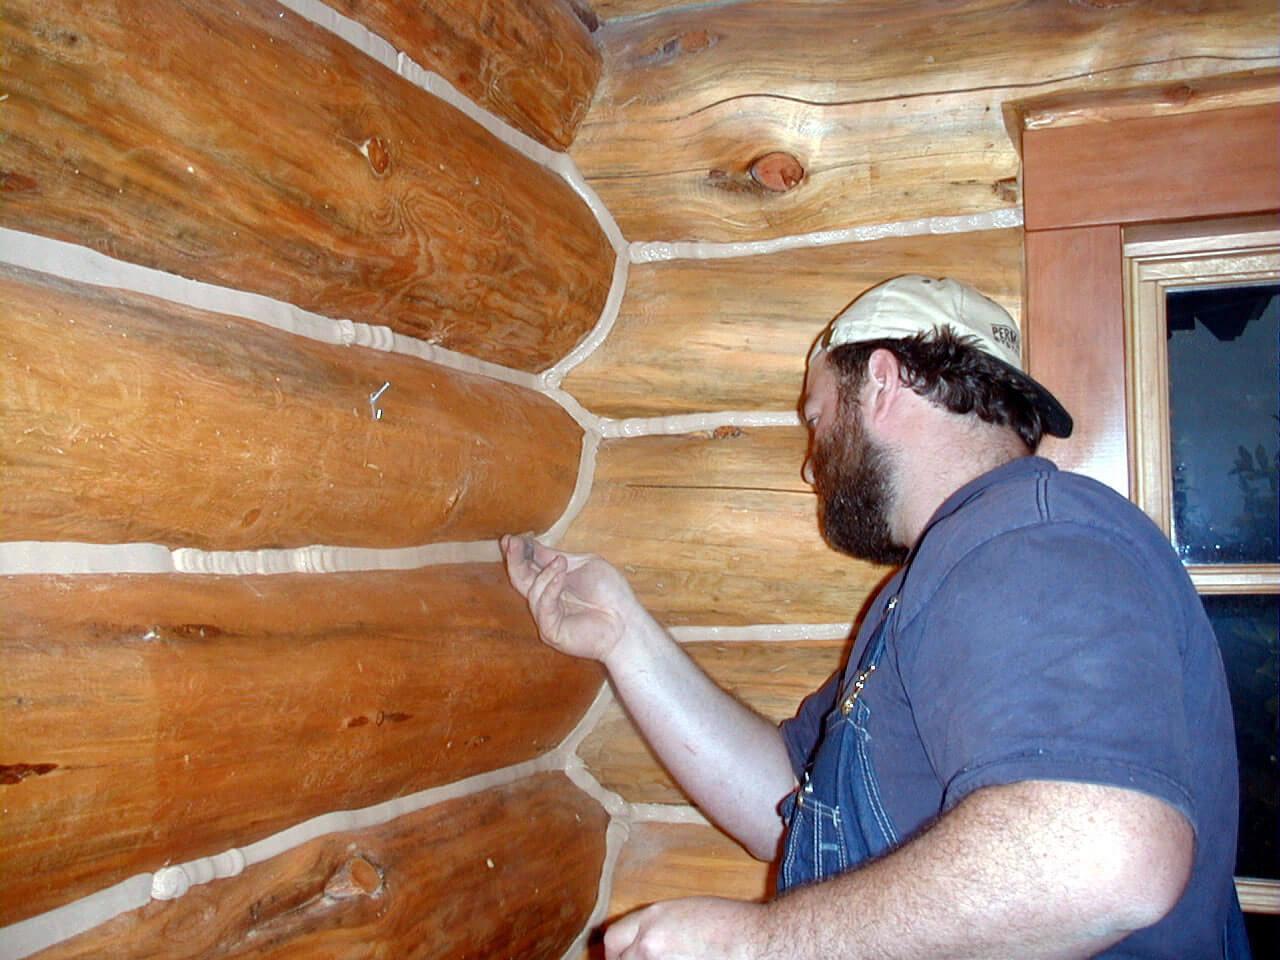
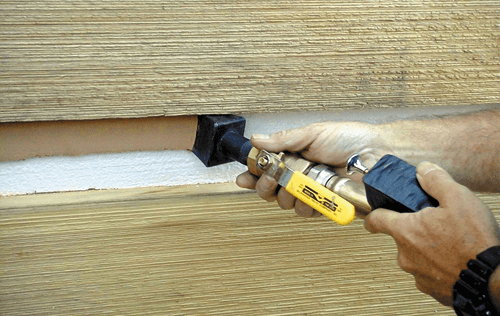
Tips On Applying Perma-Chink
Some people think that Perma-Chink sealant is just like any other caulking product on the market, so they apply and finish it with the same methods. Typically, silicone caulking can be smoothed just by running a damp finger along the bead of caulking. Using that method with Perma-Chink will give you less than desirable results. To get a smooth, clean finish with Perma-Chink, spray the sealant liberally with water then tool it with a metal spatula or similar. It may seem counter-intuitive to apply water to smooth it, but it’s the best method. Unlike smooth caulking, the texture in Perma-Chink (and Energy Seal) needs more water to maintain a smooth finish. And it’ll be much, much easier.

*Substrate conditions such as substrate outgassing, volatiles in the wood and backing materials can contribute to formation of blisters.
Want to learn how to apply log home chinking? Download our Sealants Application Guide here.
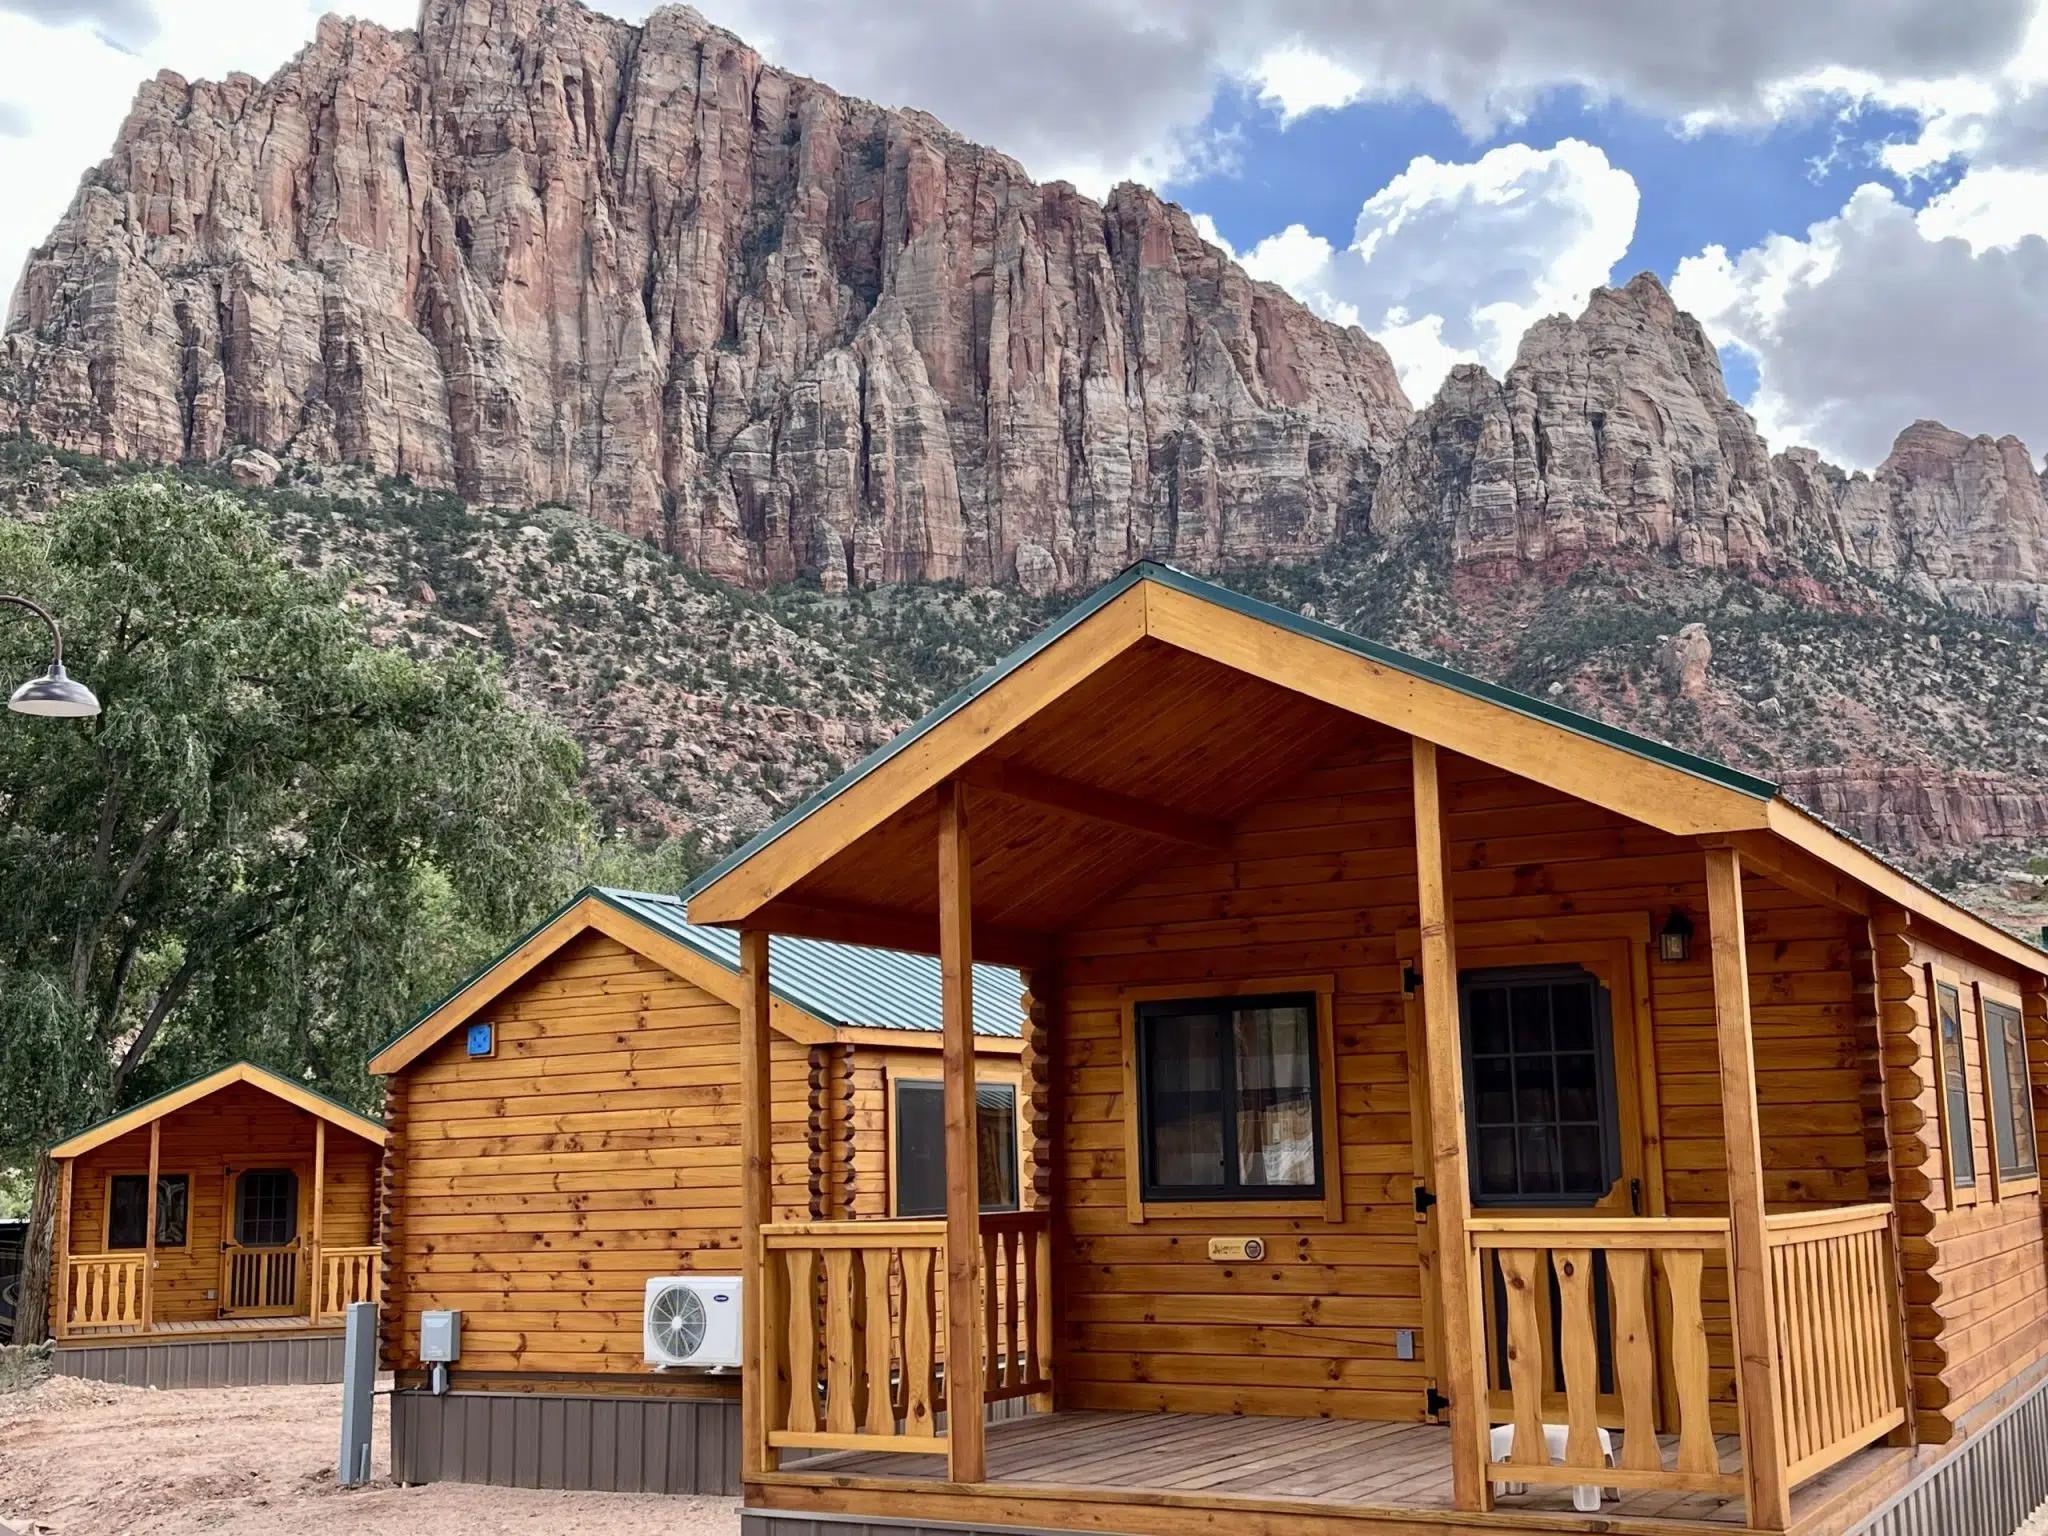
MOBILE LOG CABINS (or PLUG & PLAY TRADITIONAL LOG HOME)
By Dan Waring, British Log Cabins
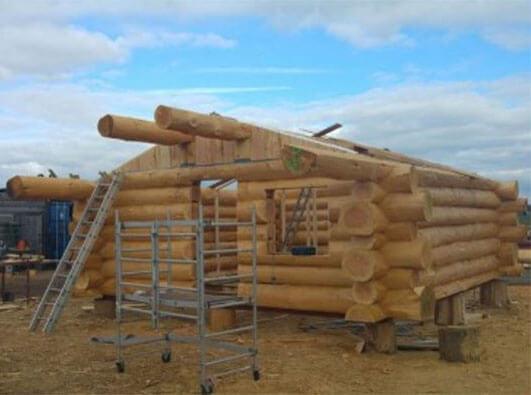
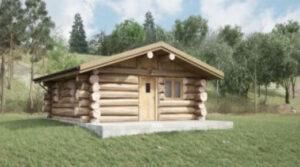
Mobile homes…Traditionally an ugly metal box, BLC have taken the parameters defining the mobile home and delivered a beautiful alternative LOG CABIN!
Developed in response to an increase in the popularity of ‘Log Cabin Holidays’ our Mobile Log Homes include everything. The entire building is prefabricated off site in our log building yard on a specially designed rolling chassis.
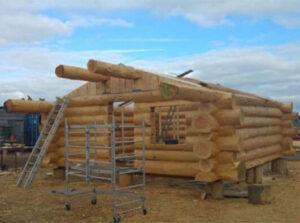
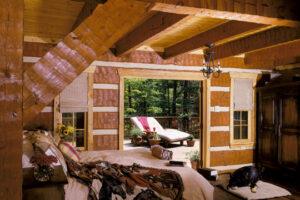
The building comes complete including a kitchenette, bathroom suite, LPG boiler, radiators, log burner and all internal finishes.

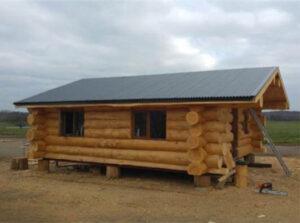
All that is required on site is a concrete slab and waste and water connections – they really are a plug and play, traditional log home!.

Log building as a construction method and art form has been around for centuries. It’s origins were in Eastern Europe and Scandinavia. As a trade it has a long established history. The often romanticized vision of a cozy, traditional log cabin in a holiday area is now a reality.
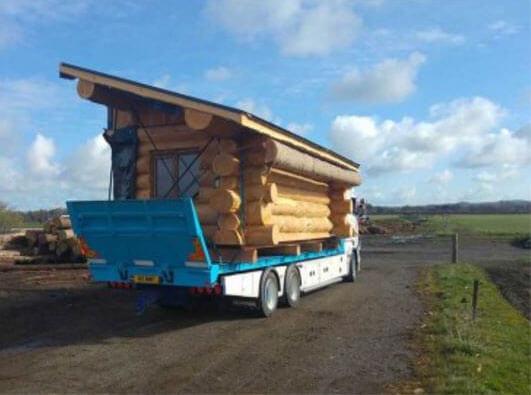
As a mobile home, The Nook is not only completed to a very high standard in both design and construction and very well insulated but it is also VAT free. The mobile home is delivered in two halves and re-joined on site. This reduces the impact of onsite construction works.
If you want a mobile home log cabin within your garden to be used as an extra room in addition to the main house then you will not need planning permission unless you live in a conservation area.
Mobile cabins are a great idea if you are thinking of starting or expanding a holiday business . The cabins are of high quality, and provide a wow factor that normal static caravans do not.
To find out more about The Nook, visit British Log Cabins website https://www.britishlogcabins.com/mobile-log-cabins
Homeowners almost always have a list of projects to complete around the house. If interior projects are on your list, don’t let winter slow your progress. The truth is, there are several indoor maintenance projects that are ideal for winter.
1. Freshen Wood Trim and Moldings, Doors and Window Frames, Cabinets, etc.
Freshening wood trims, cabinets, doors and window frames are perfect indoor maintenance projects for winter. Winter is the best time to stain inside because the air is drier than humid summer air and helps the finishes dry more quickly. You also can crack a few windows in winter to provide proper ventilation without worrying about bugs flying inside. Another reason to stain in winter is that you will get your inside projects done and have more time to do exterior projects when the weather improves. If you plan to hire a contractor, winter is a better time for interior jobs because they are slower in winter and usually offer off-season deals.
Keep in mind that you do things a little differently when staining interior trim than when staining walls. You’ll need to sand your trim, clean the dust, and then apply finish. You can apply color stain before you finish it with a clear topcoat, or just apply a clear primer Lifeline Prelude directly to wood. Then topcoat it with clear Acrylic Gloss or Satin, or PCS Clear Shield finish. If you would like to add more gloss to your wood trim, PCS Clear Shield is your best choice. Click here for application instructions.
2. Check for Air Leaks
Many indoor winter maintenance projects also help homeowners save money. In fact, one of the best money-saving maintenance tasks is checking for air leaks. According to HomeAdvisor, you can “stop energy-sucking, money-wasting air leaks by caulking, sealing and weather-stripping all of the seams, cracks, and openings in your home.”
There are a few DIY solutions for air leaks. According to the U.S. Department of Energy, reducing air leaks cuts heating and cooling costs, improves durability, increases comfort, and creates a healthier indoor environment for your family. A simple test for air leaks, hold a lit candle or incense stick next to potential sources of air leaks on a windy day. If the smoke blows horizontally, you have a leak to seal.
If your log home is too large for this task, please hire a professional log home contractor. You can find one in our Find a Contractor portal.
It’s especially important to check for air leaks if you have a log-style home since builders intentionally leave room for settling.
Sealing or caulking and weather-stripping are two common solutions. Seal and weather-strip doors and windows that leak air.
You also should caulk and seal air leaks where plumbing, ducting, or electrical wiring enters through walls, floors, ceilings, and soffits. Cover your kitchen exhaust fan when not using it, ensure your dryer vent is not blocked, and seal air leaks around your chimney, furnace, and gas-fired water heater vents.
Sealing the leak with Energy Seal or Perma-Chink prevents water penetration along with air infiltration. Next you have to decide if you want to attempt to correct the problems yourself or use a professional contractor. For log home owners, here’s where things can get a bit tricky. Most painters and contractors are familiar with sealing and caulking conventional homes, but log homes are different and it takes someone with log structure experience and expertise to do the job correctly. Plus, general purpose caulks and sealants found at local hardware stores and DIY outlets just don’t offer the performance that’s required for the unique needs associated with log homes.
If you need help finding someone in your area who has experience doing this type of work, give us a call and we will provide you with referrals 1-800-548-3554. You can also find a contractor near you by following this link Find a Contractor.
By Seth Murphy
papadiy.com
Home improvements can be expensive, but they can greatly increase your home’s value. When it comes time to decide which improvements to make, there are a few things to consider. Here are some tips on how to improve your home to increase its resale value.
Small improvements can be big!
Did you know that some home improvements only cost a few hundred dollars? Small but noticeable upgrades like repainting your entryway and adding a few nice flowers can really make a difference in how welcoming your home looks, a.k.a. “curb appeal.” Also, the most popular upgrades for dollars spent versus return in increased value are small kitchen and bathroom upgrades. You don’t need a whole redo of those rooms if the appliances are in good condition. Little touches like new lighting fixtures and backsplashes will greatly improve the look with small expenditures of time and money. Installing loose-fill fiberglass insulation in the attic gives the most return for your investment, and it’s not a large expense. Adding energy-efficient windows to replace older, drafty ones can improve both your current energy bills and your future resale value. So go ahead and see what small improvements you can make to have your house be more inviting to buyers.
Large-scale improvements can greatly increase value
If your home furnishings are older and in need of replacement, be sure to look for energy efficiency and universal design. The latter is a relatively new concept that incorporates ability-awareness features into home pieces so that the elderly or those with mobility concerns can use the furnishings easily. Think walk-in showers or lever-style handles rather than knobs. Such features make any room easier to use by all the people in your household, no matter what the condition of their hands or eyesight.
If you are looking at completely redoing your kitchen or bathroom or other rooms in the house, be sure to check around for reputable contractors and design ideas. The more you know going in and the more specific you are with your design plans, the more likely you’ll end up with a remodel that fits into your planned budget. Look online for ideas and local pricing information. For example, HomeAdvisor indicates that the average price to remodel a kitchen ranges from $15,428 to $38,607. Keep in mind that the labor and fixture expenses may vary greatly, as will the timeframe of the project. Comparison shop online to see what new kitchen appliances, bathroom fixtures, and flooring options cost to help you determine your price range for upgrading those or other rooms in your home.
Another consideration is the outside of your home. If you need a new stain job or new roof or siding for the exterior, that should be done before spending money on interior upgrades. Try to make repairs before upgrades. If something is not working normally or looking good, that will be a tip-off to potential buyers that your home has not been maintained well. So walk through and look at everything like you’re a stranger. What do you see that needs repair? What looks shabby, dirty, or just dark? Start with those areas.
So whether you’re looking at a few cosmetic improvements or major upgrades to your home, you can find all sorts of ideas and price points online to help you decide. Look at the upgrades that will quickly improve energy efficiency or functionality. This will help make your home more appealing to buyers. That, in itself, is worth the money.
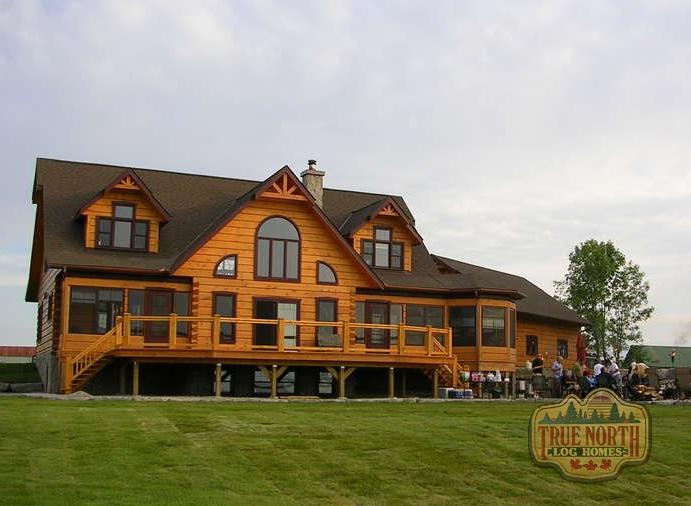
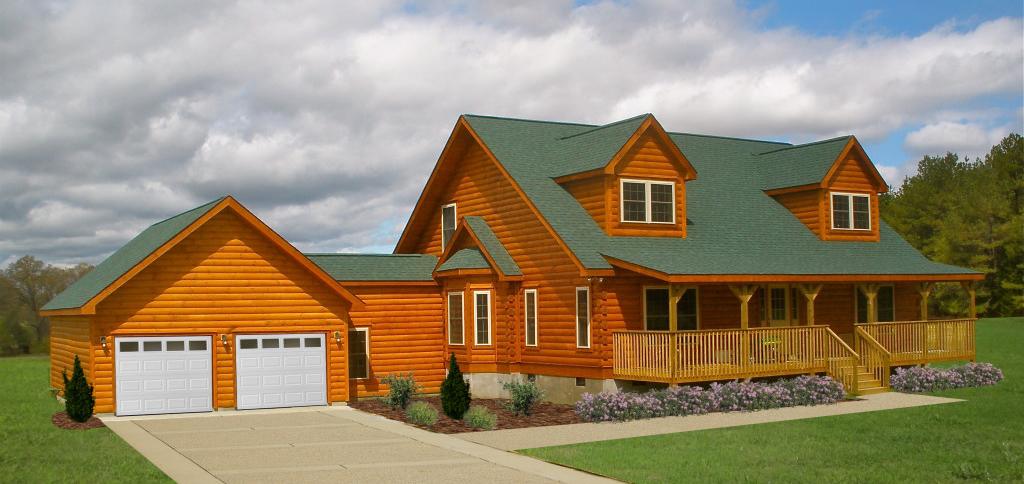
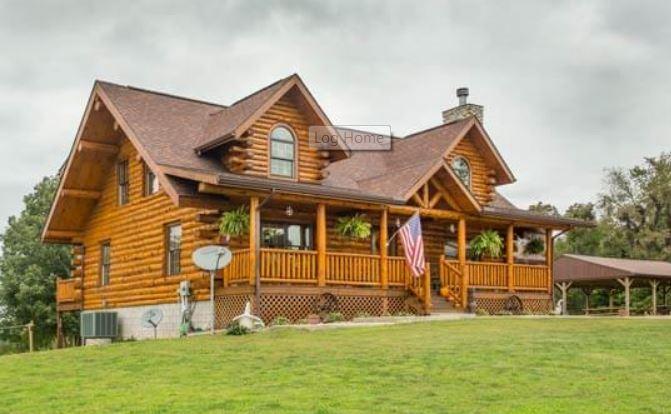
July is National Log Home Month. During the month of July, log home manufacturers will honor America’s log home heritage by hosting home tours, log raising demonstrations, log home building seminars and more. There are many different sizes and styles of log home construction to suit any homeowner’s vision.
Here we present the TOP Log Home Manufacturers in the USA and invite you to visit their websites and see what they have to offer. Each manufacturer is outstanding in quality of craftsmanship, and this is not a ranked list.


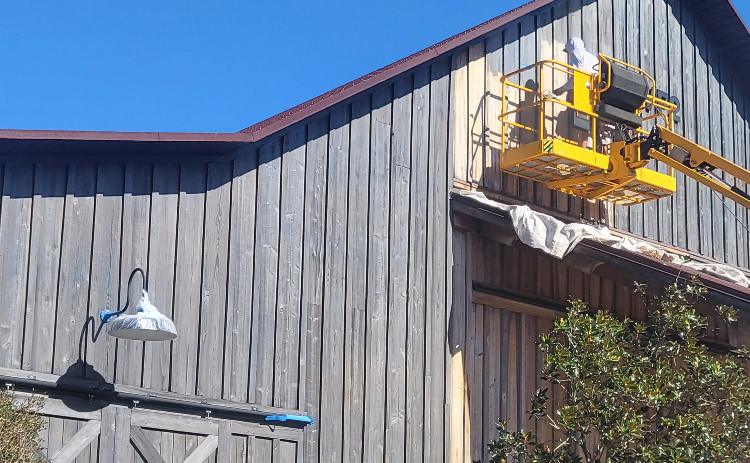
Are American Barns disappearing? Not so fast…
There are thousands of iconic barns throughout America, from different periods in our history. These historic barns were once an integral part of American life.
The traditional design and use of the “barn” has evolved tremendously over the years. We have moved from large, open structures based around cattle stalls and hay storage to huge multi-purpose barn palaces.
A bit of the history
The word barn comes from the Old English language, for barley (or grain in general). The first barns were not American by design but were European-style longhouses that included stables and sleeping quarters. Brought to America along with the first settlers, the oldest barns were constructed in the classic “English barn” style.
As with any structure built for functionality, designs do not follow one pattern for long. English barns were further adapted into larger, timber-framed structures, which became known as the Yankee barn. One of the most fascinating aspects of barn construction is the common use of simple farmstead creativity. The earliest barns were built with timbers hand-hewn to shape, with the rough chopping marks of an axe. Slightly older timbers might be hand-cut with huge two-person saws, while newer barns have the clean-cut lines of sawmill machinery. More history here https://www.almanac.com/extra/evolution-american-barn
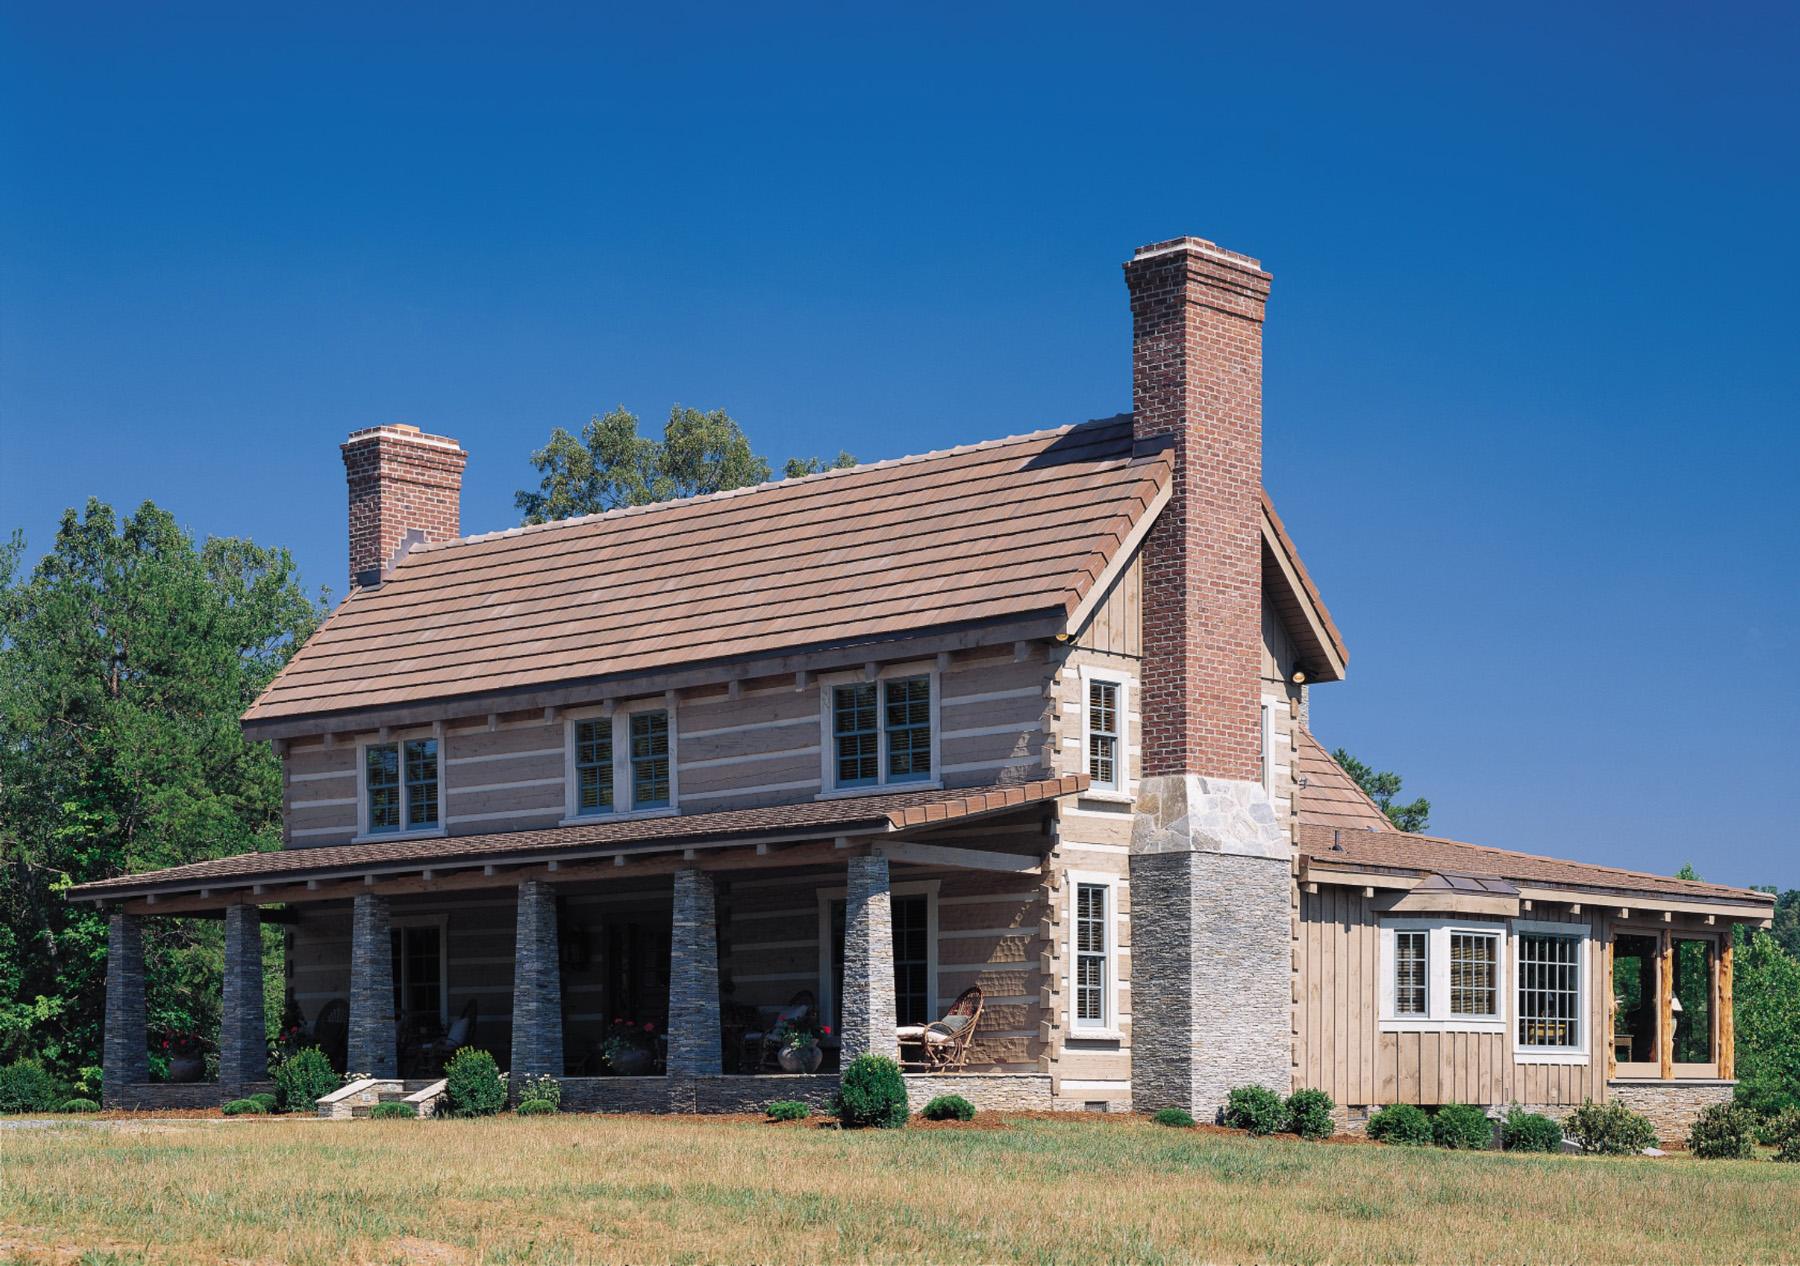
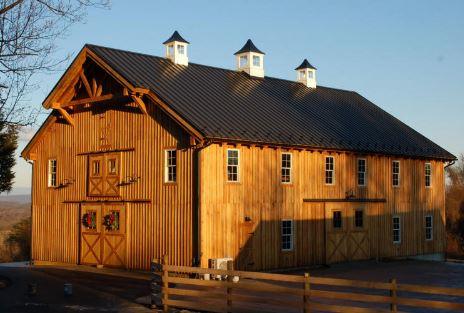
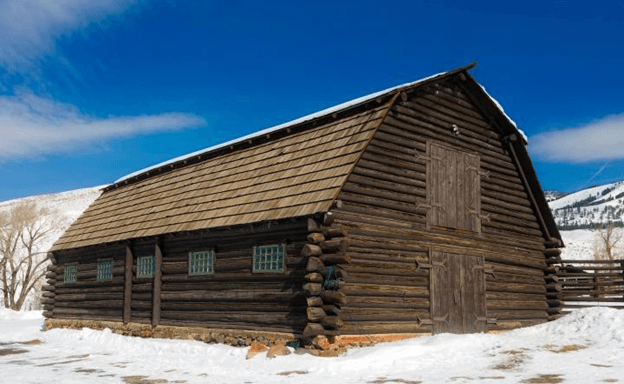
Traditional style barns pay homage to a great American tradition. For those seeking a multi-function barn made of traditional materials, these structures are hard to surpass. In keeping with the look and feel of the turn of the century, Hearthstone developed a process for giving the timbers a surface texture that mimicked the circular cuts of timbers that had just come out of an old sawmill.
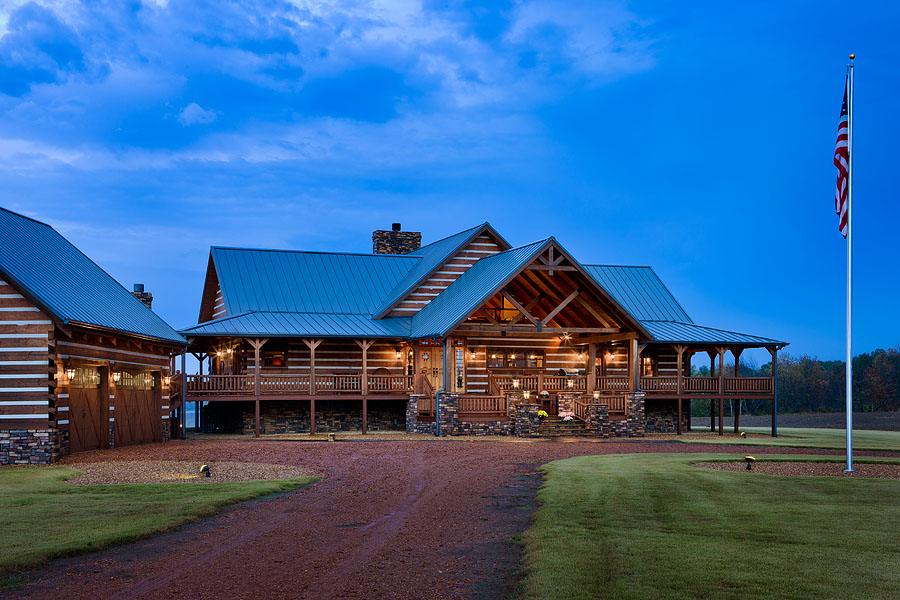
A HEARTHSTONE HEAVY TIMBER BARN IS THE ULTIMATE OUTBUILDING
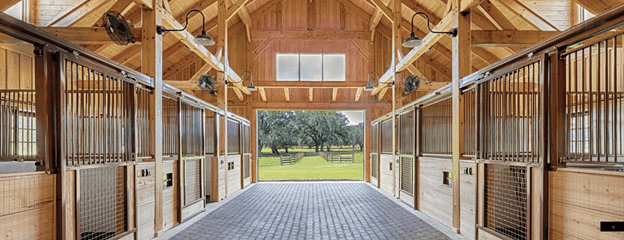
With the popularity of open-air structures for commercial properties, equestrian, restaurants (especially during pandemic), the Timber Frame Barn’s massive beams create breathtaking effects of open spaces and craftsmanship style rarely seen today. The large sliding doors open to cobble stone floors and the authentic smell of white pine creates an environment of harmonious interaction with nature.
Horse Barn
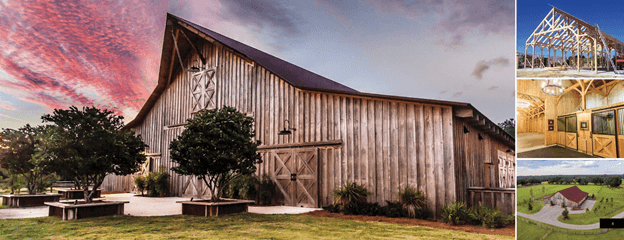
This beautiful, yet functional, barn was designed to house horses and the occasional social gathering. Because the customer was in the process of restoring a farmstead from early in the 20th Century, the technique & style reflects that period & geography. The naturally weathered Cypress board & batten gives the barn the perfect rustic finish.
Barn Homes
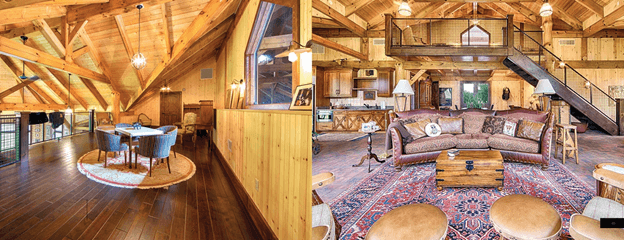
One of the most popular innovations is the “barn home” due to the open, airy floor plans and massive posts and beams. These homes convey the aesthetics of a traditional barn combined with an exciting modern design.
Check out their collection of Wedding Barns, Cottage Barns, Event Barns, Guest Barns and more here: HTTPS://HEARTHSTONEHOMES.COM/BARNS.HTML
All of Hearthstone barns are custom designed and made.
Discover the revolutionary products that have transformed log home maintenance! Visit Perma-Chink Systems today to find everything you need to protect and beautify your log home.
Safeguard Your Log Home:
Top Annual Maintenance Tasks to Prioritize
Owning a log home comes with a unique set of responsibilities, particularly when it comes to maintenance. To keep your log home in top condition, regular annual upkeep is essential. From inspecting the exterior for signs of wear to ensuring your home is well-sealed against the elements, these tasks not only preserve the beauty of your log home but also protect your investment. In this article, we’ll explore the key annual maintenance tips every log homeowner should follow to ensure their home remains a rustic haven for years to come.
Vigilant Plumbing Oversight
Regular plumbing checks are critical in preventing minor issues from escalating into costly disasters. Inspect your pipes periodically for any signs of leaks or corrosion, and make sure water pressure is at an optimal level. Addressing these problems early can save you a significant amount in future repairs. This proactive approach not only ensures the longevity of your plumbing systems but also maintains the overall health of your log home.
Effective Caulking Is a Must
To keep the harsh elements at bay, inspect and reseal your log home’s windows, doors, and other exterior openings. Effective caulking prevents drafts and water intrusion, which are common in log homes, thereby conserving energy and reducing your heating bills. This task not only enhances comfort but also protects against structural damage caused by moisture. Annual reviews and touch-ups can ensure your home remains sealed against the elements year-round.
Invest in a Home Warranty
Investing in a home warranty can shield you from the financial burden of unforeseen appliance and system breakdowns. Consider a service agreement that encompasses your log home’s climate control system to ensure it remains functional throughout the seasons. Select a policy that allows for straightforward claims processing without the need for documented maintenance histories. This type of coverage proves invaluable, particularly in log homes where system malfunctions can significantly impact your living conditions.
Persistent Pest Patrol
Pest control is essential, as insects and rodents can compromise the structural integrity of your log home. Regularly inspect for signs of infestation, including termites and other wood-loving pests. Early detection and professional extermination can prevent extensive damage, preserving your home’s foundation and aesthetic value. Consider scheduling bi-annual inspections with a pest control professional to ensure your home stays pest-free.
Gutter Maintenance is Key
Maintain clean gutters and downspouts to prevent water buildup that can damage your roof and foundation. Cleaning these areas twice a year, particularly after heavy seasons of fall and spring, prevents water damage and protects the landscaping and exterior of your log home from erosion and other water-related issues. Employing professional cleaning services can enhance this task’s effectiveness, especially in dense, wooded areas.
Roof Resilience
Regular roof inspections help identify and rectify problems with shingles that are missing, damaged, or loose. Repairing these issues promptly prevents leaks and extensive water damage, which can be especially problematic in log homes. This maintenance task is crucial for protecting both the interior and exterior of your home from weather-related damage. Engage a roofing specialist annually to assess and address any potential vulnerabilities in your roof’s structure.
Digital Document Management
To help manage your annual tasks, transitioning your home maintenance records to a digital format enhances their accessibility and preservation. Use a PDF converter to maintain the integrity of your documents, ensuring they look the same across various platforms and devices. This method mitigates risks related to compatibility and accessibility issues. By employing online tools that support drag-and-drop functionality for converting files, you streamline the organization and security of your log home’s historical data.
Maintaining a log home is an ongoing commitment that pays dividends in comfort, safety, and value retention. Through diligent upkeep and strategic improvements, you not only preserve the character of your home but also enhance its functionality. Emphasize preventive measures and professional assessments to avoid costly repairs, and remember that a well-maintained log home is a lasting treasure in the landscape of your life.
Perma-Chink Systems newest finish option, Log & Timber Defense™, has been quite the success for customers looking for a hybrid finish for their log homes. Unlike our traditional Lifeline film-forming wood finishes, Log & Timber Defense penetrates your wood. As it absorbs into the wood surface, it forms a strong lattice network within the wood, reinforcing and strengthening the entire system from the inside out. Due to its elastomeric nature and penetration, it greatly reduces the chances of peeling and flaking by leaving the system breathable to water vapor. Many penetrating oil-based finishes can also form a lattice-like network, but unfortunately these finishes contain harmful flammable solvents that make working with them both dangerous for you and our environment. In contrast, our Log & Timber Defense is water-based, making it both easier and safer to work with.
Log and Timber Defense is designed to be applied to bare wood in one or two coats. However, if applied to wood that already has an existing coating, this can interfere with adhesion and could lead to premature failure of the finish. For best results we recommend application of Log & Timber Defense to bare wood that has been cleaned with Wood Renew™.
For all our Lifeline™ wood finishes, we recommend application of a topcoat. However, not so with Log & Timber Defense. The reason for advising against this is because when a maintenance coat is needed in the future, there will be difficulty with penetration into the wood since the topcoat forms a barrier to penetration, leaving a film on surface. Additionally, this could lead to undesirable surface defects, as well as an uneven appearance.
Texture is another property that distinguishes Log and Timber Defense from our Lifeline Stains. Due to its penetrating nature, Log and Timber Defense leaves the surface with a more natural, rustic beauty. In general, it will appear flatter than our Lifeline finishes. However, if slightly more gloss is desired, a second coat of Log & Timber Defense may be applied. The second coat will also increase color intensity and provide an increased level of overall protection for the system.
Finally, Log and Timber Defense is formulated with ingredients that inhibit the growth of mold and mildew. Log and Timber Defense is both a stain and sealant in one package. It helps to keep liquid water out, which reduces biological growth that can attack and destroy your wood. In contrast, traditional natural oils – such as Linseed Oil – can easily promote growth of mold and mildew. Log & Timber Defense is waterborne, low in odor, has easy soap and water cleanup, and is non-flammable. Log & Timber Defense offers unique properties designed to give your home the very best protection possible. For more information about Log & Timber Defense or our other finishes, please visit Log and Timber Defense stain


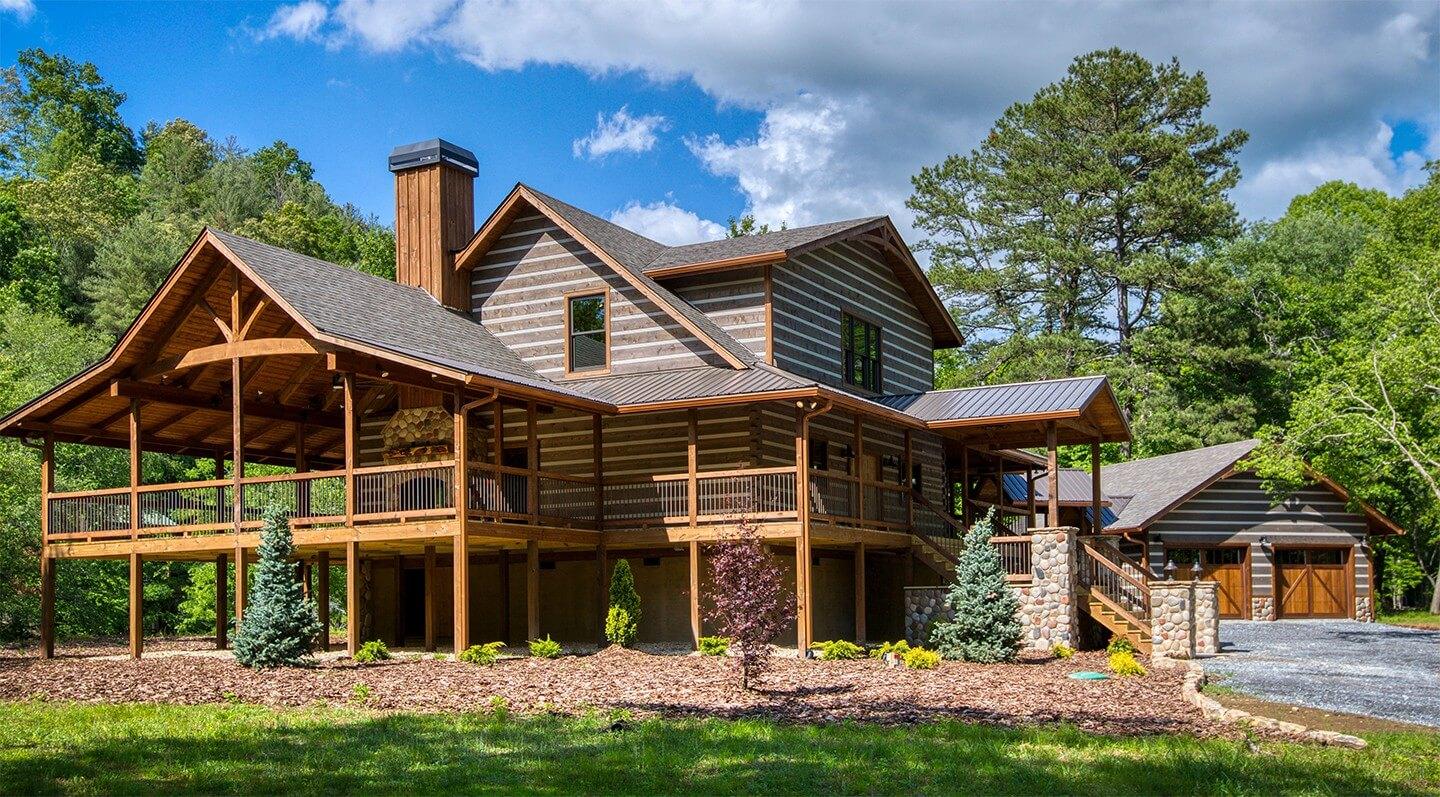
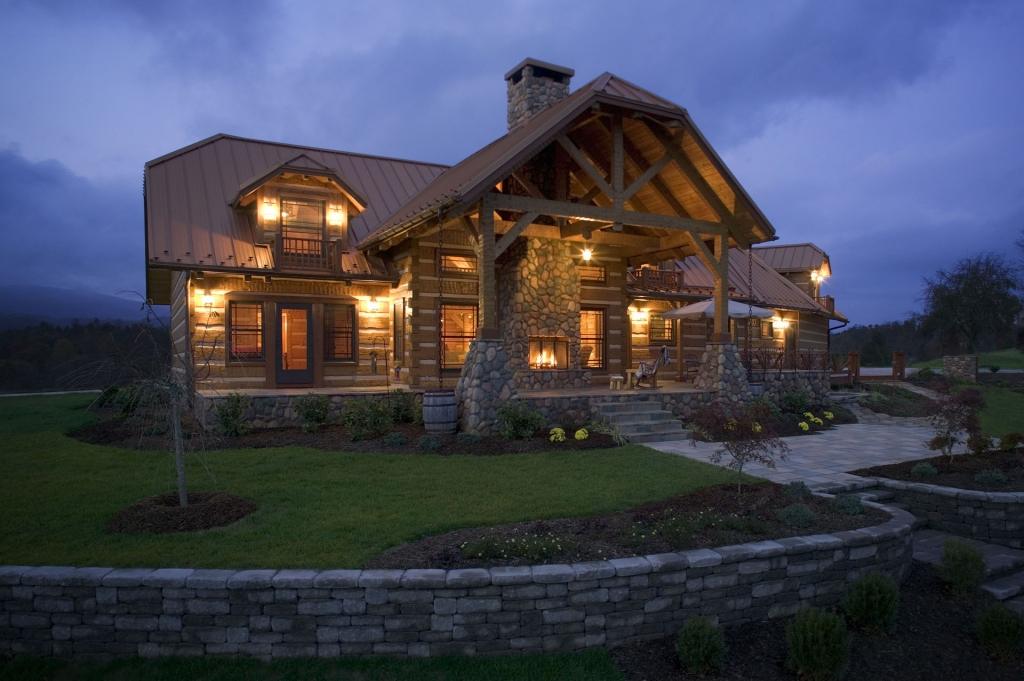
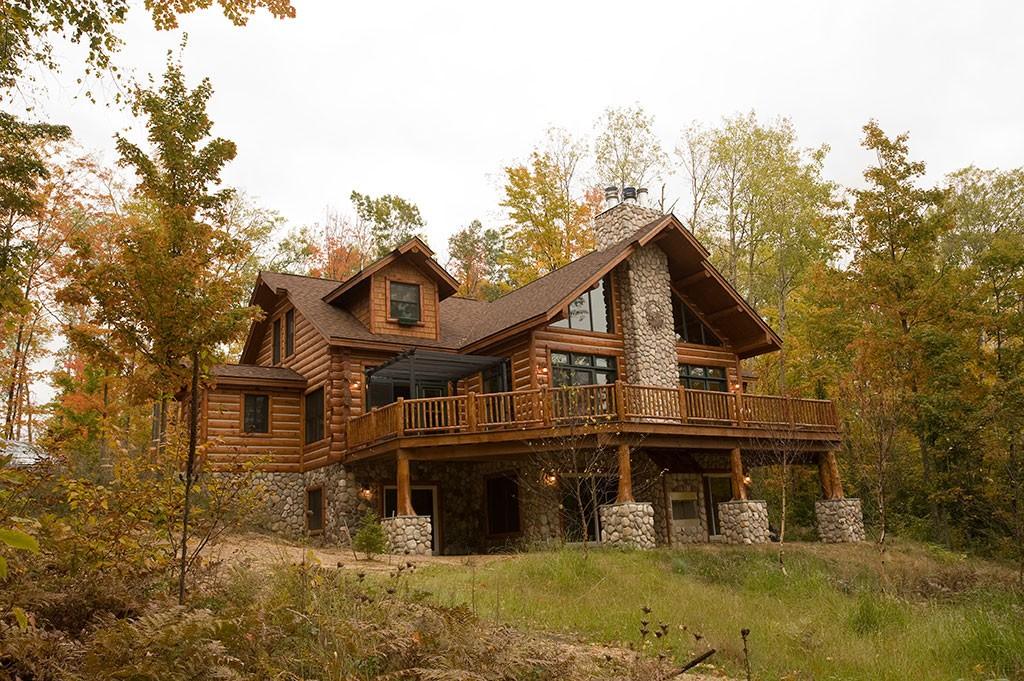
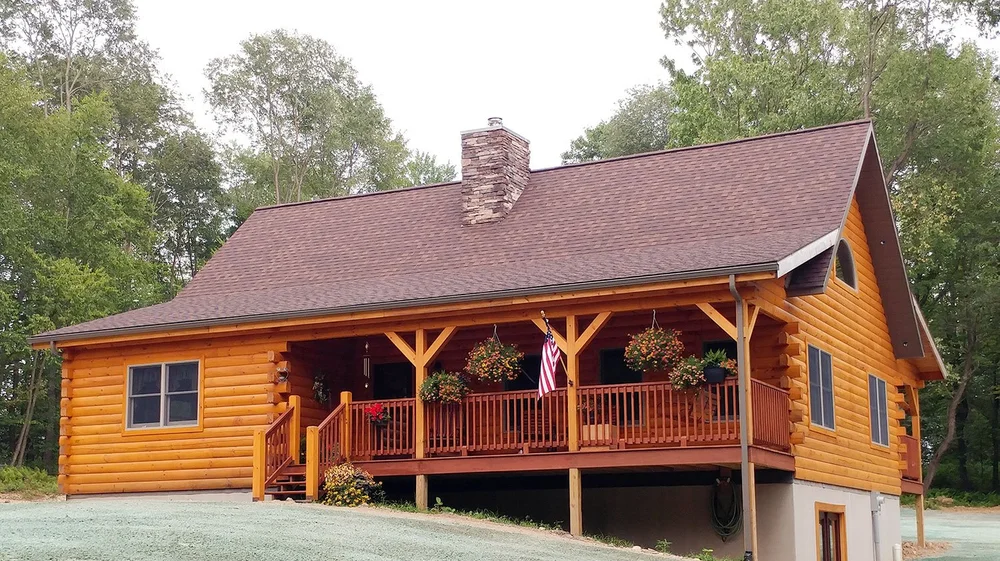
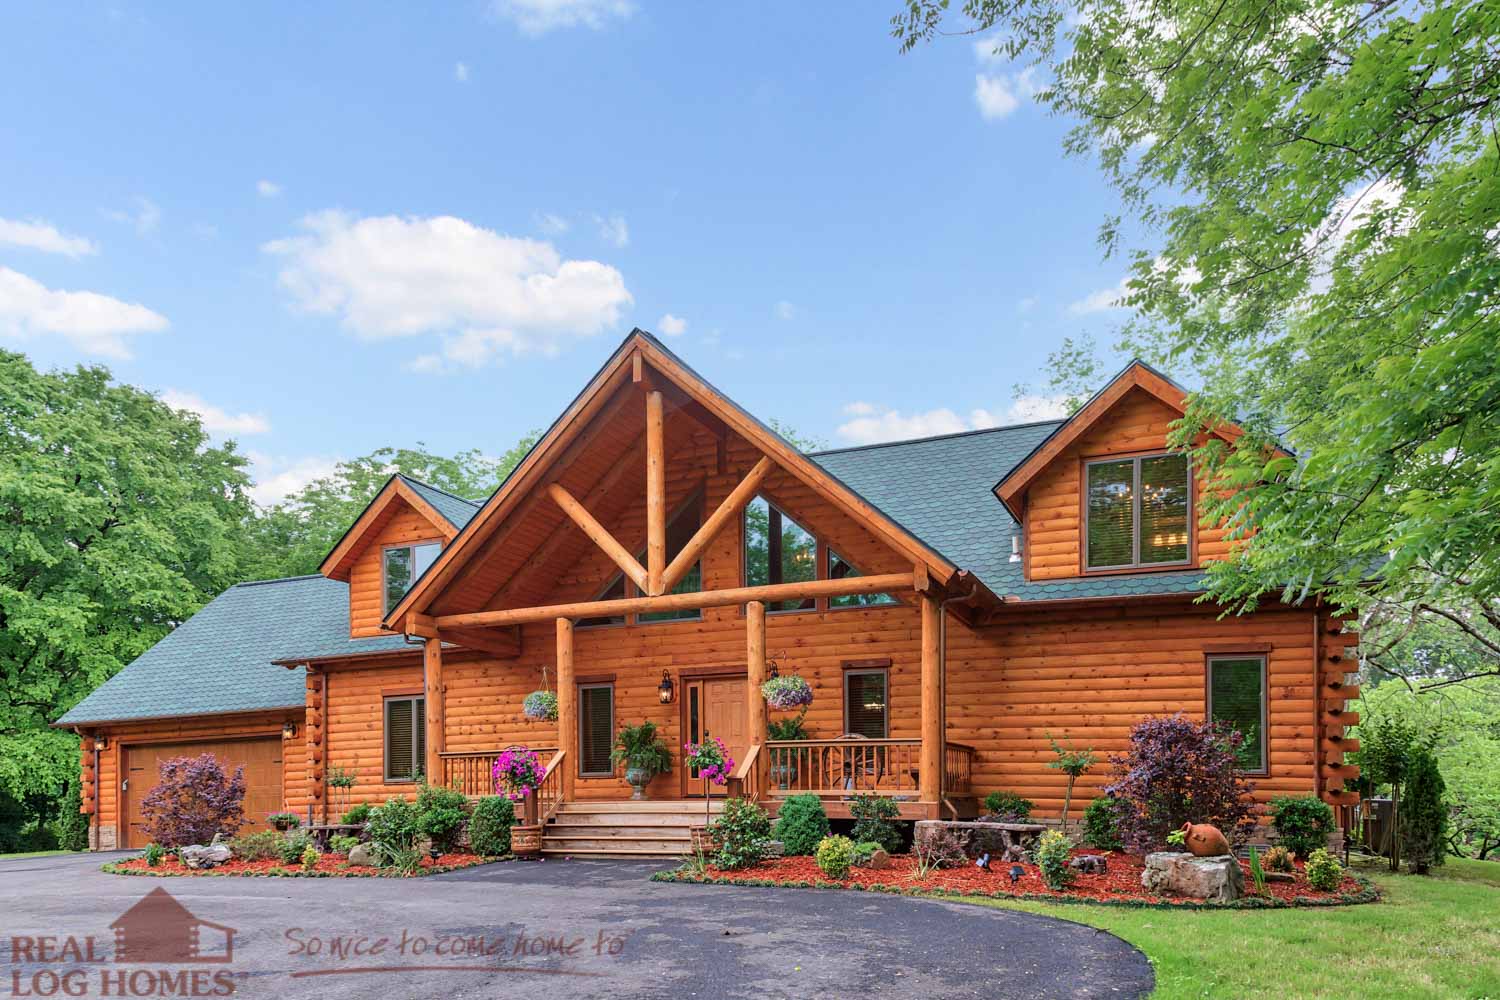
The Beginning of A Dream
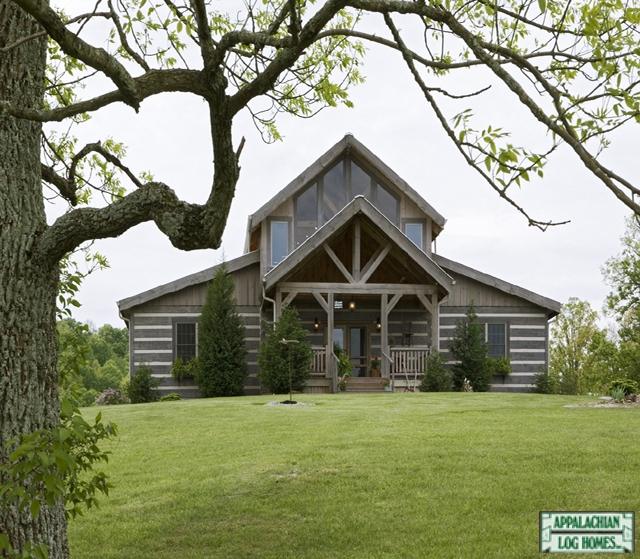
Judy MacKnight retired as a school teacher and was pursuing an active interest in hiking and backpacking when she discovered the timeless link to our past represented by the Appalachian style log structures located in Cade’s Cove of the Tennessee Smoky Mountains National Park. Later her adventures would take her to the western United States where she observed that log homes and the people who lived in them was representative of the enduring American values of independence and self-sufficiency. Those qualities struck a resolute tone and she began to dream of living in a log home.
Stuart Baurichter left a pre-med career path to spend 30 years working as a self-employed home remodeler and met Judy over a shared interest in motorcycles. It soon became evident that her passion for log homes coupled with Stu’s experience in the various trades were a perfect fit and they began planning to build on 11.5 quiet country acres, east of Cincinnati, Ohio.
Planning the Dream
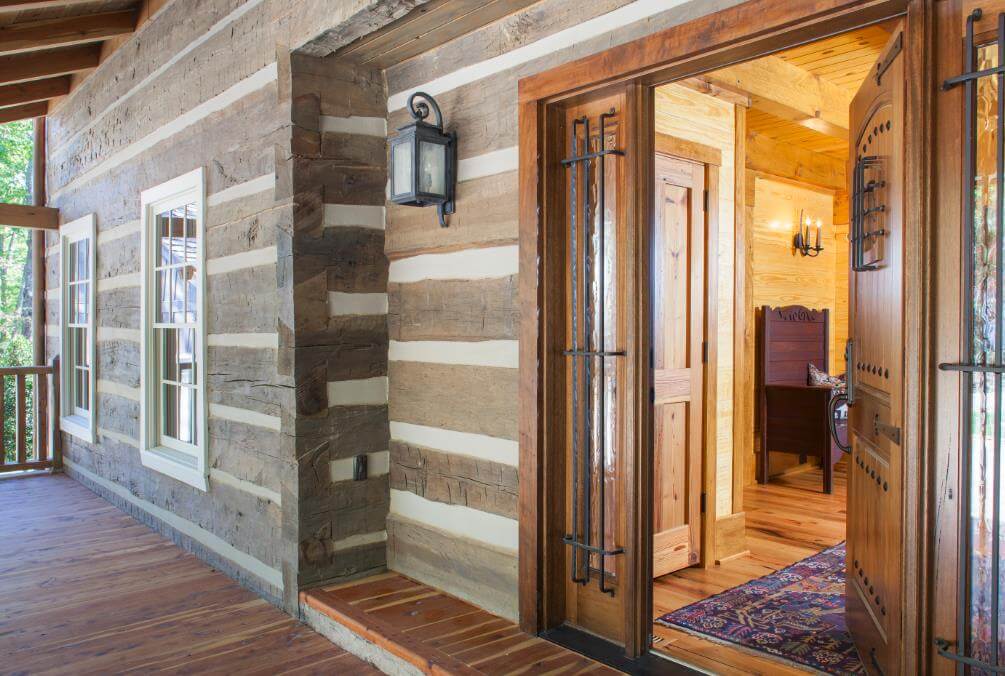
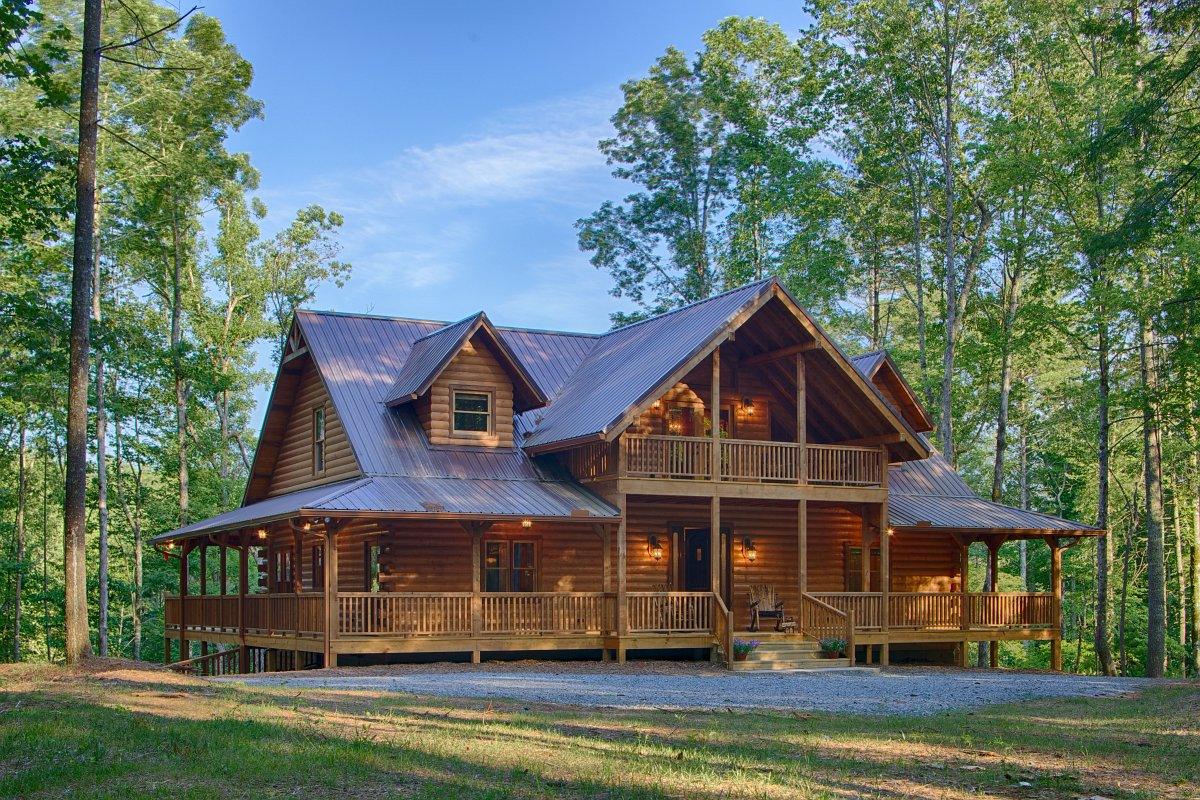
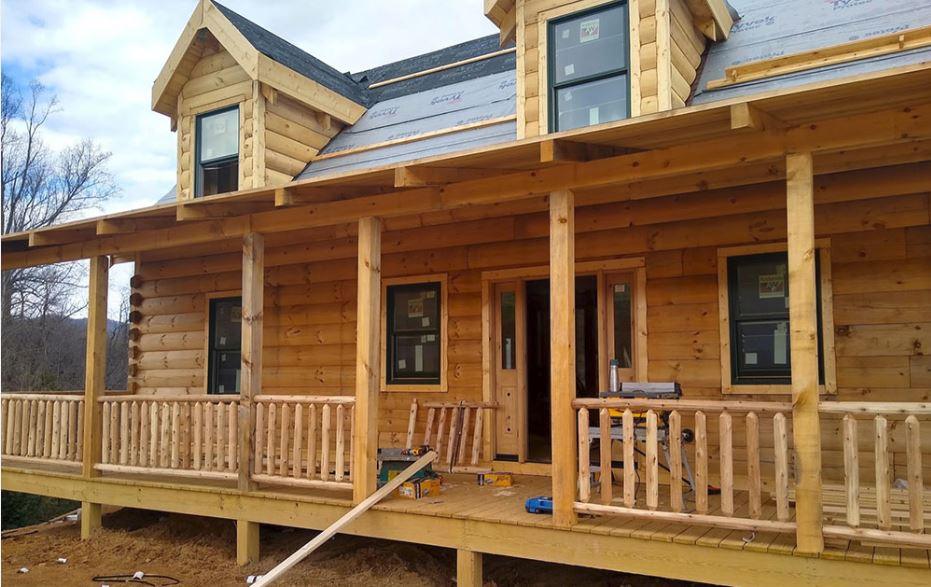
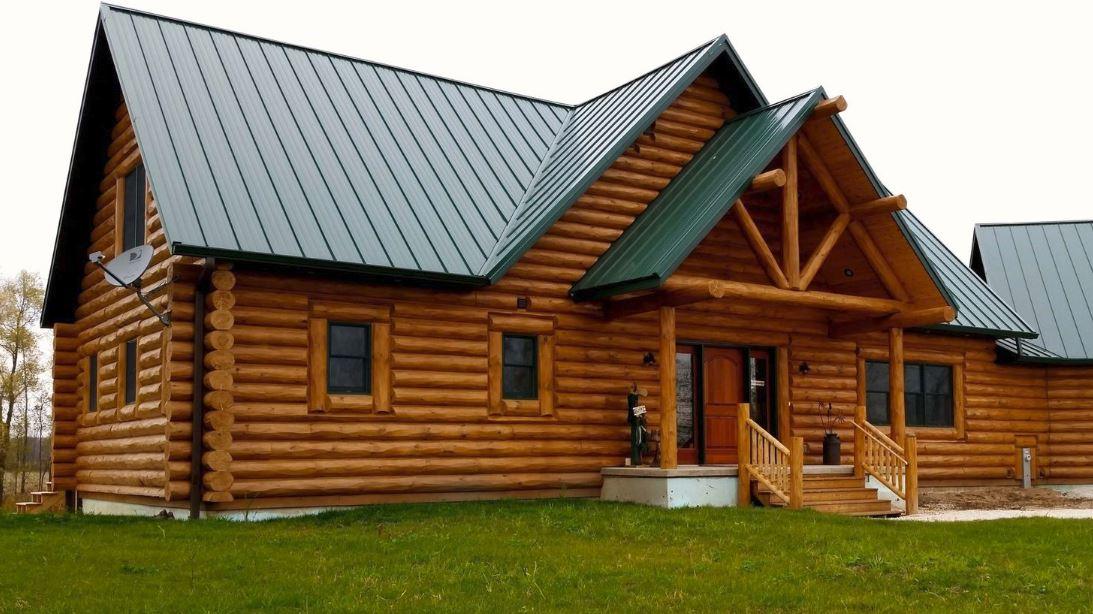
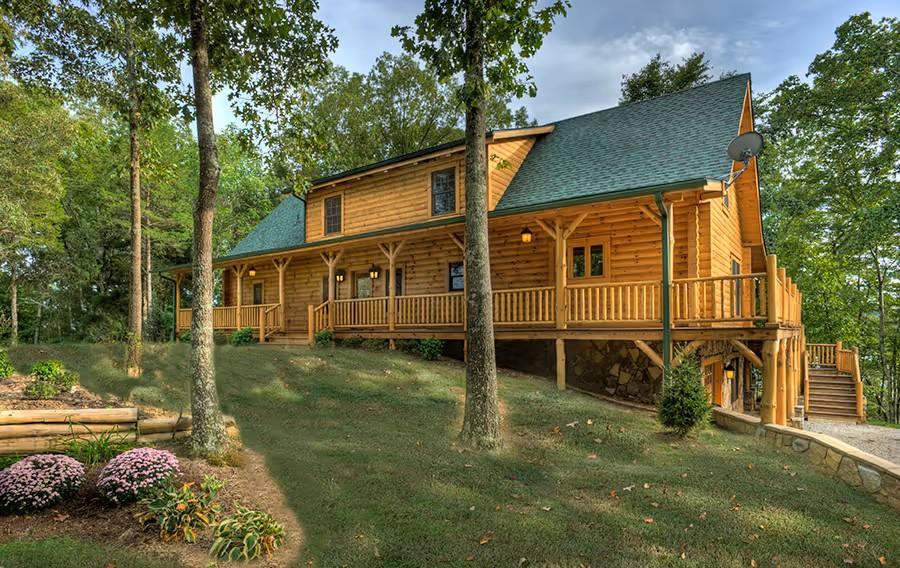
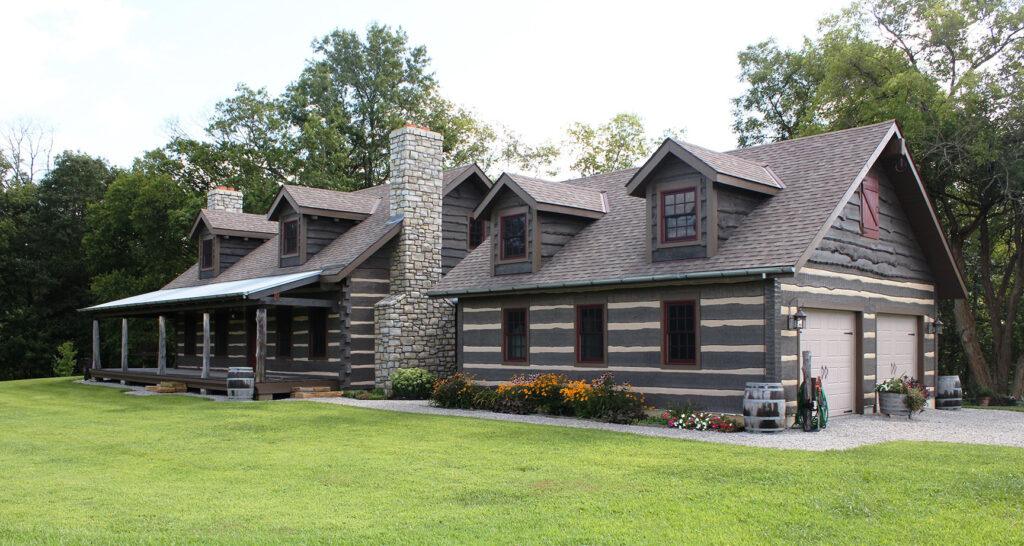
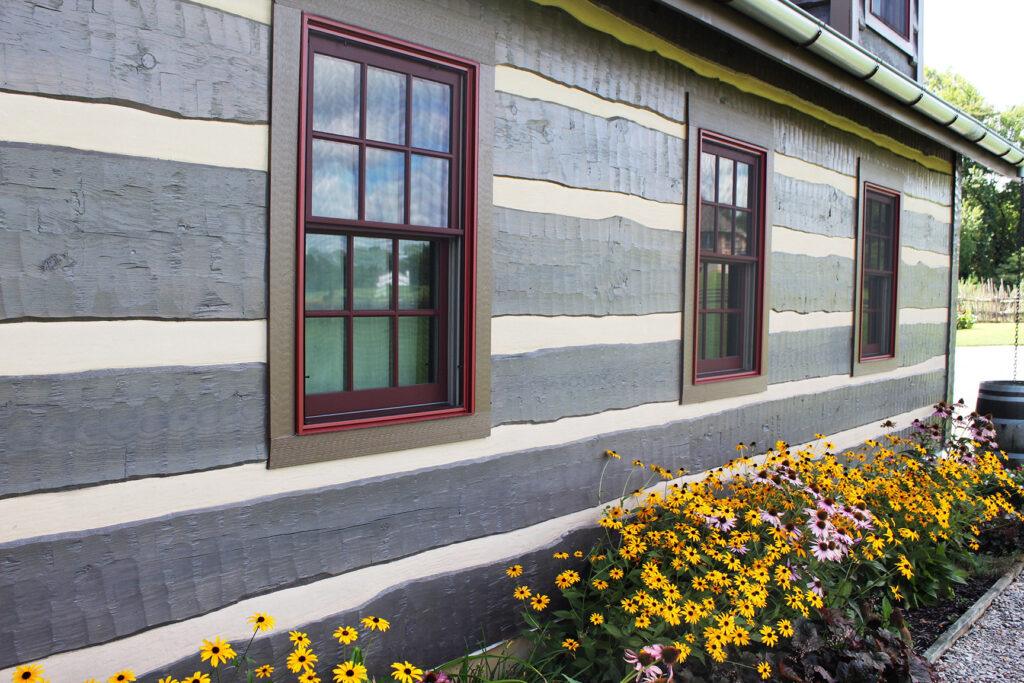
Judy and Stu extensively researched log home manufacturers and settled on a Hearthstone log home. Hearthstone Homes company describes: “Judy worked with our local Distributor to modify a standard Greenbriar floor plan that has a connector and garage, resulting in 1920 square feet of heated space plus an unfinished basement. A wrap-around porch was added with Eastern Red Cedar tree trunks used for porch posts. To get that 200-year-old “look”, the logs selected were our Timberlake profile, 6″ thick x 14″ to 22″ wide and tapered, with dovetail corners and chinking. Wavy-edged White Pine siding was used on the dormers and gable ends to complement the log style. The home delivered in the spring of 2009 and Hearthstone’s package included our log installation and dry-in service.”
Stu adds, “Hearthstone was very responsive and supportive during the building process. The shell was erected by a 4 man crew in 10 days. What impressed me most was their service after the sale.” Judy and Stu spent a total of 18 months working 7 days a week, most days 7am to 8pm, to complete their homestead. During this time they took off only two days “…for a wedding and a funeral.”
Becoming Independent and Resourceful
Reminiscent of those values of independence and self-sufficiency, Judy and Stu remained determined to reuse, repurpose and adapt materials in the building of their log home and an Amish milled post-and-beam barn, fashioned primarily of recycled and repurposed materials. Windows were purchased from a local used building material store for $5 per pane, and nearly all the doors (23 in total) were reclaimed from one old log home they dismantled. Wood flooring was pulled up, the nails ground off, and reinstalled in their new home. Interior partition walls were finished with reclaimed weathered cedar fencing, installed over black painted plywood backing so that the walls remain finished looking regardless of the seasonal movement of individual boards.
Stu reports, “Auction websites were a real help. A bathtub, still in the box, had been returned due to a sizing issue. In a log home you simply design around what you find.” Judy’s artistic side is evident throughout the home: kitchen appliances remain fully functional while carefully hidden from sight and bathroom sinks are fashioned from repurposed jelly cooking pots. Even the light switch and outlet covers reflect the owners’ resourcefulness: industrial steel plates were ordered directly from the manufacturer, treated to a solution of muriatic acid, and the resultant patina fits wonderfully into the home’s interior.
Choosing the Right Materials & Right People
Judy chinked the entire home herself, both inside and out, and speaks favorably of her interaction with Perma-Chink. “We attended the Perma-Chink workshop and learned so much that we returned for a second session. This training coupled with the advice and encouragement of Bill and Kevin Huff, our Perma-Chink Distributors at Log Home Center and Supply, gave us the ability to tackle the chinking project with confidence. There was always someone to help anytime we had any questions.” Judy and Stu also selected Perma-Chink stains and finishes to be used throughout the interior and exterior of the home.
Wayne Bell of Log Home Care, an Ohio based log home refinishing, repair and restoration company reports that the finish is performing exactly as expected. “With minimal upkeep, which consists of regular cleaning with Perma-Chink Log Wash, this finish is easily maintained. As a preventative measure we’ve touched up the stain and topcoat in a few surfaces subjected to heavy weathering or UV radiation but overall this finish is as attractive and functional as the day it was initially applied.”
What’s next for Judy and Stu? They are currently finishing their 1200 sq. ft. basement and consistent with their philosophy, much of the building materials are repurposed. The home showcases Judy’s collection of handcrafted baskets and serves as a gathering point for frequent bluegrass music gatherings.
Judy and Stu both agree that the process of building their own home has been fun, yet they warn that serving as General Contractor (as Stu did at a savings of $40,000) is not for the faint of heart. Nevertheless, they enthusiastically say they would do it all again.
Resources
Hearthstone Homes
800-247-4442
https://www.hearthstonehomes.com
Bill and Kevin Huff
Log Home Center and Supply
(800) 773-6223
Wayne Bell
Log Home Care
(800) 932-1275
Do you wonder about how to seal those drafts in your home? Or how to stop some bugs from continually getting inside?
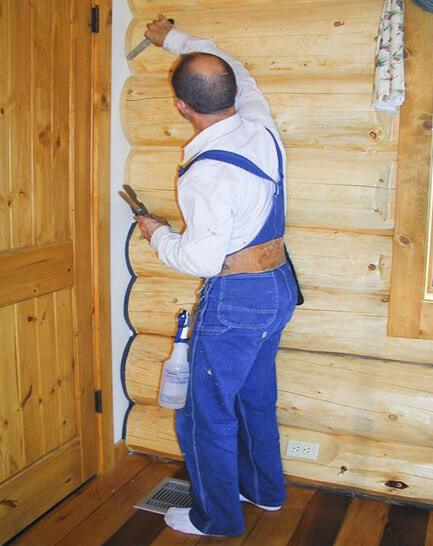
It very well could be a break in the interior seal of your home. Perma-Chink Systems’ sealants are not exclusively for exterior work, and you can benefit from properly sealing the interior of your log or timber home. Fully sealing the interior of your home with Perma-Chink will also prevent energy waste from escaping heat in the winter and cool air in the summer.
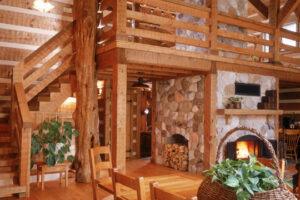
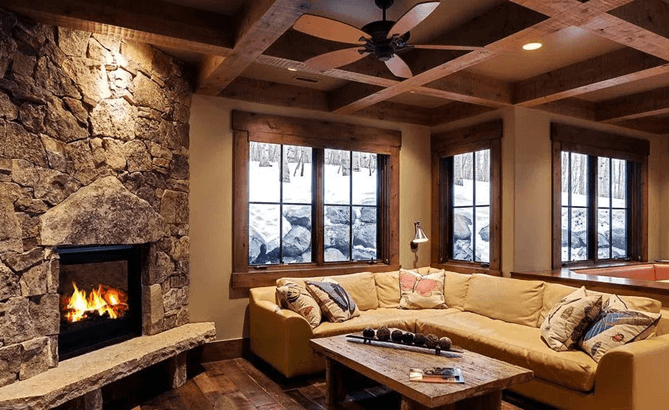
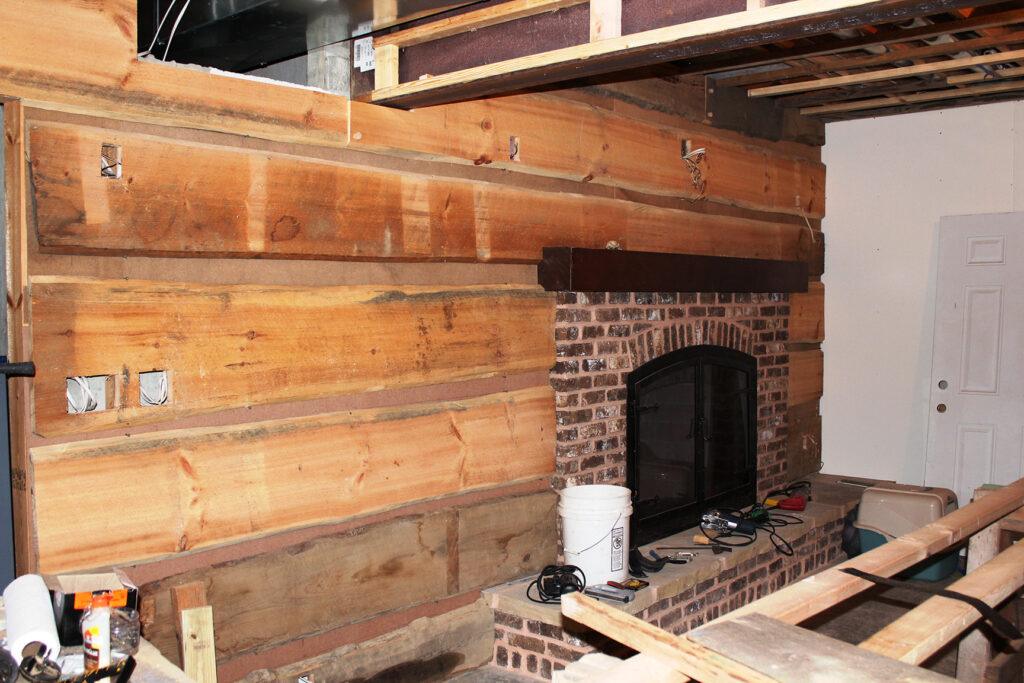
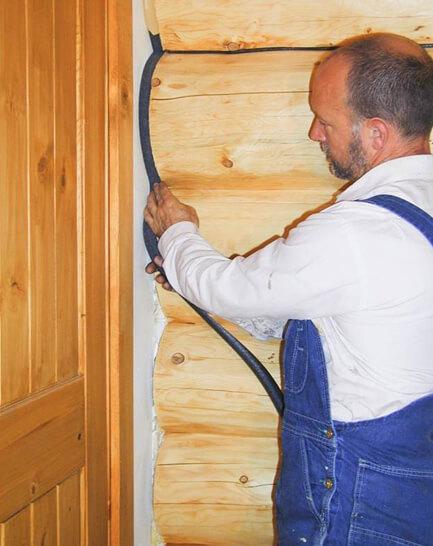
Gaps exist not only between your home’s logs, but also around framed walls and many other home features. Features like chimneys and fireplaces, stairs, doors, and windows are all trouble spots for areas of intrusion and gaps to develop. For these gaps, we recommend backer rod and Perma-Chink for it’s texture and available color options. It’s easy to apply with simple tools. With a tube of Perma-Chink, a small metal spatula, and a spray bottle, it’s very easy for a homeowner to get professional-looking results sealing your home interior.

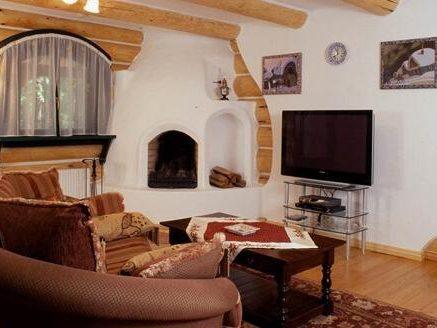
Chimneys and fireplaces can be overlooked as a cause for drafts. As homes settle and logs shift with the seasons and time, masonry work can separate from logs, opening up gaps. Utilizing Perma-Chink and backer rod, these gaps can be resealed and look natural with the right color. Interior masory has the distinction of being a focal point in many large homes, so keeping gaps closed helps keep the aesthetic beauty of your home intact, and also eliminates hiding spaces for bugs.
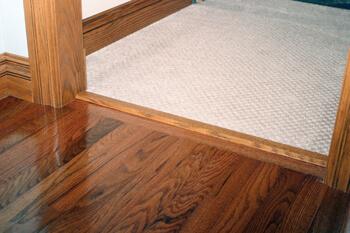
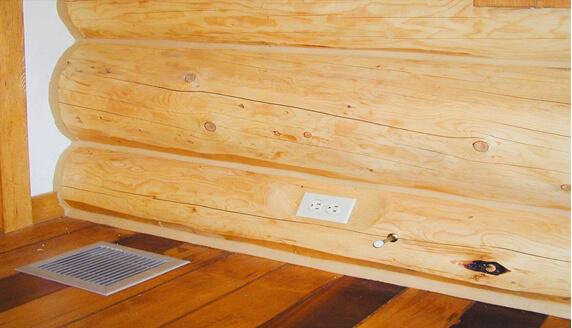
One last area that can be a nusiance area are the unsealed seams at floor level. For hardwood floors, applying Perma-Chink between the floor and bottom log can provide a flexible seal that should withstand the expansion and contraction of the floor.
For more detailed application tips and techniques, check out our Sealant Application Guide. If you have any questions, call us at 1-800-548-3554. To order Perma-Chink or Energy Seal, visit Store.PermaChink.com for all your home sealing needs.