Perma-Chink Elastic Log Home Chinking and Sealant
Since 1981, Perma-Chink Log Cabin Chinking has proven itself on thousands of log homes and become the most widely applied chinking in the world. It’s simply the best log caulking and chinking by every measure: longevity, appearance, performance, and ease of application.
Revolutionizing the log home industry from day one, we have improved Perma-Chink throughout the decades to offer a log home chinking with unparalleled adhesion, elasticity, easy tooling, and blister-proof, slump-free performance.
Our development efforts are why Perma-Chink is the leading choice of log homeowners who want to seal and protect their investments for generations.


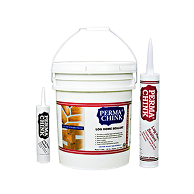
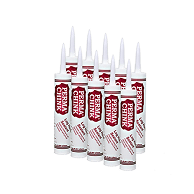
Shop Available Sizes
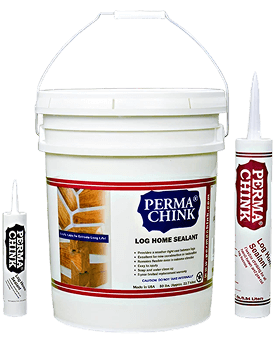
No matter the size of your project, we have the right size of our log cabin chinking products to meet your needs.
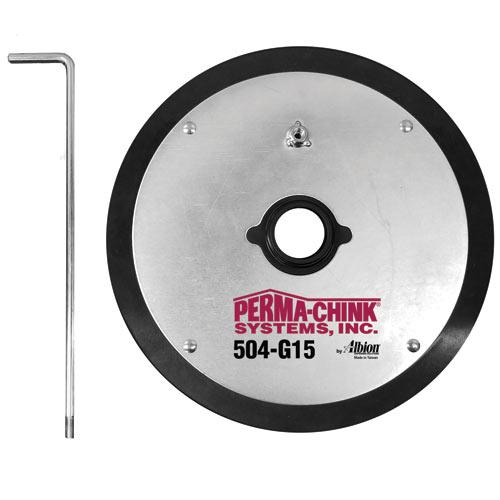
5-gallon pails are best suited for large projects, paired with a follow plate and bulk loading gun (manual or powered). This combination is less expensive than using tubes.

Product Information
Perma-Chink is a flexible, textured log house chinking that seals the open gaps between logs to eliminate heat loss and air infiltration. Even though it looks and feels like traditional mortar, it’s not. Perma-Chink is a pure acrylic that adheres to logs and stretches to maintain a tight seal by following log movement.
Features
- Eliminates Air and Water Infiltration
- Remains Flexible to Allow for Log Movement
- For Exterior and Interior
- Suitable for all Climates
Resource Links
- SDS (External website)
- Product Label
- Sealants Application Guide
- Watch the Application Video on YouTube
Application Temperature
40° to 90°F
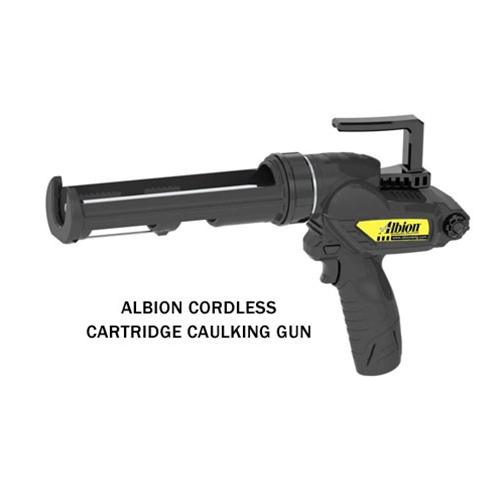
Application Methods
- Chink Pump
- Bulk-loading gun and follow plate
- Ratchet caulking gun
- Application bag
- Surface Preparation
- Clean and dry
- Free of oils and wax
- Backing material or bond breaker
Shelf Life
3 Years
Frequency
One-time application
Special Instructions
- Apply to approximately 3/8″ thickness
- Avoid applying log cabin chinking in direct sunlight
- Chink seam size should be 1/6 of log diameter
Drying Time
- Skins over in 1-2 hours
- Cures in 2-8 weeks depending on temperature and humidity
Perma-Chink Calculator
Estimate the amount of Perma-Chink needed for your project
Recommended Products
Application Steps
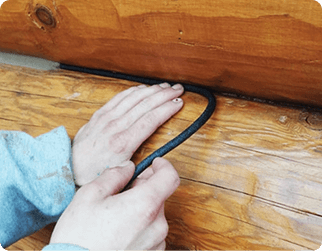
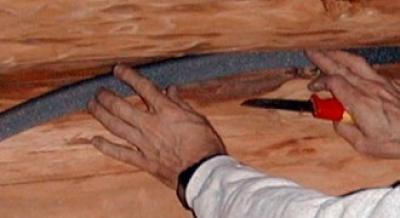
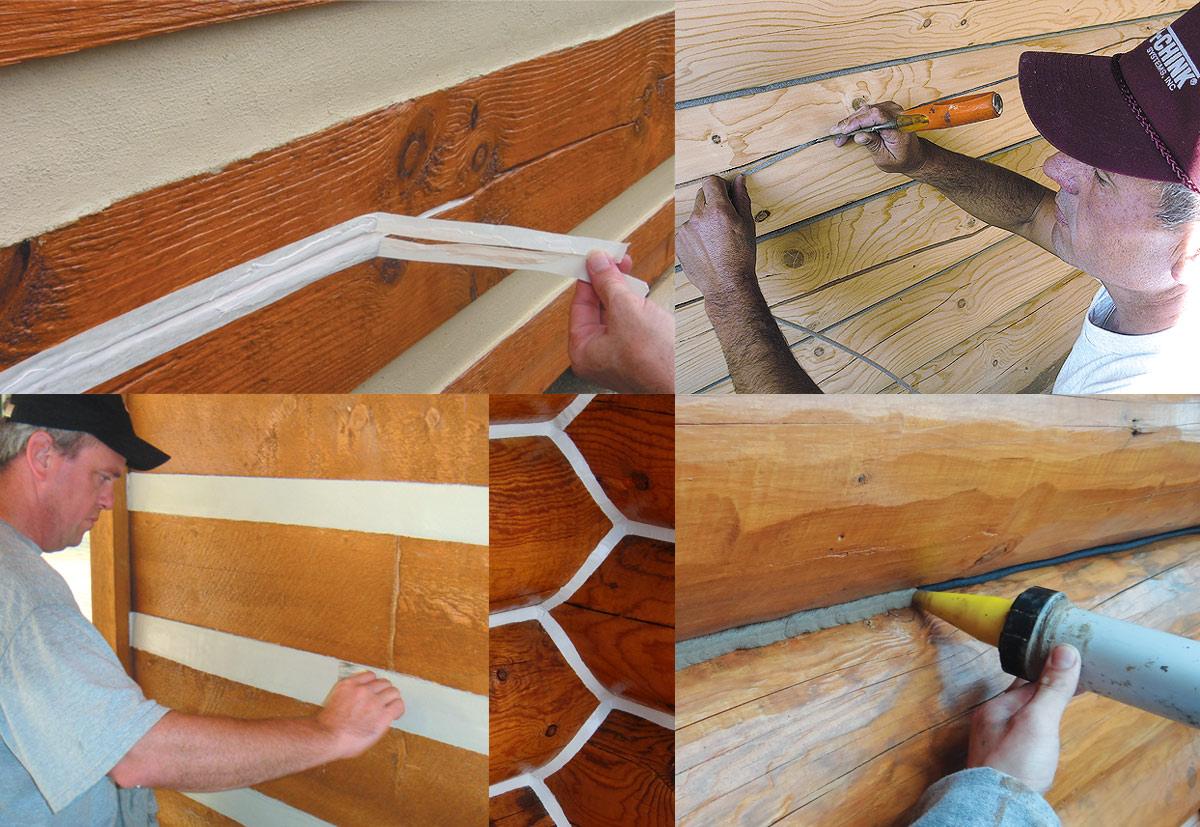
Step 1
Fill log gaps with appropriately sized backer rod before applying sealant.
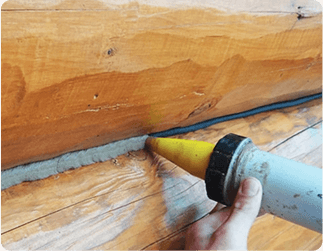
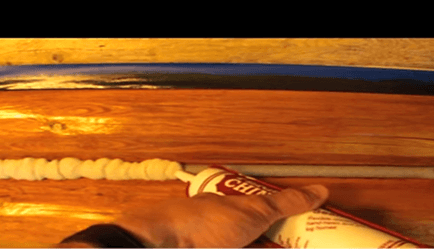
Step 2
Apply Perma-Chink log cabin chinking over backer rod.
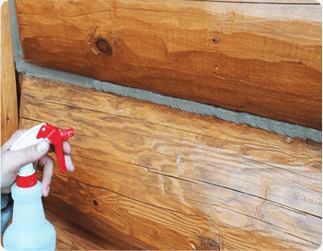
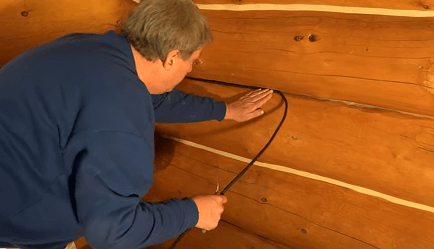
Step 3
Mist with water to make the tooling sealant easy and smooth.

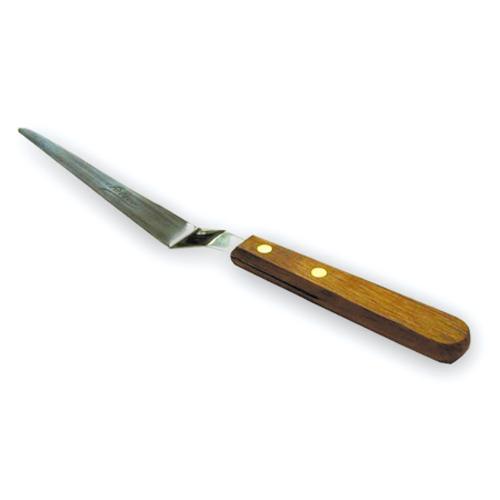
Step 4
With light pressure, slide the flat-bladed tool along the log house chinking to smooth and ensure adhesion to logs.

Frequently Asked Questions
Your questions about Perma-Chink log home caulking, answered.
Can I get Perma-Chink wet?
When applying Perma-Chink, we recommend spraying the applied Perma-Chink with water to help tool (smooth out) the sealant and ensure proper adhesion to the logs.
Can I stain over Perma-Chink chinking?
Yes. Perma-Chink will take on some color, so if you prefer to keep the color pristine, you can apply the sealant after the finish goes on the logs.
What if I don’t like my chink color?
Good news! We have Chink Paint that can change the color of your chinking.
Caulks and specialty log home sealants are used to keep air, water, and insects from getting into your home.
The most important decision you will make is choosing the right sealant for your log or timber home.
Many sealing problems are attributed to the caulking material itself, and most often the proper sealant was not used for the job. It’s easy to run to the local big-box home improvement store and pick up some all-purpose caulking, but therein lies the problem.
There are six types of caulks: butyl, oil-based, ethylene vinyl acetate, urethane, silicone, and acrylic/latex. All are designed to do a specific job, and none are suitable for every application.
Caulking vs. Sealants
The most frequent mistake made by log home owners is choosing a silicone caulk. Silicone-based caulks are excellent for many applications, but they do not work well on wood. Silicones are formulated for use on non-porous surfaces like metal, plastic, or glass. However, wood is porous, and silicones do not adhere to either damp or dry wood. In addition, silicone caulk is difficult to tool and clean up and does not accept a stain or paint.
Presently, the most widely used products are acrylic/latex sealants. Although they are suitable for a wide variety of applications, their quality depends on the specific formulation and manufacturer. And that is where Perma-Chink Systems comes in. The deficiency in these caulks is they are not designed specifically for log and timber homes.
Premium acrylic/latex sealants such as Perma-Chink, Energy Seal, Check Mate2, and Woodsman are manufactured from high-quality components to perform specific tasks. They are more expensive than a tube of general-purpose caulk, but they are formulated for excellent appearance, high performance, and ease of application. These sealants are made to be long-lasting and durable for the ultimate in wood care for decades.
Apply New Sealant Over Old Caulking? – NO!
An application of new sealant over old, failed caulk is rarely a good idea, even if it looks like the caulk still adheres to the wood. It may take a little more time, but old caulk should be removed for several reasons. If the caulk no longer adheres to the wood, it may be because moisture got under the caulk creating decay. Old caulk must be removed to properly treat and seal the wood substrate.
Newly applied sealant can only work if it is applied to a clean, sound wood surface or a compatible stain. So, if you want to use the old caulking as a backing material, you can apply a new sealant over the surfaces to adhere to a clean wood surface beyond where the old caulking reached. Otherwise, you should remove the old stuff.
Removing Old Caulk Between Logs
The right tools can make the removal process easy. Remember the old church key used to punch a hole into soda or beer cans? It is a handy tool to scrape out old caulk. Hook knives also work well. If the old caulk is silicone-based, you can usually remove it with your fingers. Always inspect failed caulk areas for evidence of moisture. If the wood is damp, these areas should be properly treated before a new sealant is applied.
Sooner or Later? When is the Best Time to Seal Your Log Home?
If you are doing other work, a decision to make early in the process is when to apply your sealants. This decision might have some bearing on which sealant to use. One consideration is that some sealants take a stain much better than others.
Smooth-surfaced sealants like Check Mate 2 do not stain as well as textured sealants like Energy Seal. If you are planning to apply sealants to your log walls first and then stain afterward, Energy Seal is your best choice.
Usually, the best time to seal logs is after the LIFELINE stain has been applied. The log surfaces are fresh and clean and whichever Perma-Chink Systems sealant you select will adhere to wood surfaces stained with LIFELINE. If you are going to use a topcoat like LIFELINE Advance for exteriors or LIFELINE Acrylic for interiors, we suggest that the topcoat be applied after Energy Seal. This gives the most even appearance over the entire wall. However, if you want to hide the sealant and want a seamless appearance, apply Energy Seal before you stain.
Now let us look at various caulking applications around a log home and select the right product for each job.
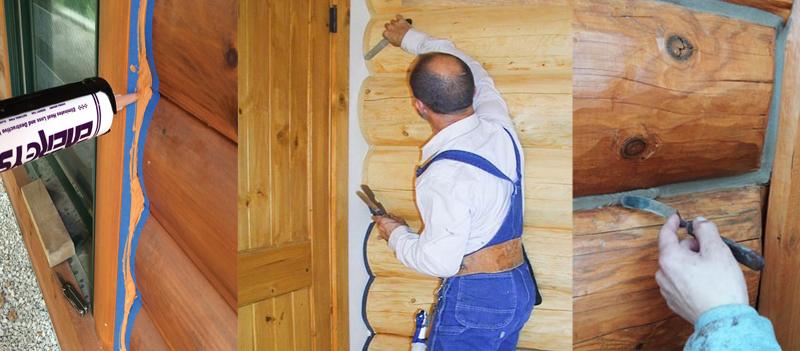
Sealing Door and Window Frames
When sealing around window and door frames you have several options.
For either new or older log homes, we recommend Energy Seal since it has outstanding elongation and adhesion. This means that as your home settles and shifts, Energy Seal stretches to maintain its bond to the wood. It is available in 12 different colors and since it is textured, it will take the color of the stain.
On chink-style homes many people want the sealant to match their chinking. If that is the case, Perma-Chink can be used to seal around window and door frames, too.
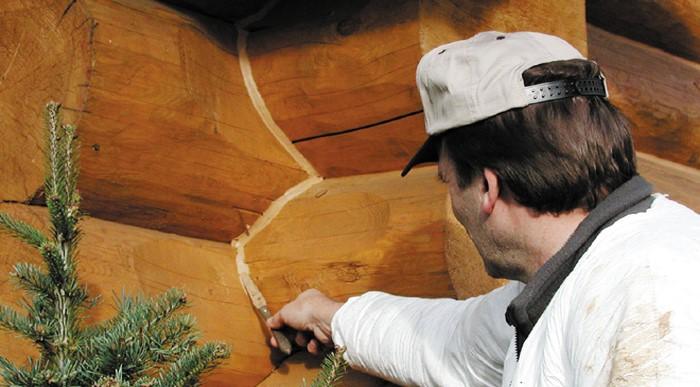
Checks and Small Gaps in Logs, Log Corners and Log Ends
Upward-facing cracks and checks in logs should be filled with Check Mate 2.
Otherwise, they collect water that can lead to decay and insect damage. You need not worry about checks on the bottom half of round logs unless they penetrate through the log wall. Choose a color that is closest to the color of the stained logs. If checks are more than ¼ inch wide, stuff a length of backer rod into the check to about 1/4 to 3/8 inch below the surface before filling it with Check Mate 2. The Check-Kit has both backer rod and convenient applicator tubes. For more instructions on how to seal checks in logs and log siding click here
Sealant Application
One of the most common mistakes made when sealing logs is to fill deep gaps or checks with the sealant material. Quality sealants are made to stretch and elongate with the movement of the joinery. When a sealant is applied too thickly, it loses its ability to stretch and may separate from the wood.
A good rule of thumb is that the thickness of the sealant should be approximately 1/2 the width of the gap you are trying to fill. However, sealant joints never need to be more than 3/8 inches thick. So, how do you fill a large gap?
If you are trying to fill a void behind a window frame, for example, Log Gap Cap foam is the product to use. You can also put backer rod into gaps. See step-by-step instructions here.
The space left after the installation of the backing material is called the “caulking well.” This well should be approximately 1/4 to 3/8 inch in depth, regardless of the width. This space is what you fill with sealant. Some sealant applications have geometries that do not allow for these “textbook” conditions. But, whenever possible, adhere to these specifications for the highest performance seal.
For filling in large voids or gaps, urethane foams are an excellent choice. However, many foam systems have a high expansion ratio which forces foam out of the void you are filling. It is difficult to remove. If you are unsure about your backing material, check with Perma-Chink Systems before using it.
Tips On Applying Perma-Chink and Energy Seal
Some people think that Perma-Chink and Energy Seal is just like any other caulking product on the market, so they apply and finish it with the same methods. Typically, silicone caulking can be smoothed just by running a damp finger along the bead of caulking. Using that method with Perma-Chink or Energy Seal will net you disastrous results. To get a smooth, clean finish, spray the sealant liberally with water then tool it with a metal spatula or similar. It’s counter-intuitive to apply water to smooth it, but it’s the best way. Unlike smooth caulking, the texture in Perma-Chink and Energy Seal needs more water to maintain a smooth finish. And it’ll be much, much easier.
Conclusion
Remember, hot air that gets into your home in the summer and cold air in the winter increases your energy bills. Water penetration can cause decay and insect nesting. One of the best ways to keep insects out of your log walls is to eliminate the openings where they get in. Properly selected and applied sealants are among the best materials for protecting your home. Use the right sealant for the job for years of protection and comfort.
Call 1-800-548-3554 to request a copy of the “Log Home Sealant Application Guide” for more detailed information, or click here.
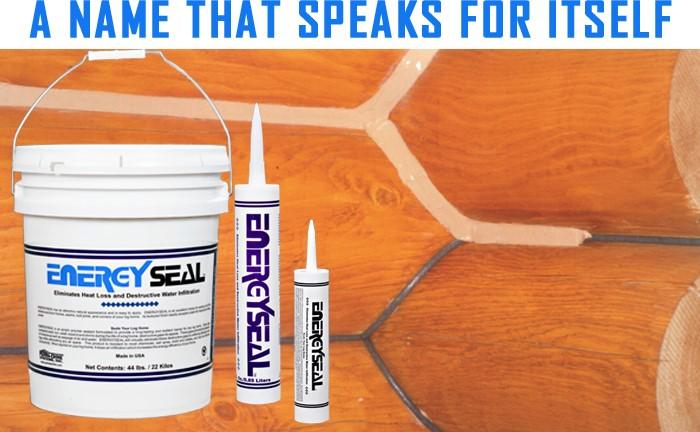
Start saving on your heating and air‑conditioning bills now!
Energy Seal™ is a textured acrylic polymer sealant that provides a long-lasting and resilient seal for any style of log home. Since logs constantly twist, turn, swell, expand and shrink, gaps may appear between logs or between the logs and window and door frames or other areas of the home. These gaps retain moisture and allow the seepage of air and water into the home. Energy Seal eliminates these gaps by forming an air and watertight barrier over them.
So why do people use textured sealant Energy Seal?
First and foremost, to keep water, air and bugs out of places where they don’t belong; second, for its attractive appearance; and third, for the reputation of lasting longer and performing better than competitive products. It should not come as a surprise that log homes are a bit difficult to seal up. When you stack logs on top of one another to make a wall, the logs do not naturally fit tightly to one another so there are usually gaps that must be sealed to prevent air and water from getting inside. That’s what Energy Seal is designed to do.
Most people call log sealants “caulk” but we try to refer to them as “sealants” to help differentiate high quality products from cheap caulks that can be bought at any hardware store. Plus, several of our sealants do not fit the conception most people have of a typical caulk.
There are two reasons that Energy Seal is textured. First, it allows the surface of cured Energy Seal to remain looking “flat.” It does not have that shiny look common to most types of caulk. This allows Energy Seal to blend in with the surrounding stained wood. Second, the texture allows Energy Seal to better accept a stain so that it can virtually disappear on a wall.
Here is a TIP; if you plan to stain over Energy Seal, select a color that’s just a bit lighter than the stain you plan to use. It’s much easier to cover light-colored Energy Seal with a darker color stain than it is to cover dark-colored Energy Seal with a light-colored stain.
Applying Energy Seal
Before Energy Seal is applied, the surface must be clean, dry, and free of oil, wax, or anything else that will interfere with the adhesion of the sealant.
Wherever possible, Energy Seal should be used along with Backer Rod or Grip Strip™. If backing material is not used, there may not be enough room for the Energy Seal to expand and a crack may appear across the joint. Backer Rod should be used even if the joint is narrow. The width of the band of Energy Seal may end up a bit wider than you expected but the integrity of the seal will be maintained.
Applying Energy Seal over old caulk is never a good idea even if it looks like the caulk is still adhering to the wood.
Although it can be time consuming and somewhat difficult, old caulk should be removed for several reasons. If a caulk no longer adheres to the wood, it may be due to moisture getting under the caulk creating rot. The old caulk must be removed to properly treat and seal the wood, so the new sealant does not fail.
Once in place, Energy Seal may be tooled smooth with a trowel or putty knife. Spraying a light mist of water on the surface will make tooling a lot easier and will result in a smoother surface.
If masking tape is used to protect the surrounding wood be sure to remove the tape while the Energy Seal is still wet.
To protect recently applied Energy Seal from the weather, a loose covering of plastic film will prevent it from being washed out of the joint until it cures enough to withstand a heavy rain. Typically, a week or so is sufficient.
For more information about Energy Seal, give us a call 1-800-548-3554 or check out our Log Home Sealant Application Guide
HOW TO SEAL AROUND WINDOW AND DOOR FRAMES
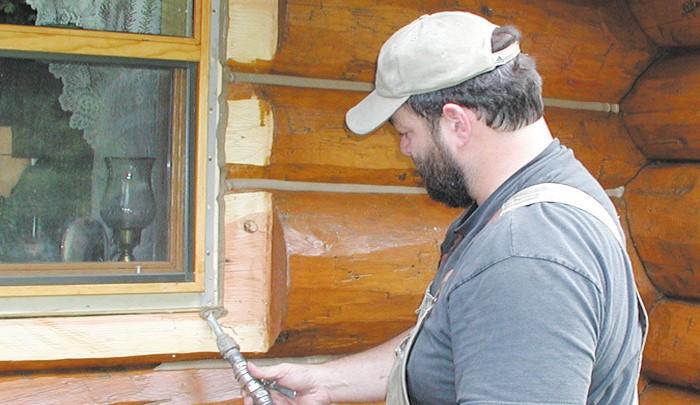
We have an excellent tutorial on sealing around windows and doors using Energy Seal and Log Gap Caps.

Homeowners ask this question a lot, to make sure the home looks like how they imagine. The answer to this question depends mainly on which sealant is used and how you want your home to look.
Sealant Choice
If you’re using Perma-Chink chinking, we recommend staining your home first with a Lifeline stain of your choice, then seal the log gaps with Perma-Chink, and finish with Lifeline Advance Topcoat. The application of Advance will make the home easier to clean (recommended two times per year with Log Wash).
If you’re using Energy Seal or Woodsman, and you don’t want log gaps or the sealant to be noticeable, we recommend applying the sealant first, then apply your choice of Lifeline stain and topcoat. For the least visible Energy Seal lines, select a color that is a shade lighter than the stain color. If you like the aesthetics of visible lines, you can apply Energy Seal after the application of a Lifeline stain and before Lifeline Advance.
What If I’m just applying a new coat of Lifeline? Do I need to redo my chinking?
If you’re just applying a maintenance coat, or just want a new color for your home, you do not have to rip out your old chinking. You can either mask off the current chinking before staining, or you can use our Chink Paint to refresh the color after staining.
What about when to seal checks?
Another issue you will have is with upward-facing checks. These are the cracks in the wood that end up collecting water and lead to log deterioration. We offer Check Mate 2, a highly flexible sealant that will create a seal in the check, preventing water from entering the log. Checks can appear at any time as the logs age, it’s a natural occurrence.
If your logs have checks before you stain and seal your home, seal the checks now. Check Mate 2 will accept stain. Just make sure you select a Check Mate 2 color one shade lighter before staining.
Final Answer
The order which you apply stains and sealants varies on what you’re currently working with. For the best performance, we recommend stain first, seal second, and apply Advance Topcoat third. This will provide the best protection for your home.
You can read more about applying sealants in our Sealants Guide PDF.