Homeowners almost always have a list of projects they want to complete around their home. As a contractor who has worked on the exterior, winter is a great time to reconnect with your customers and check whether they have interior projects they’d like to address during the colder months.
There are several winter indoor maintenance and upgrade projects that are ideal for winter months. Help homeowners improve the look of their home now while keeping you productively booked during the off-season.
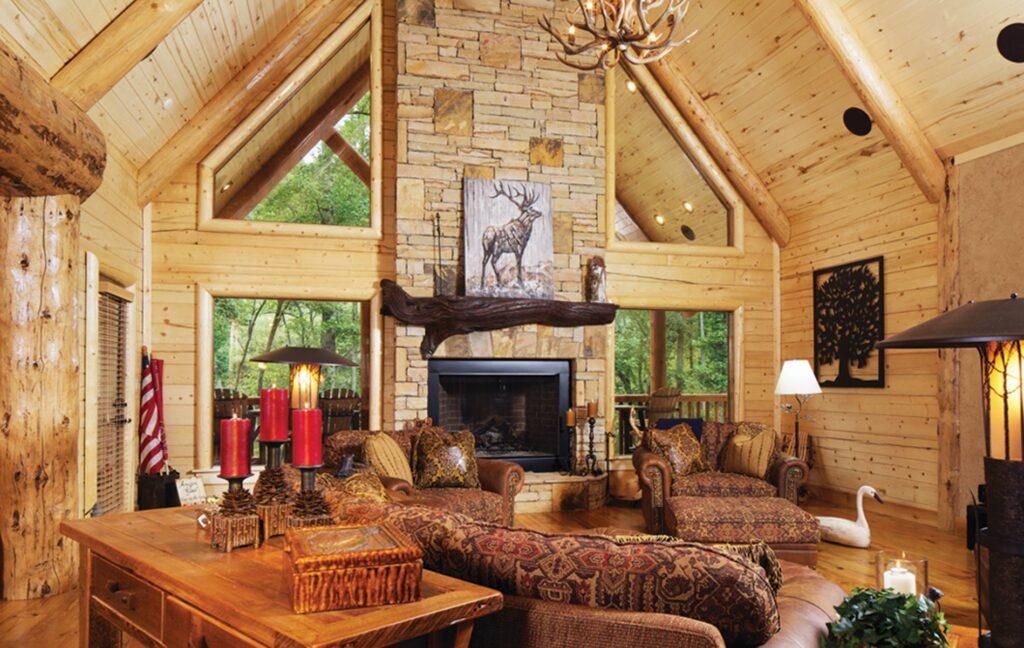
1. Freshen Wood Trim and Moldings, Doors and Window Frames, Cabinets, etc.
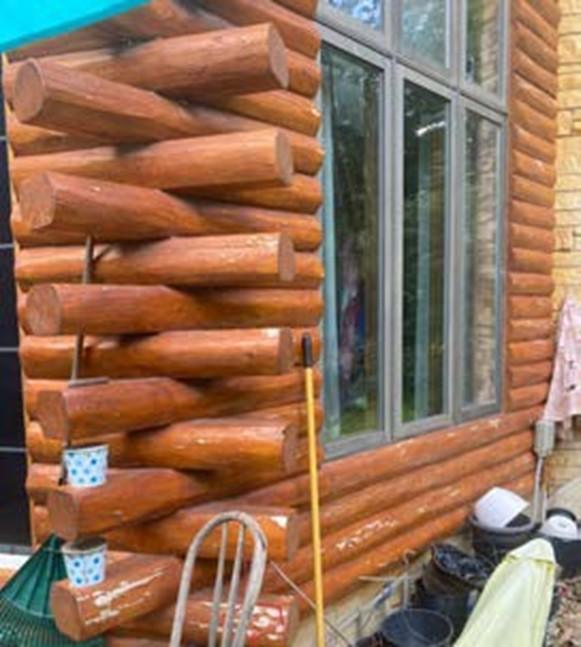
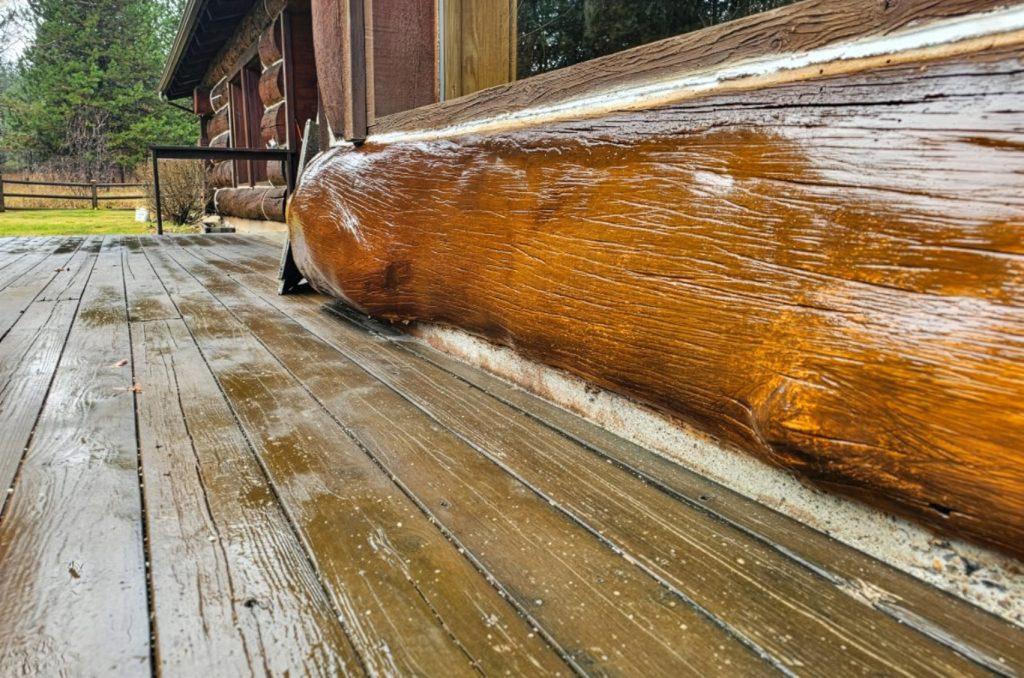
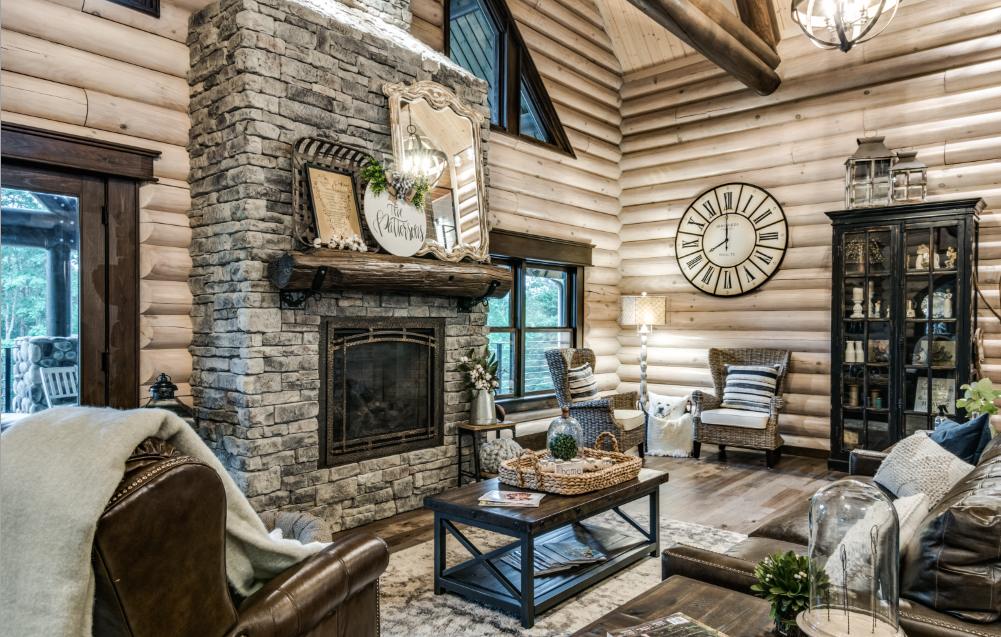
Freshening wood trims, cabinets, doors and window frames are perfect indoor maintenance projects for winter. Winter is the best time to stain inside because the air is drier than humid summer air and helps the finishes dry more quickly. You also can crack a few windows in winter to provide proper ventilation without worrying about bugs flying inside. Another reason to stain in winter is that you will get your inside projects done and have more time to do exterior projects when the weather improves.
Keep in mind that you do things a little differently when staining interior trim than when staining walls. You’ll need to sand your trim, clean the dust, and then apply finish. You can apply color stain before you finish it with a clear topcoat, or just apply a clear primer like Lifeline Prelude directly to wood and then topcoat it with clear Acrylic Gloss or Satin, or PCS Clear Shield finish. If you would like to add more gloss to your wood trim, PCS Clear Shield is your best choice. Click here for application instructions.
2. Check for Air Leaks
Many indoor winter maintenance projects also help homeowners save money. In fact, one of the best money-saving maintenance tasks is checking for air leaks. According to HomeAdvisor you can “stop energy-sucking, money-wasting air leaks by caulking, sealing and weather-stripping all of the gaps, seams, cracks, and openings in your home.”
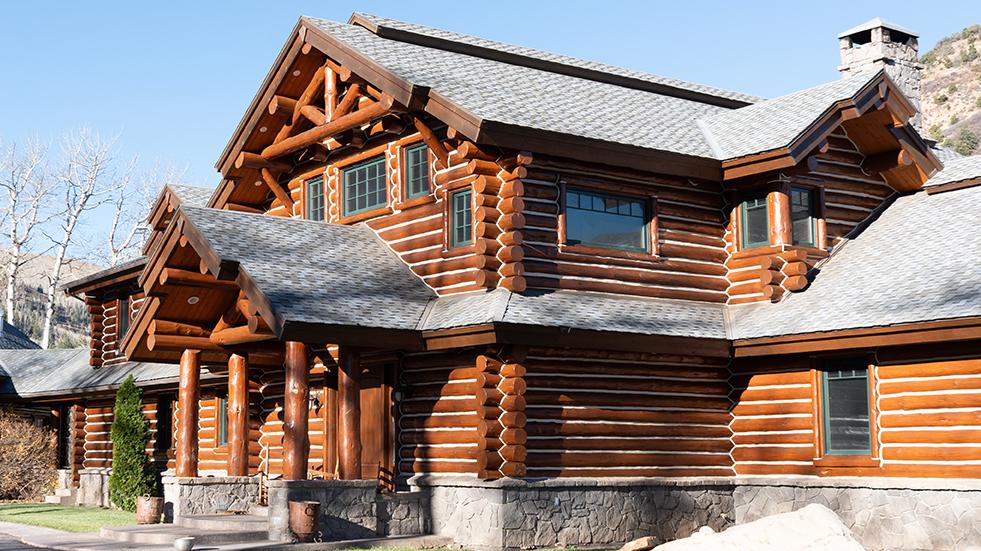
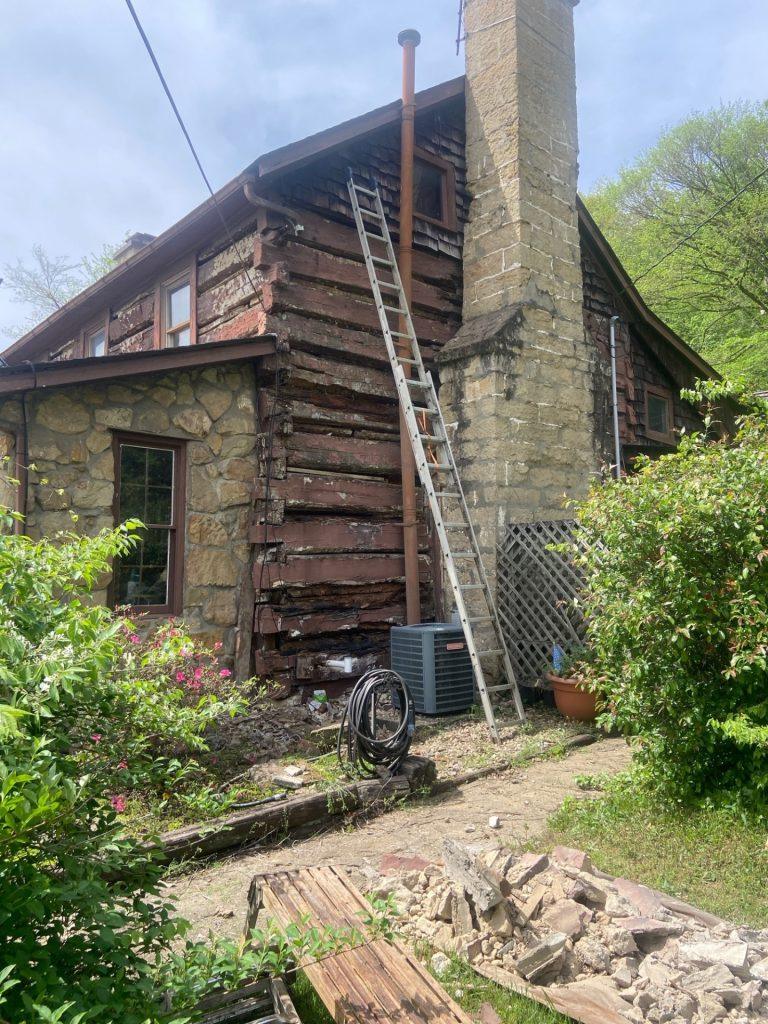
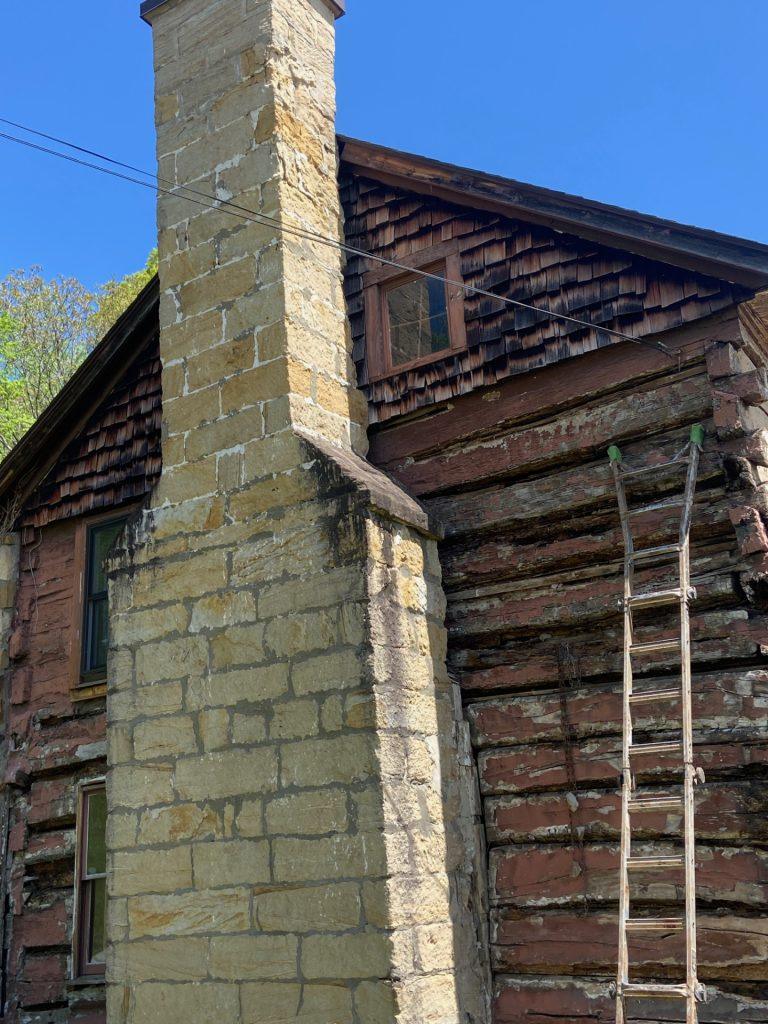
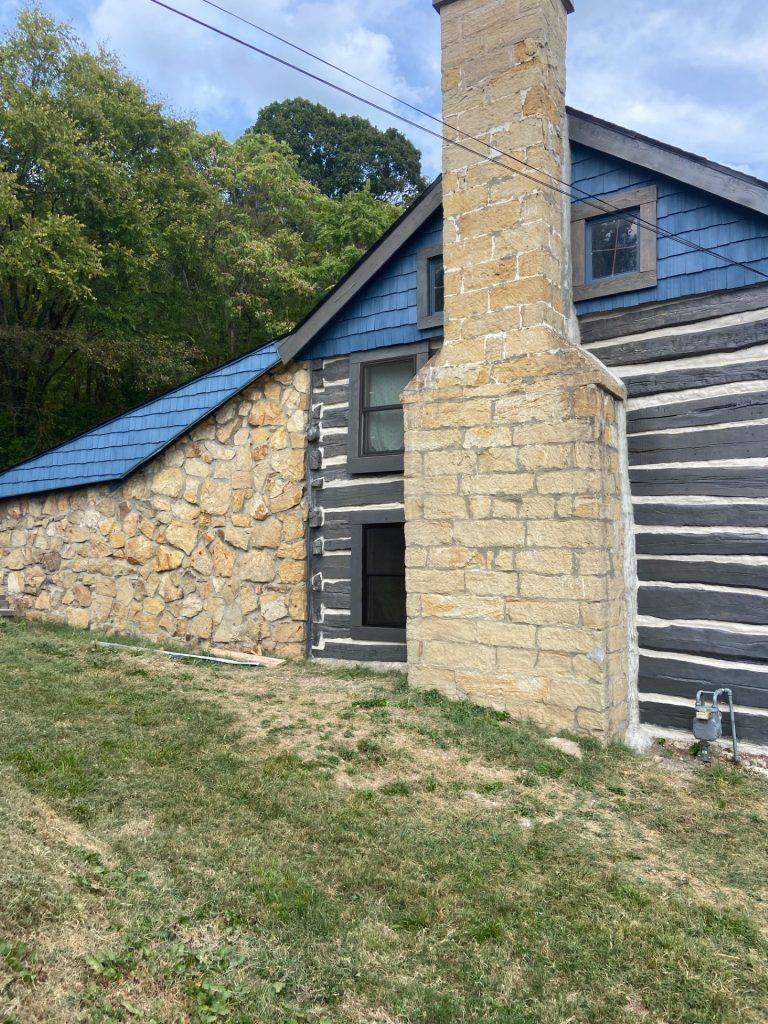
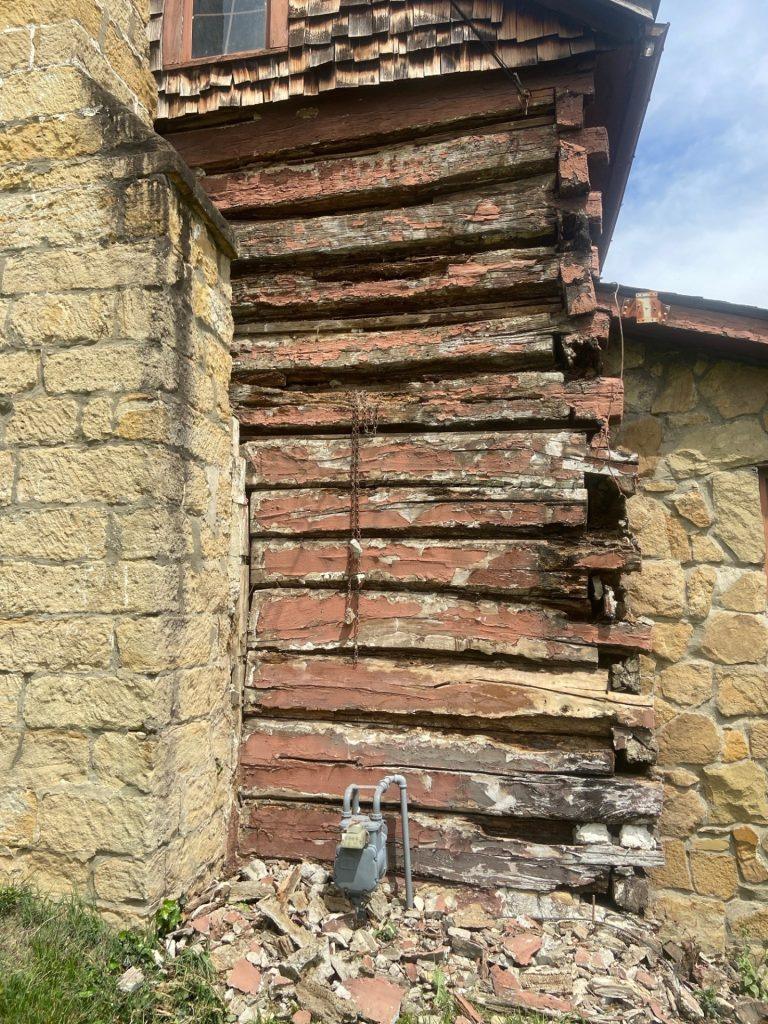
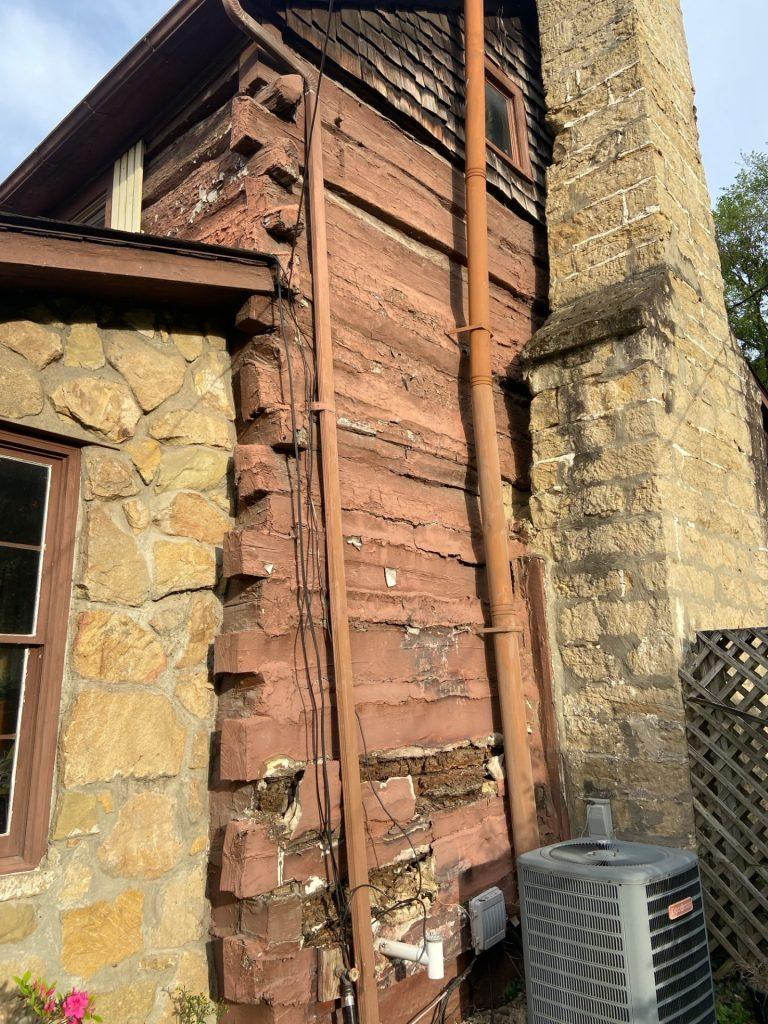
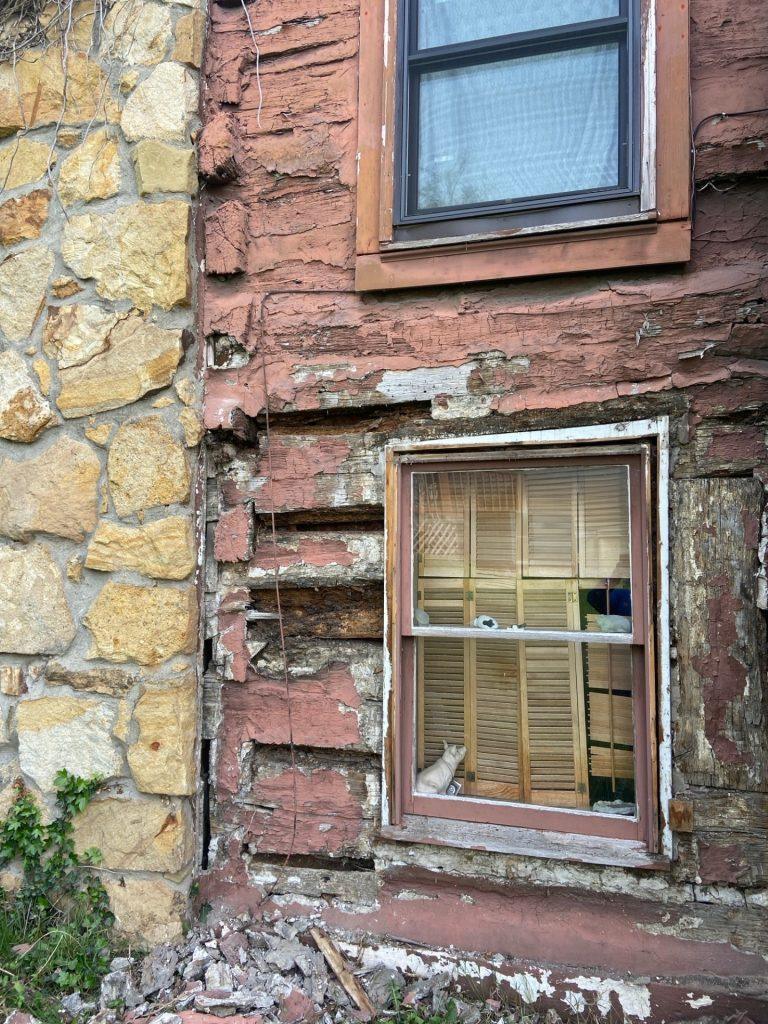
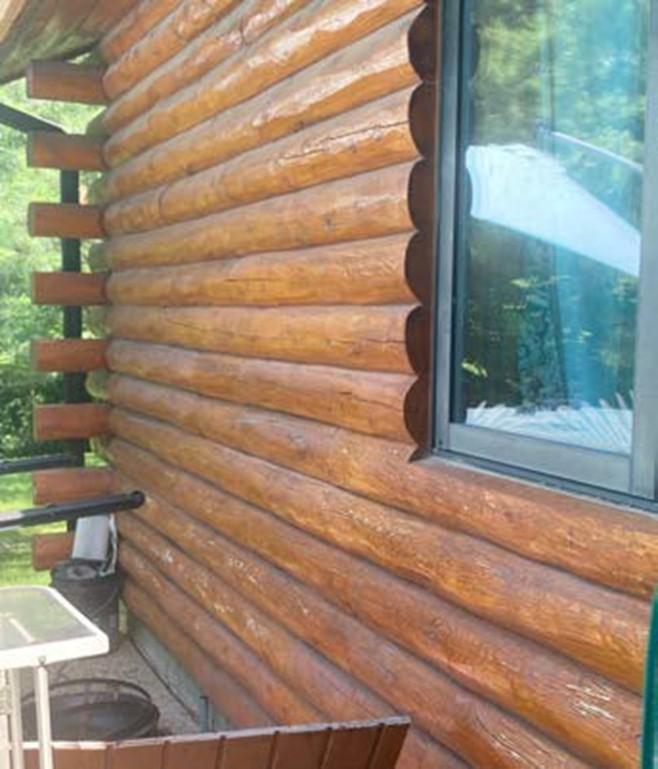
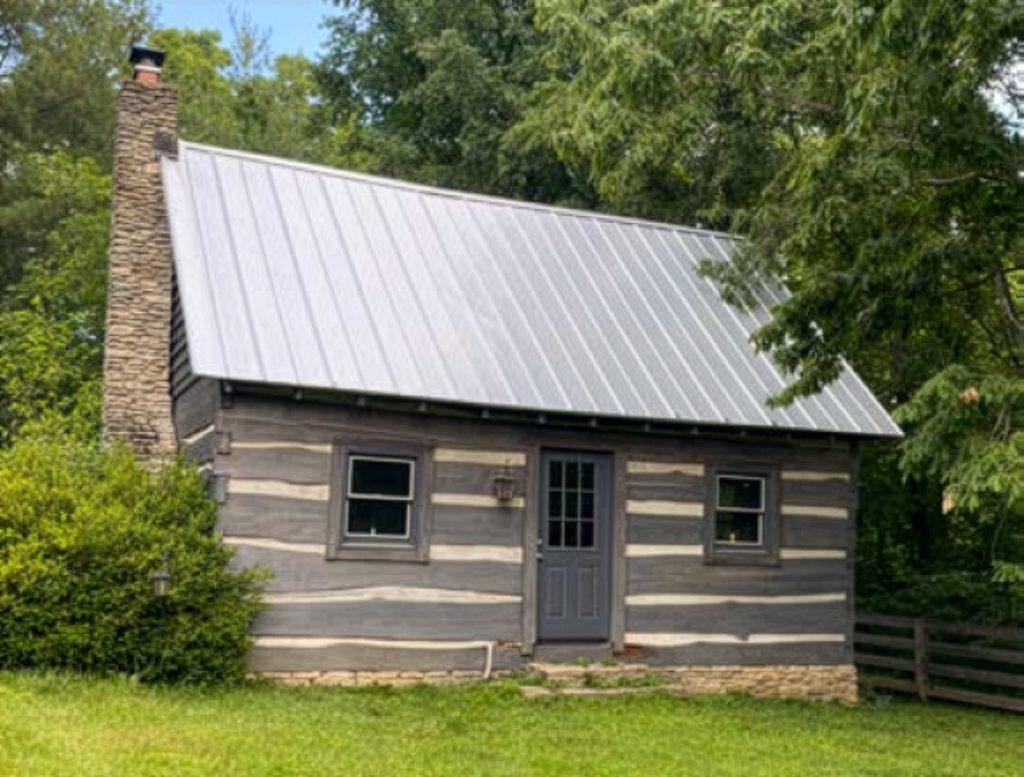
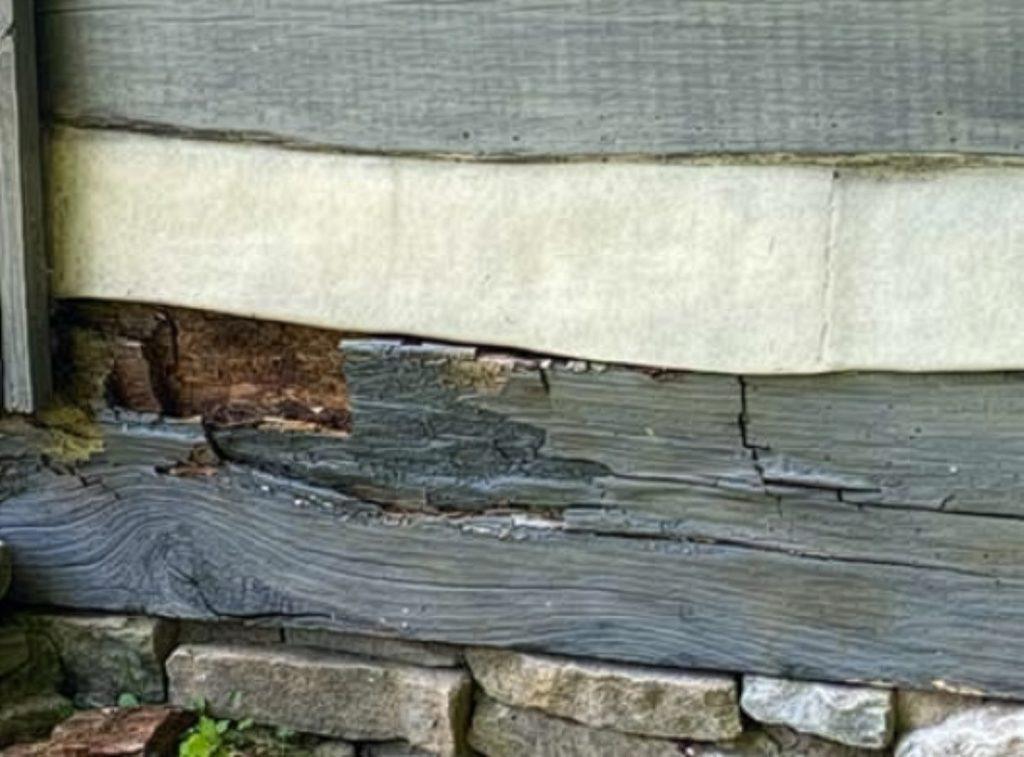
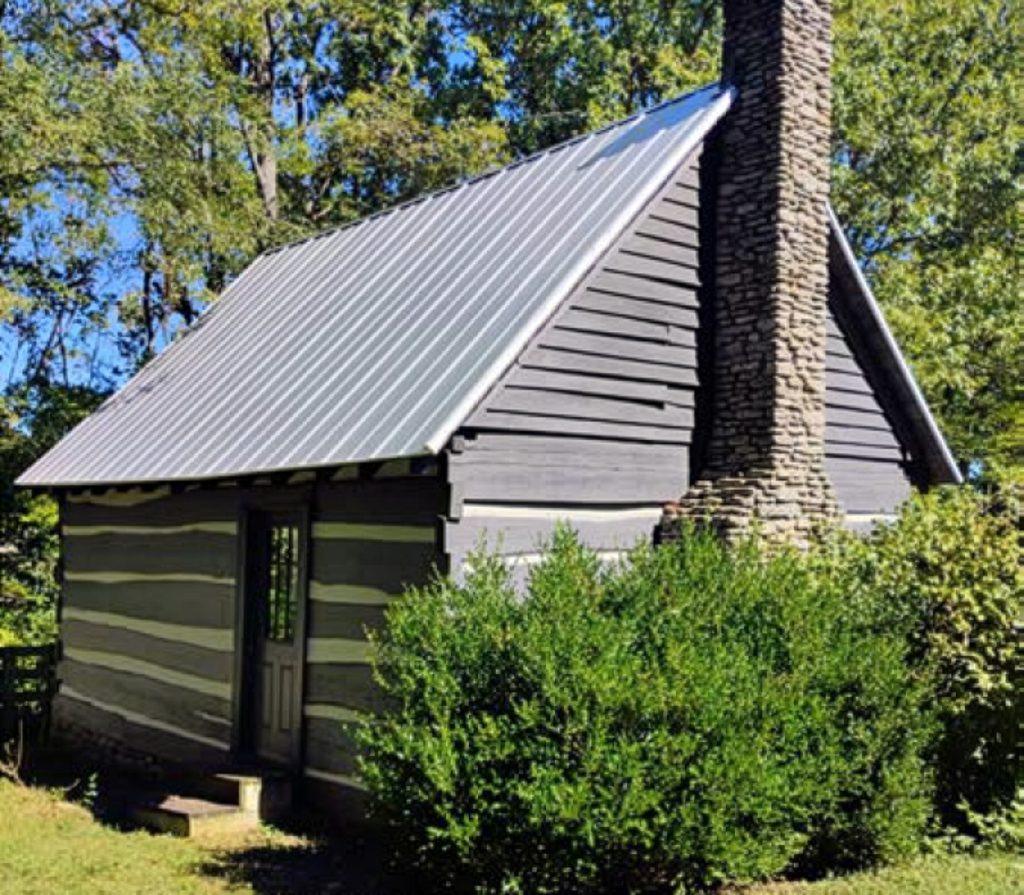
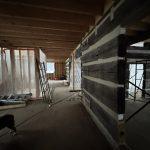
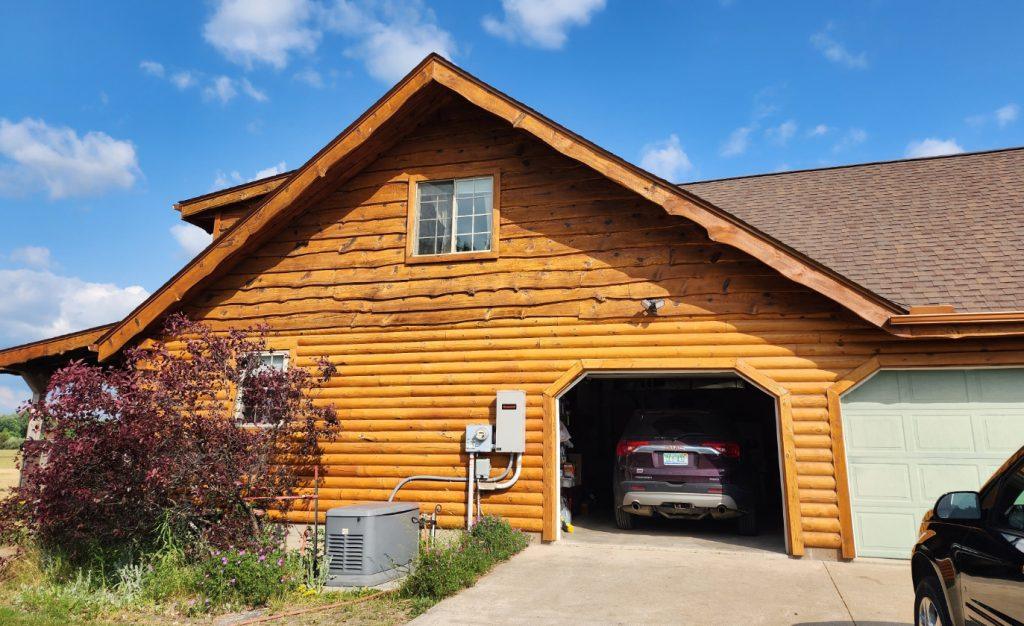
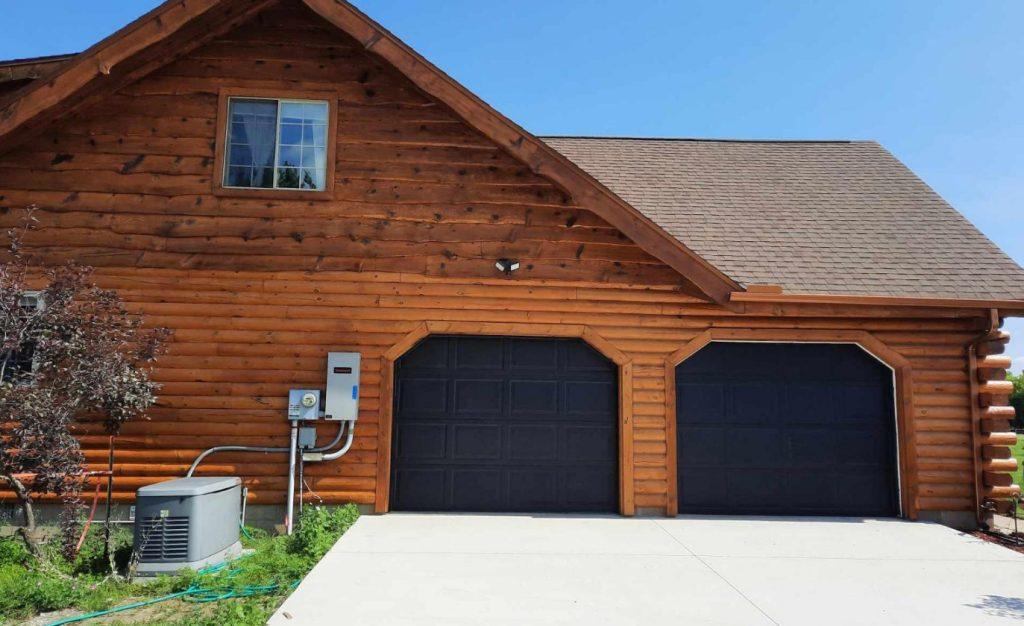
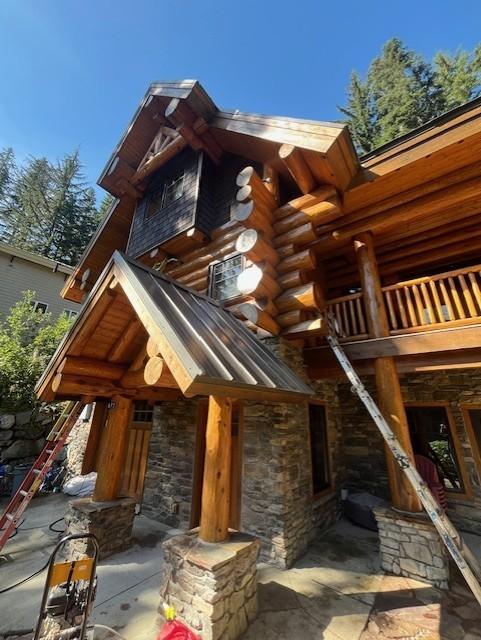
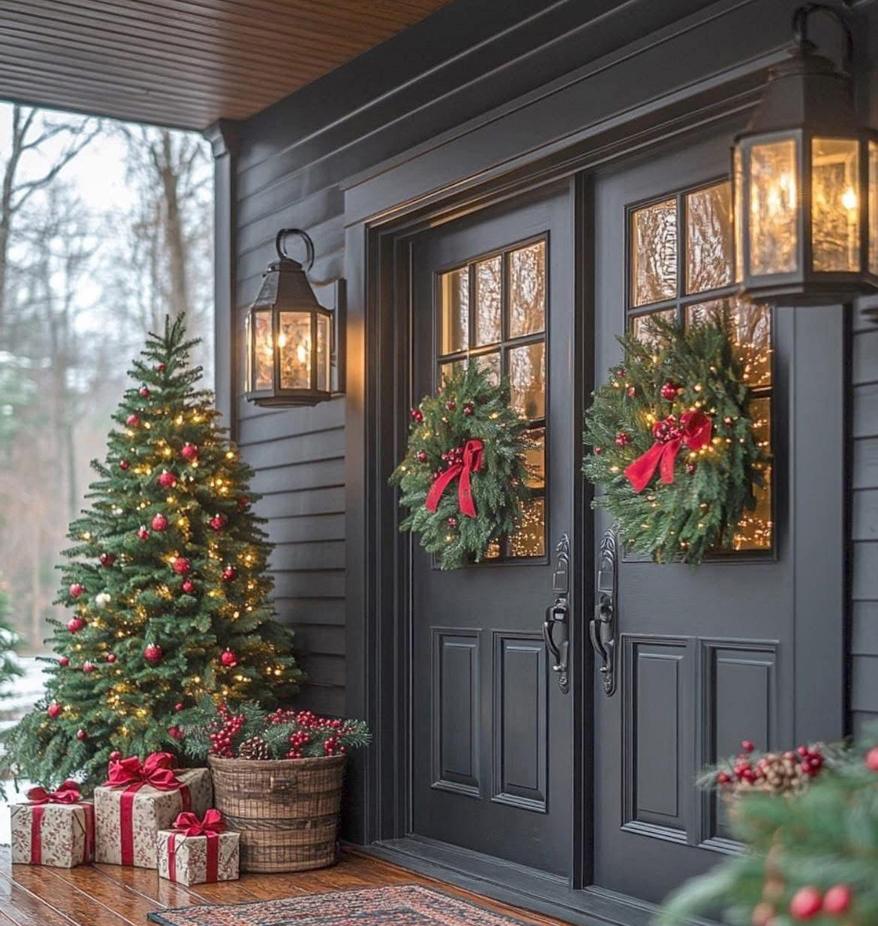
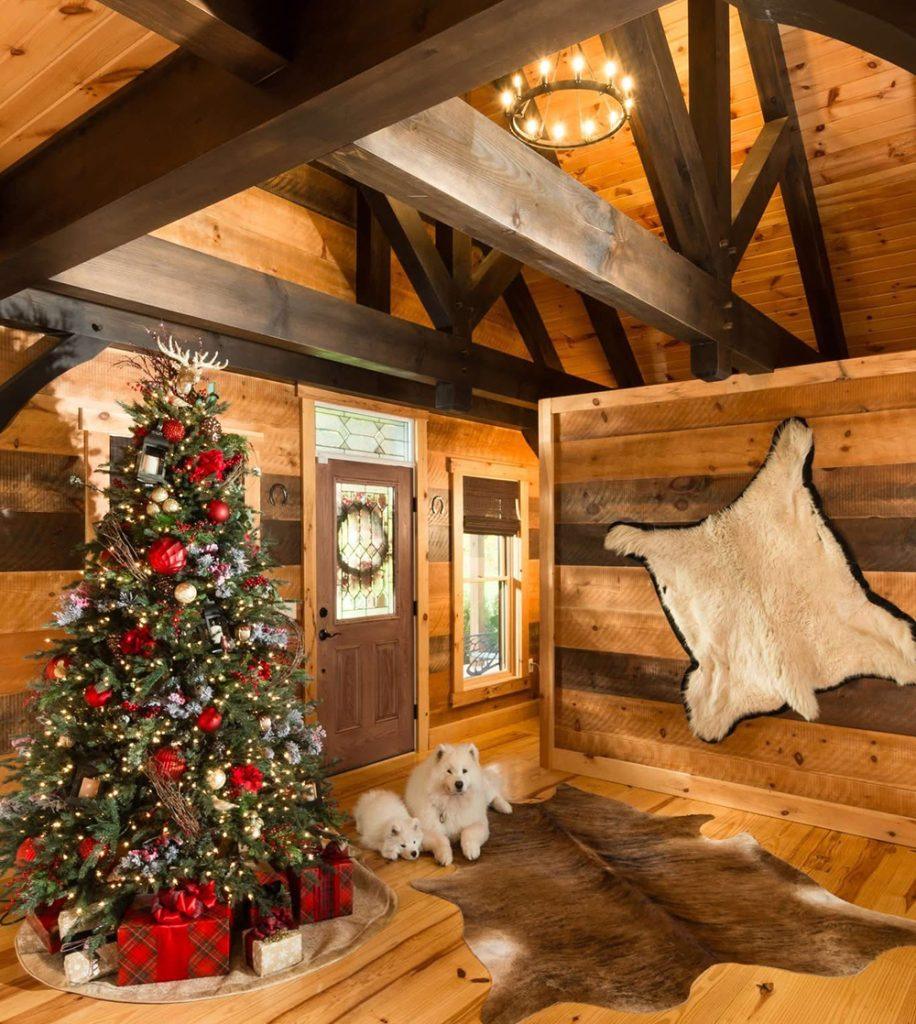
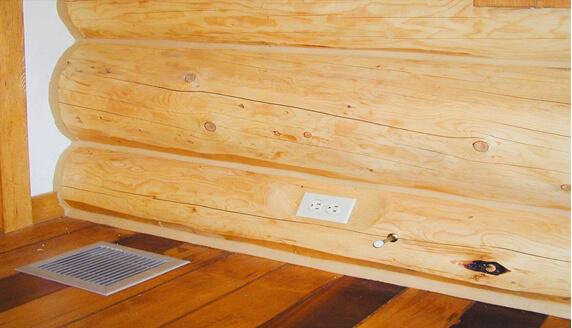
According to the U.S. Department of Energy, reducing air leaks cuts heating and cooling costs, improves durability, increases comfort, and creates a healthier indoor environment. It’s especially important to check for air leaks if you have a log-style home since builders intentionally leave room for settling.
What does an energy audit do? Energy audit is the first step in the process; it finds the source of any air leaks and determines how bad those air leaks are.
The three basic tools used for an energy audit are a blower door, a thermal imaging camera and a computer loaded with the appropriate software. The blower door in conjunction with the computer measures the cumulative air leakage within the home and provides a negative internal air pressure, so the thermal imaging camera can better locate air leaks. The thermal imaging camera takes actual pictures of the air leaks, so you’ll have a record of exactly where they are located. Read more about the thermal imaging and blower door testing here.
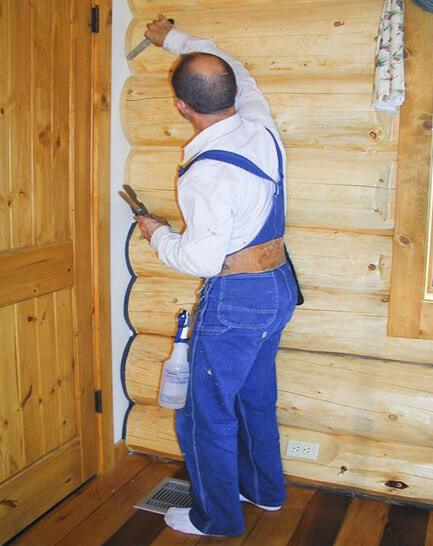
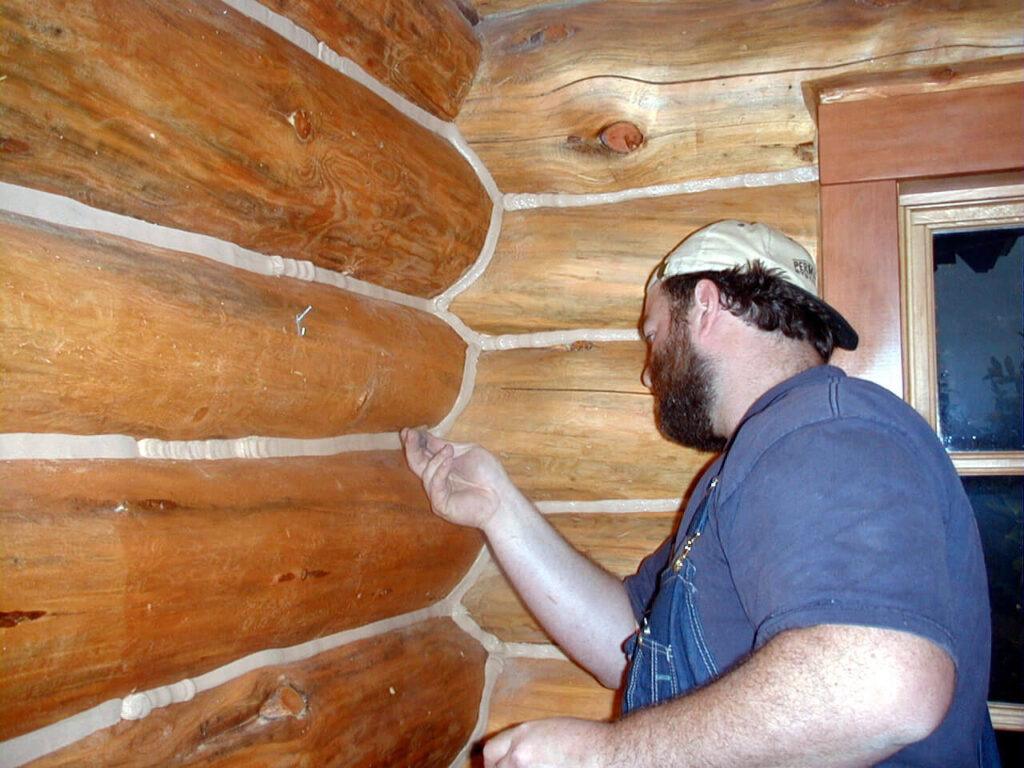
After you identified the leaks, sealing or caulking and weather-stripping are two common solutions. Seal and weather-strip doors and windows that leak air. You also should caulk and seal air leaks where plumbing, ducting, or electrical wiring enters through walls, floors, ceilings, and soffits. Seal air leaks around chimney, furnace, and gas-fired water heater vents.
Sealing the leak with Energy Seal or Perma-Chink prevents water penetration along with air infiltration. General purpose caulks and sealants found at local hardware stores and DIY outlets just don’t offer the performance that’s required for the unique needs associated with log or timber homes.
Give us a call at 1‑800‑548‑3554 with any questions about the proper application of our products or any technical information you may need. We’re here to help.