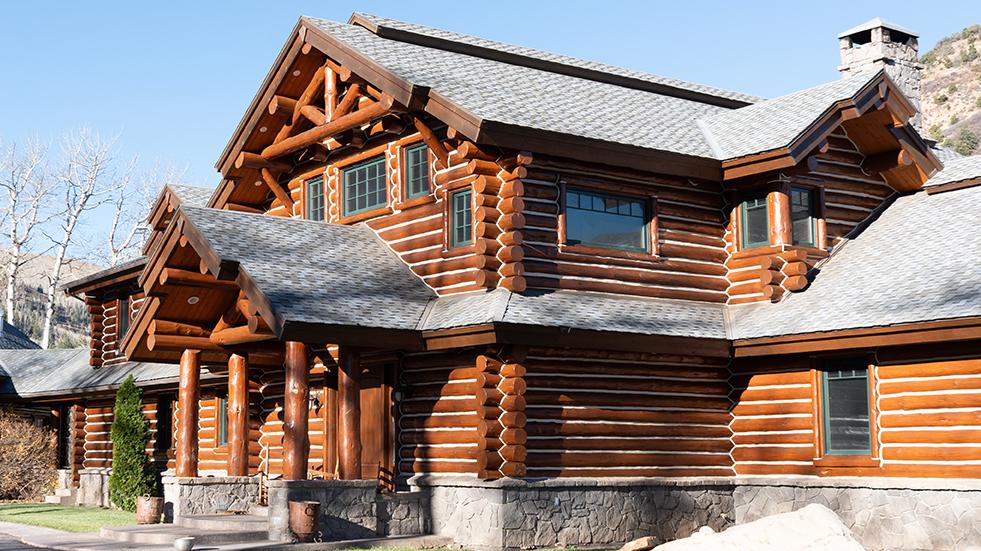
Protect Your Log Home with a Finish System Built to Last. Perma-Chink Systems offers one of the longest-lasting stain and finish systems in the industry – backed by a limited 5-year warranty.
Your stain and finish system is more than just color – it’s your home’s first line of defense against the elements.
How Long Should a Log Home Finish Last?
One of the most common questions we hear from homeowners and industry professionals is:
“How long do your stains and finish last?”
It’s an important question because your stain and finish system protects one of your biggest investments – your log or timber home.
Here’s the short answer:
👉 Our system is among the longest-lasting in the industry.
We stand behind it with confidence by offering a limited 5-year warranty on our stain and finish system.
Why Longevity Matters
A high-quality stain and finish system does more than enhance appearance – it protects your home from:
- UV damage
- Rain and moisture intrusion
- Premature weathering
- Loss of beauty and curb appeal
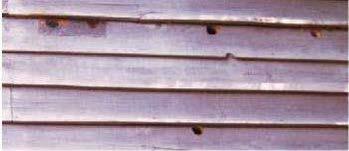
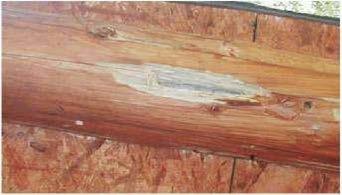
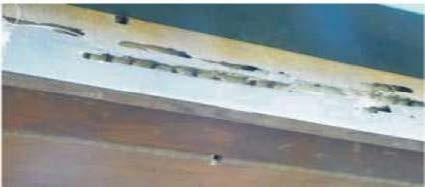
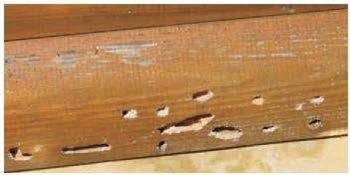
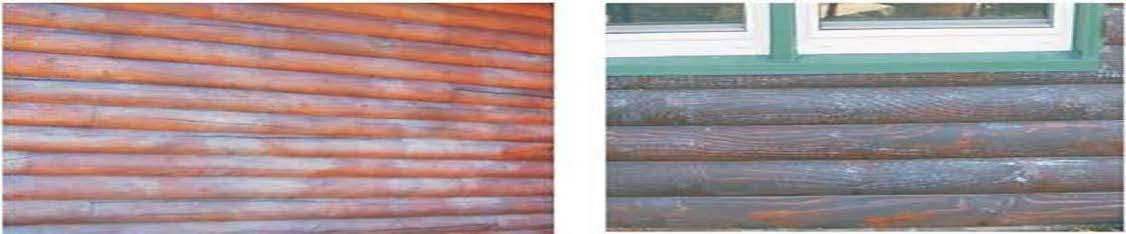
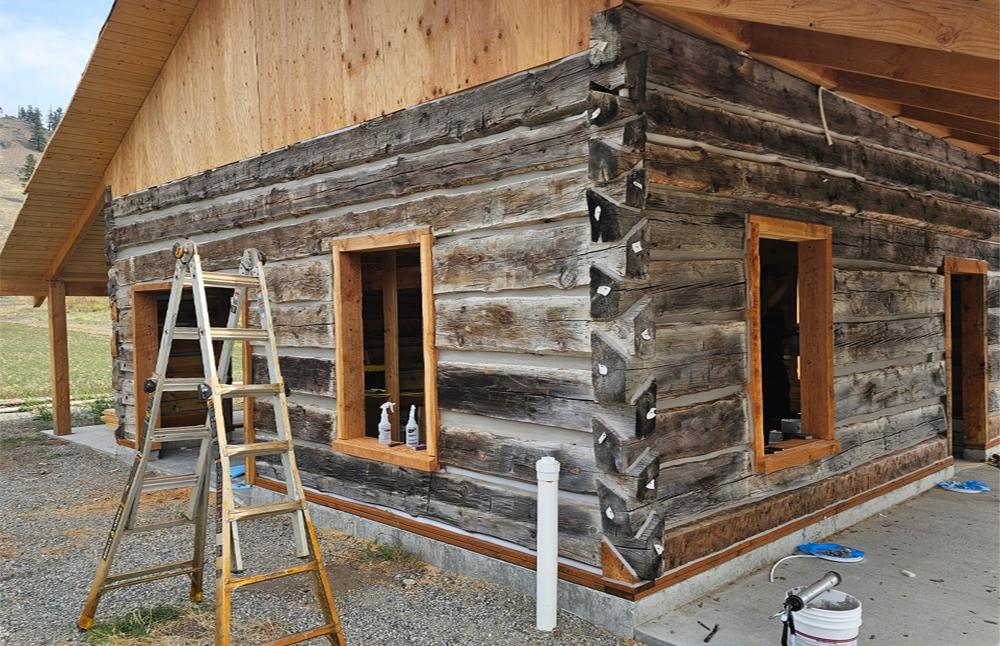
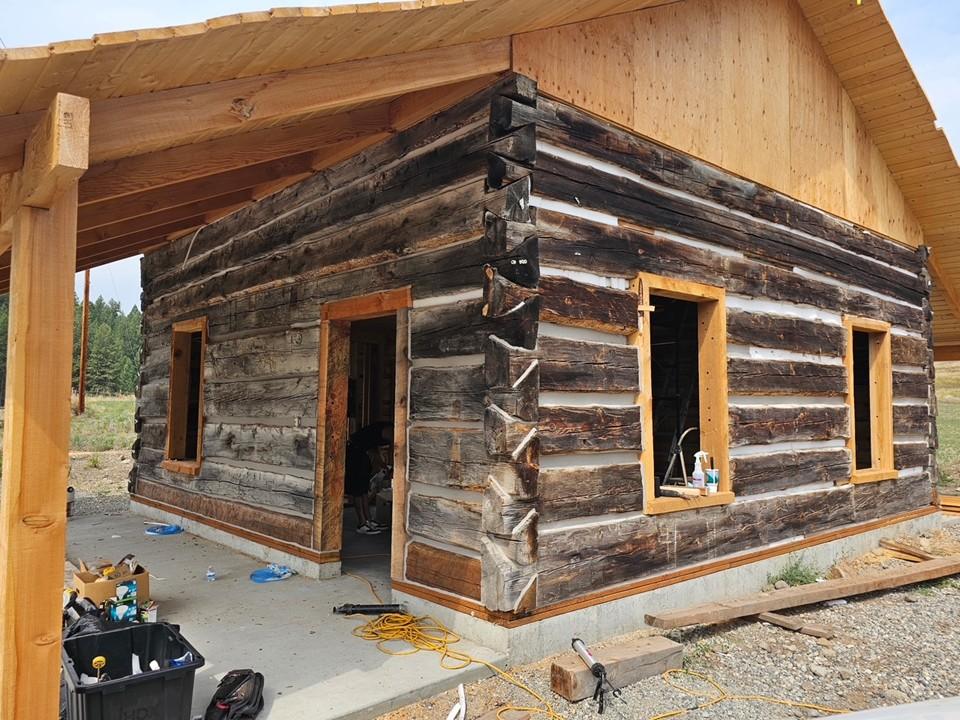
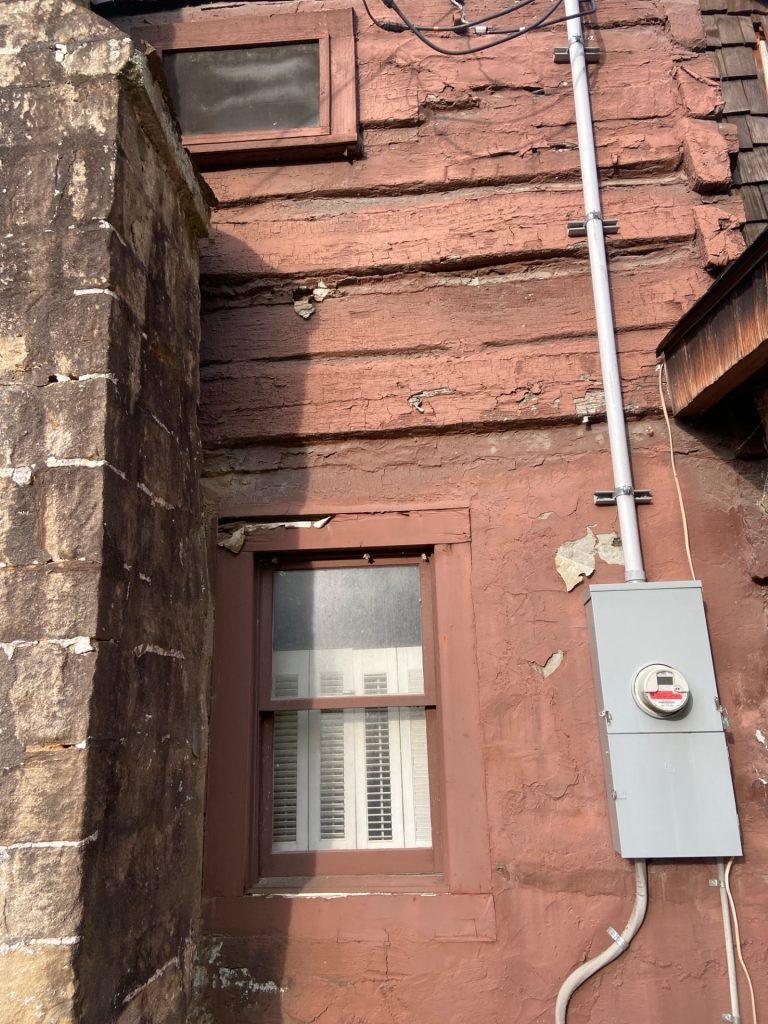
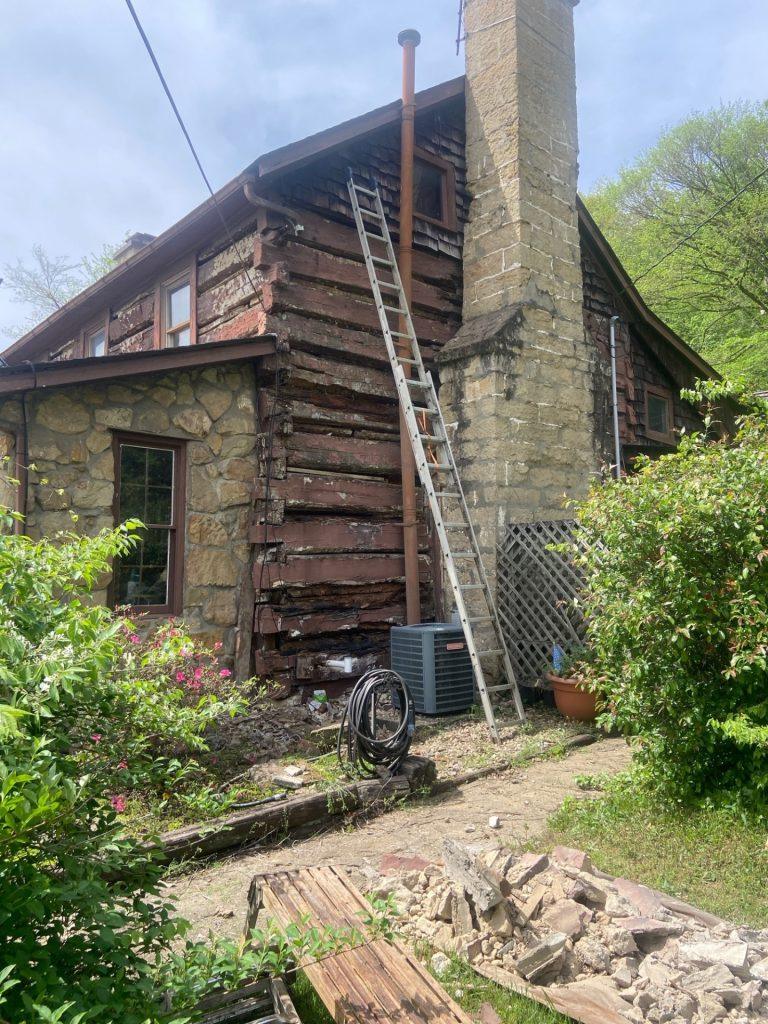
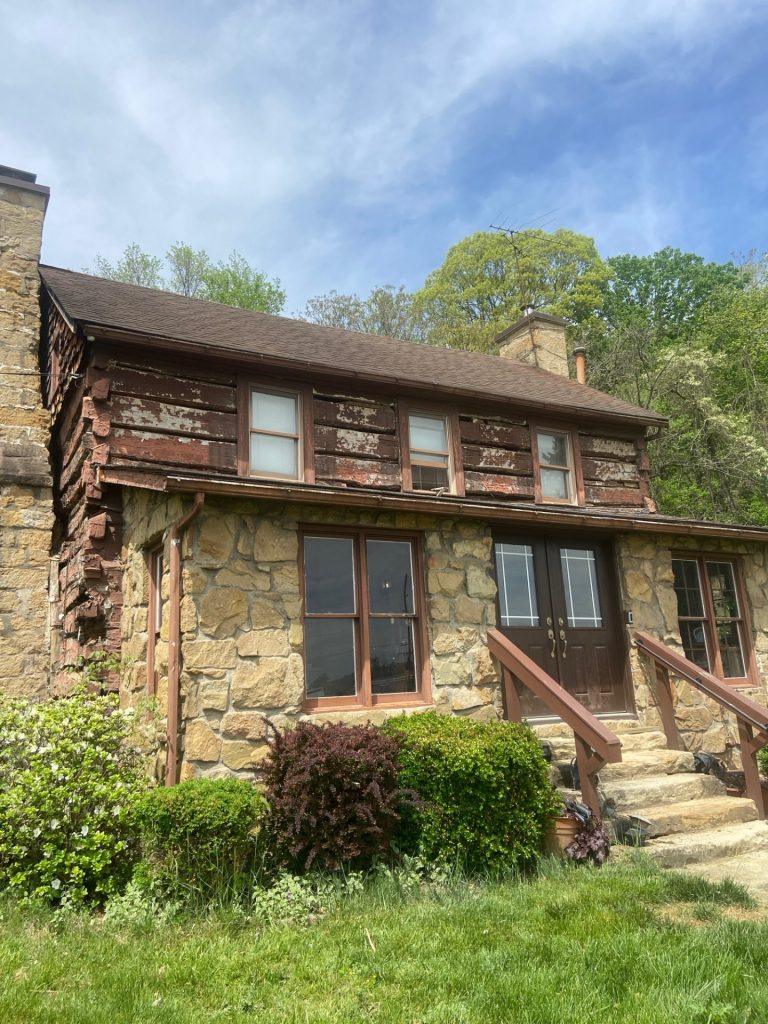
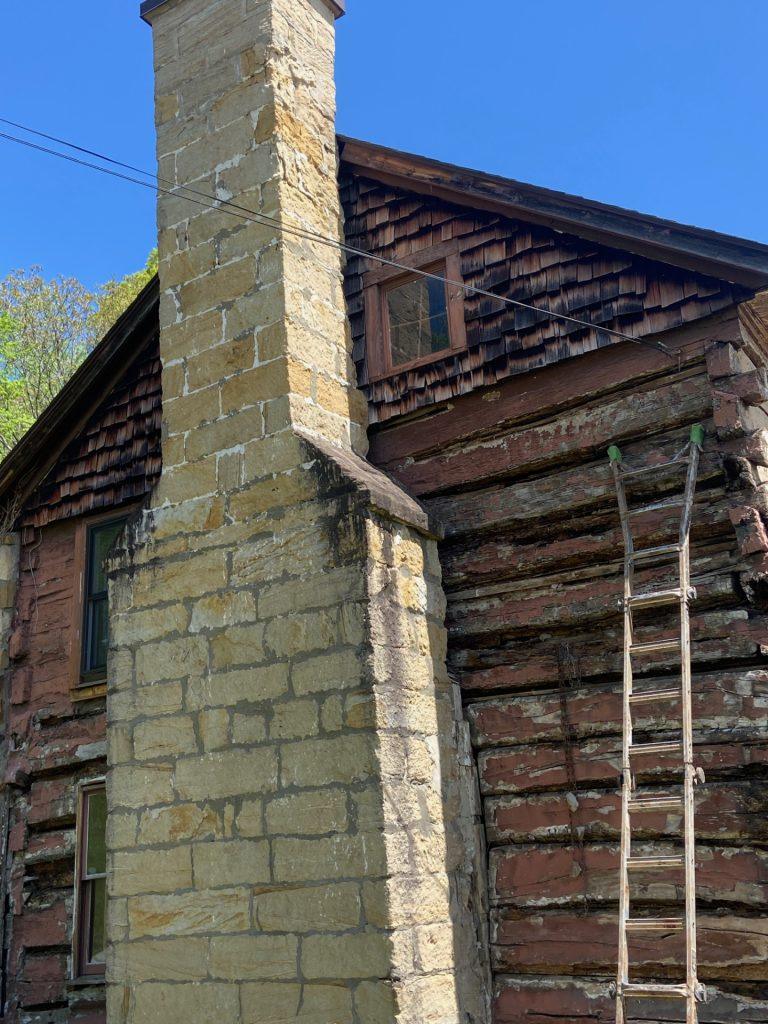
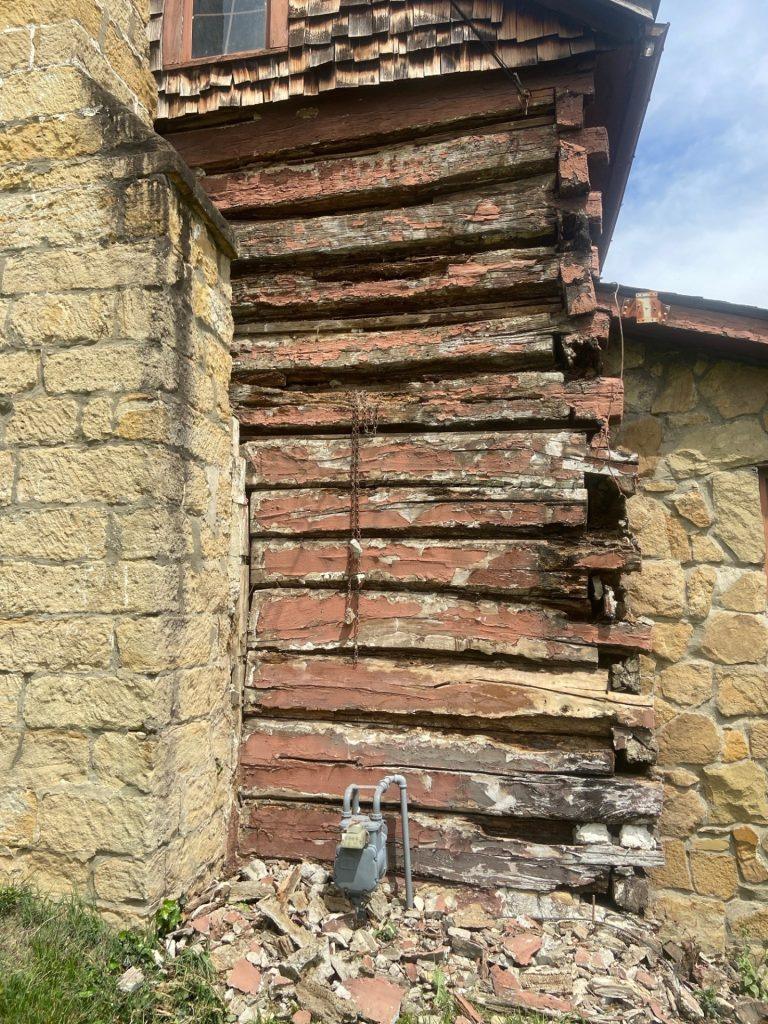
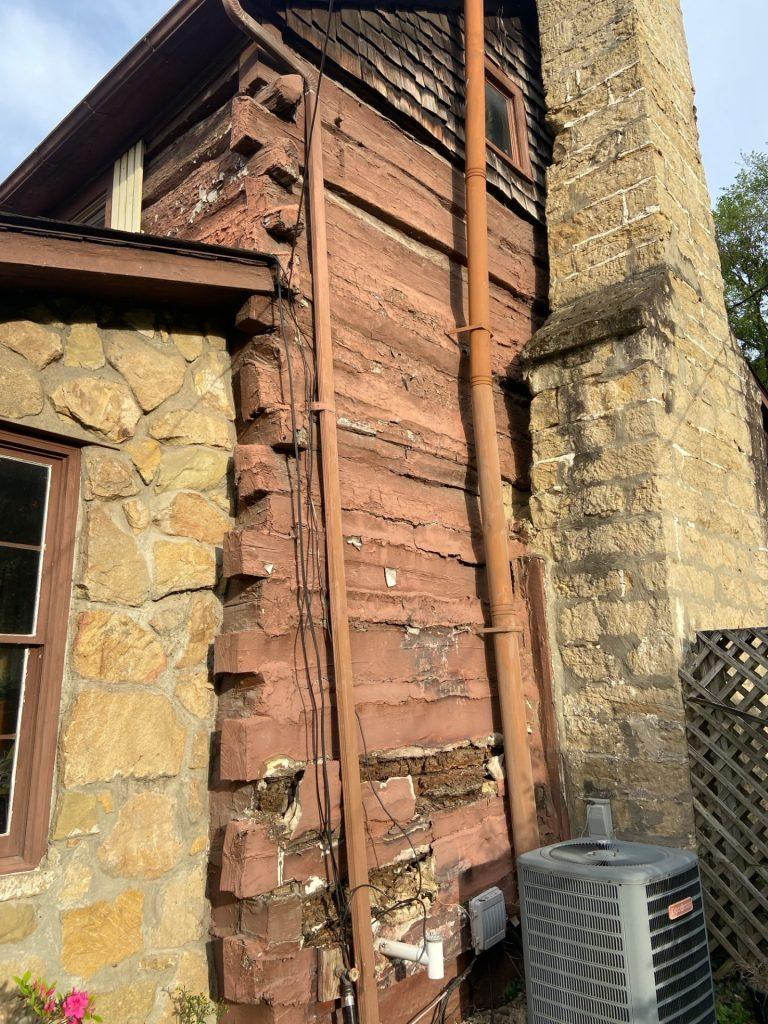
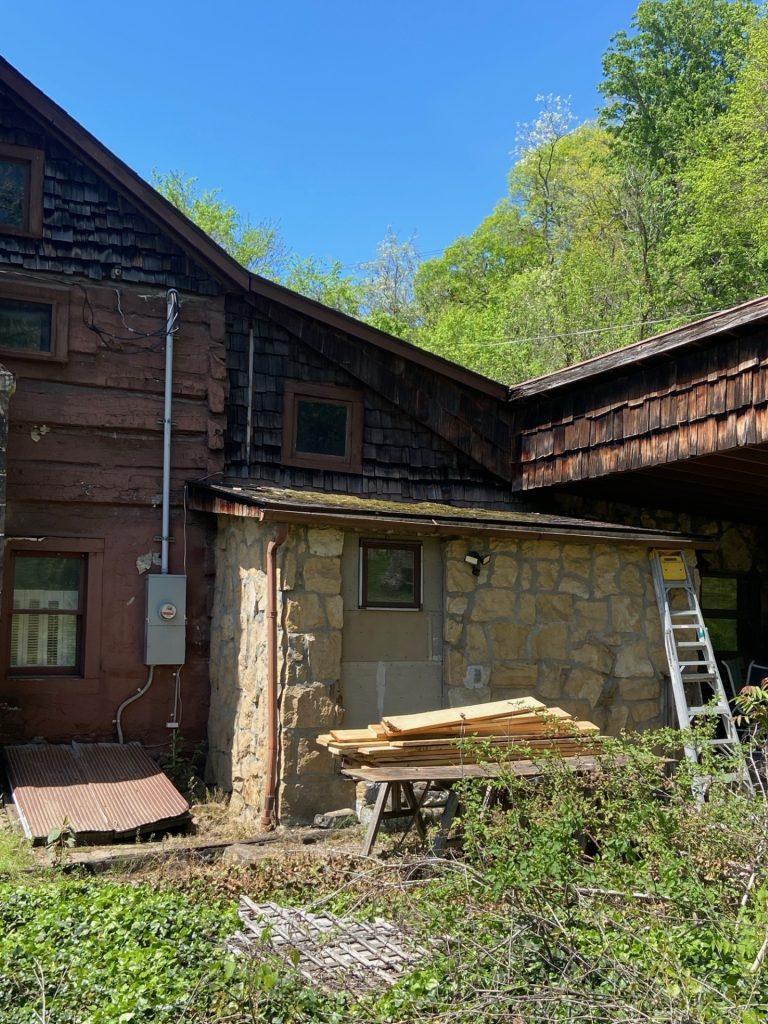
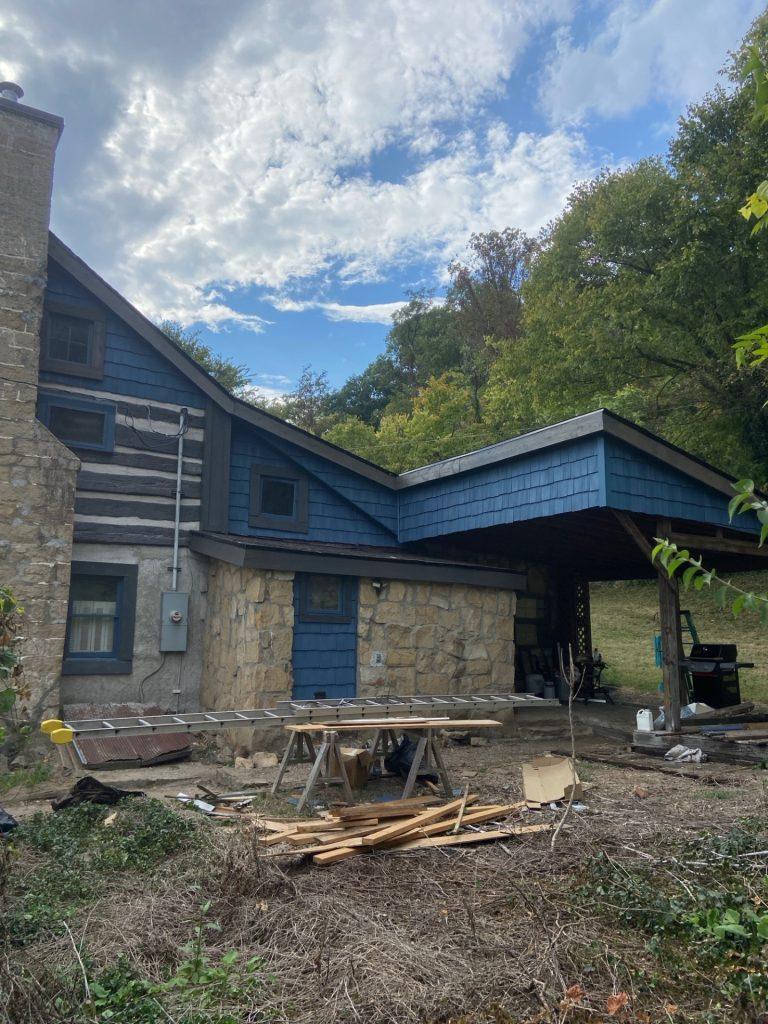
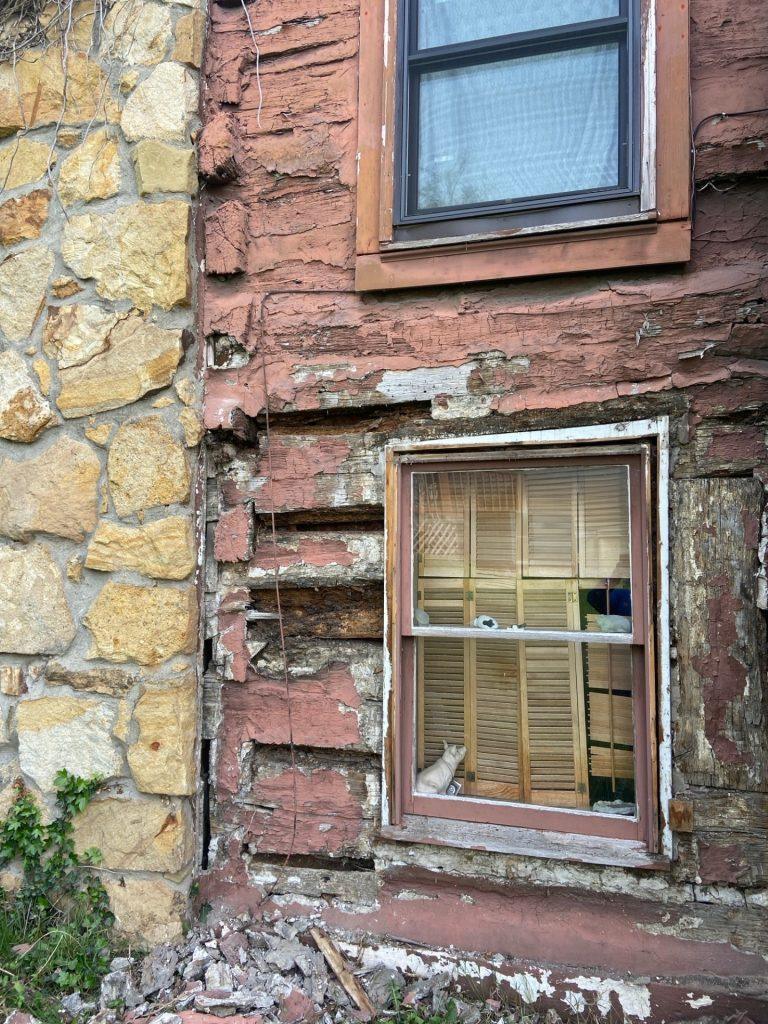
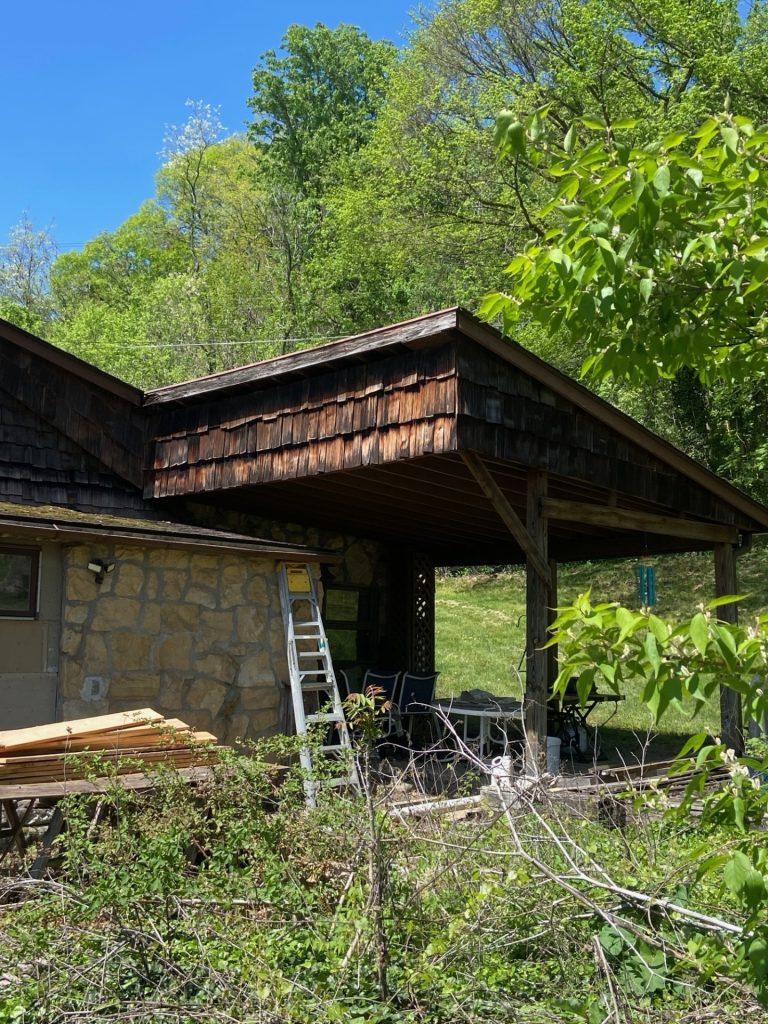
Without proper protection, sunlight and water can break down the wood surface over time – affecting both the look and structural performance of your home.
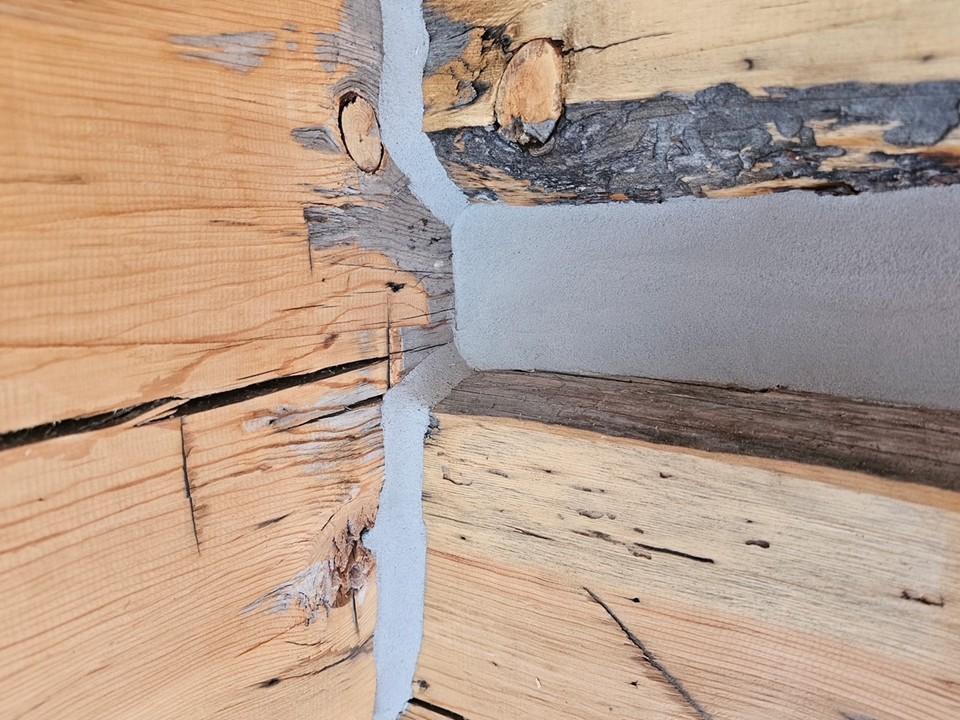
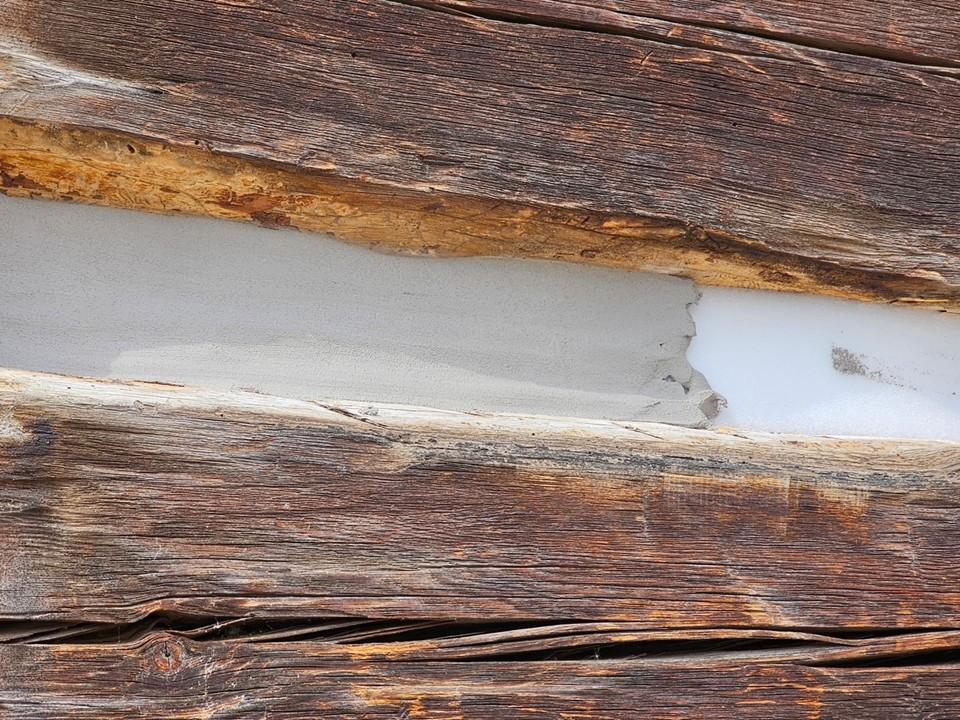
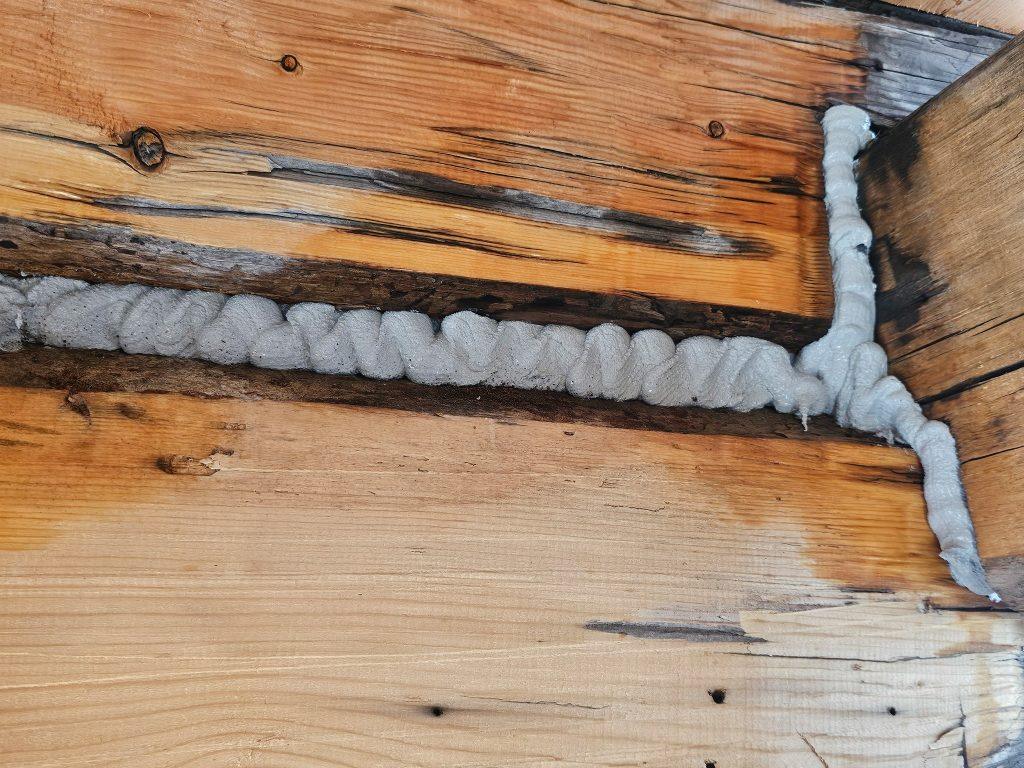
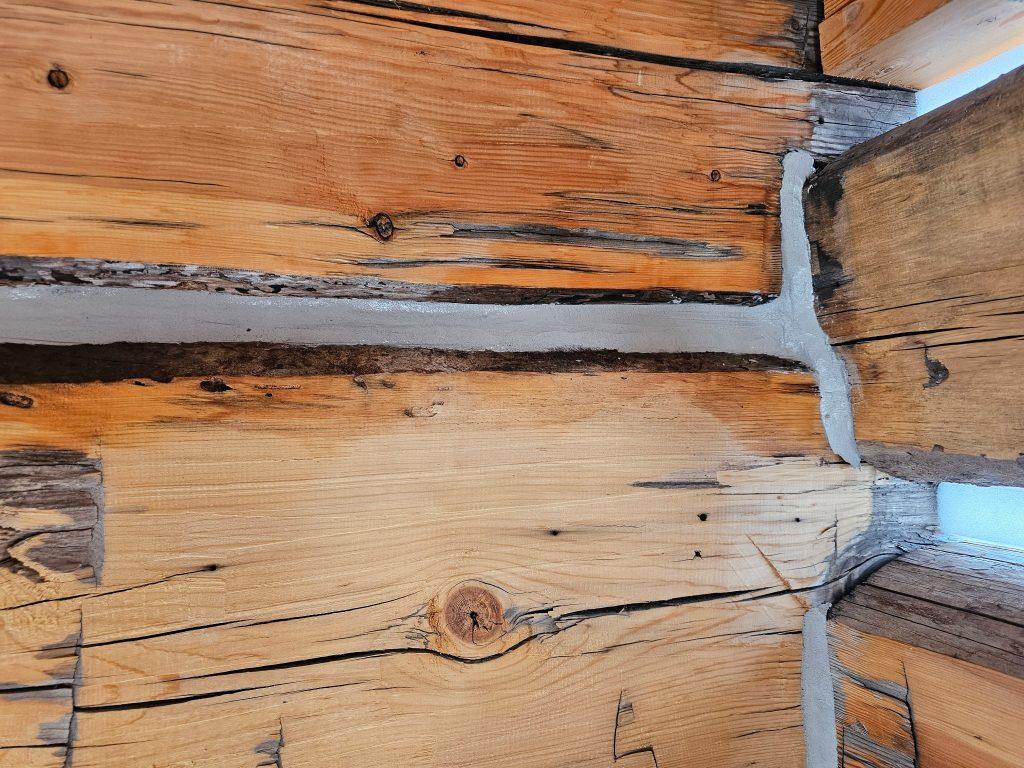
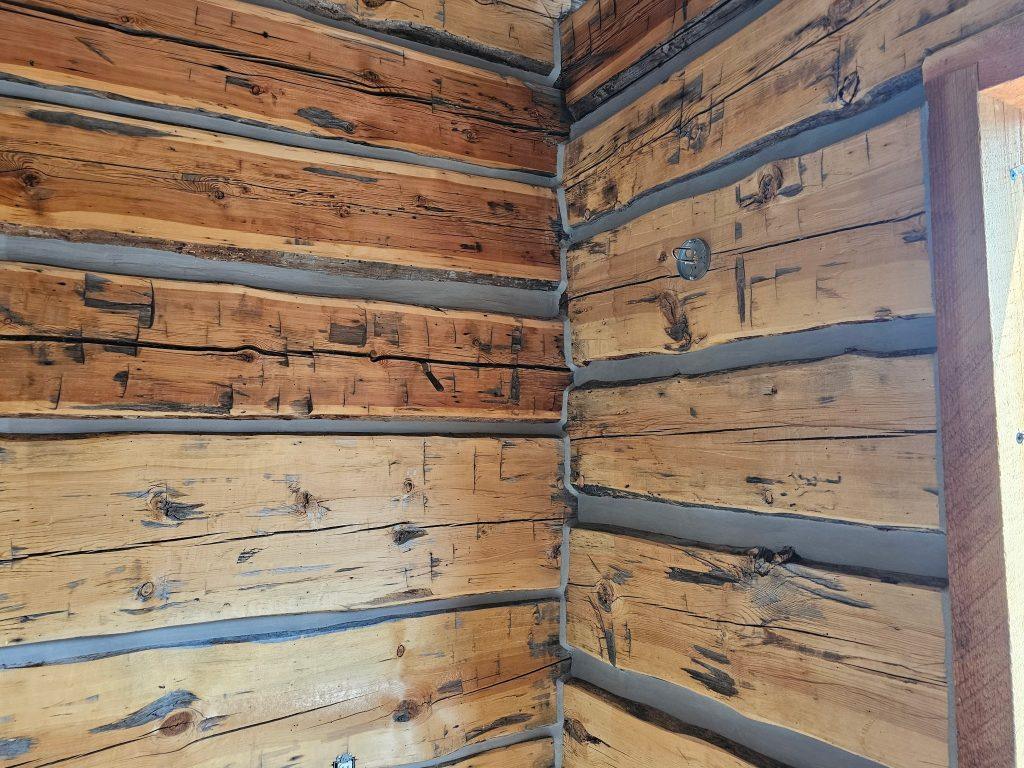
Proper Prep = Maximum Longevity
To achieve the best results and qualify for warranty coverage, proper surface preparation is essential.
REQUIREMENT: Before applying stain, the wood surface must be:
- Clean
- Free of contaminants and residual chemicals
- Completely dry
Proper preparation is one of the most important steps in ensuring a long-lasting, beautiful finish.
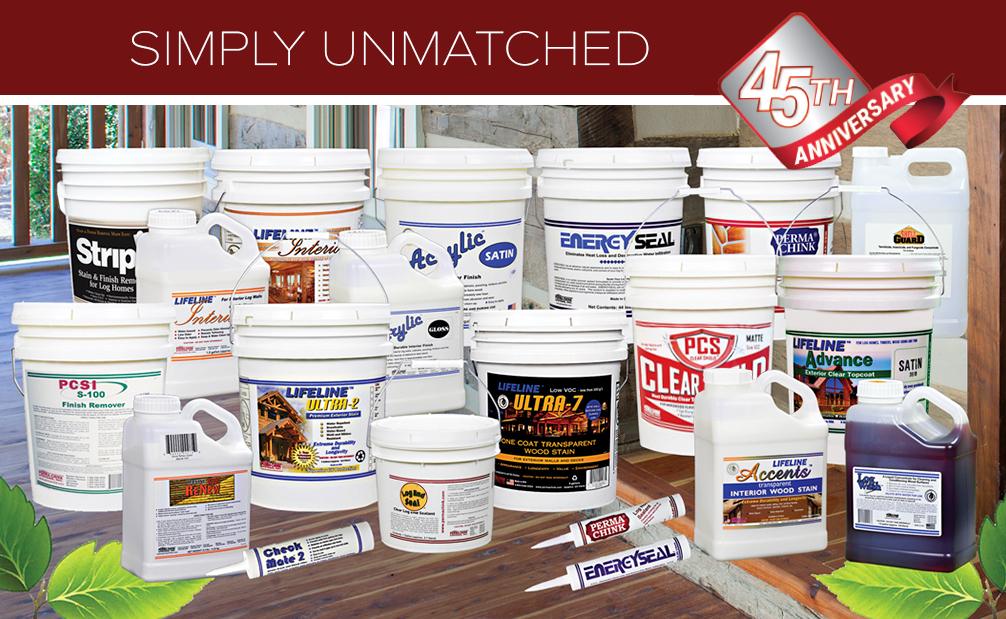
Use the Right Products for Surface Prep
For best results, always use products specifically formulated for log homes.
Log Wash™
Ideal for general cleaning and maintenance. In most cases, this is all you need to prepare your logs before staining.
Wood ReNew™ or Oxcon™
If your wood has experienced UV damage or weathering, these products help remove damaged wood fibers and restore a brighter, healthier surface before staining.
Important:
Rinse thoroughly after cleaning. If unsure, use pH strips to confirm the surface is within a normal range of 6.5–7.5 pH.
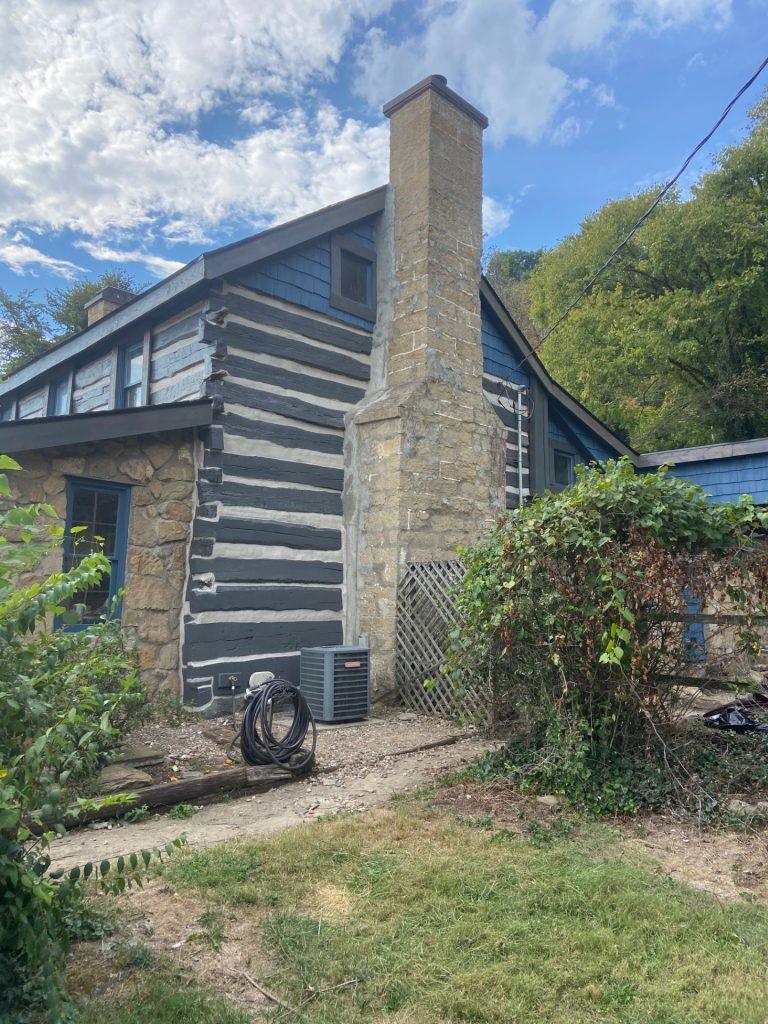
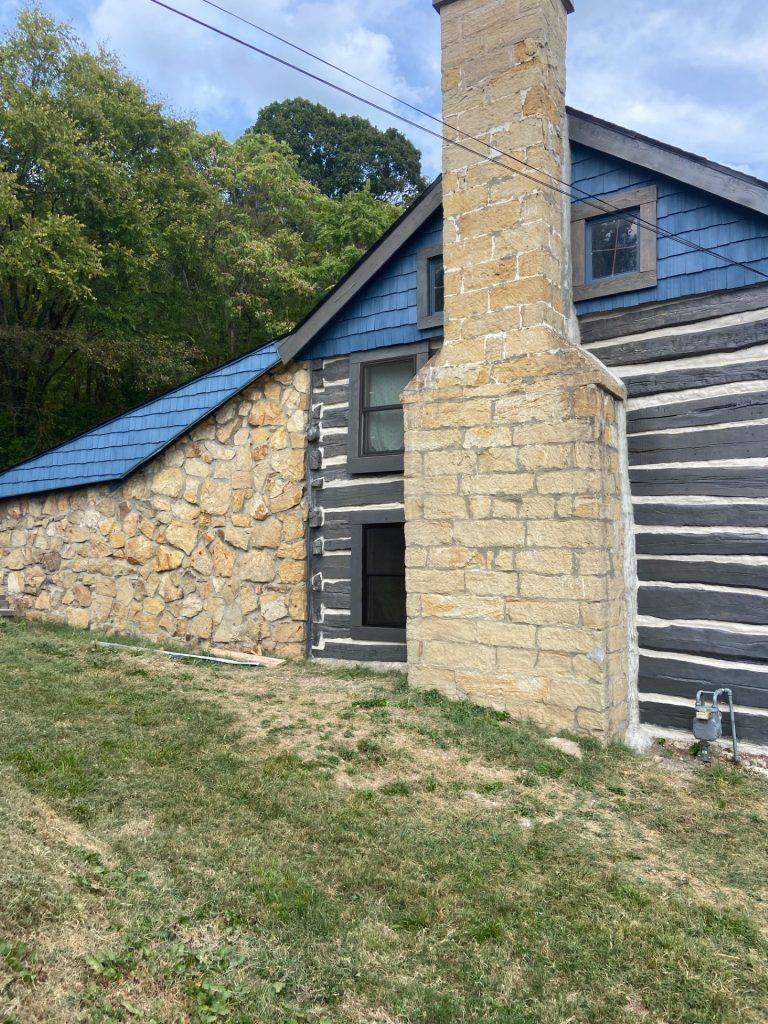
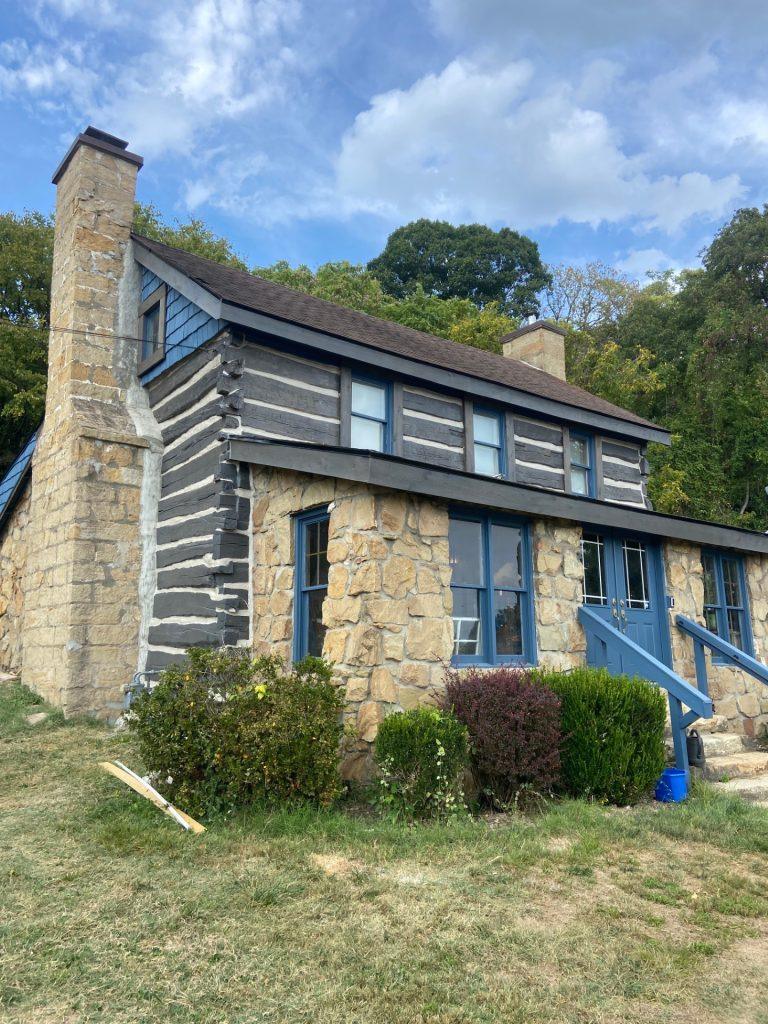
The Lifeline™ System Advantage
Perma-Chink Systems’ Lifeline™ wood finish system is designed to deliver long-term performance and beauty.
Step 1: Stain
Lifeline stains provide rich, natural color while allowing the wood grain to show through – even after years of reapplication.
Step 2: Topcoat
Lifeline Advance™ clear topcoat enhances durability, reduces maintenance, and adds depth and luster to your finish.
Available in:
Benefits of Lifeline Advance™:
- Superior UV protection
- Enhanced durability
- Improved water resistance
- Longer coating life
- Extremely high coverage
- Environmentally friendly
All Lifeline products are designed to be flexible and breathable, allowing moisture vapor to escape while helping prevent water from penetrating the wood.
Think of it like high-performance fabric for your home – durable, protective, and built to move with the natural expansion and contraction of wood.
Why Choose Perma-Chink Systems?
Homeowners and professionals trust Perma-Chink Systems because our products deliver:
- Proven long-term performance
- Beautiful, natural finishes
- Reduced maintenance over time
- A complete, compatible system approach
- Confidence backed by warranty
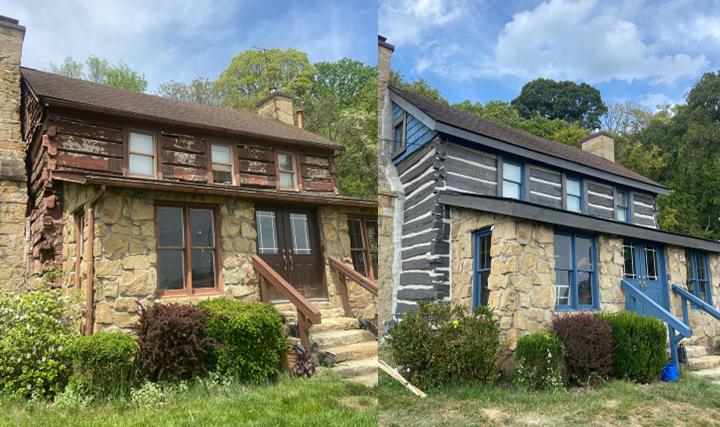
Protect Your Investment
Your log or timber home deserves more than just a finish – it deserves long-term protection.
Choose a system designed for durability, beauty, and performance.
Need Help Getting Started?
Not sure which products you need or how to begin?
Our team is here to help you choose the right system for your project.
Call us 1-800-548-3554