Blog & News
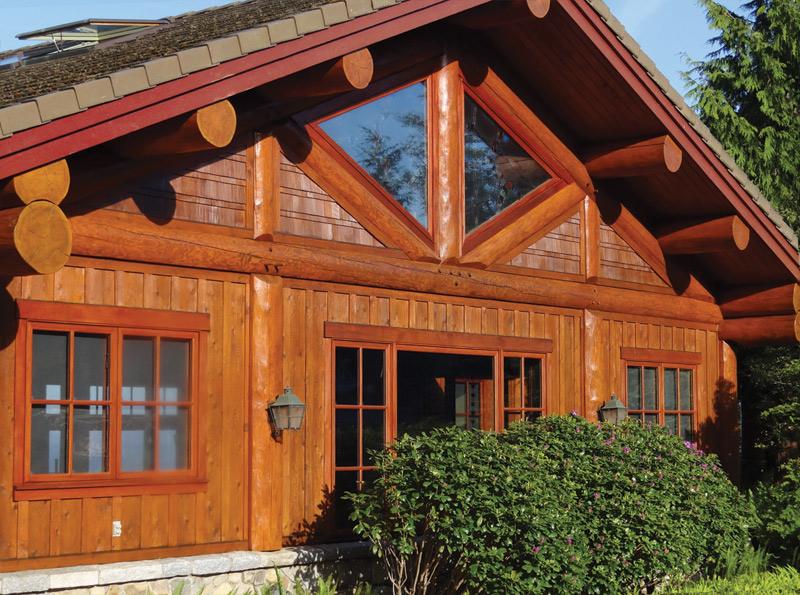
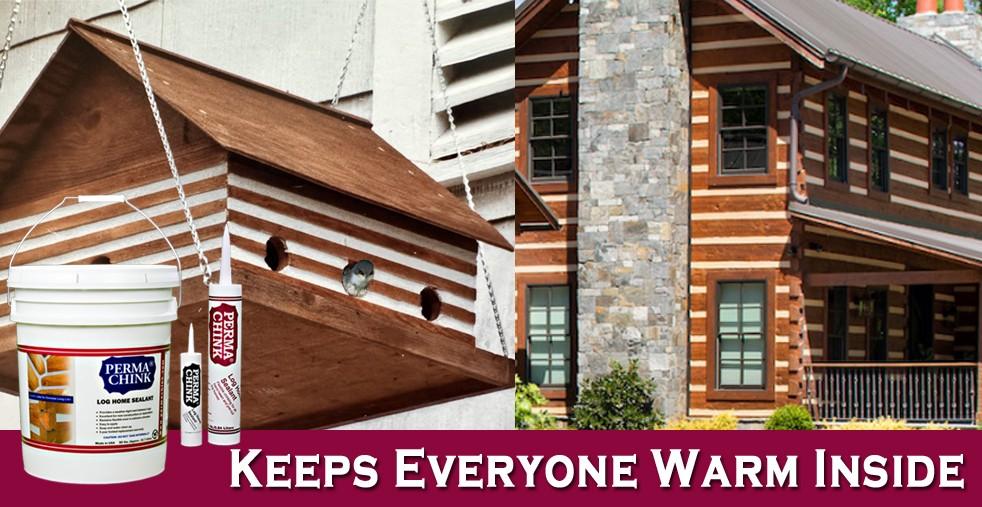
Perma-Chink Systems products protect and enhance more than just log homes.
By Wayne Bell, LogHomeCareOnline.com
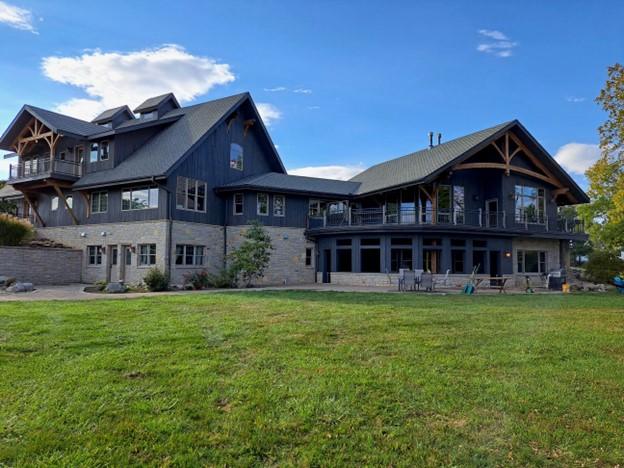
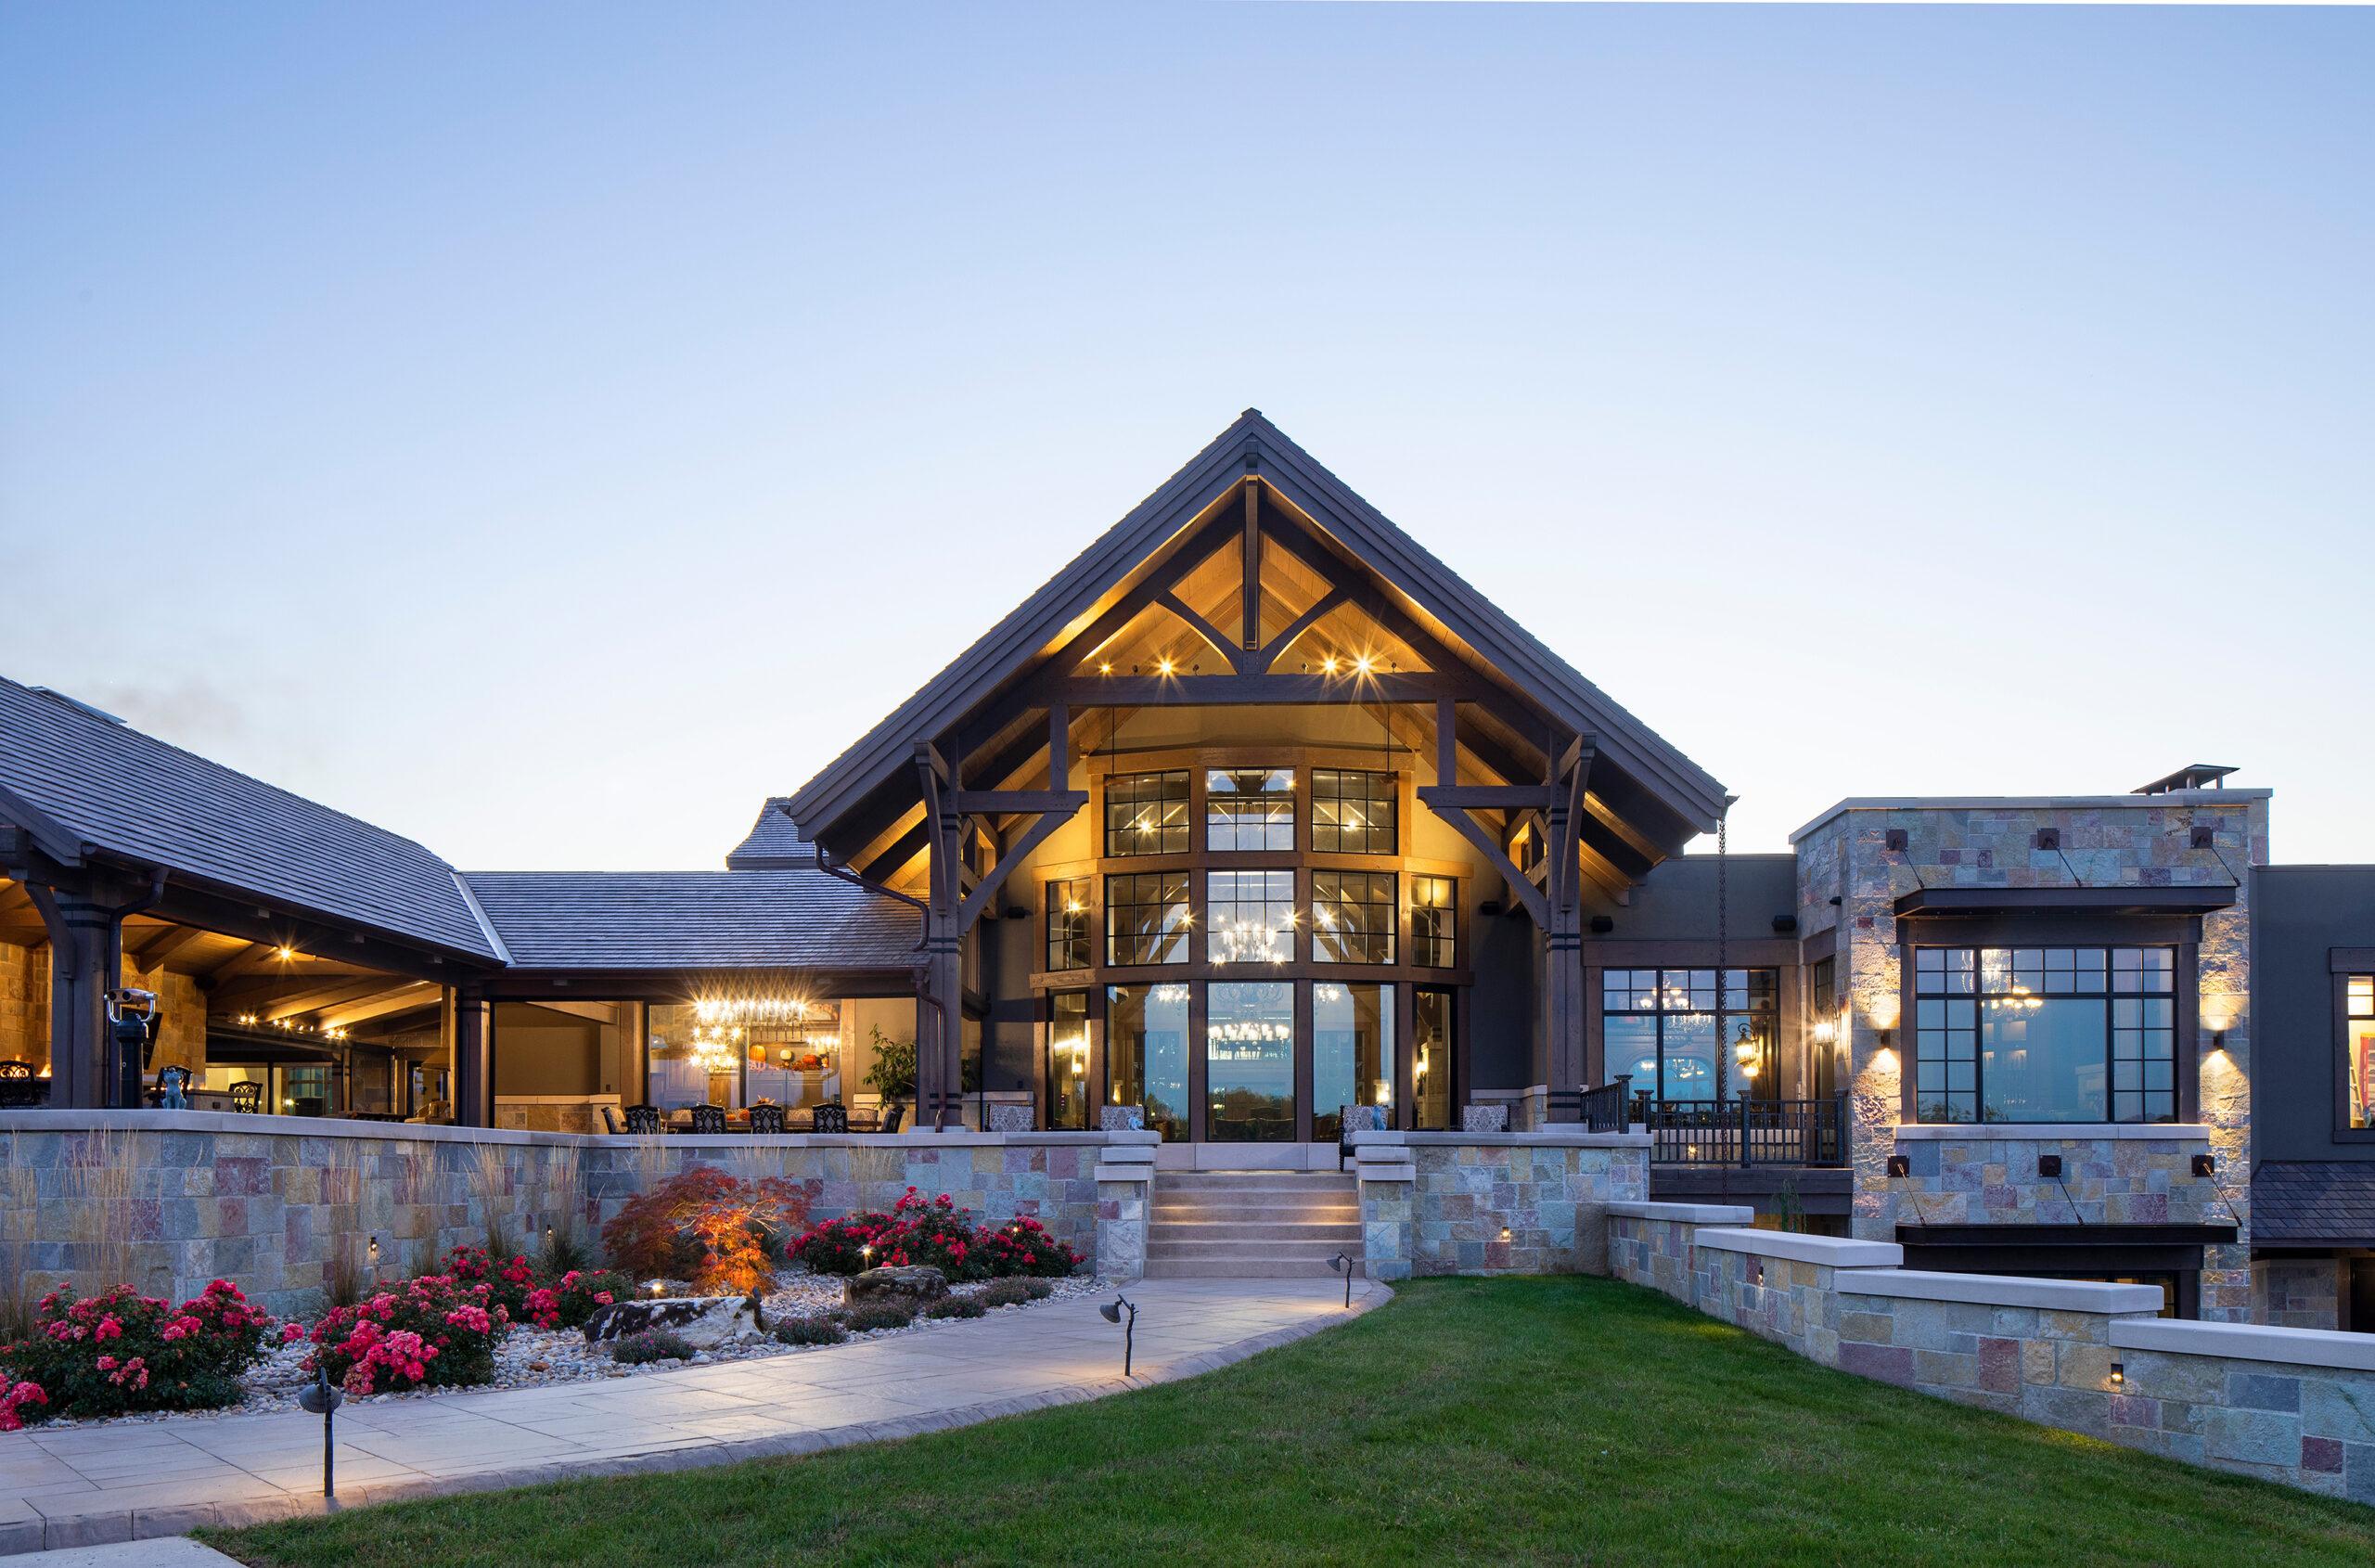
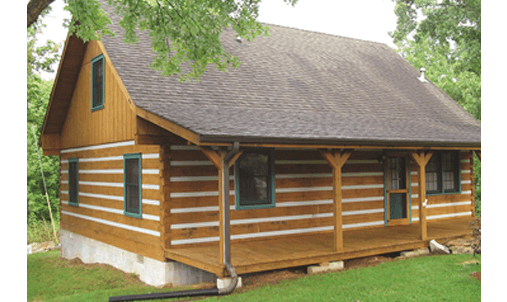
Log homes come in many varieties – milled, hand-scribed, square (Appalachian style) logs, D-logs, and more. Other forms of solid-timber construction include timber frame and post and beam homes, which provide flexibility to build the architectural style of home you desire, from rustic to modern, while employing modern building and energy-efficient construction methods. In this article, we’ll explore the differences between timber frame and post and beam homes compared to traditional log homes.
Some of these homes blend combinations of timber frame, post and beam, log, and even repurposed barn lumber or other building materials. These “hybrid” homes can include SIP (structural insulated panel) walls and roof components to boost energy efficiency.
Timber frame homes feature posts, beams, and trusses that are square or rectangular in design. These timbers are often cut on CNC machines, hand-fit in a shop, machined for proper fasteners, and finally reassembled on-site where wooden pegs hide any fasteners. Timber frame homes typically feature large timbers and intricate hand-pegged mortise-and-tenon joinery. Post and beam homes, while similar, are typically not fit together with joinery but rather beams sit atop the posts where they butt up to other components and are connected by hardware such as metal plates or “T” connectors.
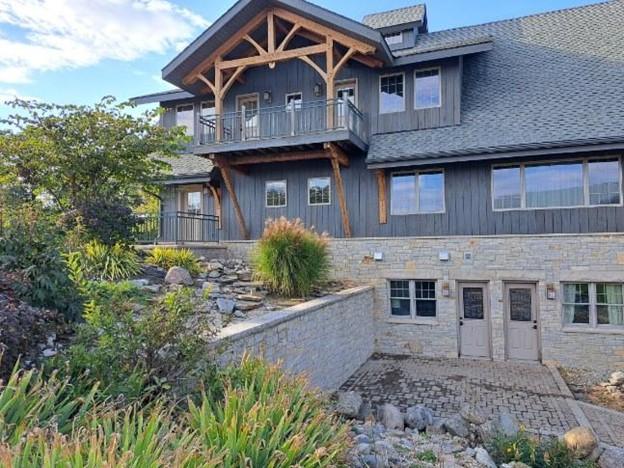
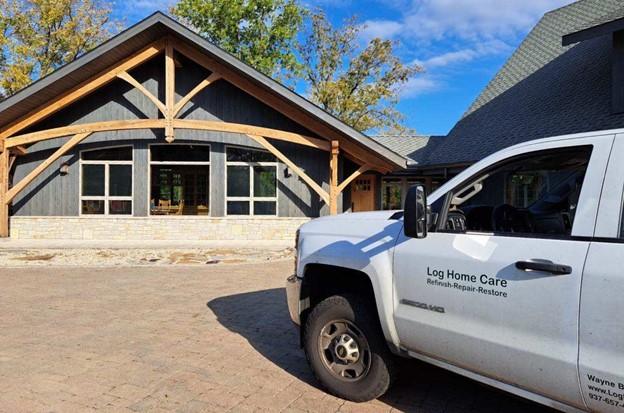
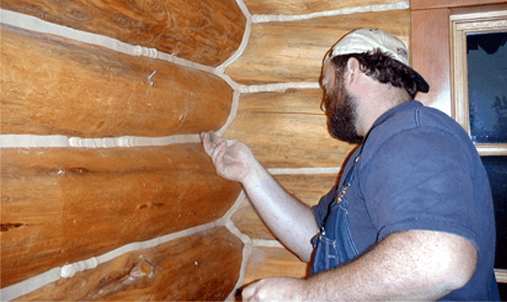
Caring for a timber frame or post and beam home is very similar to maintenance performed with a log home, and Perma-Chink Systems products have earned the respect of professionals everywhere to protect and enhance the appearance of these beautiful structures. Whether you own a traditional log home or a timber frame home that has exquisite wood features, Perma-Chink Systems is the wood care resource you need.
Proper wood care is important, whether it is a log home or a timber home. Perma-Chink Systems has products that protect, beautify, restore, and repair virtually any wood surface. Perma-Chink log home sealant revolutionized the log home industry. Let our wood finishes revolutionize your timber home. Log & Timber Defense and Deck Defense are two products that will work on any home that features real wood, not just log homes. From siding to fences to decks, we have your wood covered.
Images courtesy of Log Home Care Online.
Looking At Refinishing Your Log Home?
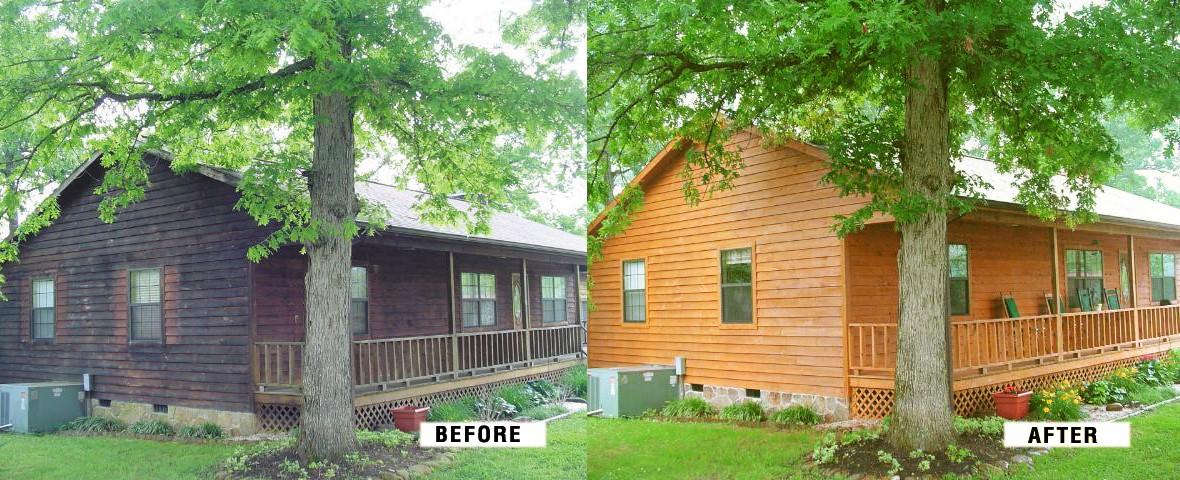
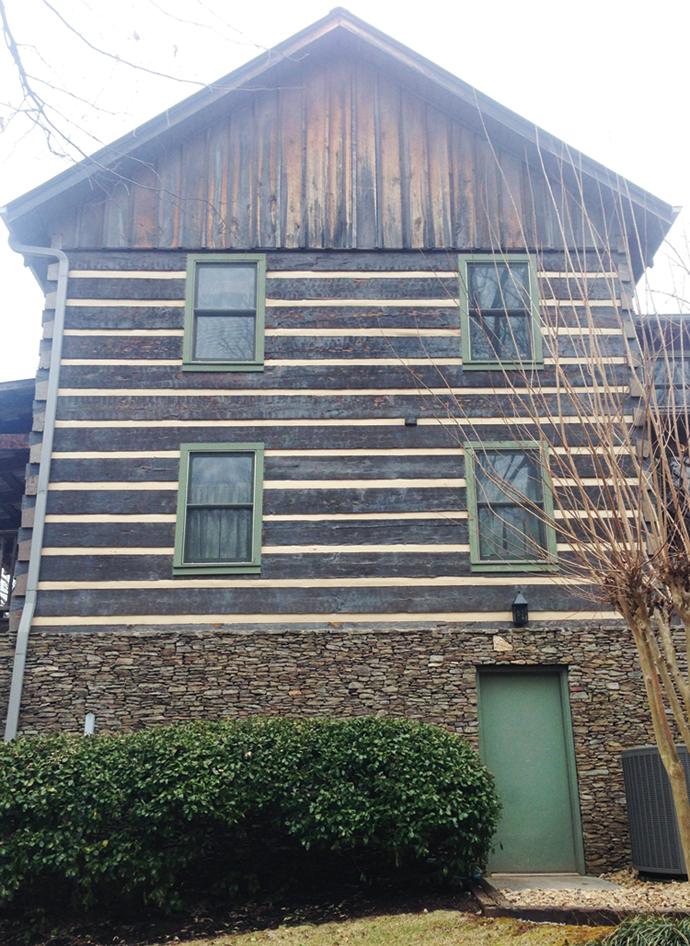
One of the facts of life in preserving the beautiful look of natural logs is that they eventually need to be refinished. Conventional homes are repainted, but log homes are restained. There is a lot more to consider with the latter: Is the existing finish intact enough to simply restain? Do you want to restain in a different color? Has the home been a little neglected in the past? Are there water stains or you want a lighter color, what do you do?
If the stain is aged or has water stains, or the logs look quite weathered, returning the logs to a consistent natural appearance is necessary in the restaining process. But what options do you have for getting those logs back to their natural look before applying the stain? We have listed the options for finish removal below, to help you determine which method is the best choice for your situation.
Removing Finishes With Chemical Strippers
If the existing stain is completely worn out, and needs to be removed, finish remover (chemical strippers) is an option. Finish removers do not dissolve finishes; they only soften them enough to allow the finish to be removed with pressure washing. Some finish removers are more environmentally-friendly than others. Never use finish removers containing potassium or sodium hydroxide as they disrupt the chemistry of the wood, leading to discolorations appearing under the finish. Before purchasing any finish remover, be sure to obtain a sample and test it on your existing finish to see how well it works. You can order your free samples online of our StripIt or S-100 removers by clicking on the product name. For a DIY’er, this method can be the easiest method.
To see a video displaying how S-100 works, click here.
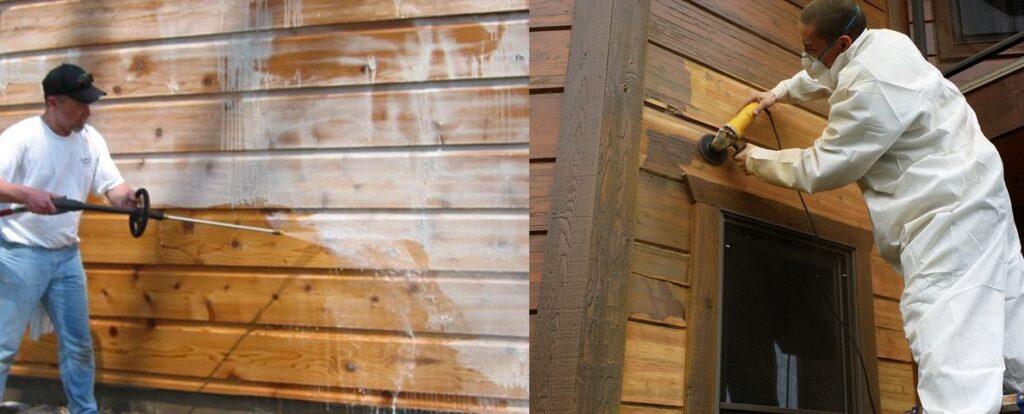
Removing Finishes By Sanding Logs
Sanding off the finish is an option. The problem is trying to work with a flat belt on round logs (with lots of corners and crevices) makes sanding a time-consuming process and a lot of work.
The use of sanding disks rather than sandpaper can save you both time and money, but you need to be careful not to create swirl marks in the wood. When sanding exterior surfaces, never use anything finer than 80 grit. You can order Sanding Disks and Osborn brushes on our online store under tools.
Removing Finishes by Using Media Blasting
Sandblasting is yet another alternative, the downside is sand chews up the logs and you are left with a whole pile of it surrounding the house.
A faster and also environmentally-friendly method of removing old finishes from log homes is the Blaster-Buddy. Instead of sand, the blast media used to abrade the finish off the wood is recycled crushed glass. We prefer crushed glass since it is very efficient, relatively inexpensive, and does not impregnate the wood with organic material that can later mold. Also, it is lighter than sand so it removes the stain but doesn’t harm the wood as much. With dry media, you don’t run the risk of blowing water into your house. It will re-expose those beautiful logs quickly and affords minimal cleanup.
There Are Options To Make Your Project A Success
Restaining a log home can be a traumatic process if you’re unaware of the best methods of finish removal, but it is a necessary evil. Do it right – do it as cleanly, efficiently, and easily as possible. You can rent the equipment and do it yourself or hire someone to do it for you. We usually advise do-it-yourself homeowners to use chemical finish removers along with pressure washing because the process can be easily accomplished by the average homeowner. And since it is less susceptible to surface damage, chemical finish removers result in a more attractive finished surface. And we all know the best result of a project is ensuring a proper foundation – or prep work – goes along way in making the job go smoothly.
More than 20 years has passed since NASCAR’s Mike Helton announced to the world, “we lost Dale Earnhardt.” Arguably one of the greatest racers ever, Earnhardt both divided and united fans with his on-track persona as “The Intimidator” and his relationship with his fans and fellow drivers. His loss is still felt within the racing community. In remembrance of Earnhardt on the anniversary of his death at the end of the 2001 Daytona 500, our own late Tony Huddleston conveys working with Earnhardt on his log home years earlier.
THE LEGEND LIVED IN A LOG HOME
My first meeting with Dale Earnhardt happened at the Knoxville airport as he flew in to meet with me regarding the color choices on his new home. I took stain samples with me for the meeting and he and I applied what we currently had, and he was very clear that he wanted it darker and felt I should travel to the jobsite so we could work out the colors.
I made the trip to Mooresville, NC a short time later armed with a bevy of various tints and clear base to tint the product on the site. Upon arrival at the site, I was unable to find Dale and one of the workers in the shop told me he was down at the chicken house, and to just drive on down to find him. I found Dale working on a piece of equipment and after we talked a bit he said “let’s go up to the house and see what we can put together”. As we approached my truck he said “Give me your truck keys and I will drive.” I asked, “Can you drive a Ford?”, as he was definitely a Chevrolet man. He said “I used to drive a Ford and, as a matter of fact, it was pink one.”
Once at the house, he and I kept adjusting the tint strength and he kept insisting that he wanted it darker, after several tries, we actually ended up with a color he liked, and it was very dark. I remember a comment from one of his crew members asking Dale if he was going to paint a big white number three on the roof to match his car.
Back to Knoxville with the selected color and we worked up the product so I could take it back and get his approval of the color before going any further. He did approve the color and plans went forward for the application. He insisted that I be available at various times for the application to insure the progress.
During the visits to the site, I learned that Dale was a very intense person and worked very hard when he was home. It seemed that he never got many spare moments due to the race schedule and the constant phone calls for him. He always found time when I was there to talk and discuss his project. Being on site various times, I was always welcomed by him and his wife Teresa, and was invited to go with him to the Charlotte night race where they would be racing under the lights for the first time. I have to say I was not prepared for the intensity and pace of the race and the activity that went on in the pits. Crewmembers were friendly, as was team owner Richard Childress, but it was very clear their focus was on the task at hand during the race. Some time later the next year, I received a call from Dale inviting me to the Daytona 500, he said “If you can get here, I would like to have you and everything is on me.”
In looking back at my short-lived association with Dale and those around him, I found him to be pleasant, yet demanding of those around him, and everyone worked hard to make him successful in his endeavors. It truly was a great experience for me, and it was like a family as everyone was fully involved and doing their part.
– The late Tony Huddleston, VP of Sales and Operation
The Legacy of Dale Earnhardt’s Log Home
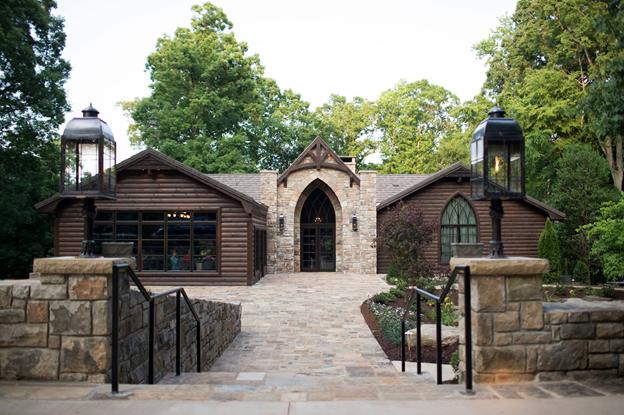
Today, the grounds of Dale Earnhardt Incorporated no longer house the burgeoning race team led by the legendary driver. Instead, the property has been developed as a premier venue space with a unique history. The Venues at Dale Earnhardt Incorporated is now known as the area’s best venue for corporate and private events, with multiple facilities including the former home of Earnhardt. Whether you are looking for a pristine location for your wedding and reception or a corporate event, be sure to check this place. The Legend lived here.
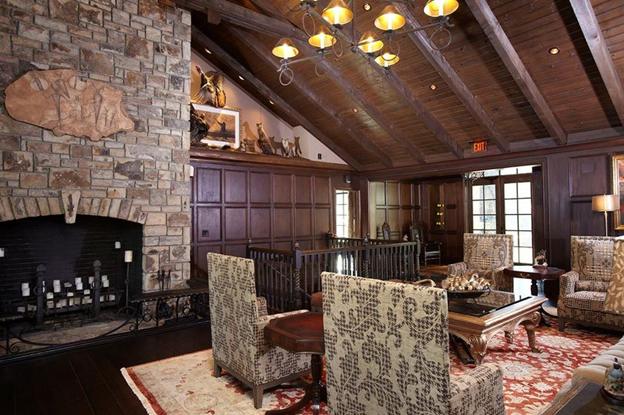
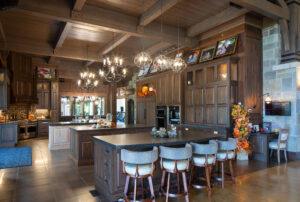
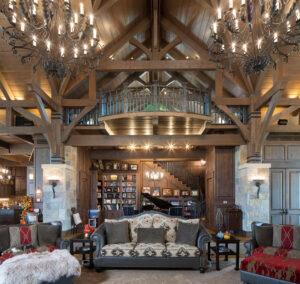
The Lodge
A luxurious log home sitting on pristine grounds overlooking a lake. Old World charm is in the interior decor highlighted by the large stone fireplace. Outside you will find covered and open decks, stone patios and beautifully manicured lawns which give entertaining an over-the-top outdoor experience.
The Pavillion
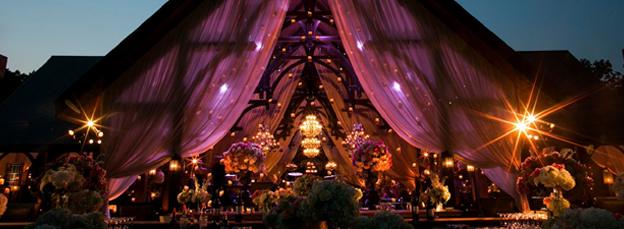
For more information regarding the event facilities at Dale Earnhardt Incorporated, visit http://www.daleearnhardtvenues.com/.

Making an Old Deck New Again with Deck Defense
By Danny M. Nichols
A Transforming Experience
Spring finally arrived. With continued rains in our area, much of spring silently slipped away before we realized summer 2020 was upon us and a project launched the year before needed to be completed. A house my wife and I own and currently used as a rental house was in dire need of renovation. During a short period in 2019 when the house was empty, we set about doing a facelift of the entire interior of the home. Walls were painted, some new fixtures installed and floors were sanded and refinished throughout the house.
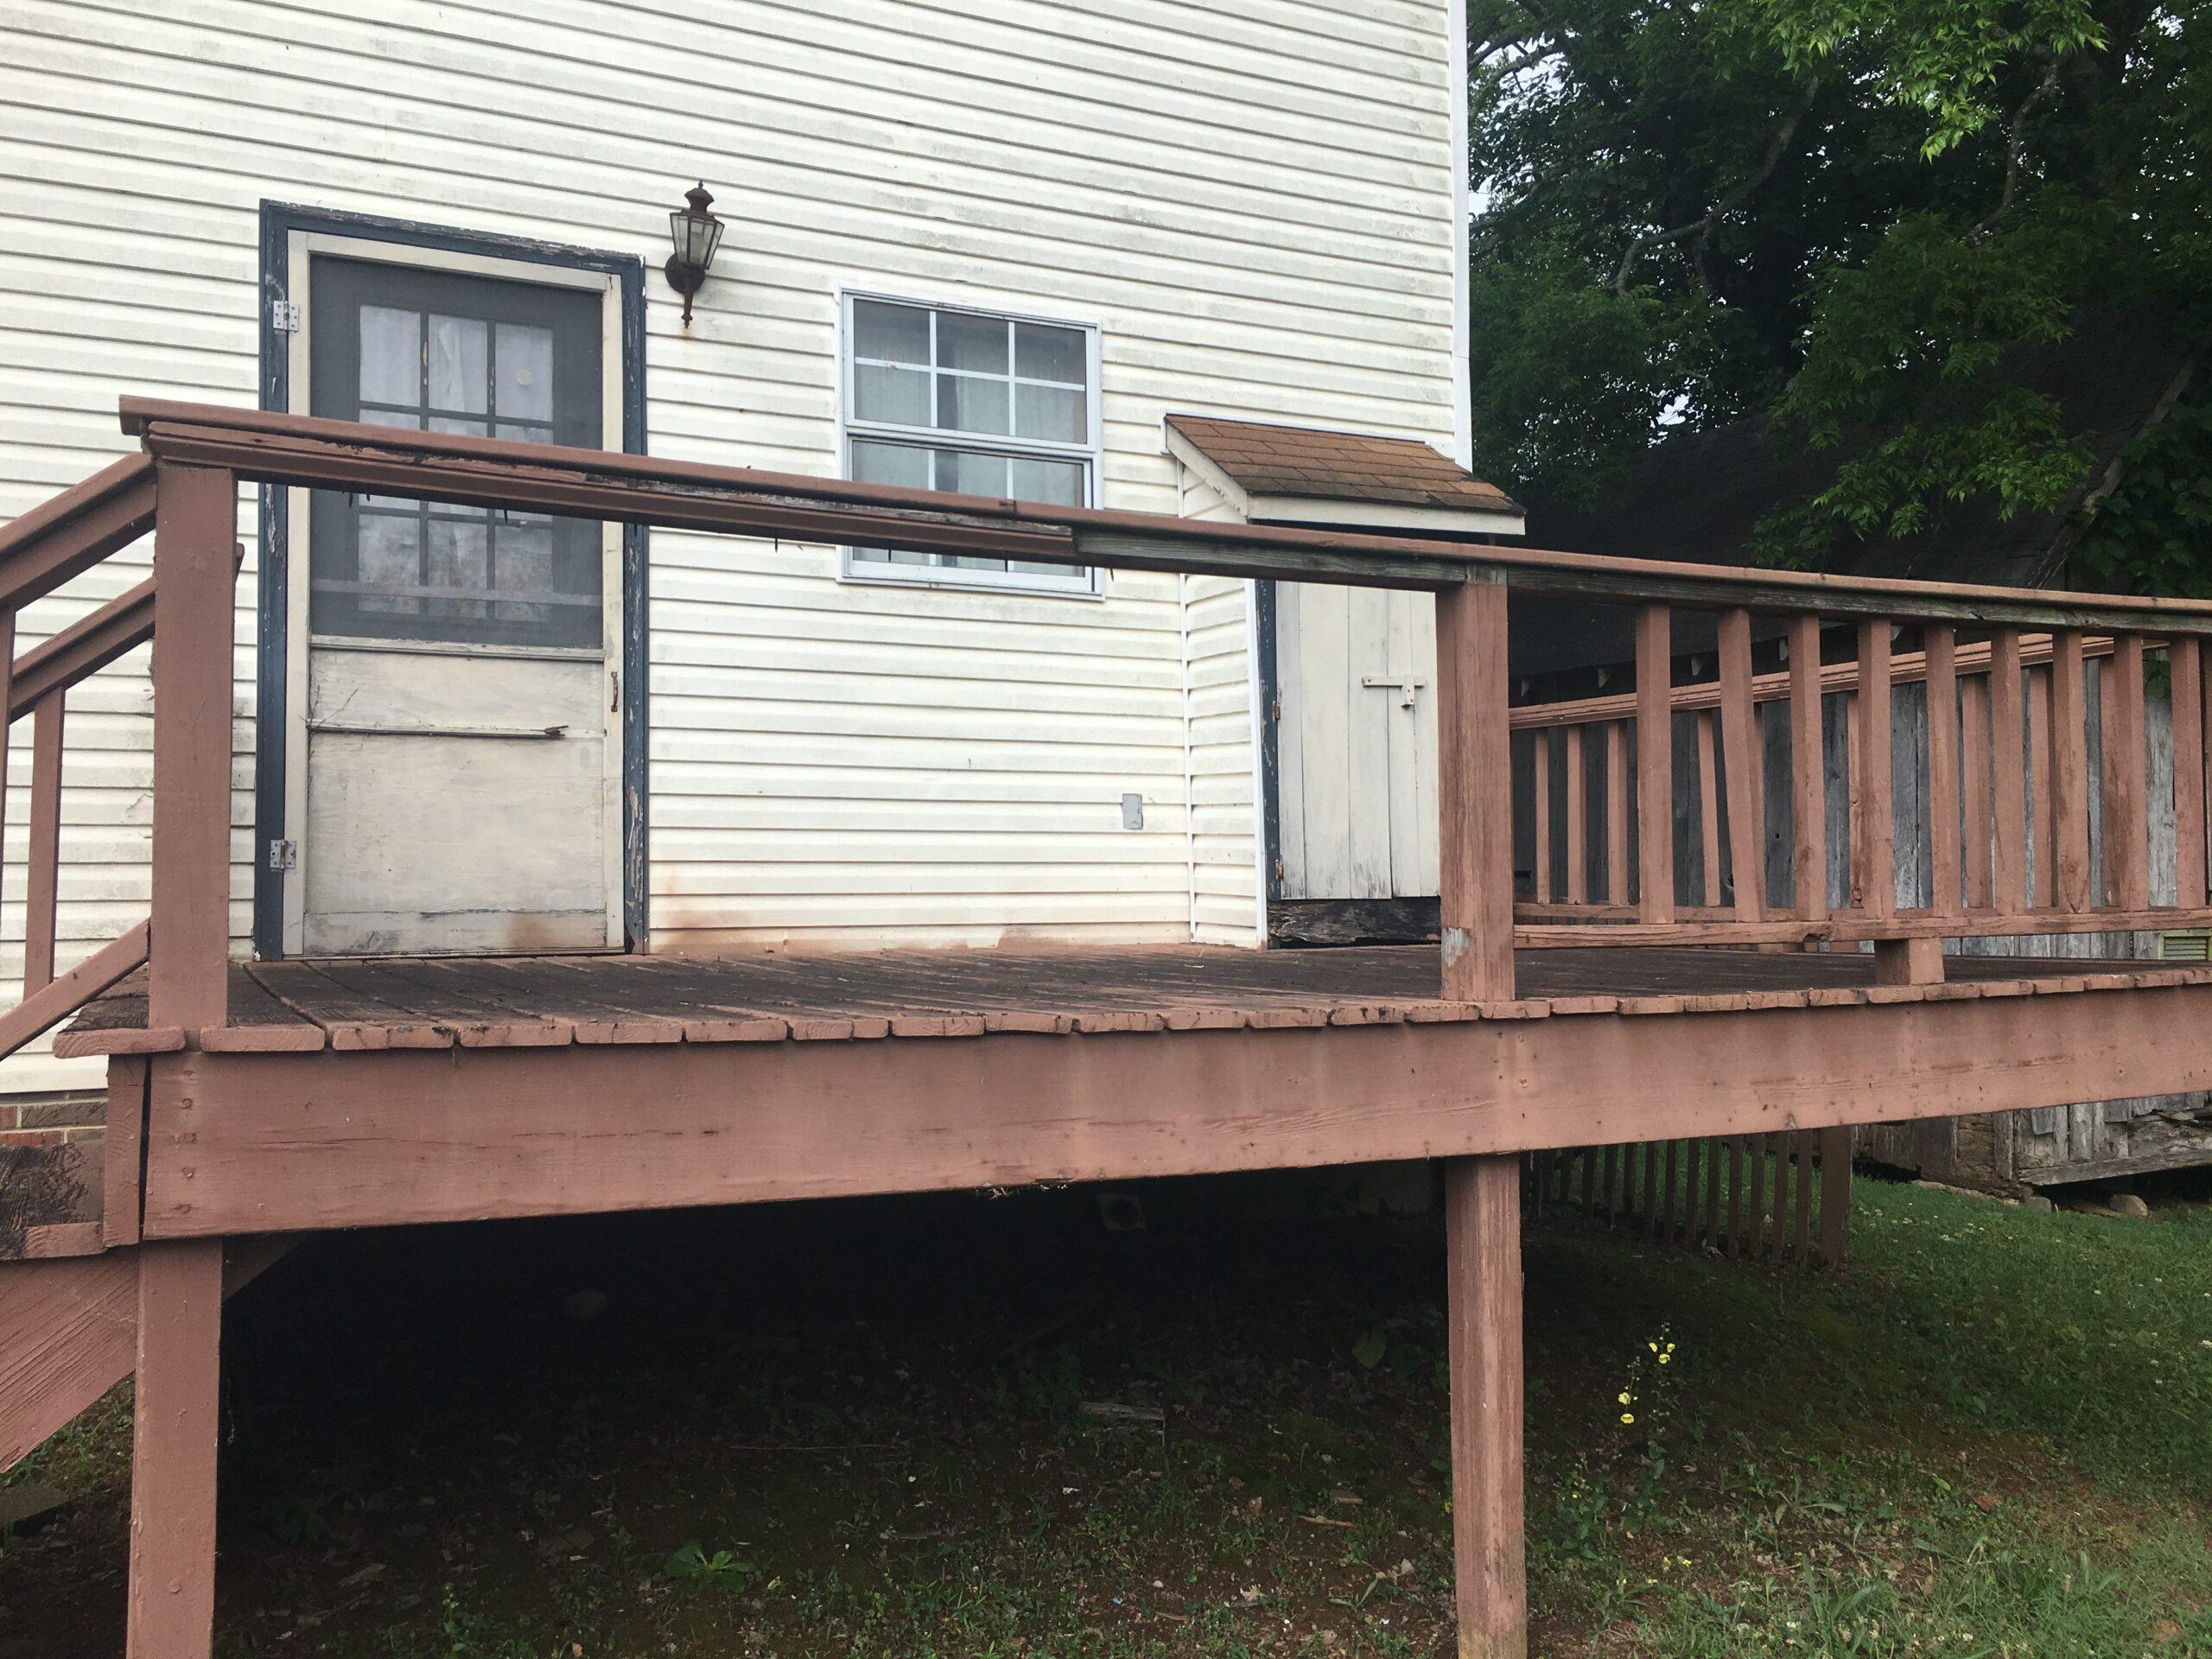
With the inside of the house finished and ready to go, a new renter moved in whose priorities did not immediately include the need or use of the wooden deck outside the kitchen door. The deck was built as an original feature of the house in 1990 and was much-used when my wife was raising her children there. Most of the outside woodwork of the home was in need of painting or replacing. To put it more correctly, it looked sad. We agreed to wait until the following spring to tackle the deck and front porch needs.
Assessment
The front porch posts, gingerbread trimmings and door could all do with a fresh coat of paint. The wooden deck off the kitchen, however, needed a miracle. Floor boards had deteriorated as well as the steps, banister and railings. Only the treated 4×4 wooden posts and floor joists providing the underneath support for the deck were still holding up well. A new deck floor would have to be constructed along with new banisters and railing. And finally, a sealer with stain would have to be applied to the boards.
Action
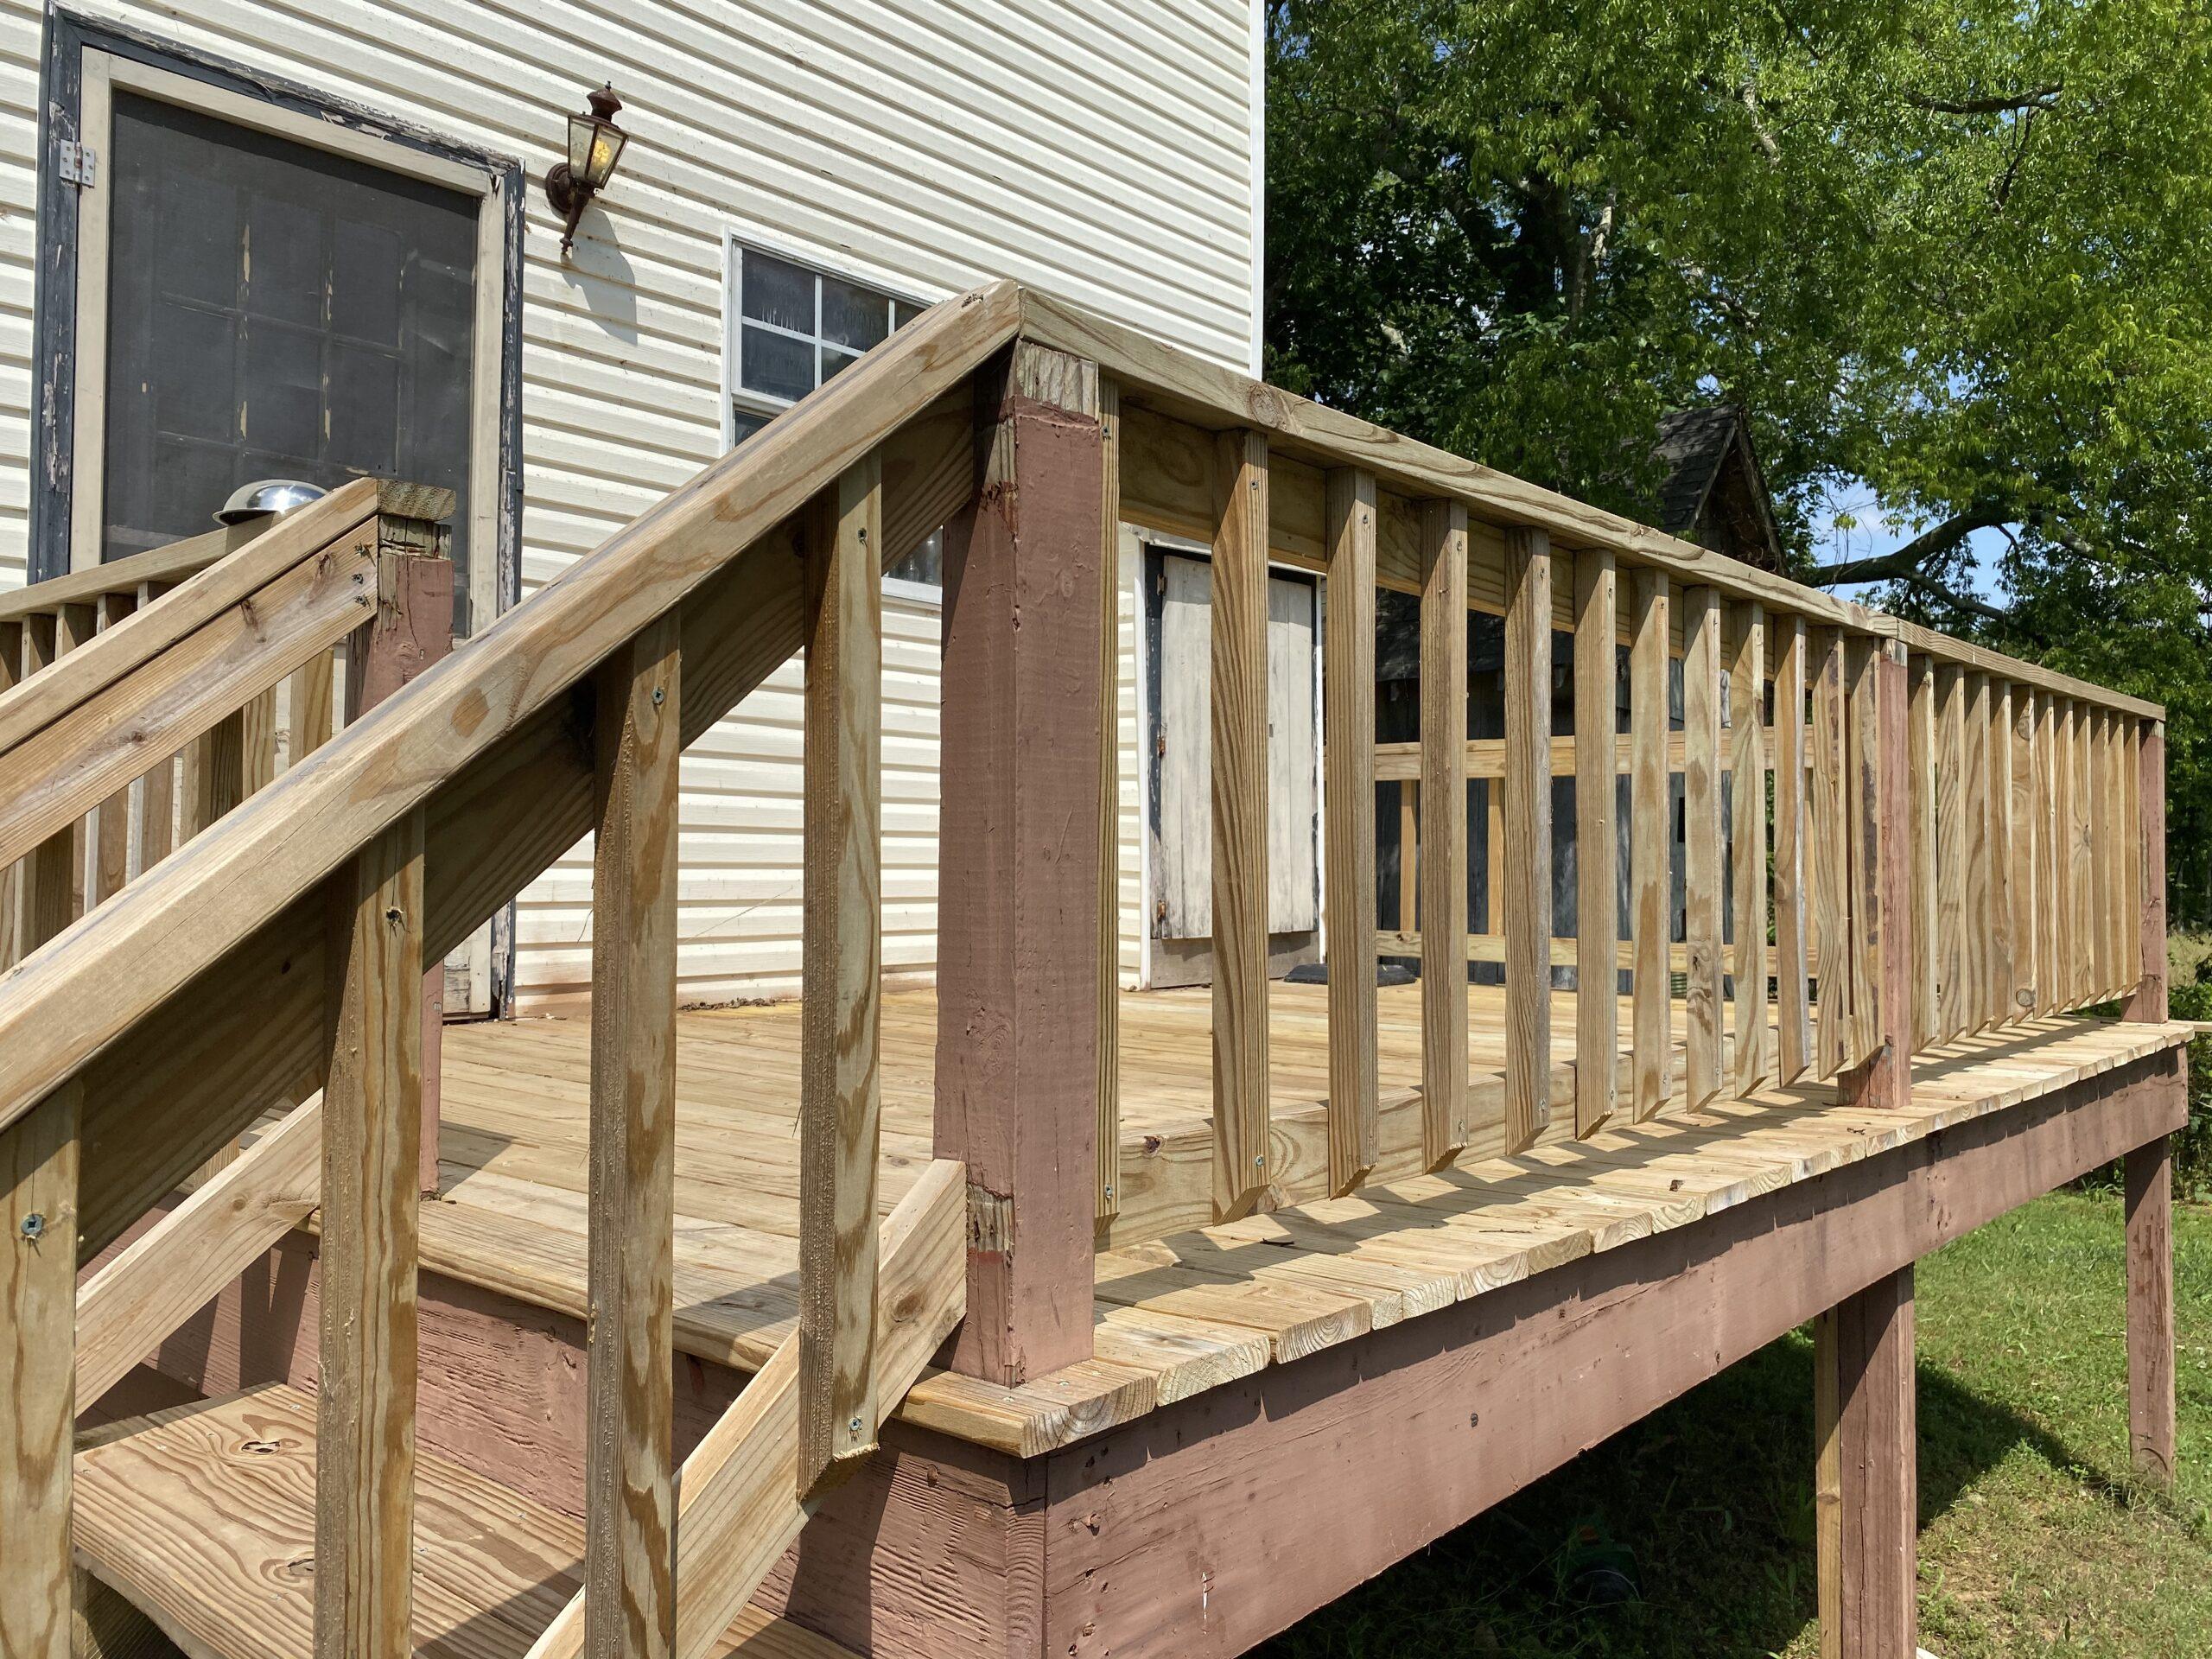
Off with the old and on with the new! Our first step involved moving all the old boards and railings. To our dismay and surprise, all the deck boards were nailed with 3” construction grade nails making them a bit difficult to remove. The upside was that it may well have been those nails that helped this deck survive the 30 years of its life!
Once all the deck boards and railings were removed, we hired a carpentry service to install all new wood again.
Affixed in place during the fall and winter, the deck boards were allowed to dry thoroughly before attempting to stain and finish the floor. This provided us with an opportunity to search and compare the various stains and finishes available in the marketplace. Our desire was not to have to reapply a finish to the deck for a long time.
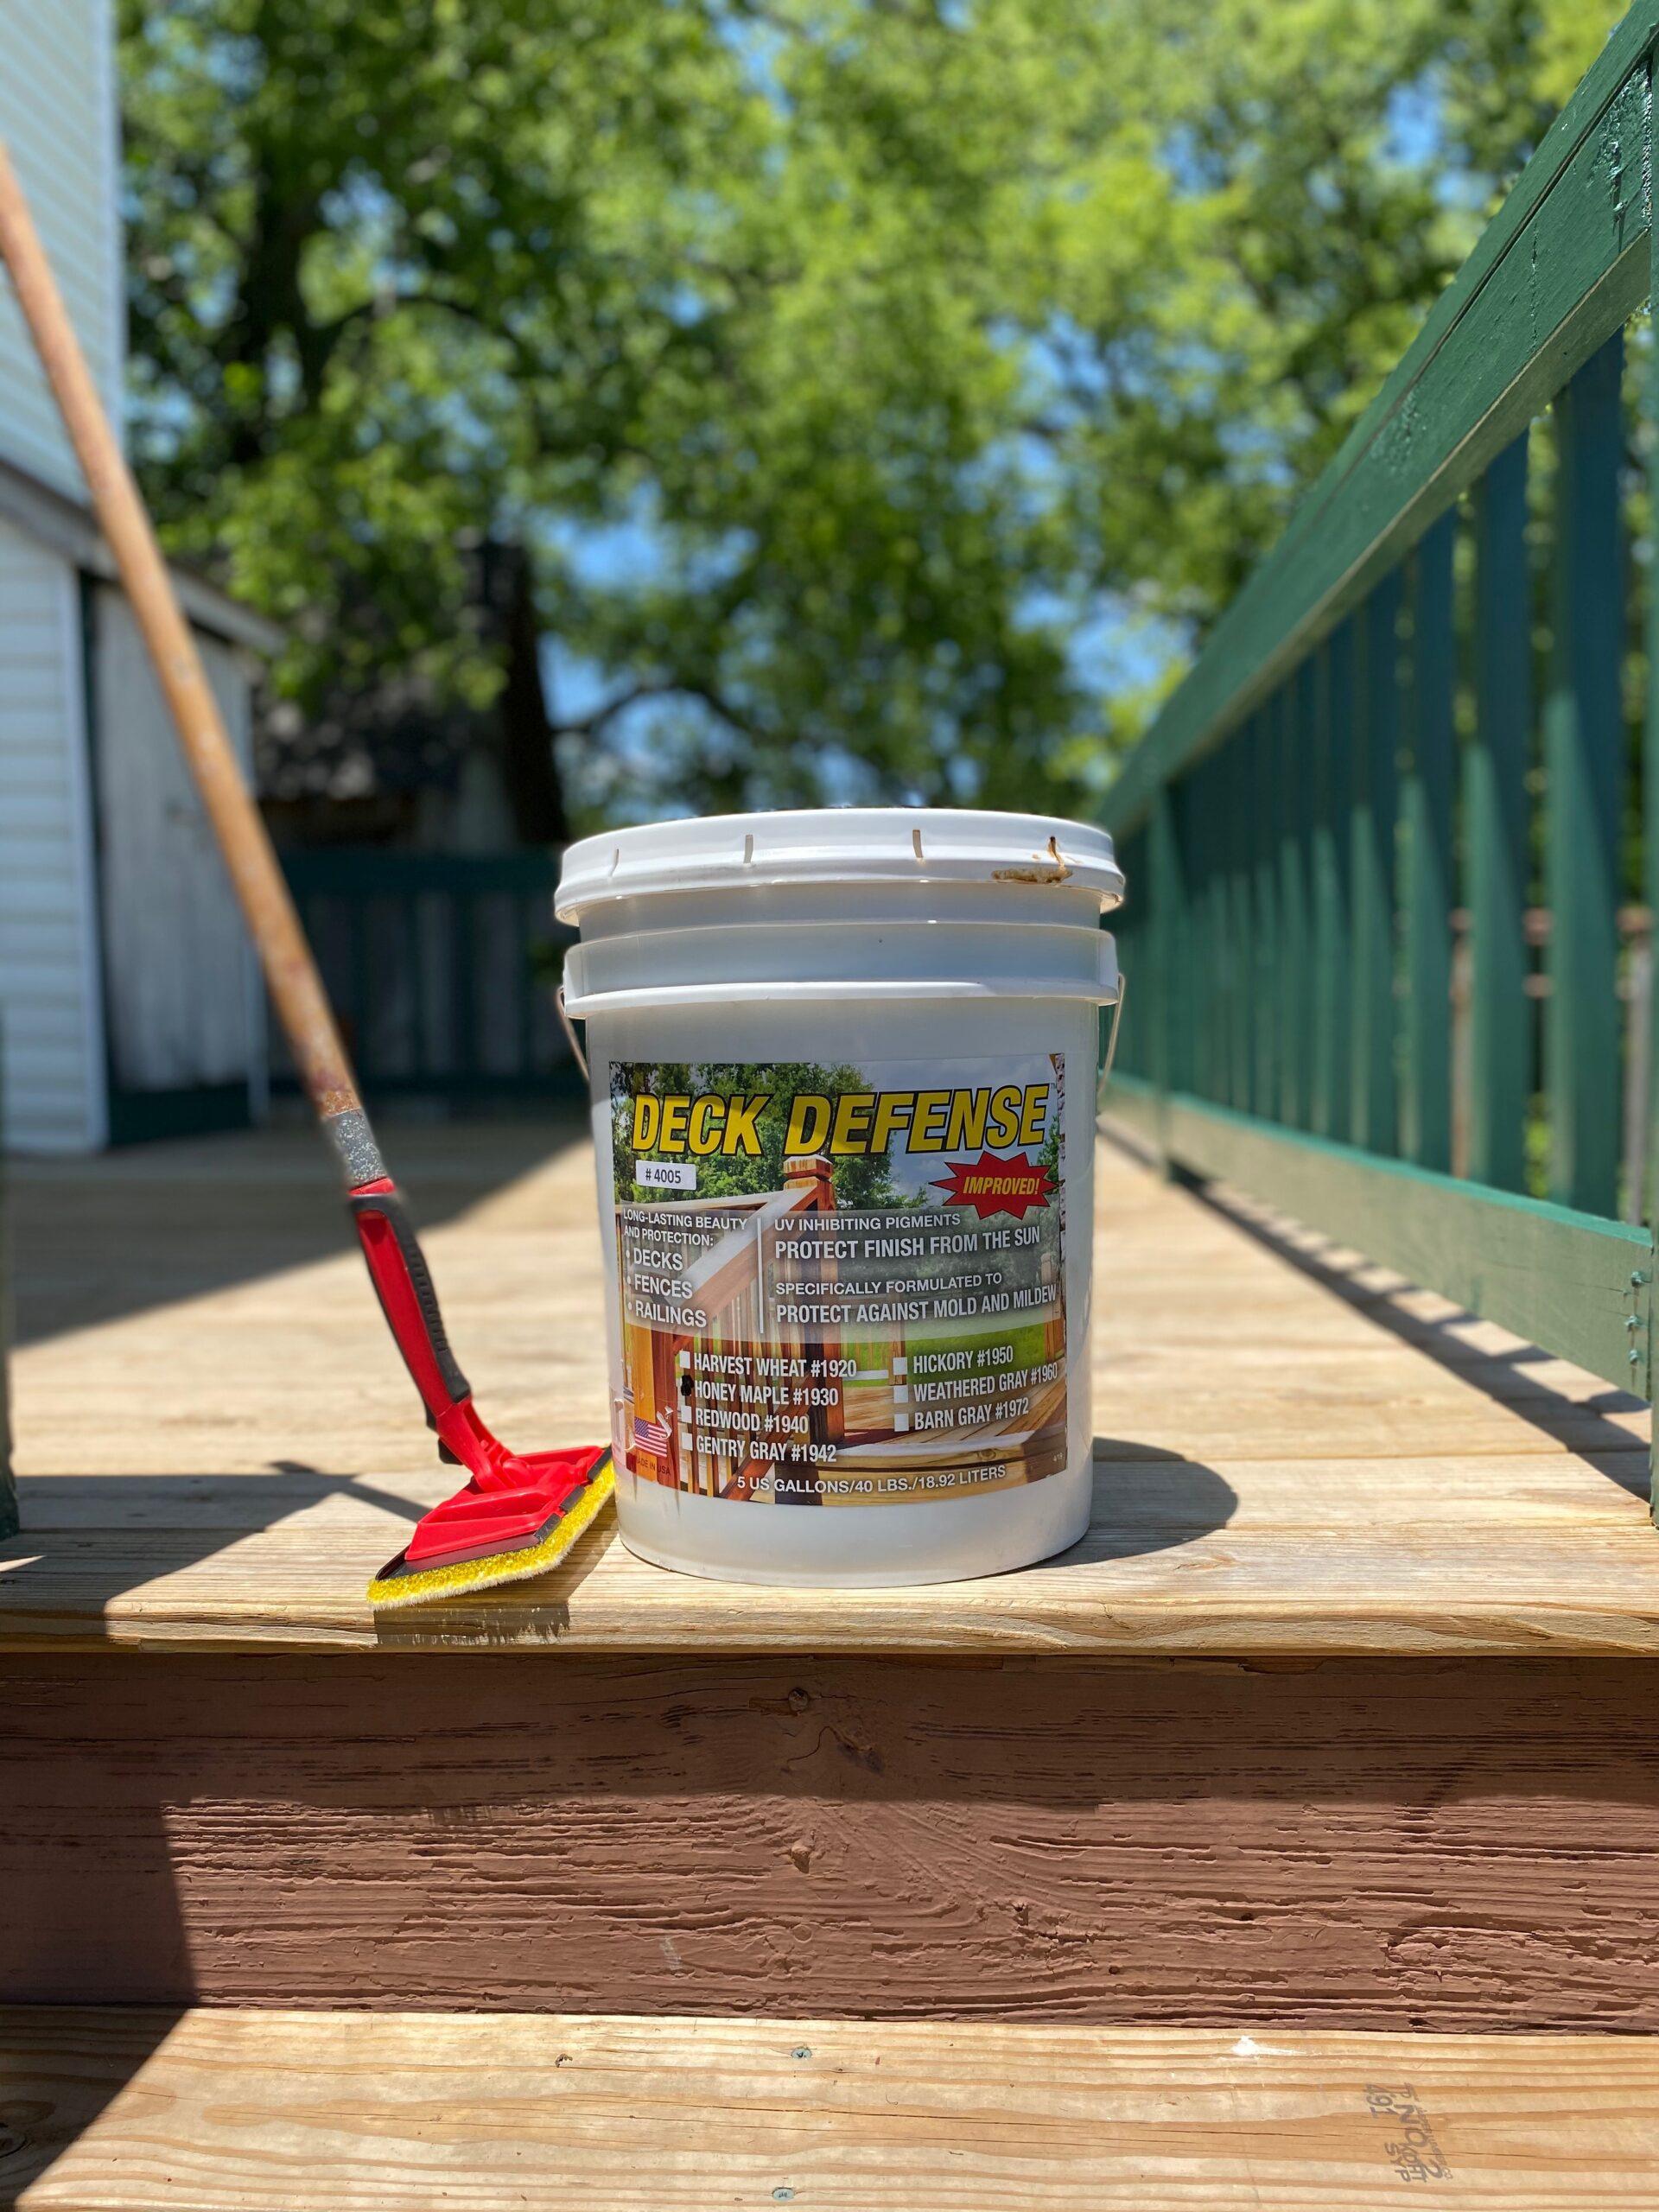
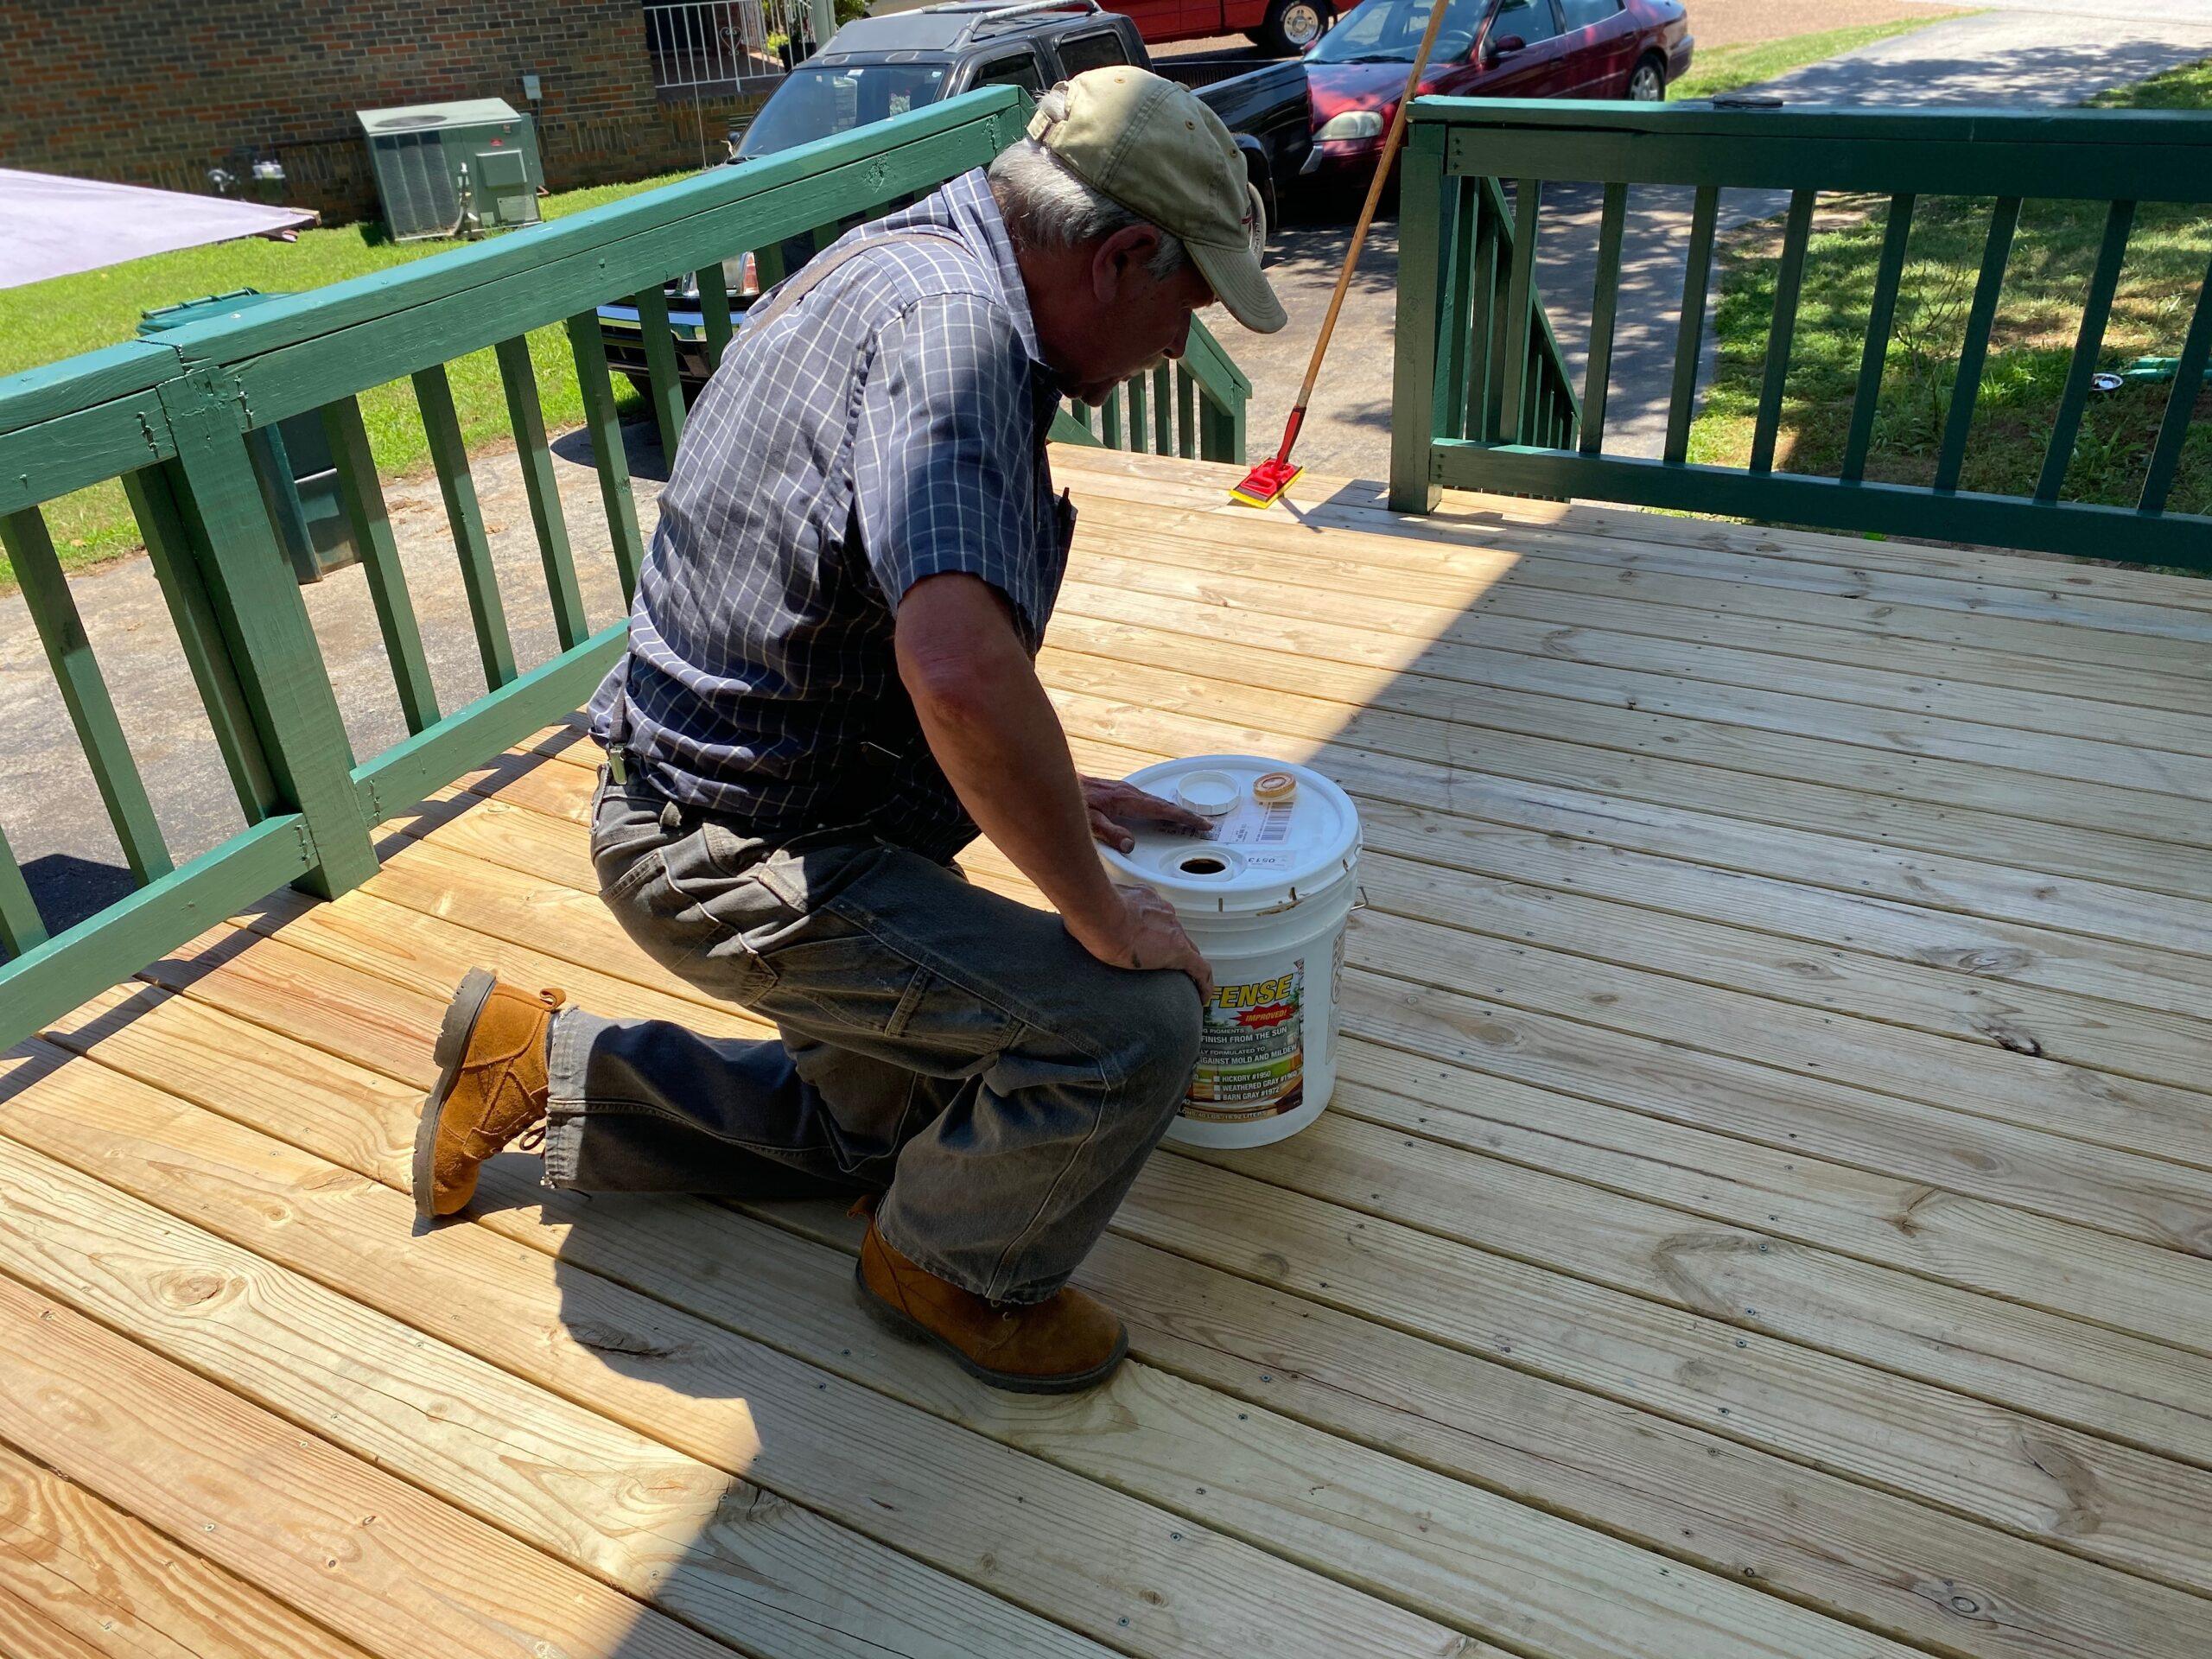
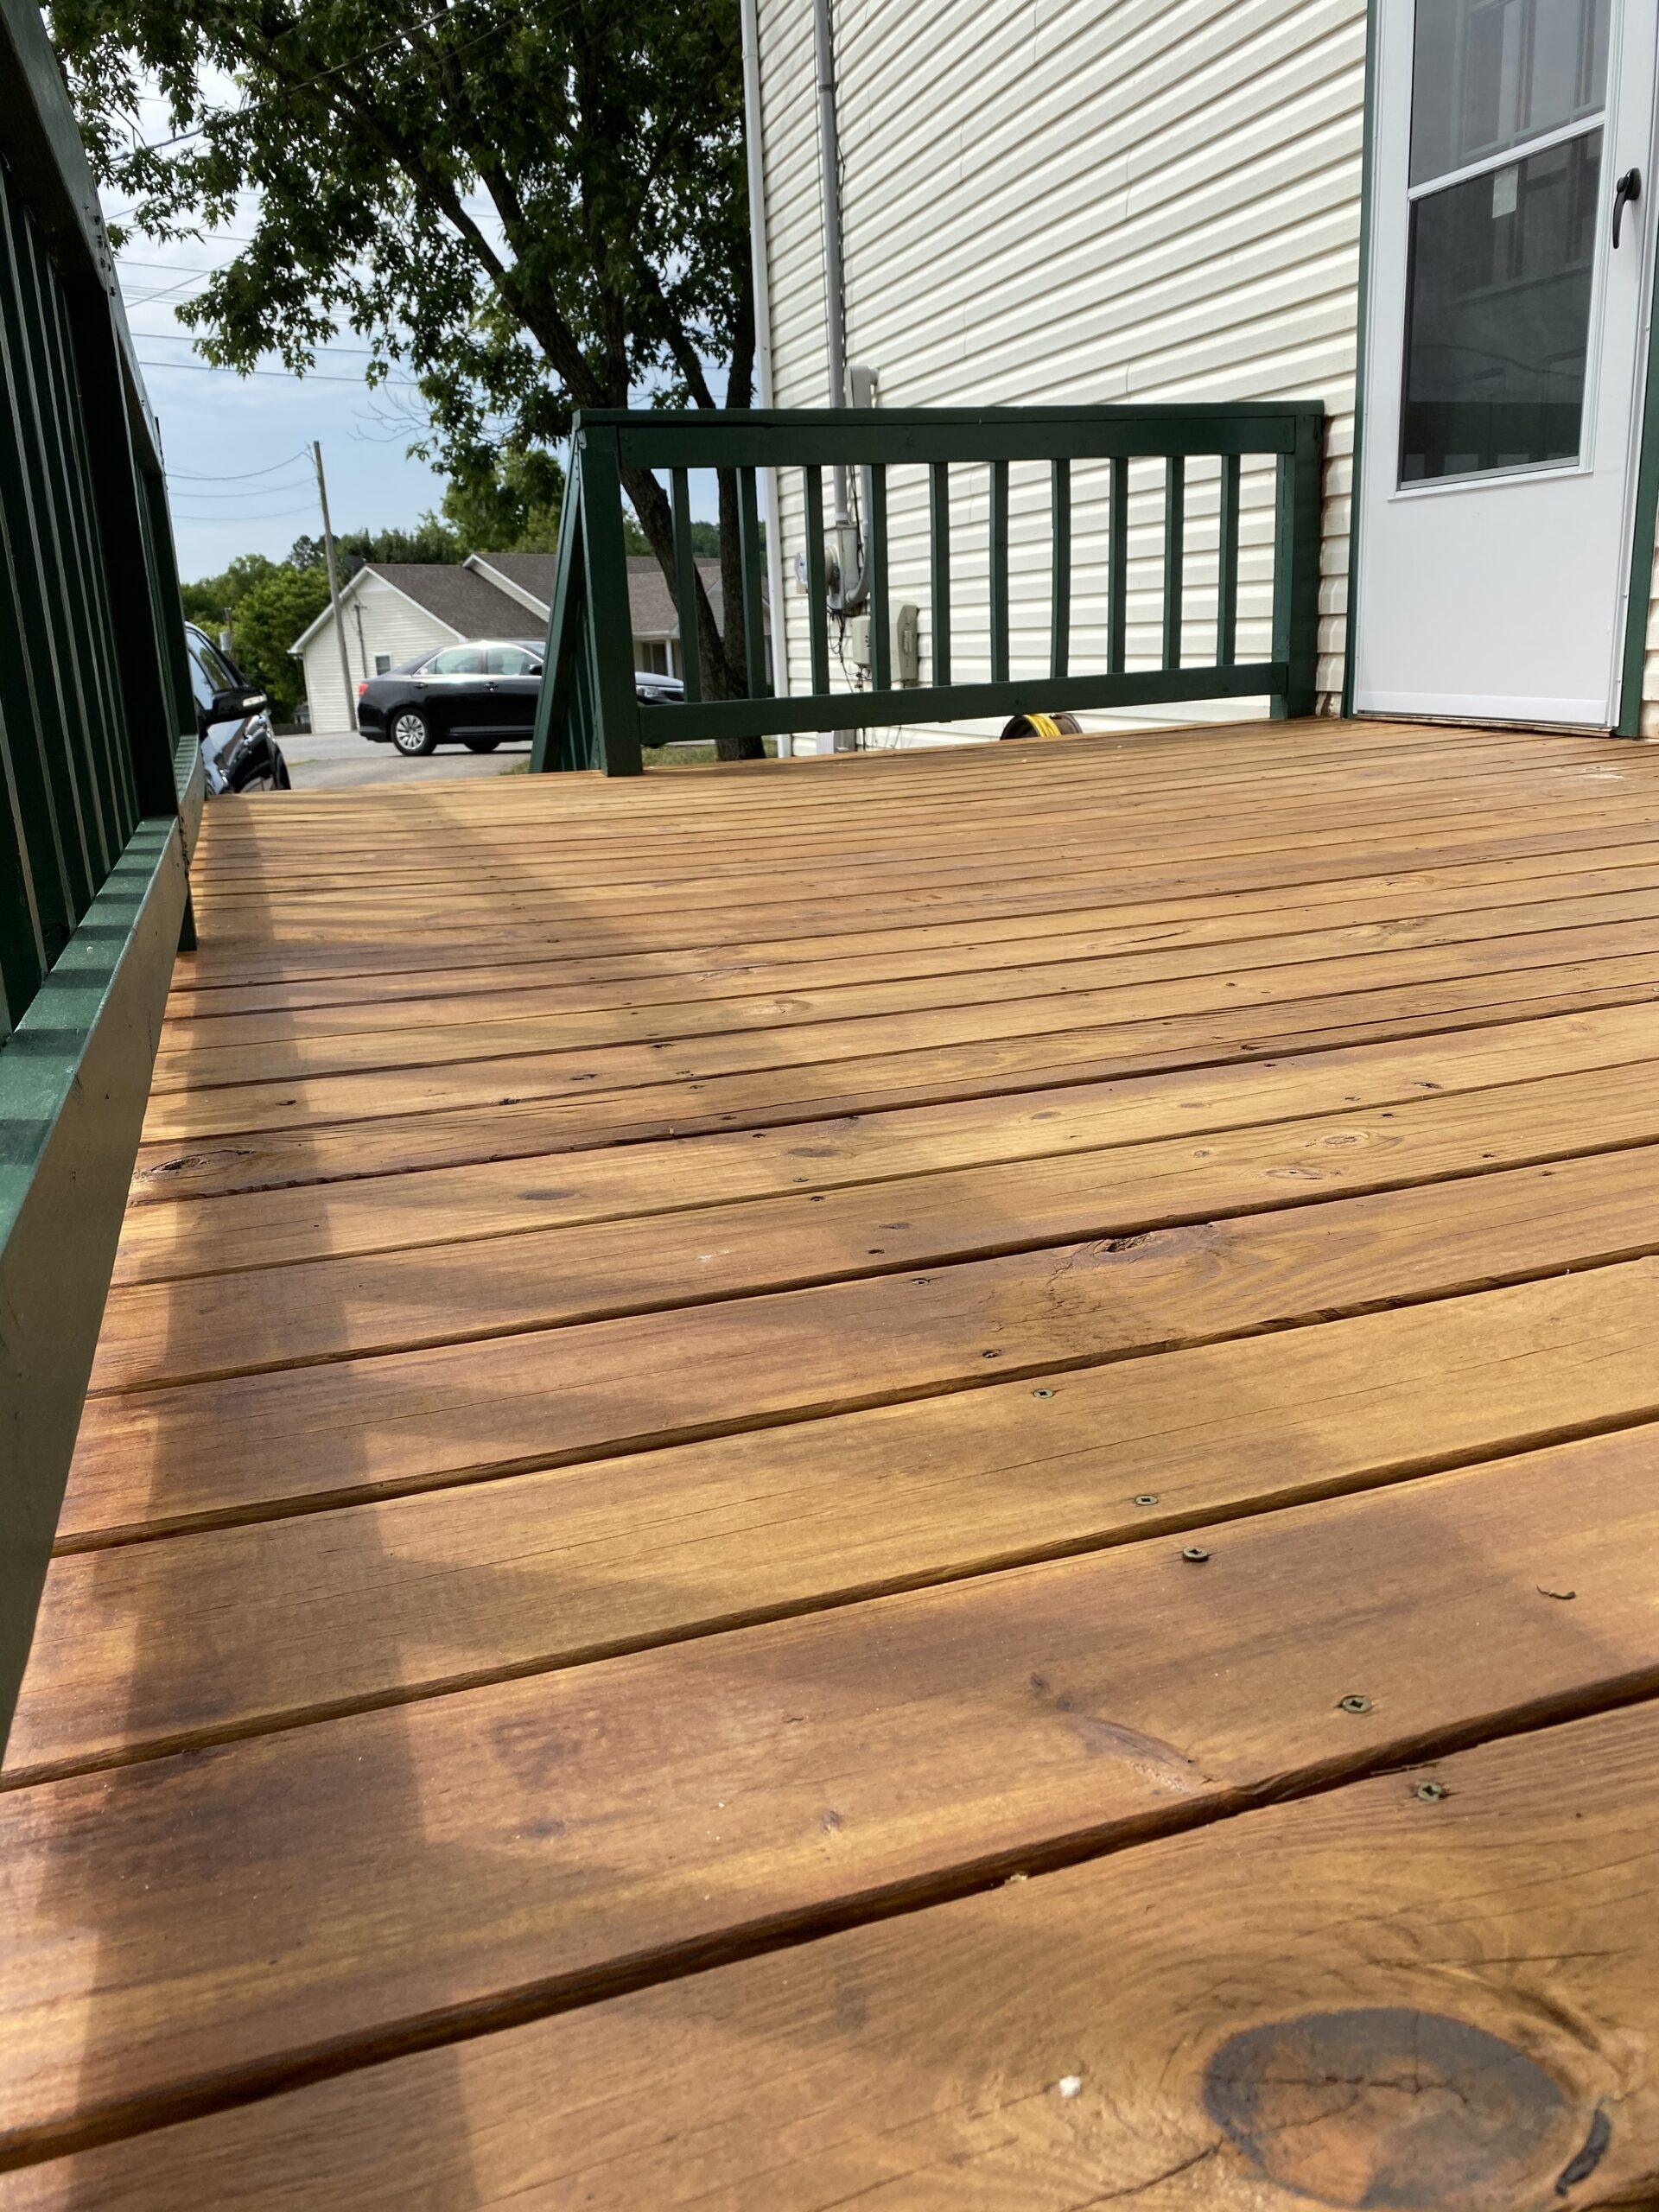
One product stood out among the many we looked at. Perma Chink Systems, Inc. makes a product called Deck Defense, which appeared to offer all the qualities we hoped for. It offered UV protecting pigments that protected it from the sun and was specifically formulated to protect against mold and mildew. Exactly what we were looking for!

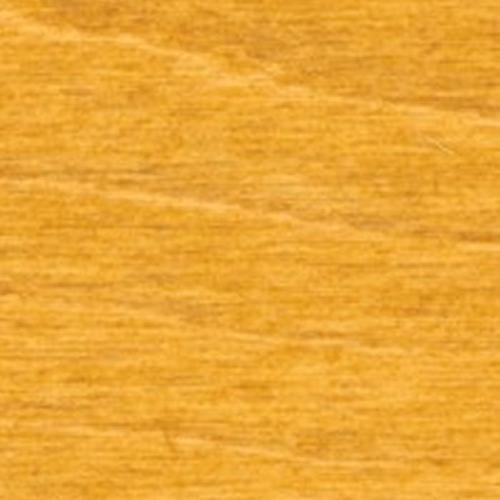
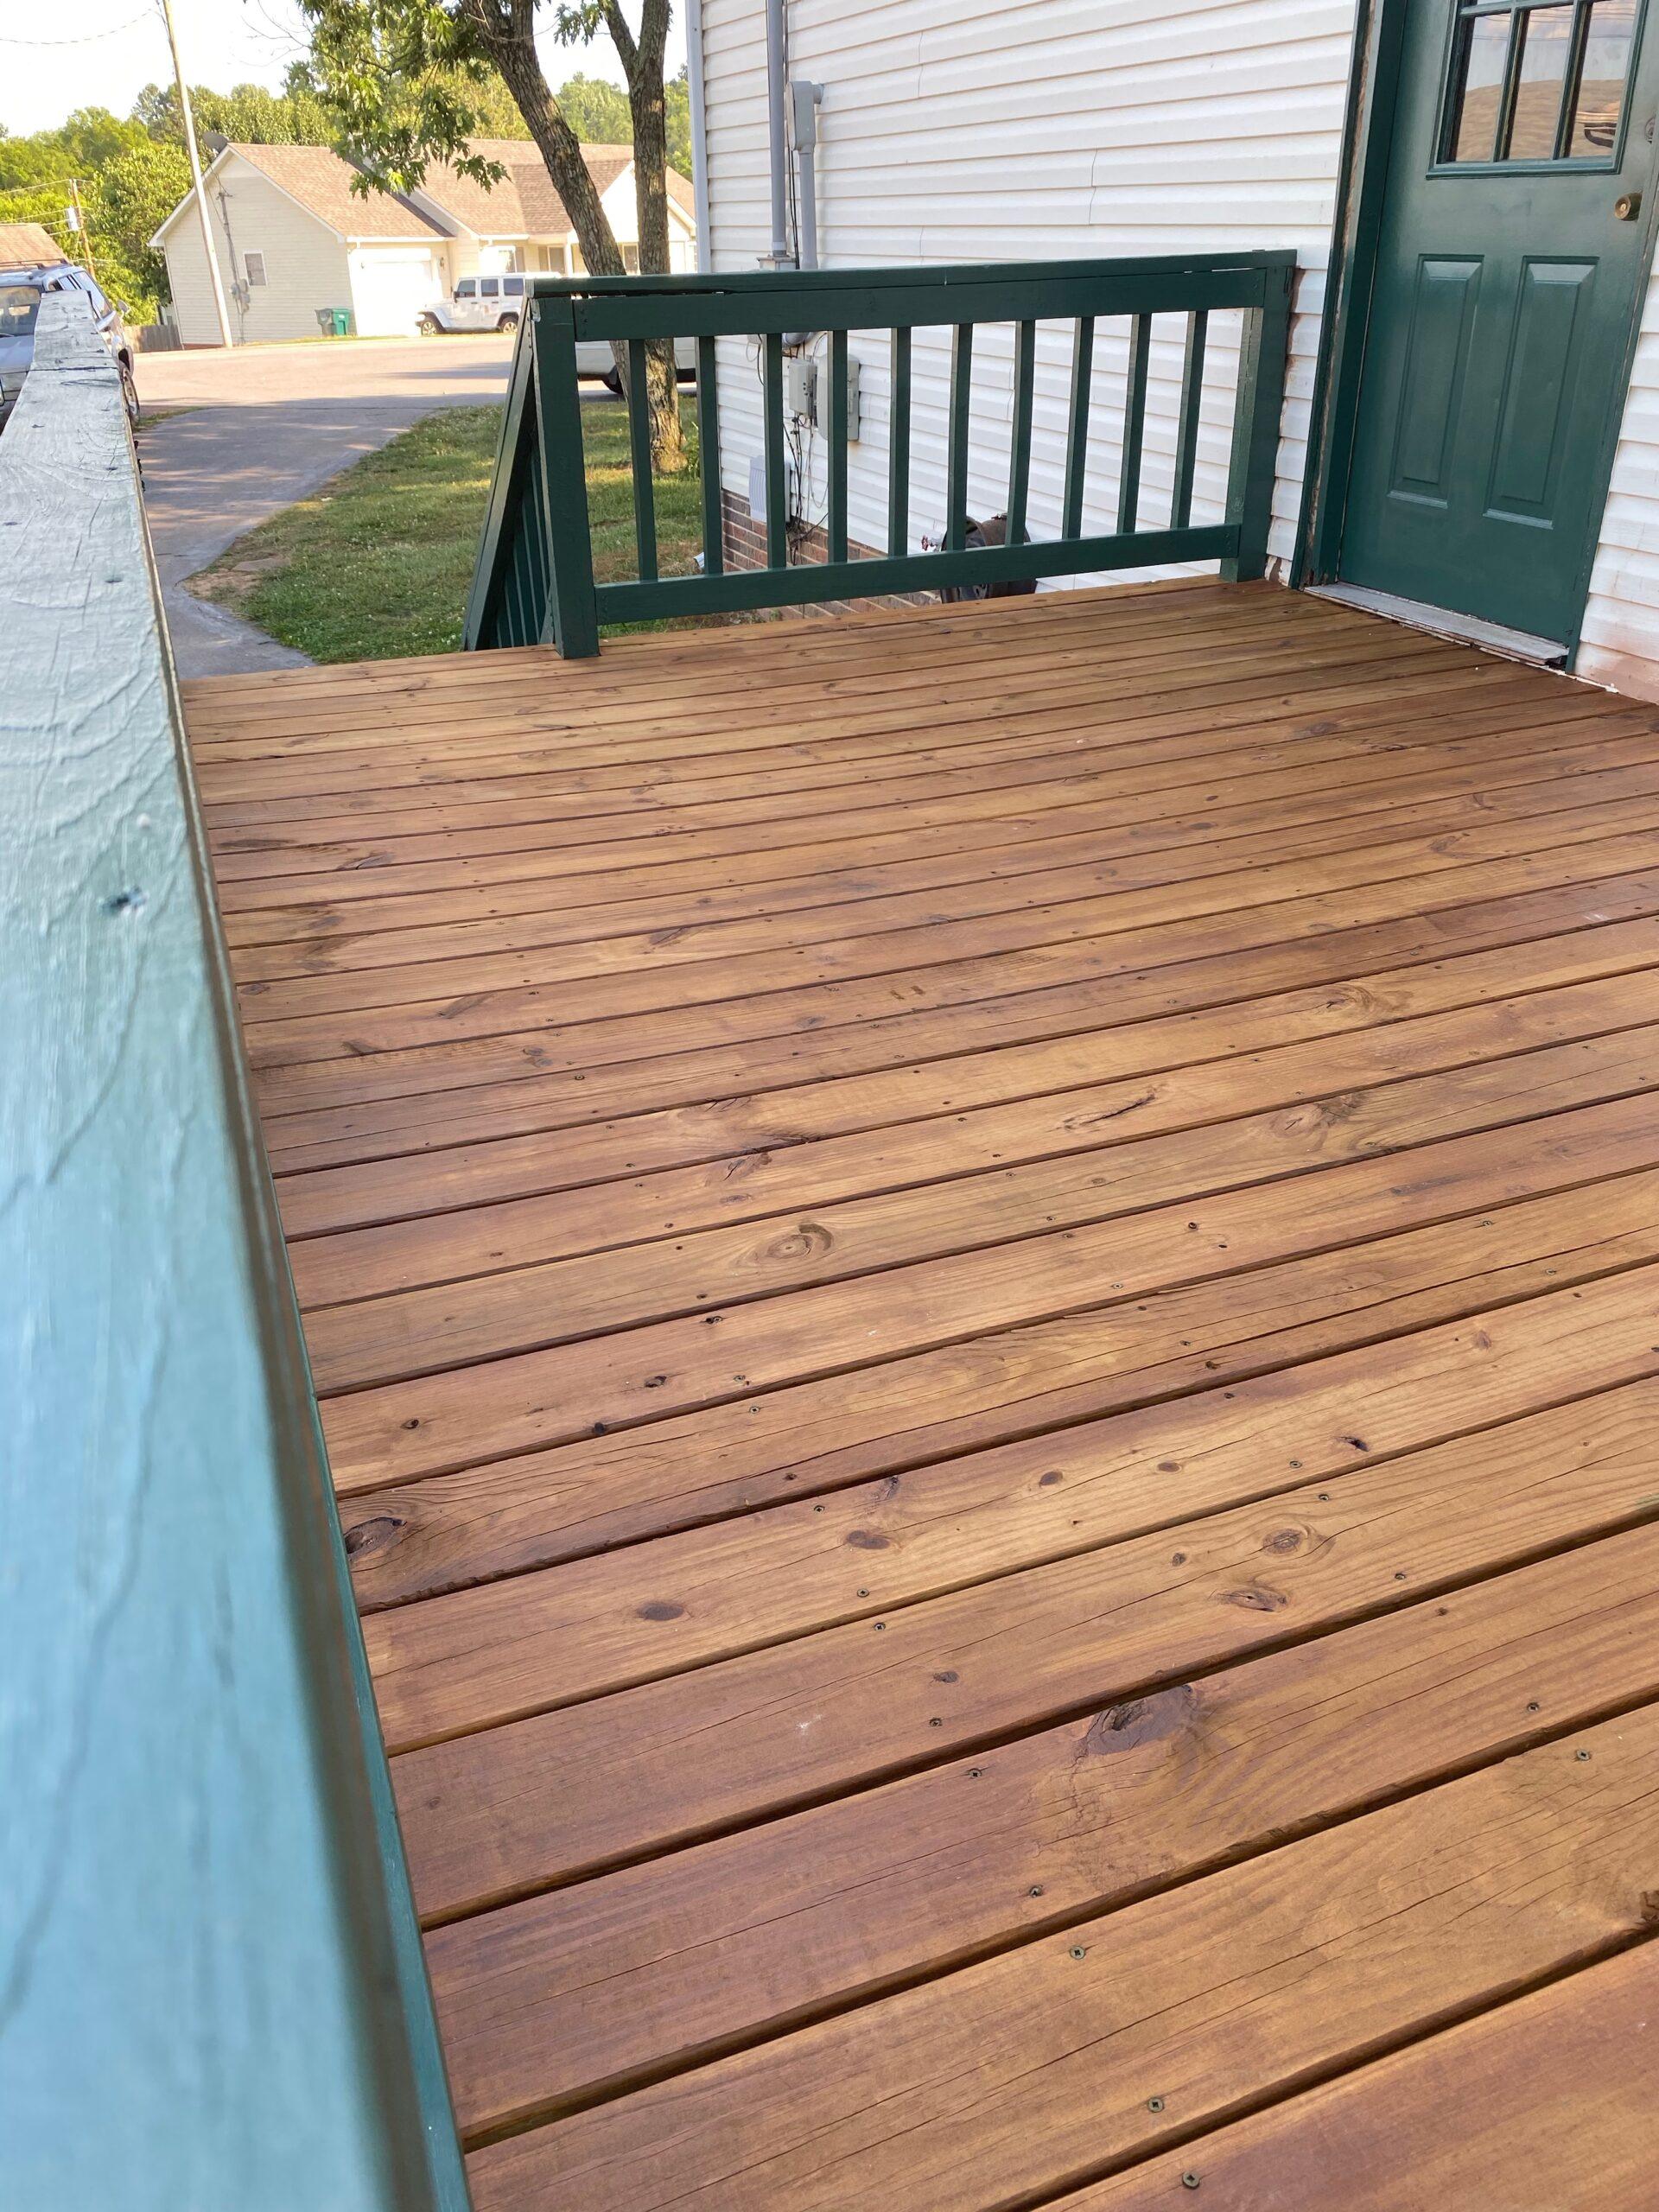
We were able to select from a wide variety of stain colors from their website. We chose Honey Maple #1930 for our stain. Other factors we found desirable was the clean-up could be done with soap and water, and the product is manufactured in the U.S.A. At 40 lbs. per 5 gallon bucket, it helped also that this product could be conveniently delivered to our front door.
Application
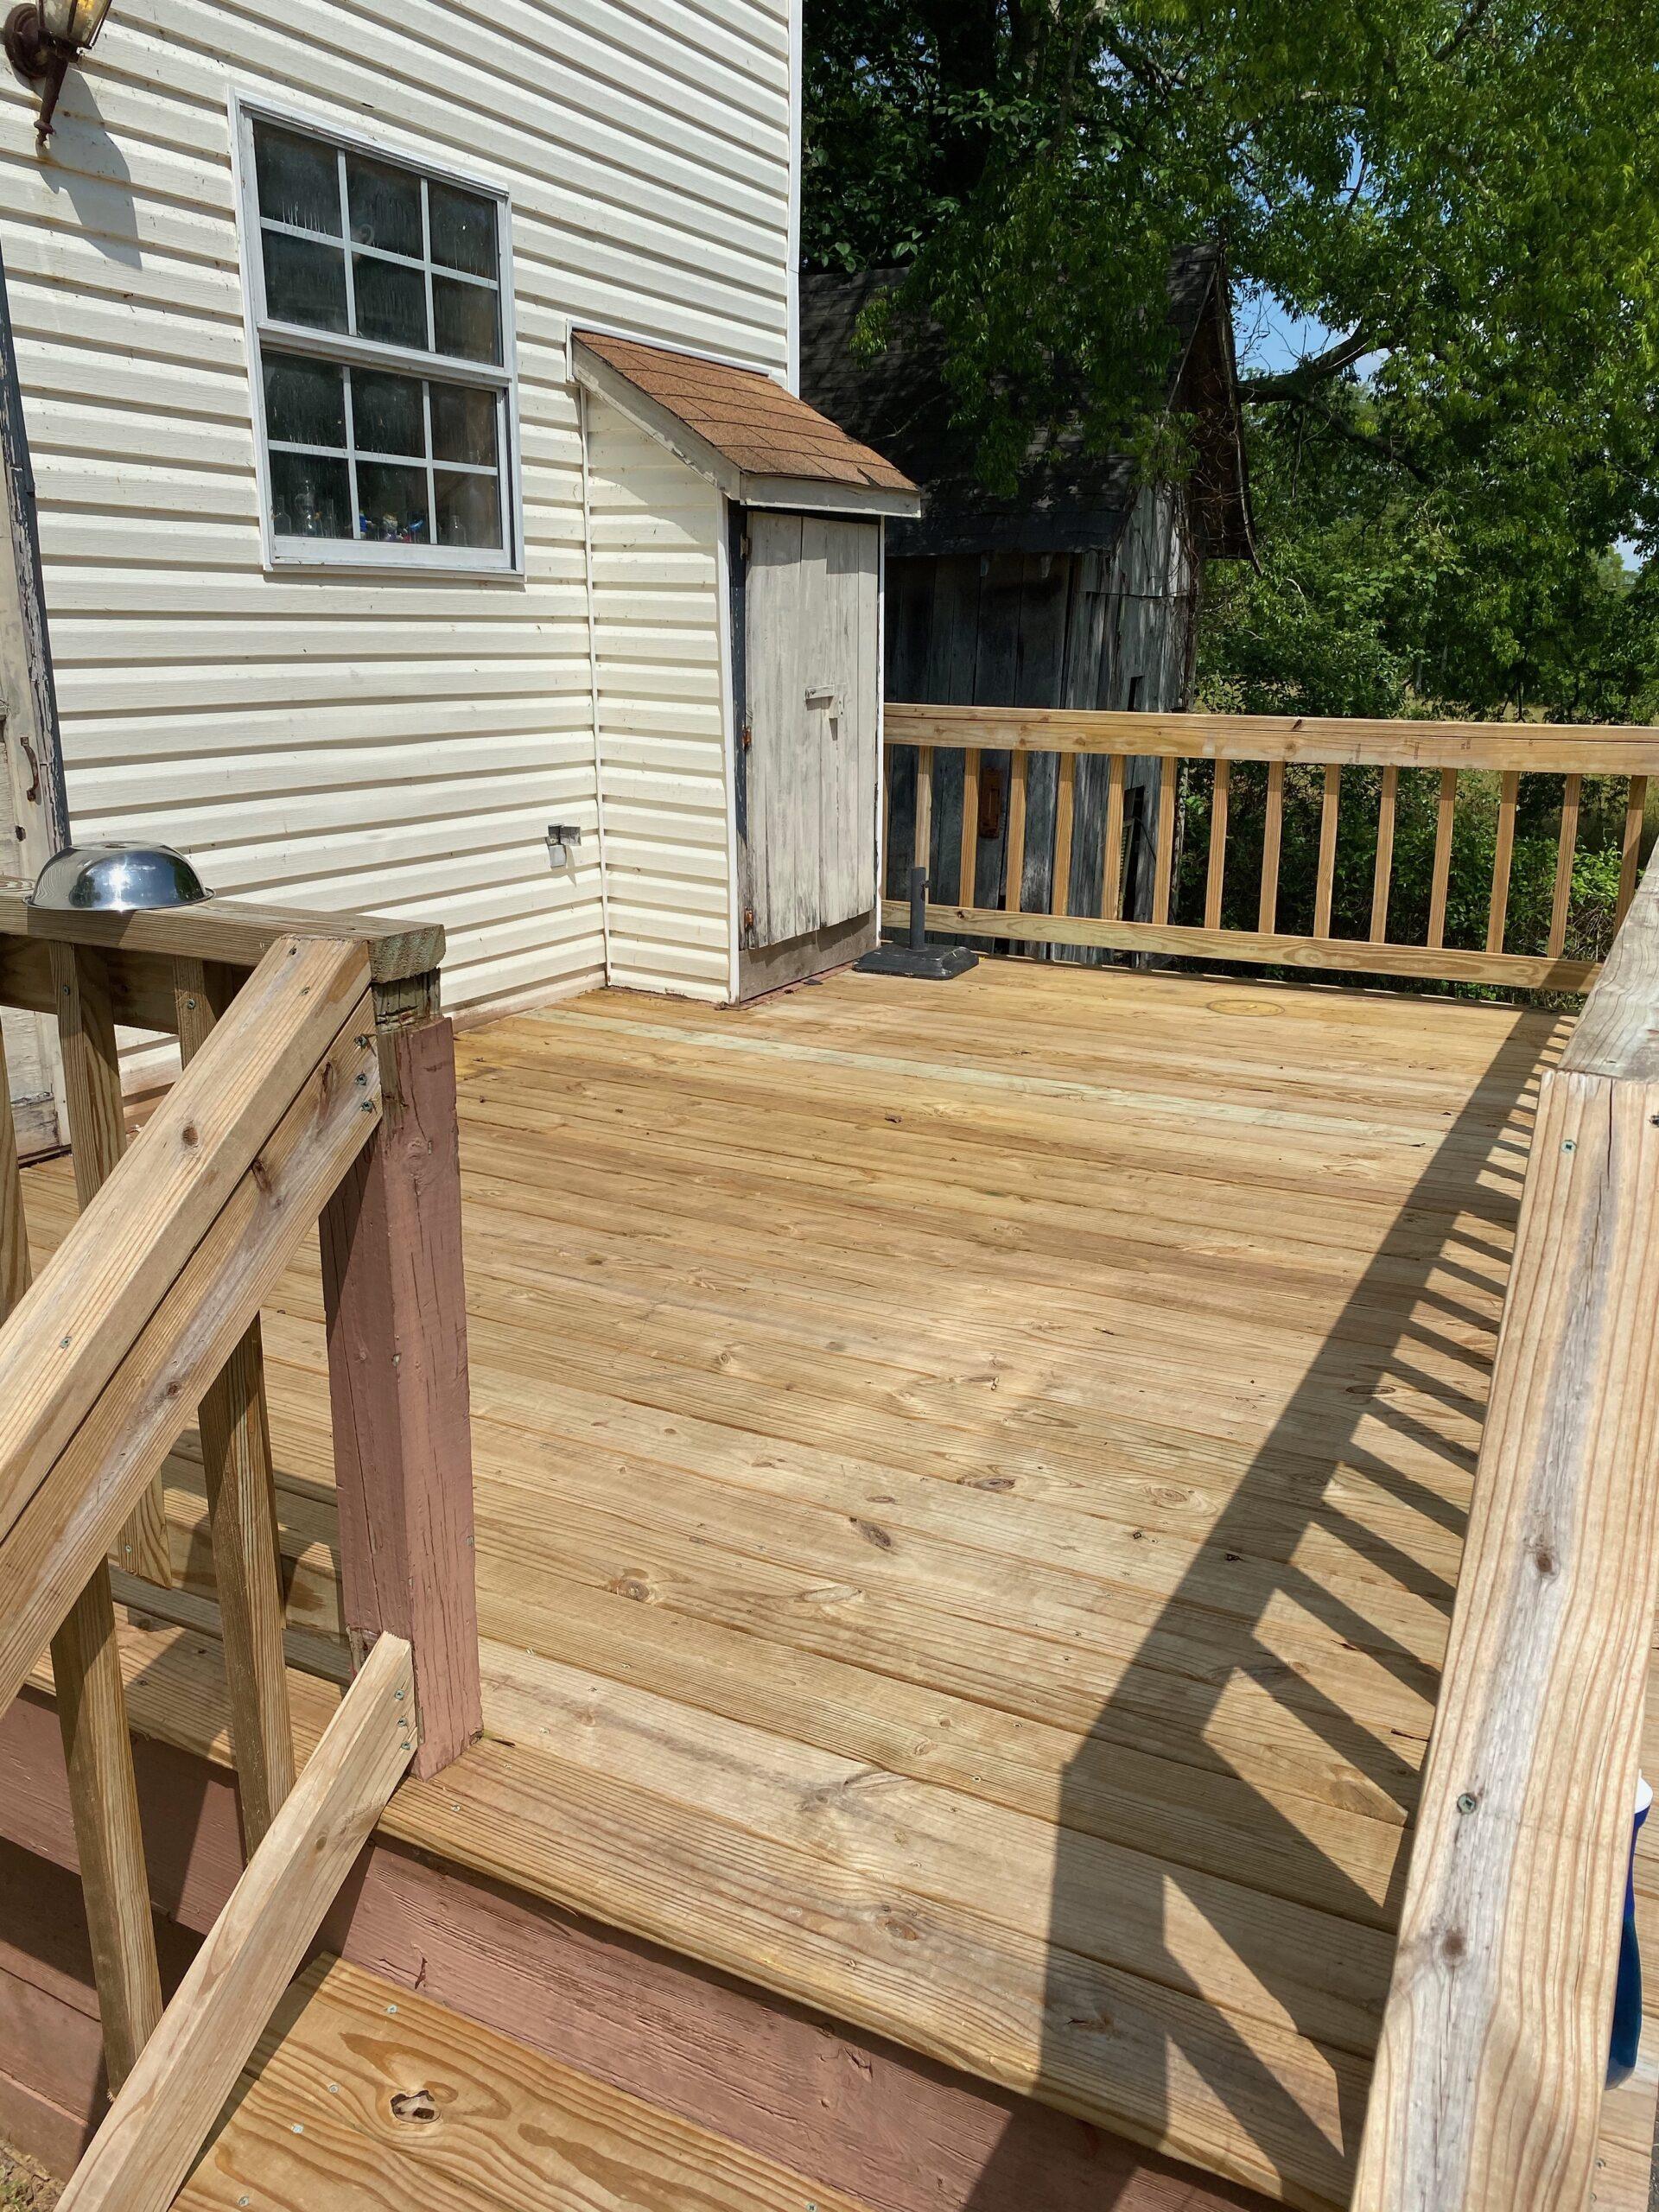
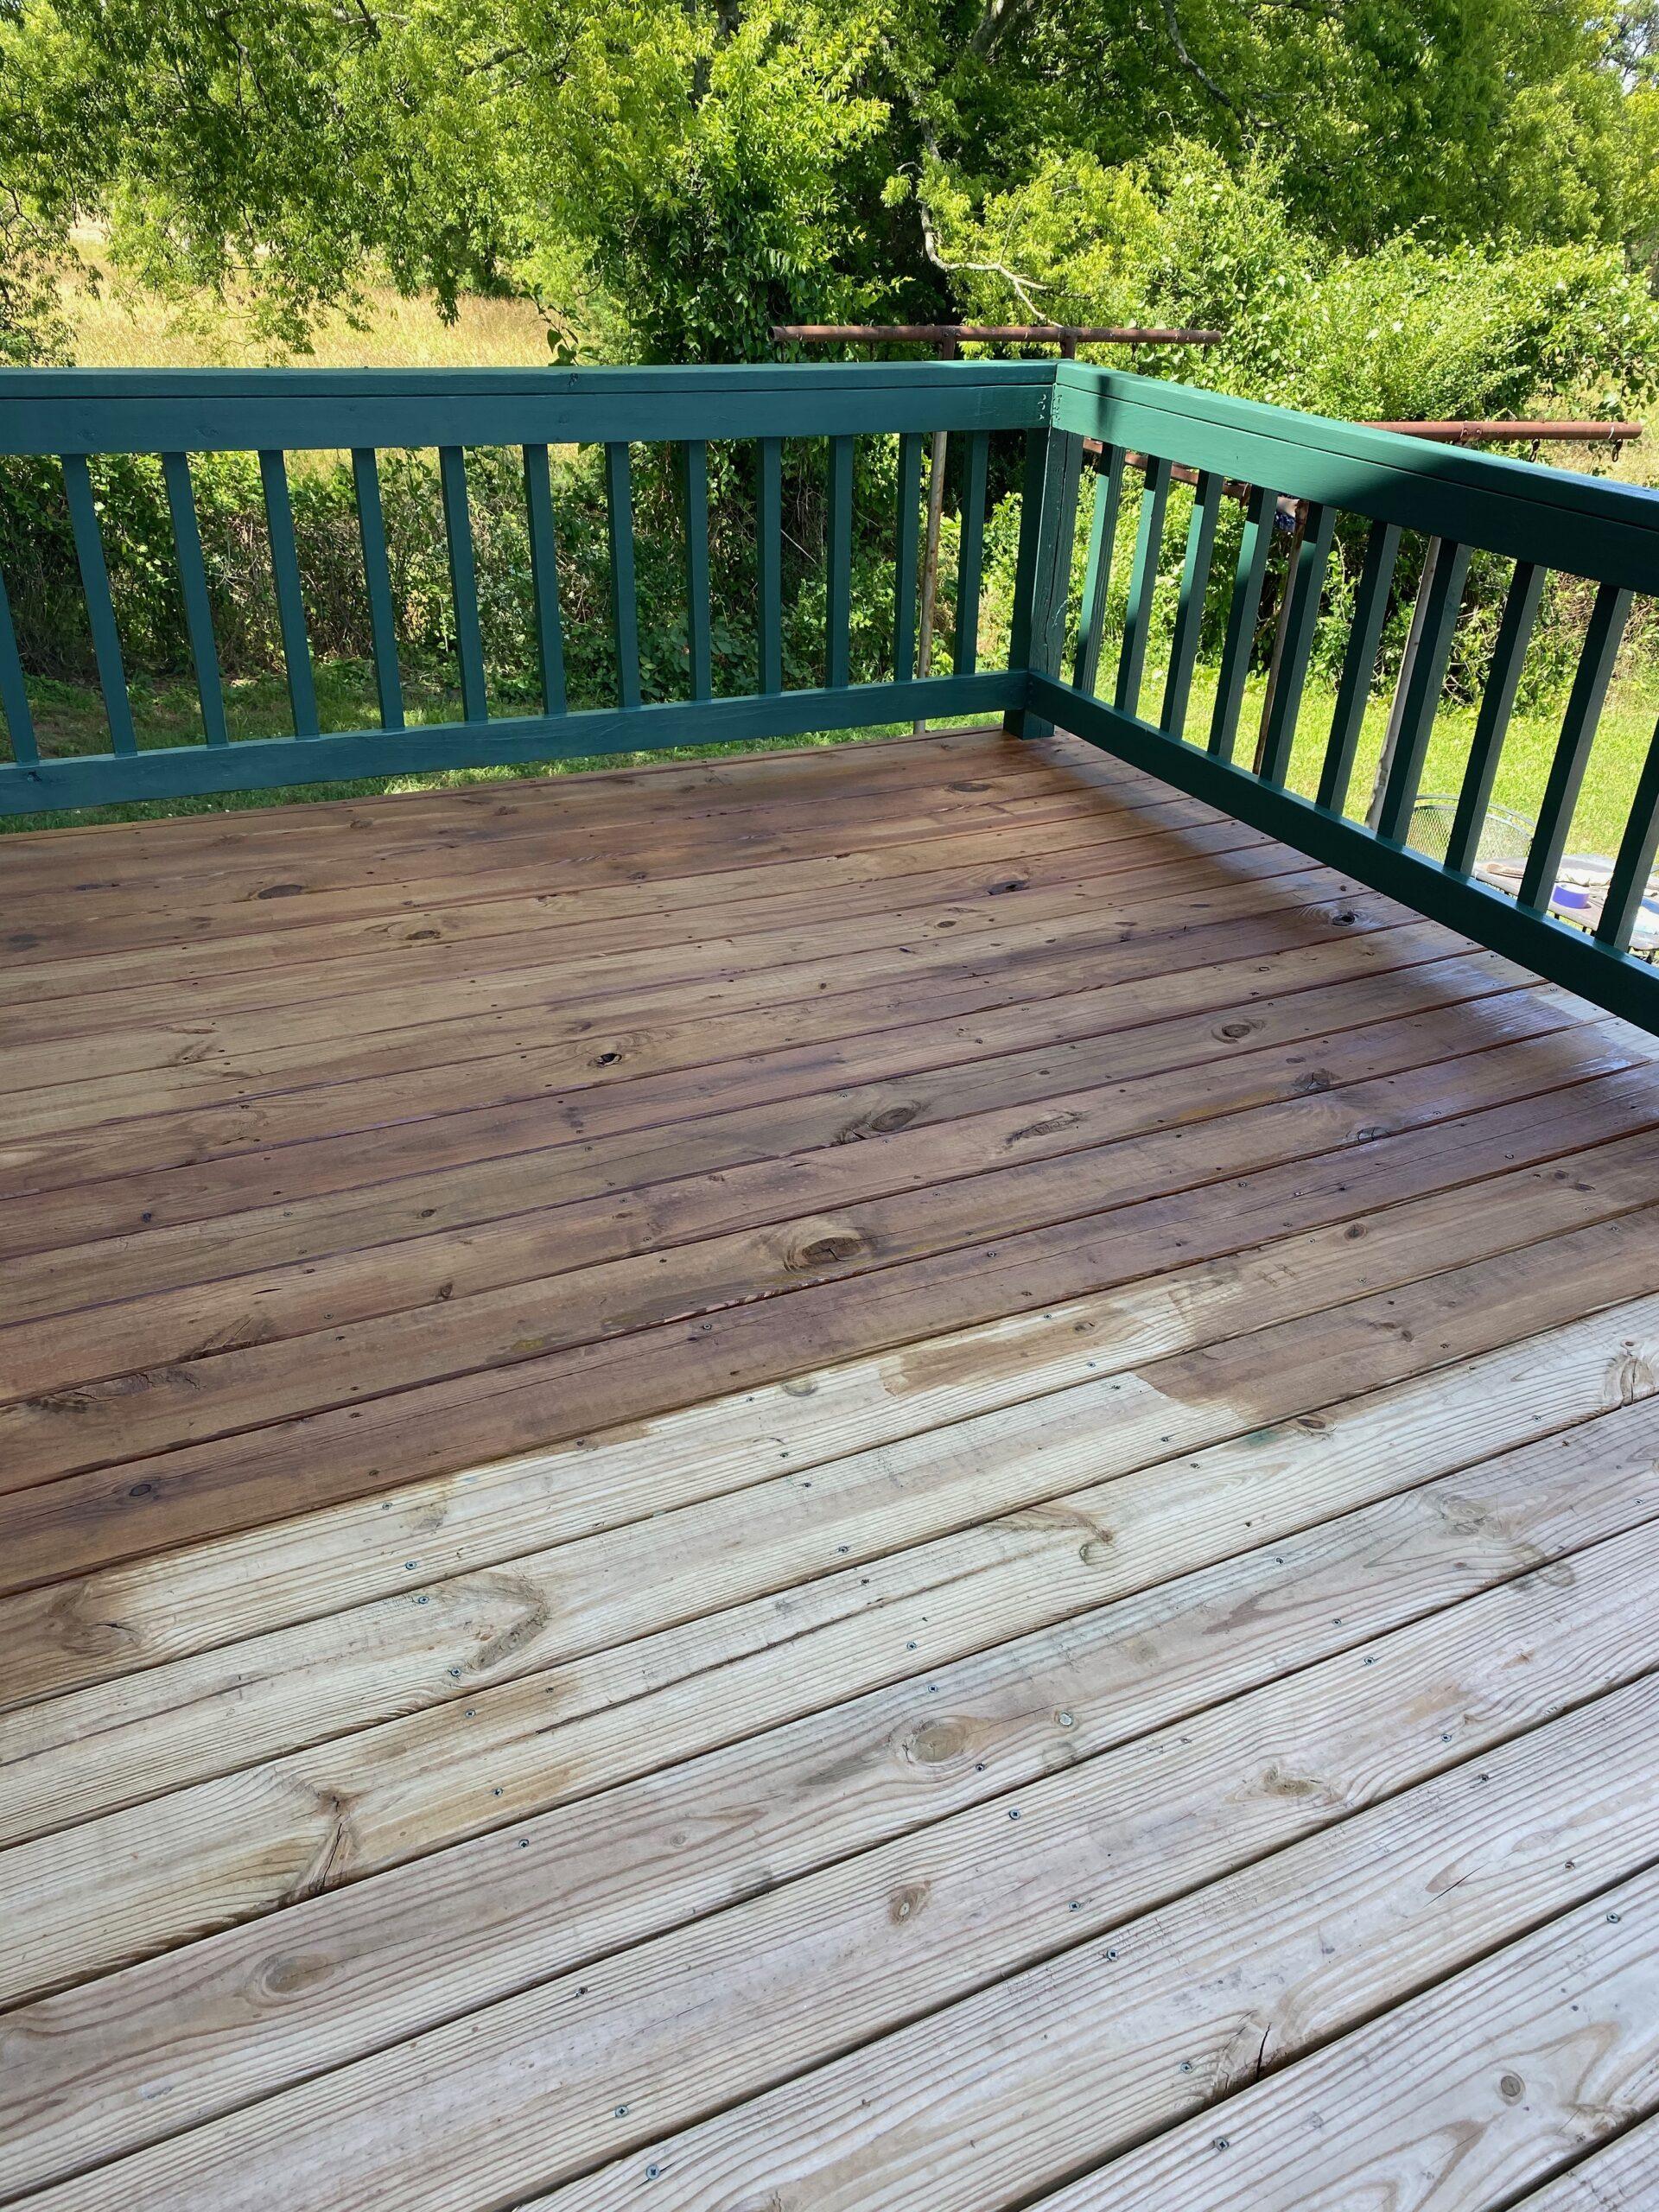
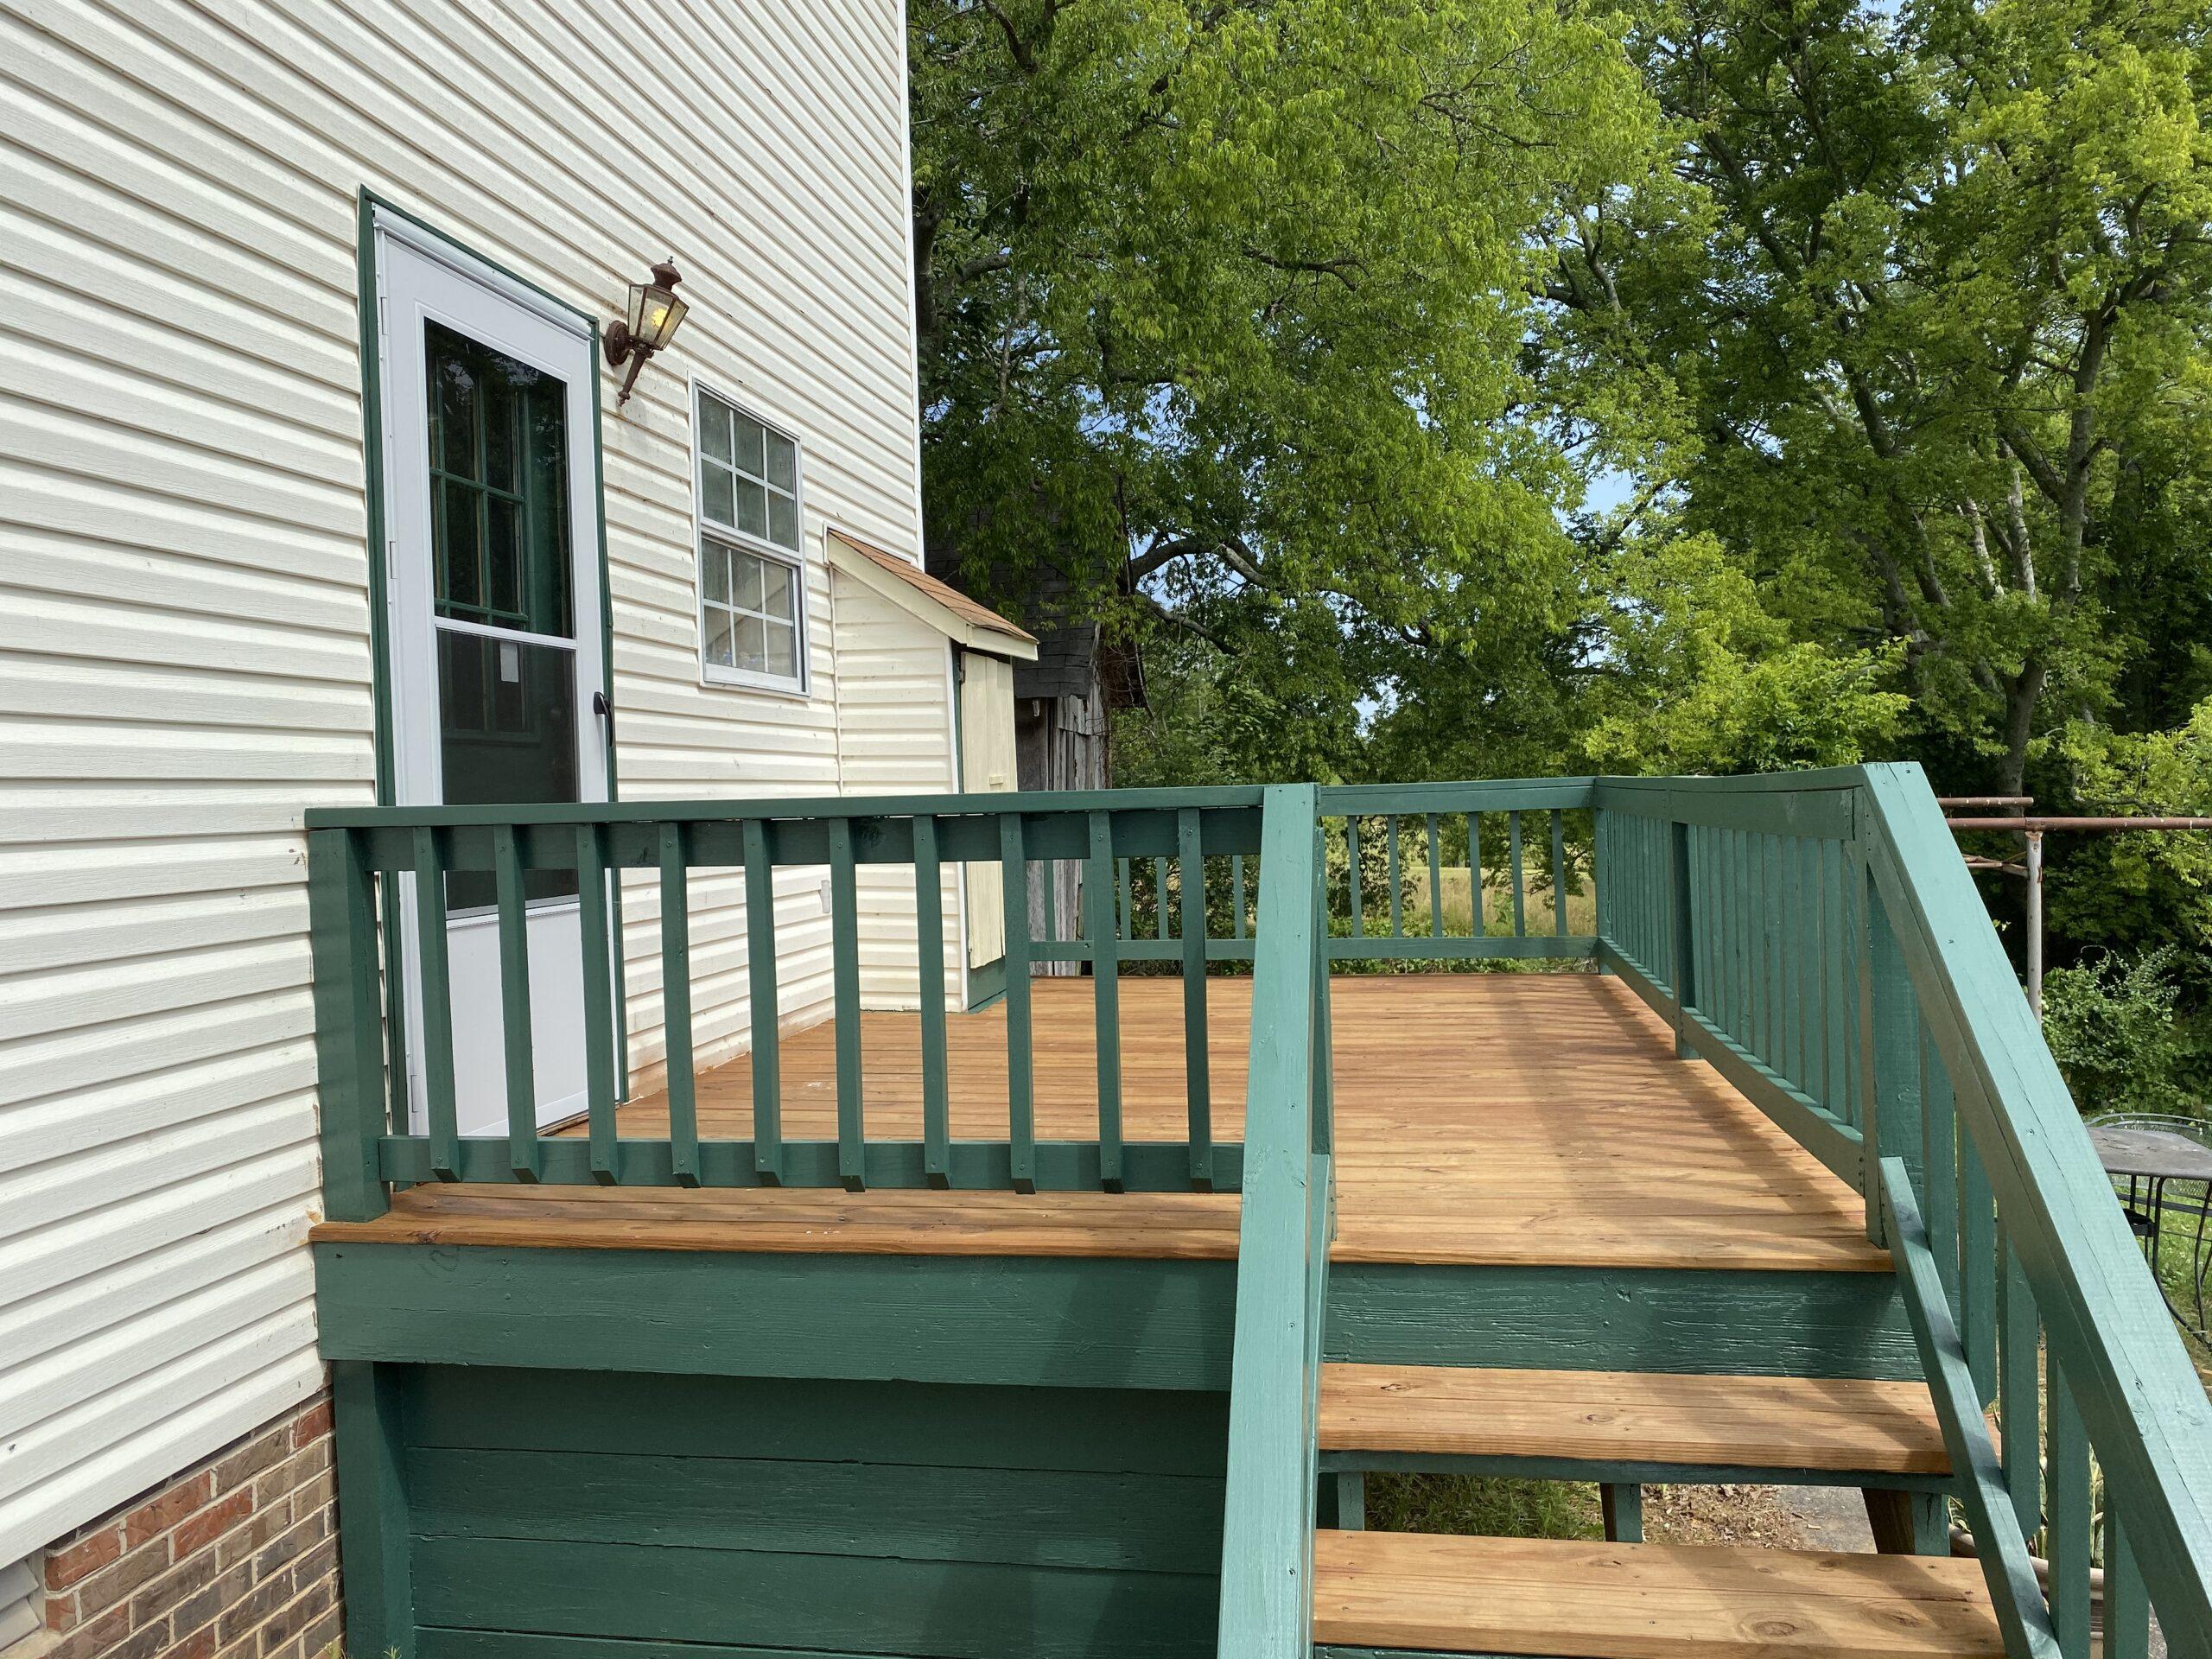
With help from a family friend, the project was coordinated with the painting of the railings, bannister, step riser and underpinning. Painting came first as we believed it would be easier to accomplish while saving the deck for the last step. Once begun, however, we were surprised at how easy the stain and finish could be applied.

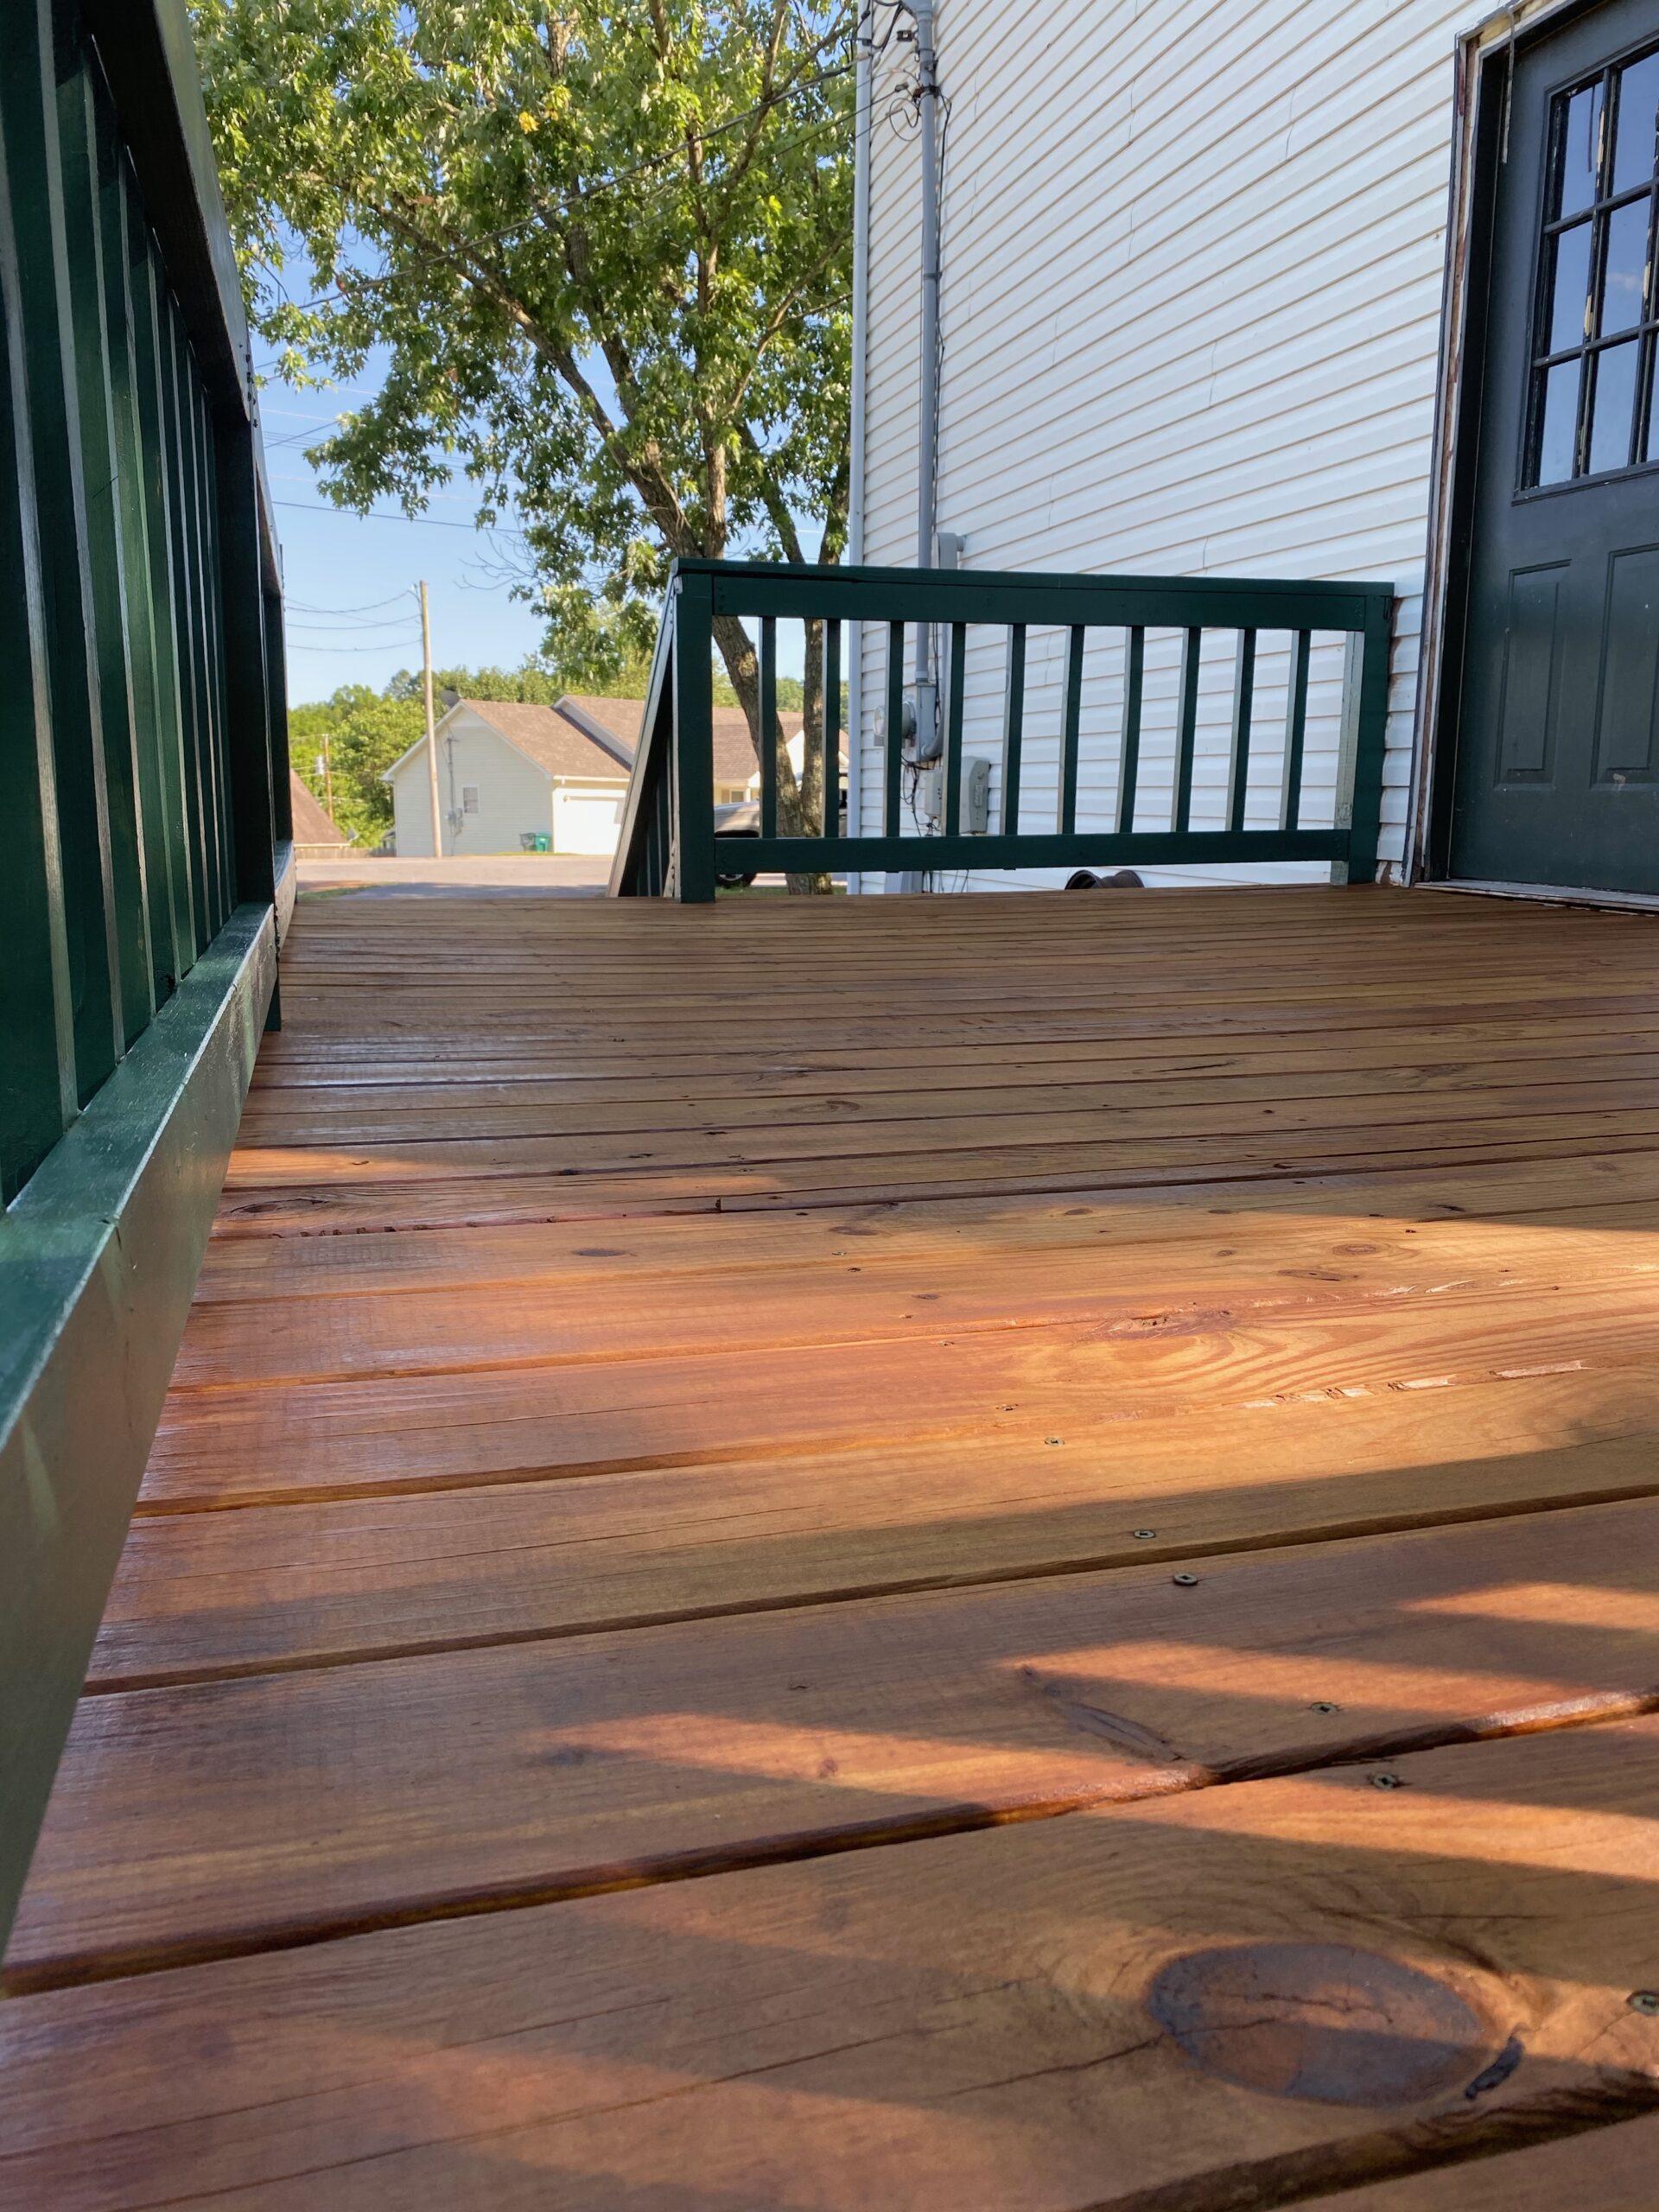
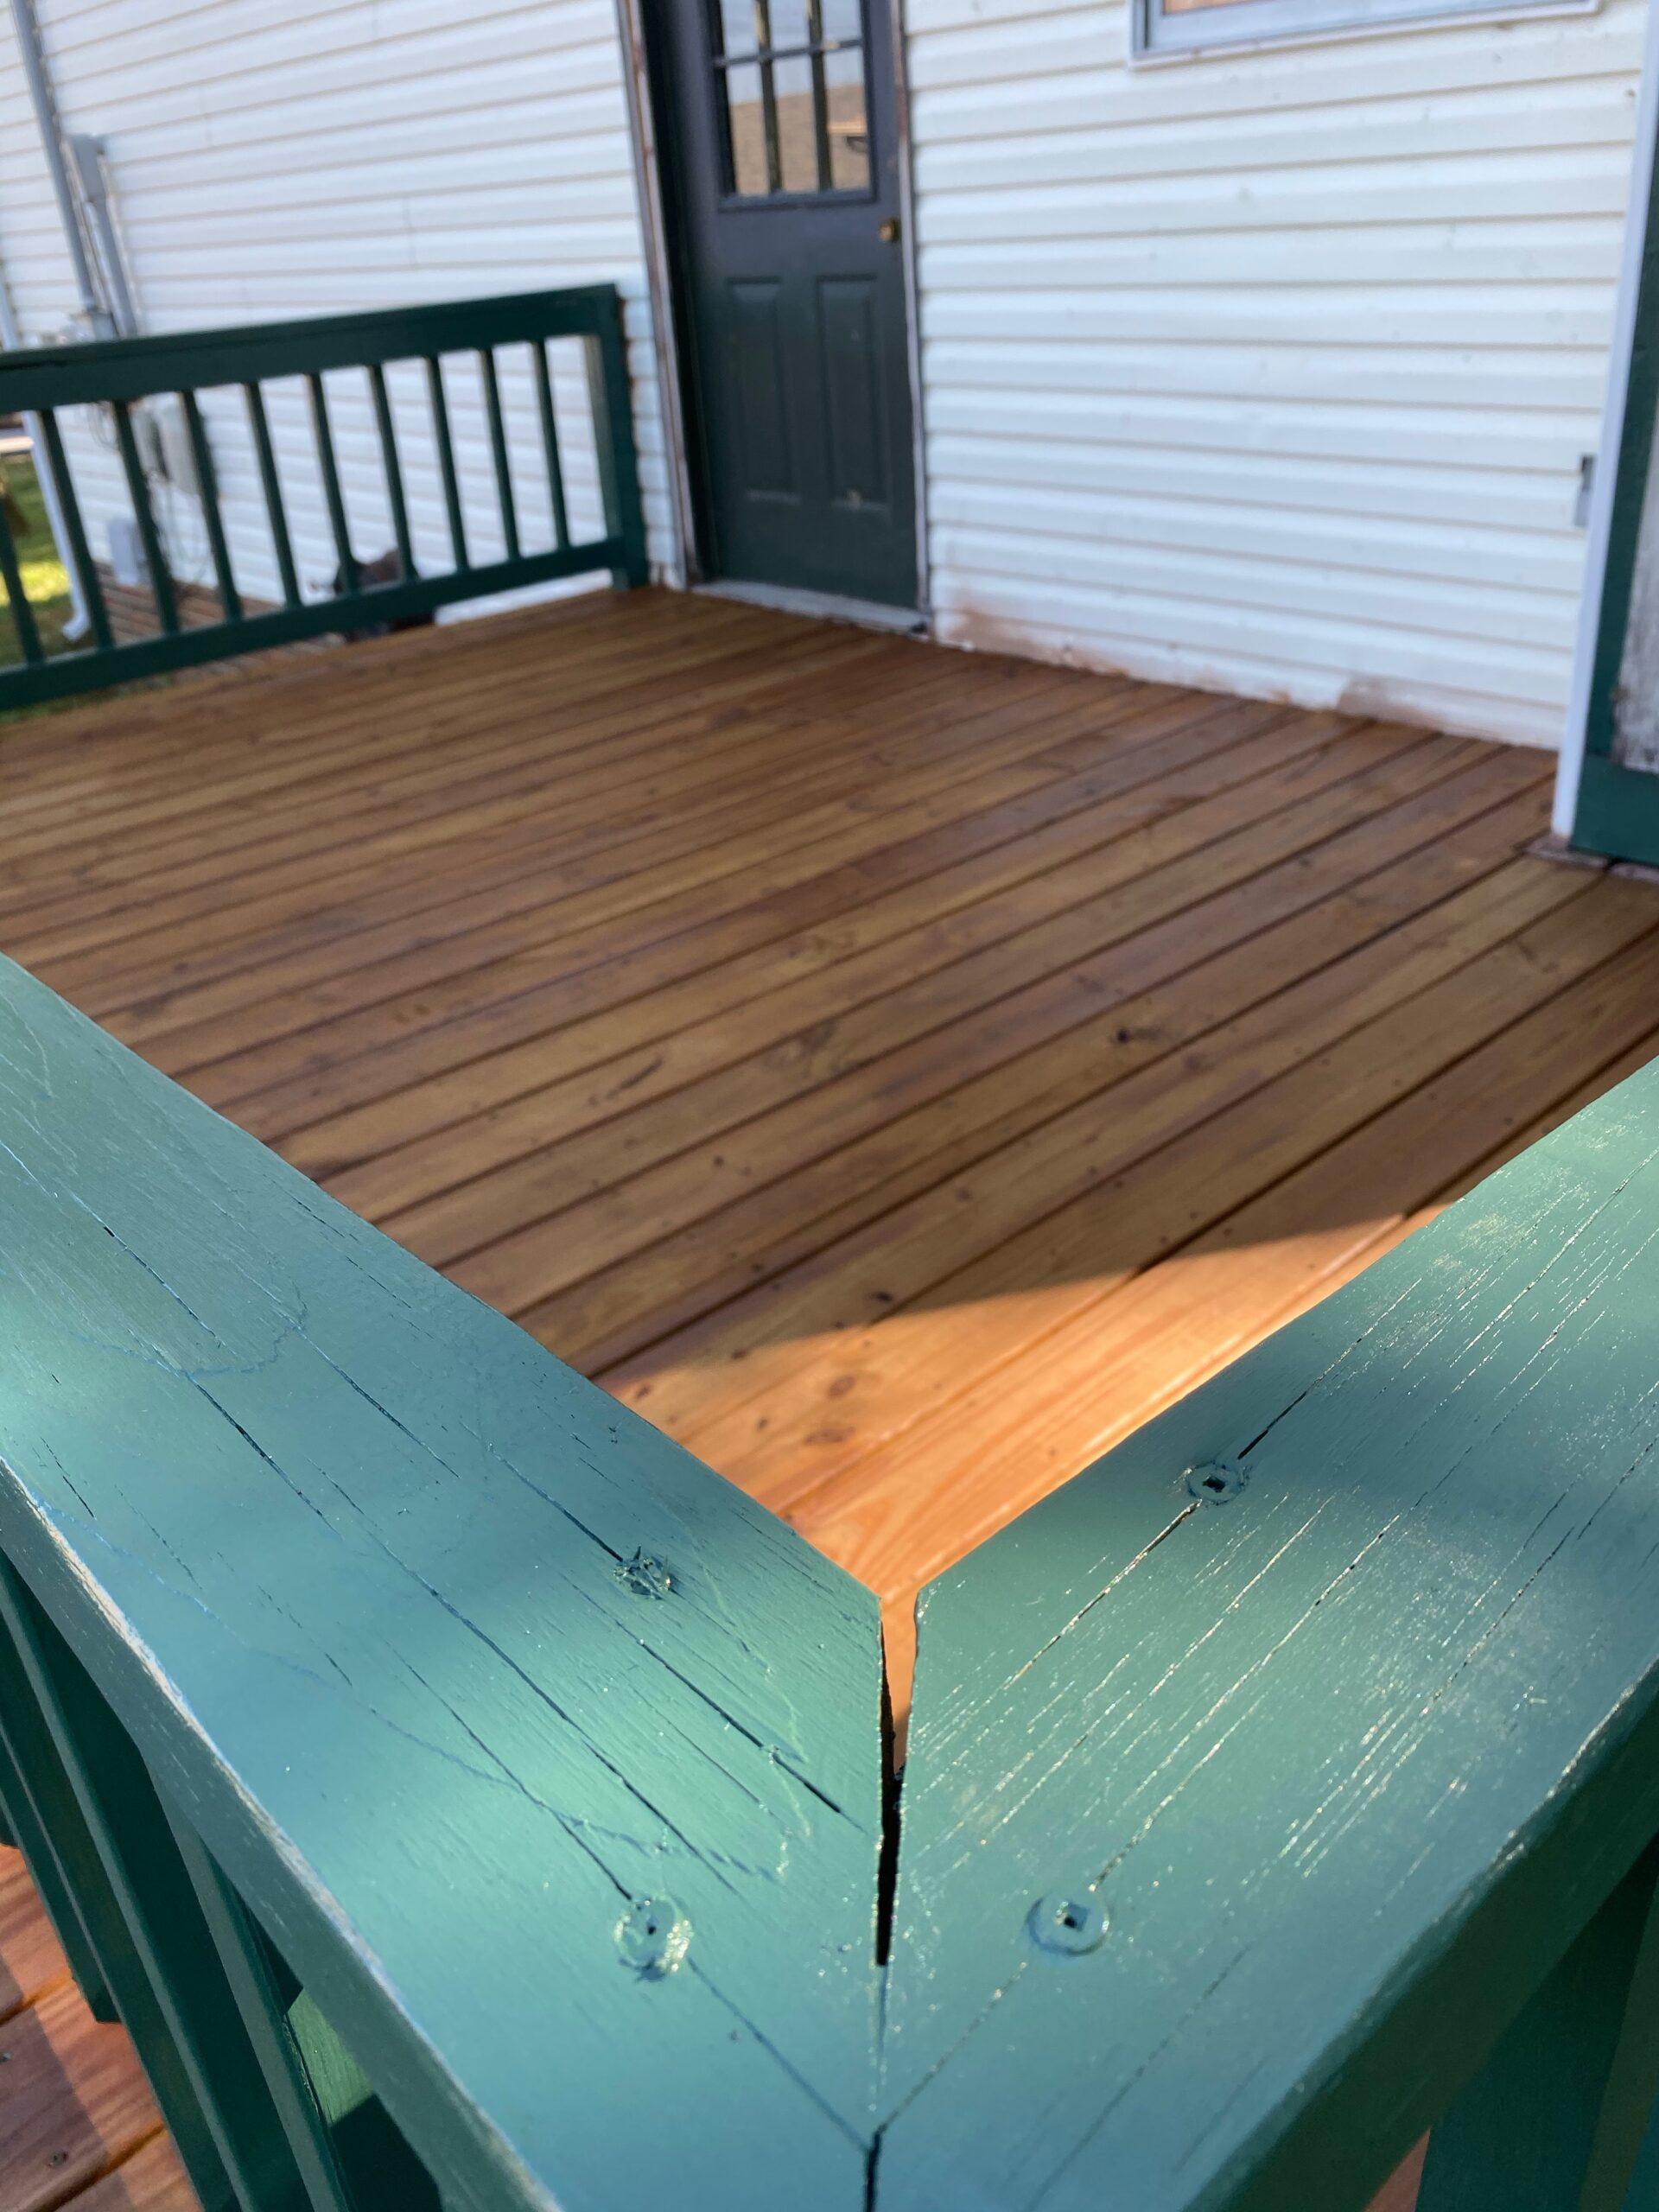
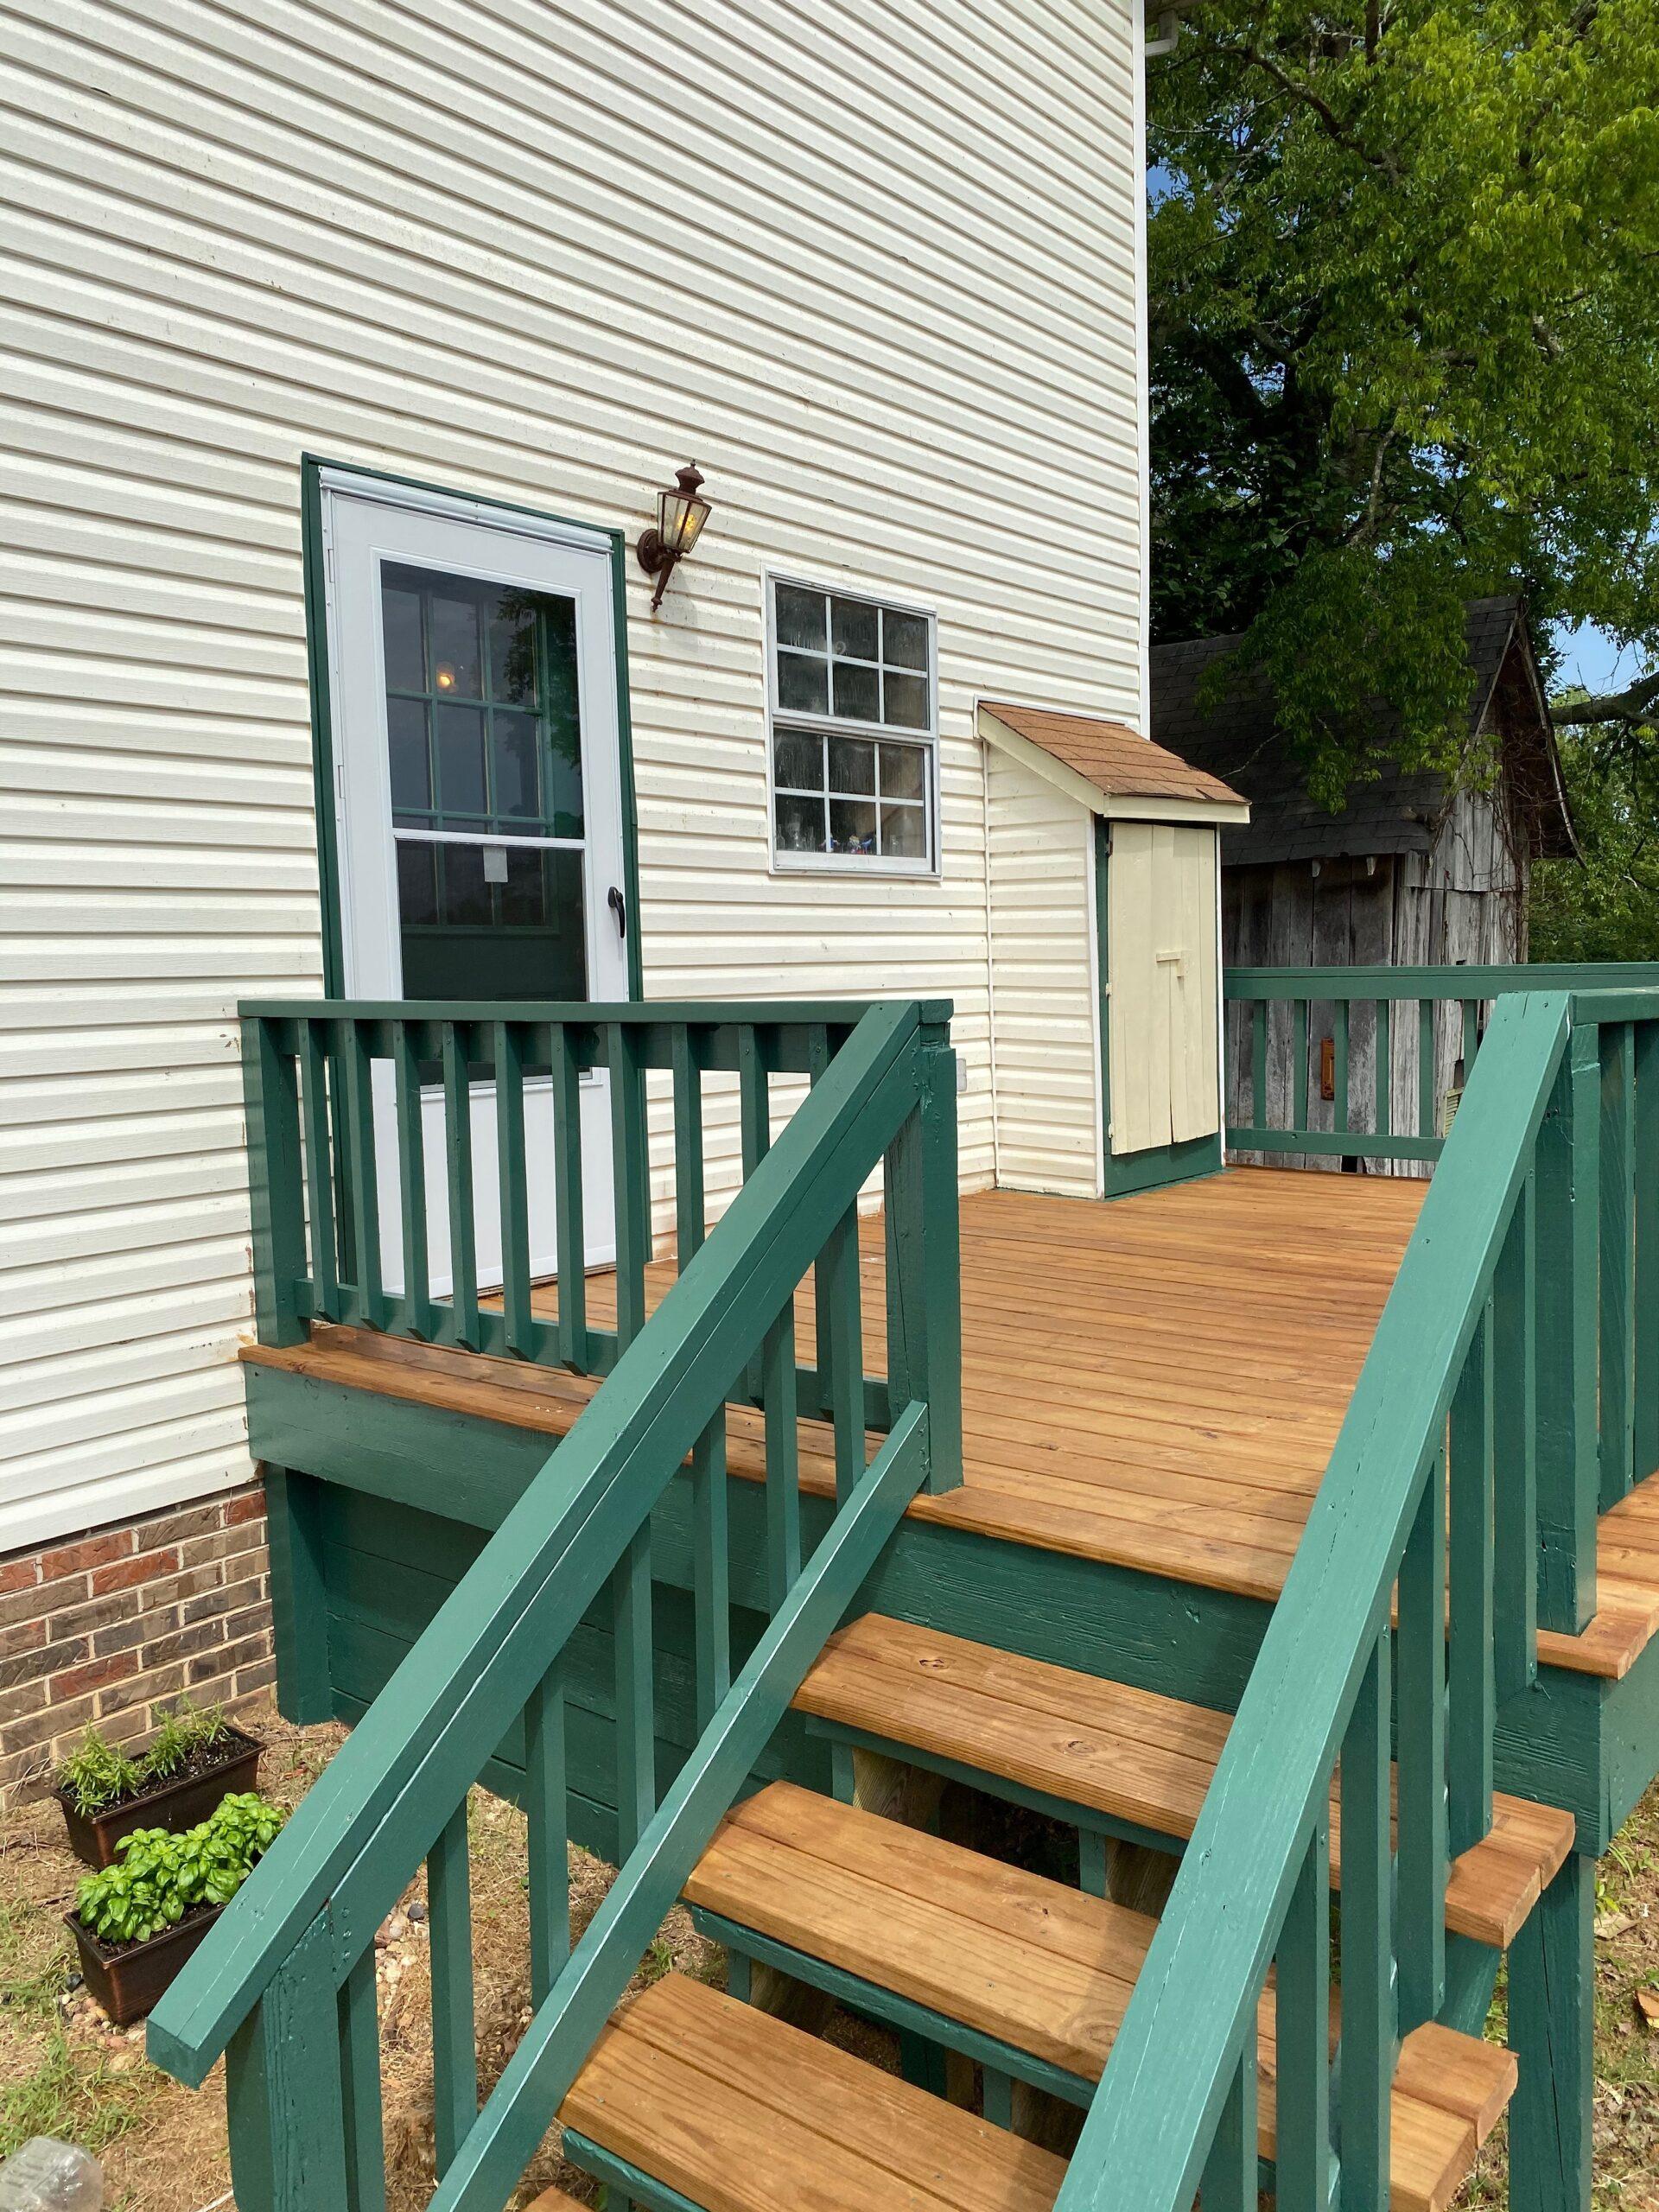
We used a pad specifically designed for this purpose, and it worked very well. The stain was beautiful as it contrasted and blended the beige vinyl siding on the house with the dark green paint we selected for the railing and bannister. The staining process was far easier than that of painting.
In stepping back and looking at our work once the project was completed, we were in awe at the transformation possible when using well-chosen products and materials. We are very happy with the results.
Questions About Deck Defense?
Read our Deck Defense FAQs for more information about Deck Defense.


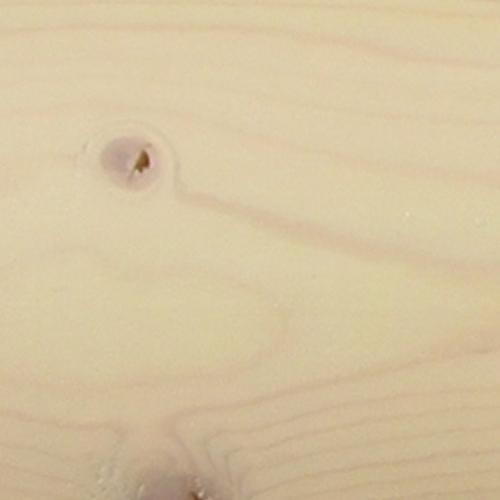
CHEMIST’S CORNER: Can All Wood Species Be Prepared the Same Way, Using the Same Cleaning Products?
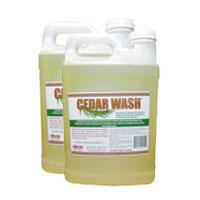
The obvious answer to this question is NO. Although all wood species contain many of the same components – including cellulose and hemicellulose and minor amounts of extraneous materials – it is the wood extractives that differentiate wood species from one another. That’s why we developed Cedar Wash.
Understanding the Bleeding of Wood Extractives.
Wood extractives are compounds present in the softwood and heartwood of a tree that contribute to such properties like color, odor, decay and insect resistance, density, and flammability. When used for log homes, naturally occurring extractives in the wood can migrate to the surface and discolor paint and finishes (water soluble extractives) as well as create adhesion issues (oil soluble extractives) for many coating types.
The organic components of the extraneous materials are referred to as extractives because they can be removed by extraction with solvents without altering the cellulose/lignin structure of the wood. Extractives include tannins and other polyphenolics, coloring matter, essential oils, fats, resins, waxes, gums, and starch. Depending upon such factors as species and growing conditions, the total extractive content of wood substance may range from less than 1% to 30% in extreme cases.
Wood Species and the Level of Extractives
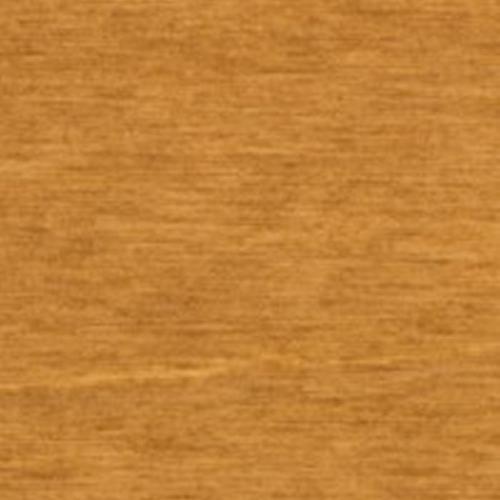
All wood species contain wood extractives; however, there are a handful of wood species that are characterized as extractive-rich woods. This group includes Redwood, Western Red Cedar, Walnut and Mahogany. The second group of wood species that also contains higher levels of wood extractives but less than extractive-rich woods include Southern Pine, Douglas Fir, Spruce and Cypress.
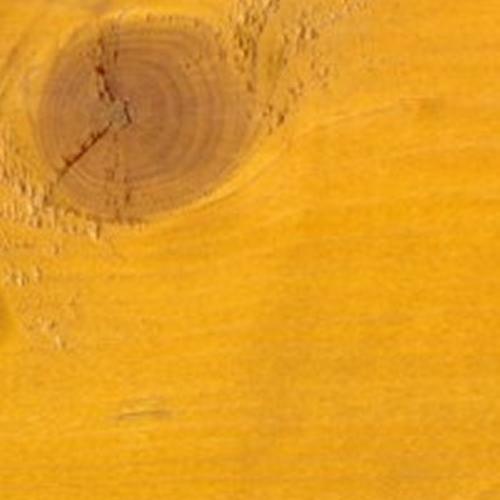
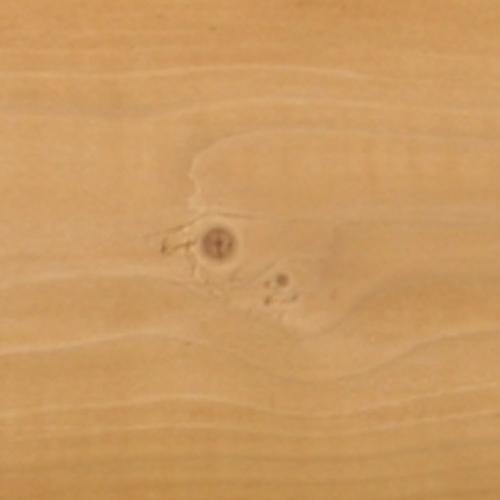
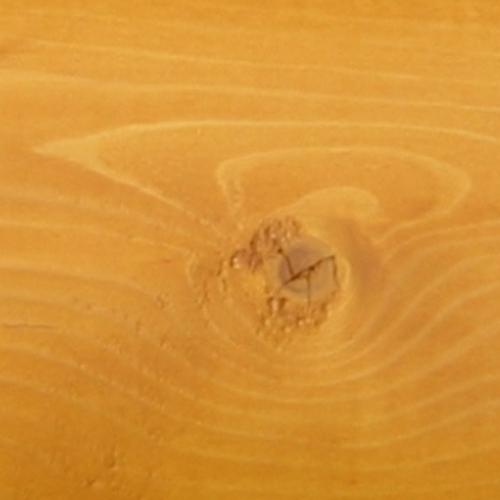
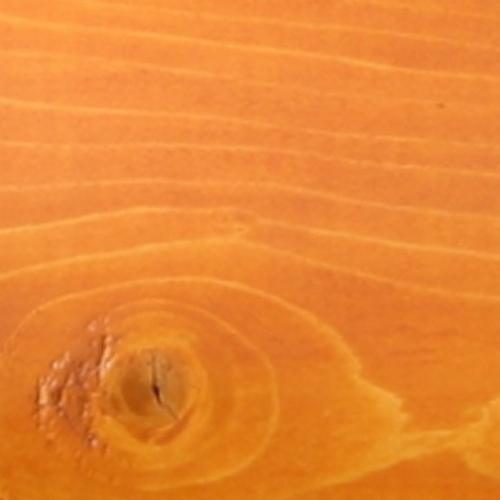
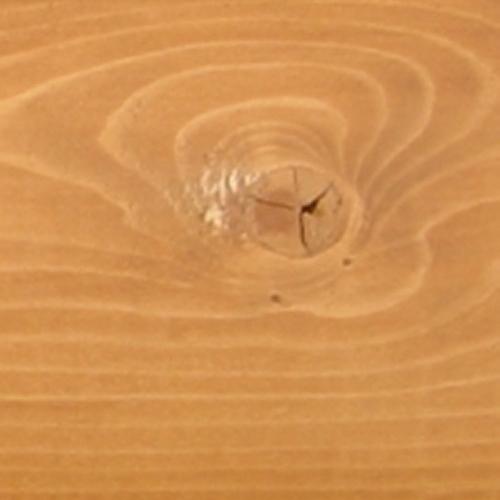
The percentage of extractives in trees is generally low, but a high concentration is found in knots and heartwood of the tree. Knot bleeding can occur when a knot contains an excessive number of extractives. In these cases, the extractives consist mainly of rosin, fats and turpentine, and these extraneous materials can make up as much as 50% of the knot by weight. The ratio of extractives can change with the season and weather (if the tree is stressed).

Extractives Affecting Wood Color
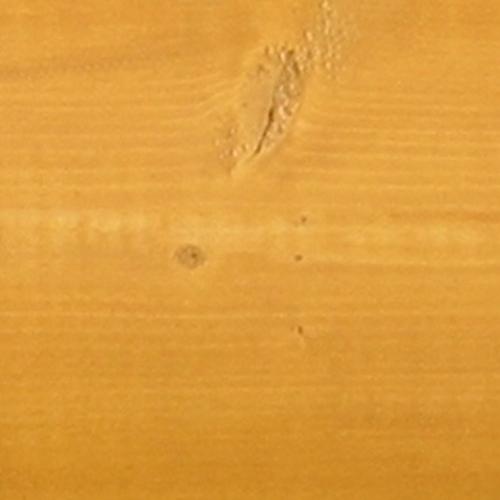
Staining or discoloration of wood may result from chemical processes that convert originally colorless or light-colored extractives into intensely colored products. Most of the “chemical stains” result from oxidation of certain wood extractives during air seasoning or kiln drying. Some resins can bleed out of the wood, as seen in pine wood. Sometimes the extractive can react with foreign material.
Using Cedar Wash For High-Extractive Wood Species
Cedar Wash is a wood cleaner with a high pH solution, which can dissolve, soften, loosen, or react with different types of extractives found in extractive-rich woods used in log homes. If a chemical is soluble in a liquid, it is easier to remove than a chemical that is only softened by that liquid. Being soluble is preferred as this means the particles are broken down to become so tiny we can no longer see them. Cedar Wash is designed to remove surface resin oils and high concentrations of water-soluble wood extractives such as sugar and protoplasm, in addition to dirt, grease, grime, pollen, and surface mold and mildew without harming the wood.
Cedar Wash was developed by Perma-Chink Systems as a Ready-to-Use cleaner specifically formulated for preparing the surface of wood species that contain high levels of wood extractives and resin oils. It is also safe for chinking and sealants.
- Easy to use, Ready-to-Use formula.
- Low environmental impact
- Designed specifically for Western Red Cedar, Redwood (Softwoods), Walnut, and Mahogany (Hardwoods)
- Removes resin oils and wood extractives from the surface of the wood
What’s the Difference Between Caulking and Log Chinking?
High-quality sealants help older cabins last for generations and give newer ones the rustic good looks many desire. Our sealants provide protection that will let them carry their historic styles far into the future. But when it comes to the language surrounding the sealant between logs, many people call chinking “log caulk.” Log caulk and log chinking are often used interchangeably, but these sealants are completely different. In fact, you should never, ever caulk a log home.
Caulking vs. Chinking
Caulk typically comes from a tube and is used to fill a small crack or seal edges along windows, trim, sinks, and bathtubs. This material is designed to be squeezed out in small amounts, then blend in and disappear. Caulks are completely waterproof, easy to apply, and easy to clean up. Today, there is an overwhelming selection of caulks including waterborne, oil-based, and silicone. Prices range from $2 for an 11oz. tube to $26 for the same size.
There are three main reasons why you don’t want to use a general caulk on a log cabin:
- Caulk is impenetrable. Wood is an organic material and internal moisture is an inherent quality of any log. A caulk will trap moisture, which leads to mold, rot, and unsightly stains.
- Caulk is not engineered to adhere to wood. Some turn hard and develop a cracked “alligator” skin appearance, or they separate from the wood entirely. In these scenarios, the sealant has failed, and water will get underneath, leading to rot and stains. When that happens, more water penetrates the log walls and rotting gaps become a haven for insects.
- Caulk is a low-quality product. Despite the spectrum of price points, caulks are essentially a bottom-line resin effective for a very narrow set of purposes. This does not include sealing your prized log home.
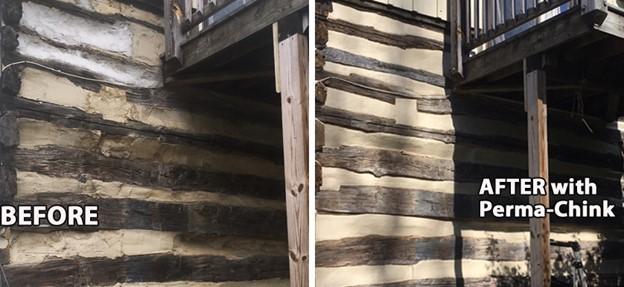
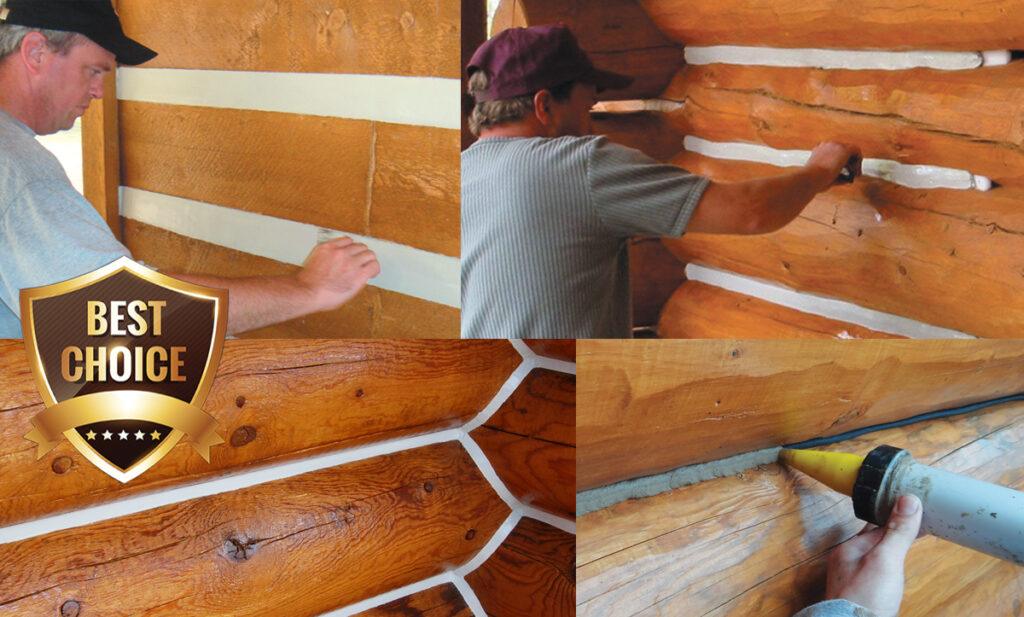
Chinking, on the other hand, is specifically designed for the purpose of sealing log homes, able to withstand the onslaught of environmental attacks and wood movement. Unlike caulk, which tends to be smooth and glossy, chinking has definitive texture that complements wood’s organic surface. Historically, chinking materials were made from what was regionally available. In Northern Europe, they used a special moss that did not cause log rot. Other places mixed horsehair or grass with mud or clay. Even today, it’s possible to purchase “log caulk” that has sand mixed with it to approximate a desirable rustic texture. None of these options are known for their effectiveness in withstanding movement and maintaining a proper seal over time.
In addition to offering the appropriate texture, our chinking is the kind of sealant a log cabin needs and deserves, and has four distinct qualities that sets it apart from caulk. For log homeowners, these qualities should be considered requirements when considering chinking.
- Log Home chinking must be breathable to let moisture escape the wood, while preventing new moisture from entering.
- Log Home chinking must have elastic qualities so it can move with wood’s daily and seasonal expansion and contraction.
- Log Home chinking must stick to the gap between the logs, even for log homes where the chinking remains invisible.
- Log Home chinking must resist the weather’s relentless tests — snow, rain, heat, and ice.
Chinking Superpower
Not only do our log sealants excel in the requirements that a high-performance chinking must possess, but we’ve devised a special formula with a distinct property. Our chinking sealants are thixotropic to provide exceptional peformance and fight environmental damage. A non-thixotropic sealant is prone to slumping and blistering, leading to issues that require a reapplication of the sealant and hoping the same issues don’t happen a second time.
Our thixotropic sealants stay exactly where the applicator leaves it, making them easier to apply with accuracy. In fact, we’ve spent years perfecting our formula to find the ideal balance between viscosity and thixotropic abilities. Our sealants can be easily pumped, squeezed, and applied by professionals and do-it-yourselfers alike. Professionals love our thixotropic sealants because they can get the job done right the first time.
We offer three types of sealants to accommodate different log home construction methods. Perma-Chink, our original elastic log home chinking, is designed for log gaps sized 1-inch or larger. Energy Seal has a more refined texture for log gaps less than 1-inch. Finally, Woodsman is a smooth and lightly textured log sealant that goes between stacked logs with no gaps.
All our sealant products come in an array of rich, earthy colors to complement any log home and work as an extra-strong, protective system with our wood stains and finishes. Perma-Chink lets your log home be permanently beautiful for your permanent enjoyment.
Guest post by Seth Murphy, papadiy.com
A home is more than just a shelter; it serves as our intimate sanctuary. The atmosphere within its walls profoundly influences our emotions, efficiency, and overall well-being. Central to cultivating a calm home atmosphere is the principle of tidiness.
Through consistent cleanliness and organization, we carve out a peaceful niche that rejuvenates our soul. By embracing straightforward daily practices, our living spaces can evolve into serene havens. In this article, which is shared courtesy of Perma-Chink Systems, we will explore straightforward routines that offer both a structured environment and mental clarity.
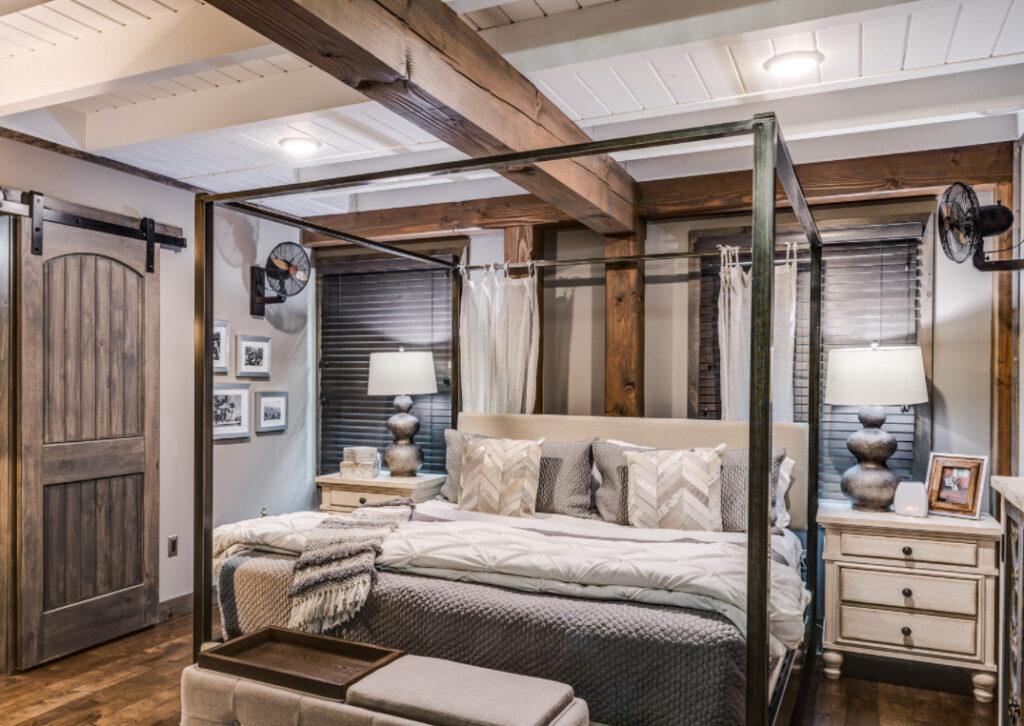
First, Take a Look at Your Bed
Your day’s first achievement happens in the bedroom. Making your bed might seem trivial, but this quick task offers instant gratification. It creates an immediate sense of order, providing a mental boost for tasks ahead. Moreover, it’s an inviting sight after a long day, beckoning with the promise of restful slumber. So, pull those sheets tight and fluff those pillows; starting right can set the tone for the entire day.
Put Items Where They Belong
Objects scattered around can quickly turn a home into a chaotic mess. Whether it’s a novel, a remote, or a hairbrush, always return items to their designated places post-use. Cultivating this simple habit can drastically reduce clutter. You’ll not only enjoy a tidy environment but also save precious time otherwise wasted on hunting for misplaced items.
Address Those Dirty Dishes
A mountain of dirty dishes can dampen anyone’s spirit. To sidestep this unsightly and overwhelming chore, attend to your dishes immediately after meals. It prevents residues from hardening, making washing quicker and less tedious. Plus, a clean sink and counter space are more inviting for the next cooking venture, ensuring the kitchen remains a space of creativity rather than stress.
Keep the Kitchen Clean
Beyond dishes, the kitchen requires some additional attention. Spills, crumbs, and residues can accumulate, turning your cooking space into a sticky mess. But fear not, with regular wiping of counters and the stovetop, you can easily keep this chaos at bay. This ensures not just cleanliness but also a hygienic environment for food preparation.
Dedicated Spots
The daily mini panic attacks when searching for keys or wallets can be nerve-wracking. Solve this by designating specific spots for these essentials. A tray by the entrance or hooks on the wall can serve as perfect drop-off points. This organizing method streamlines your exit routine and ensures these necessities are always within easy reach.
Embrace the Process
Organizing your home can be a rewarding yet daunting task, but with the right approach, it can be made much simpler. The first step is to schedule it and make time for this activity in your calendar, just like any other important appointment. Set aside specific blocks of time dedicated solely to organizing, ensuring you’re not rushed and can focus on the task at hand. Next, go through your belongings and decide what to keep, donate, or discard. Be thoughtful and honest about the utility and sentimental value of each item. Remember, less clutter means a more organized space.
Finally, take your time with the process. Organizing your home isn’t something that needs to be rushed through in a day. By spreading out the work, you can give each room and each category of items the attention they deserve. This methodical approach not only makes the task more manageable but also more effective in creating a harmonious and organized living space.
Decluttering
As the days pass, our living spaces often gather items that lose their relevance. This accumulation results in clutter that can feel overwhelming and suffocating. Engaging in regular decluttering acts as a therapeutic exercise, clearing out both our surroundings and our minds. While you’re in the process, delving into Feng Shui principles can be enlightening. By harmoniously arranging your space using these guidelines, you achieve more than just visual appeal.
Our homes are reflections of our internal state. By integrating these straightforward tidiness habits, we can nurture a living environment that soothes and rejuvenates. The beauty lies in realizing that maintaining a well-ordered home doesn’t require Herculean efforts. Small, consistent actions can ripple into significant transformations, leading to a relaxed and enjoyable home life. Embrace these habits and witness the calm it ushers into your daily existence.
For a full line of products to meet the needs of log home builders and owners, visit Perma-Chink Systems today!
COLOR CHOICES FOR LOG OR TIMBER INTERIORS
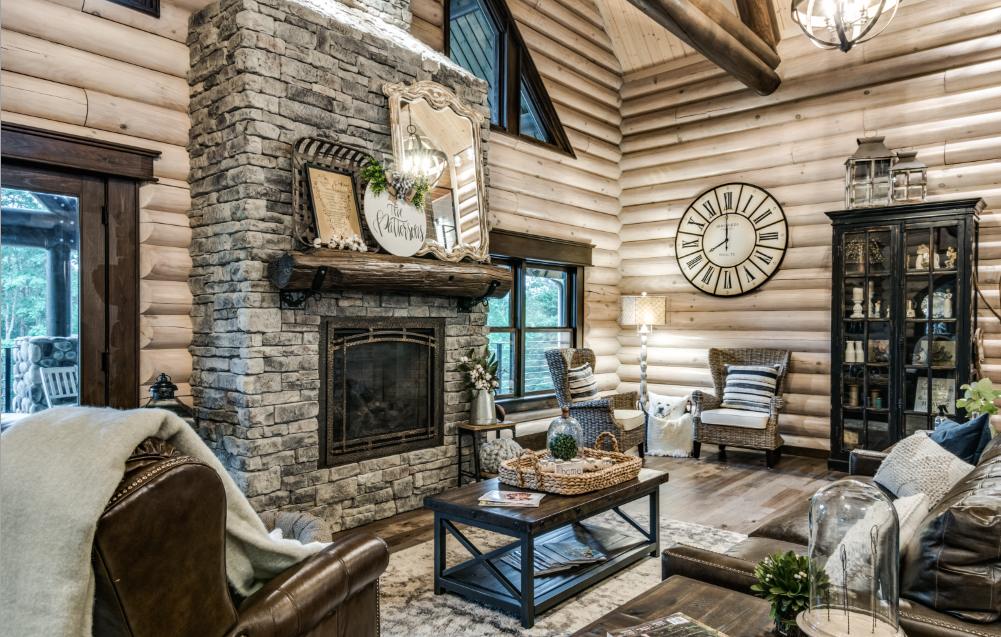
When it comes to log and timber homes, grays and browns are the biggest trending colors, as they offer the widest neutral tones. Gray has been the hot shade for the past several years in homes, from walls to floors.
True to its “neutral” title, gray really goes with almost any color. The key to a great match lies in coordinating the tones. Gray doesn’t have to appear in your palette as a color of the wall – it can also be found in a fireplace exterior, flooring, or on countertops. When you add gray to any room, be sure to consider other shades of gray that might already be there.
“To find the best shade, you need to consider which direction your room faces, what time of day you will be in there, the prevailing weather (even the hemisphere makes a difference), and last of all, the actual shade you like,” says Kate Watson-Smyth, who wrote the book on decorating with gray, Shades of Grey.
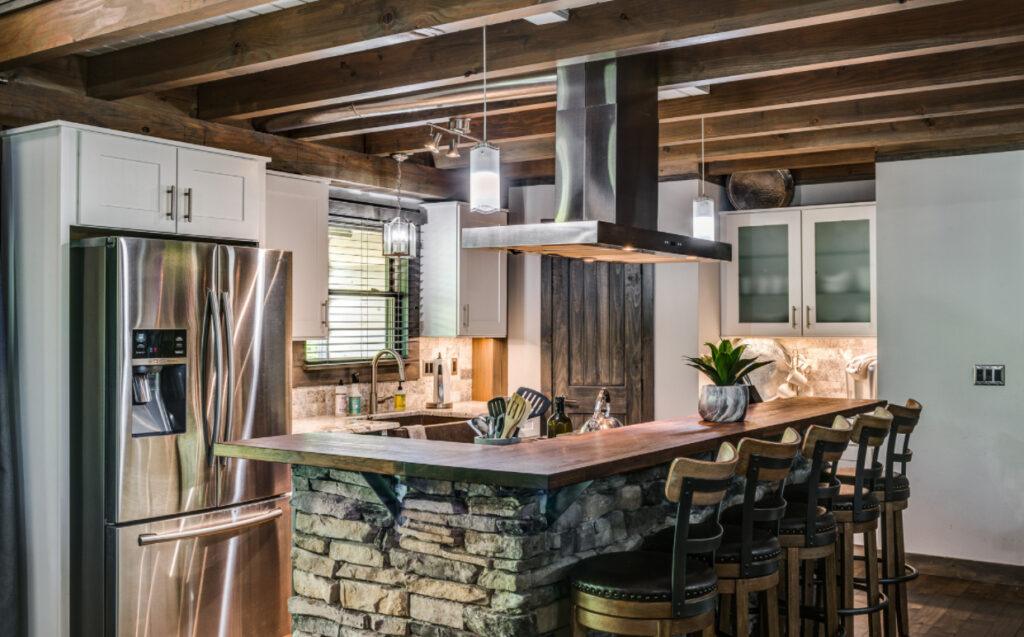
Our Lifeline Interior color collection can complement or contrast any paint you chose for your drywalls. Our interior grays combined with natural warm tones of wood will add a beautiful style to any room in your home. But grays aren’t the only option, and some people prefer other colors. That is why our standard library of color has the most colors available on the market, as well as virtually unlimited custom colors.


If you’re concerned that gray would be too cold for your space, beige colors or soft whites could be the answer. The easiest way to make a room feel bigger is by opting for lighter stains, particularly with gloss or satin finishes that create the appearance of even more space by relfecting light.
Keeping With The Trends
PCS designs eye-catching colors in many diverse tones that have the power to transform the entire ambience of a home. And the best part – you don’t have to mix anything – just order free samples to try, and then pick your colors.
And if you are looking to upgrade the wall paint in your house, The Property Brothers have some thoughts for you when it comes to paint colors.
On a “Condo Dreams” episode of HGTV’s Property Brothers: Buying and Selling, Drew and Jonathan Scott are not pleased when they see two colors gracing the walls in the client home – red and yellow.
“Yellow walls don’t really sell these days,” Jonathan quipped on the show, implying that Roseanne could likely fetch a better selling price if she repainted her walls a different hue. Perhaps an even worse offender than yellow, however, is red. At one point in the episode Jonathan warns that they have to “get rid of that angry ’90s red wall.” Read more about paint color choices.
Would you like to know what colors will be trending in the future? Better Homes and Gardens announces new color trends from the major paint companies.
No matter what color palette you choose, we can make custom color stains and finishes for you. Call 1-800-548-3554 or email techservice@permachink.com
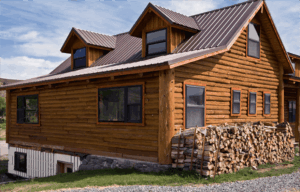
Photos by Honest Abe Log Homes
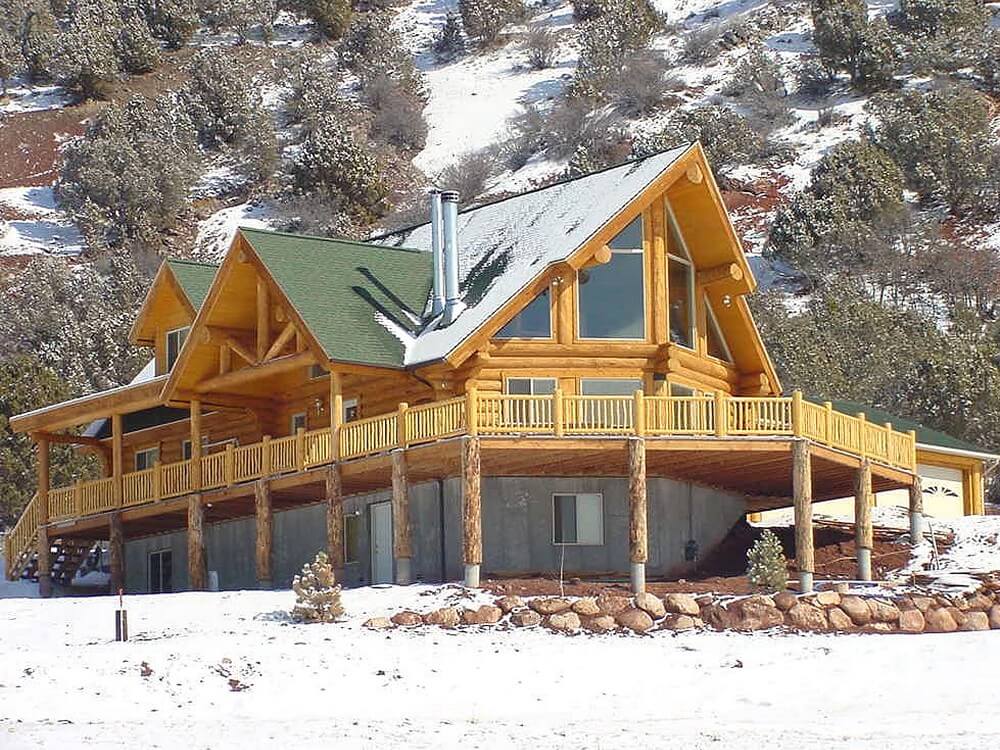
It’s time to close up remote and vacation cabins for the winter. For most vacation homes, the close-up process usually occurs after Labor Day, but we all try to squeeze out a few more weekends as the weather allows.
Depending on where the home is, the “living” season might be longer, or year-round, especially if the property doubles as a seasonal rental. If you’re lucky enough to live in a mild climate that doesn’t require much seasonal “changeover,” it’s still a good idea to inspect your home for potential issues. We have available information on Fall maintenance and landscaping tips to keep homes maintained.
For those homes that get buttoned-up for the winter, the folks at Cabin Life compiled a checklist of tasks to ensure a protected home for the duration of the winter season.
Preparing for Winter Checklist
(Adjust as needed for your climate and your frequency of winter use.)
Outside Duties
- Waterfront homes: Clean and store boats, dock ornaments, ladder, life jackets and ski equipment.
- Mow the lawn one last time (if you have a lawn at your place).
- Clean and winterize lawnmower and other gas-powered yard equipment.
- Rake and remove leaves within at least 30 feet from your cabin.
- Store fire pit decorations, emptied flower pots, drained hoses and sprinklers, and deflated water toys.
- Keep firewood more than 30 feet away from home.
- Look for air leaks around electrical wiring, dryer vents, pipes, windows and doors; then seal leaks with caulk or insulation to keep out cold air and pests.
- Insulate pipes in crawl spaces by wrapping them with heat tape or thermostatically-controlled heat cables; also open cabinet doors to allow heat to get to un-insulated pipes under sinks and appliances near exterior walls.
- Clean out gutters and inspect roof for shingles that are raised or cracked; leaking roofs and clogged gutters can lead to significant water damage.
- If your lake is prone to ice movement, take in dock and boat hoists. Remove hoist motor and electric line.
- Turn off outside pump breaker, hoist motor breaker, dock light breaker.
- If you are in the snow belt, store outdoor furniture, picnic tables and hammocks.
- Make sure your winter sports gear is ready to go. Snowmobile and ATV tuned up? Skis waxed? Where are those snowshoes?
Inside Duties
- Ensure that the power and water are in the proper mode for vacancy.
- Set thermostat at the appropriate temperature for the region. If you heat your place in the winter, set the thermostat no lower than 55 degrees; if you keep the A/C on when you are gone, set it to 80 degrees.
- Clean furnace filter to maintain an efficient heating and cooling system and reduce the risk of fire.
- If you are shutting off the refrigerator, leave the door cracked open to prevent musty smells from developing.
- Unplug computers and major appliances to protect them from power surges and lightning strikes.
- Pull shades, or cover furniture to keep it from being bleached by the sun.
- Put mothballs or dryer sheets near linens.
- Restock and store first-aid kit.
- Take out all perishable foods; store those that remain in air-tight/critter-tight containers. If you don’t heat the cabin in winter, carry out canned goods so they don’t freeze.
- Turn off dehumidifier and water heater.
- Close damper for fireplace. Seal box to prevent critters from entering cabin.
- If you don’t heat in winter, drain the pipes by attaching a hose to the lowest point in the plumbing, then blow out all water with an air compressor.
- Winterize washing machine; kitchen appliances.
Perma-Chink was designed to eliminate the undesirable results often obtained by using older less successful methods of wood slabs, mud, and cement types of chinking, as basically they did not work well over the long haul. So it became a constant worry or job to re-chink or repair the failing products. Most of the products used did not have any degree of flexibility or they did not adhere to wood that well. The results were cracking cement caused by the stress of the logs shifting or shrinking. The resulting failure often allowed separation between the chinking and the log surface allowing water intrusion, and possibly early wood decay.
So as for a particular type of home, yes Perma-Chink is designed for any home that incorporates a specific joint design where it could be employed. For example; the large timber square logs that use a dovetail system as seen throughout the Eastern United States, as well as the large handcrafted round logs from the Western part of the United States. These homes were designed to be chinked from the start.
I think it’s important to interject another fact regarding log homes. Not only has the formulations of Perma-Chink changed over the years, so has the entire log home industry. Many people think log homes are still being cut by someone with a pickup truck and a chainsaw, working from a drawing on piece of cardboard. Today’s log home are engineered structures designed and approved by architects and require approval by various build codes in given areas. They are high-quality structures designed and manufactured by professionals using computer programmed tools and equipment to create structures that are built to stringent specifications. These homes are designed to require less maintenance, last longer and to provide a sound investment for your money. They are not just log cabins anymore, they are log homes.
How has log home chinking changed over the past few decades?
Perma-Chink was the first synthetic chinking produced in 1981, there have been many significant changes made in formulations to improve the adhesion, flexibility, and longevity. Early formulations were lacking in elongation and freeze-thaw stability which resulted in performance issues and storage and application concerns. Today’s Perma-Chink offers excellent qualities in all areas to meet the needs of the industry. Application can be accomplished in a much wider range of temperature extremes with little or no worries about product performance. There have also been additions to the color palette of the products keep up with the homeowner’s desire to mix and match shades and hues of today’s finishes.
Who can apply log chinking properly? A DIYer or a Pro?
Basically anyone can apply Perma-Chink properly if they follow instructions. Some homeowners attend workshops or seminars to learn how to apply Perma-Chink, if they decide to DIY. But in today’s busy environments, some homeowners choose to use the services of trained contractors as the design of their dream home may require the use of specialized equipment such as lifts or scaffolding, and a trained contractor can usually shorten the time required to accomplish the job. Therefore the homeowner can tend to the other necessities involved to get moved in, and sometimes there are just not enough hours in the day for the homeowner to do this.
Visit our Find A Contractor tool to find a professional log home chinking contractor near you.

If you’re looking for some ideas this Thanksgiving to partner with your baked, smoked, or deep-fried turkey, we’ve compiled a list of recipes that you might find new and interesting to serve this year.
Side Dishes
Maple Roasted Brussels Sprouts
Not everyone’s favorite, but for those that love Brussels sprouts, this is a winner.

Click here for the recipe from AllRecipes.com
Air Fryer Hasselback Potatoes

Click here for the recipe from AllRecipes.com
Succotash
The list of ingredients for this Southern succotash recipe – including fresh corn, tomatoes, lima beans, and okra – are practically synonymous with summer (something we’re thankful for). And the combination of these five complementary flavors is only heightened with the additions of crumbled bacon and fresh basil.

Click here for recipe from Southern Living
Mashed Sweet Potatoes with Bacon
Bacon makes everything better, doesn’t it? A new addition to the sides could be this delicious dish.

Click here for recipe from Food Network
Awesome Sausage, Apple, and Cranberry Stuffing
This Thanksgiving apple sausage stuffing is fantastic! It is very flavorful and fresh-tasting. This recipe will stuff a 10-pound turkey (which serves six) plus extra. You can replace the usual pork sausage with much healthier turkey sausage. Other dried fruits may also be used in place of cranberries.

Click here for recipe from All Recipes
Desserts
Mini Apple Pies
For me, one apple pie is mini… I think I could eat two or three apple pies. But, if you want to pace yourself this holiday, these bite-sized treats will be a winner!

Click here for recipe from The Pioneer Woman
Glazed Maple Shortbread Cookies
These cookies are fantastic for Fall! Shortbread and maple together make this cookie a sweet treat and a great alternative for those who aren’t a fan of pumpkin pie.

Click here for recipe from Taste of Home
Drinks
Cranberry Fizz (non-alcoholic)
This drink is very popular for holiday gatherings and there’s never enough!

Click here for recipe from Taste of Home
Bourbon Slush
A drink customizable with your favorite tea.

Click here for the recipe on TasteofHome.com
Spiced Bourbon with Red Wine
Liven up the party with a creative cocktail.

Beauty is a Duty.
Your log home manufacturer built you a beautiful home. Now it is your duty to finish it with the best log home products to highlight and preserve that beauty. Let Perma-Chink Systems offer you the world-class stain and finish brand: Lifeline Ultra.
Simply Unmatched.
The benefits of Lifeline Ultra are endless, but here are some points that differentiate the Lifeline brand from others.
Not just Beautiful, but also Durable!
In addition to building a strong home, you want to build a beautiful home, too, which is why the finished appearance of your logs is so important. No doubt that high-quality finishes will save you time and money in the long run. Longer lasting finishes equates to less labor expense over the life of the finish.
Top 5 Benefits of The Lifeline Ultra brand:
1. Unsurpassed Adhesion to Wood
The secret behind its durability is Lifeline’s state-of-the-art resin that creates a flexible and tough seal on your home’s logs. Perhaps more importantly than the seal’s strength, the resin ensures a continuous seal, providing protection from holes and gaps that might otherwise develop with an inferior finish.
2. More Resistant to UV Degradation and Color Fading
The transparent iron oxides protect your logs without resulting in a “painted” look that hides the natural texture and beauty of the wood grain. Plus, these pigments provide superior UV protection, blocking the fading and bleaching effects of the sun for a much longer period of time.
3. Water-Resistant and Breathable
All Lifeline finishes form water-resistant film that breathes just like Gore-Tex® to allow trapped moisture to evaporate while protecting the wood.
4. 5-Year Warranty
We are so confident in the performance of Ultra-7 and Ultra-2 that it comes with a 5-year warranty against UV exposure when applied to bare wood and covered with an initial coat of Advance clear topcoat.
5. Meets and Exceeds all Standards for low-VOC
Water-based finishes lack the chemicals in oil-based finishes that are harmful to the environment and difficult to clean up.
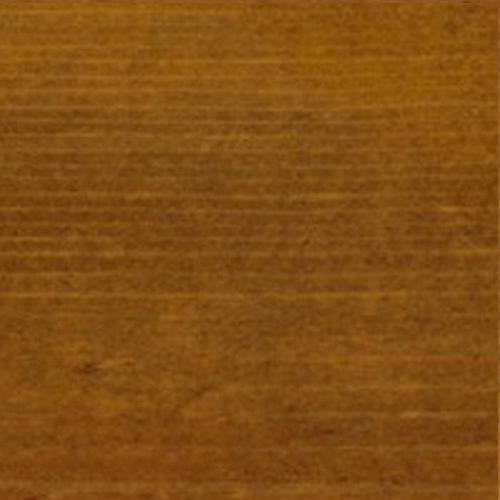
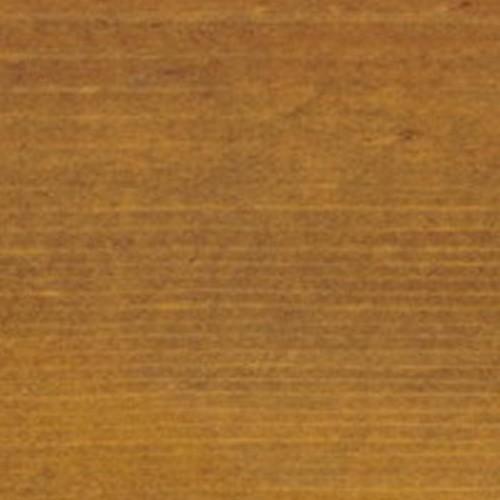
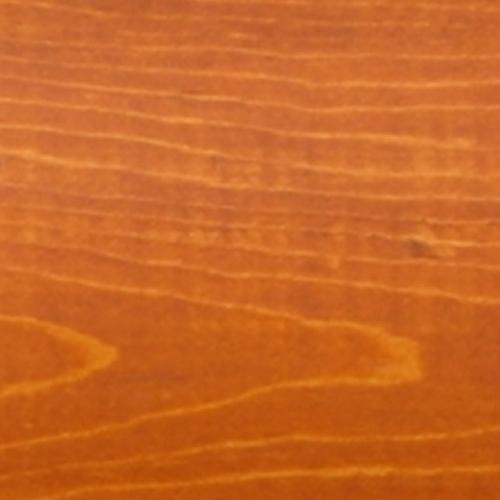
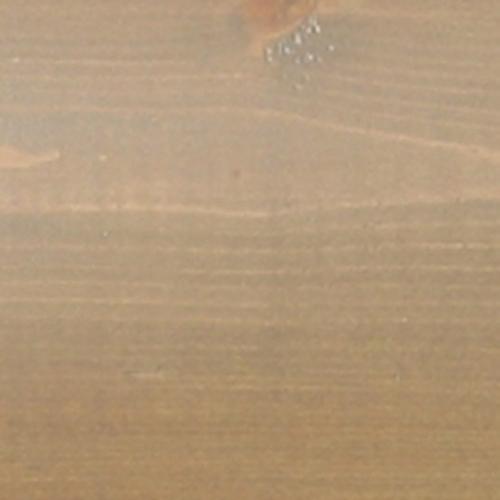
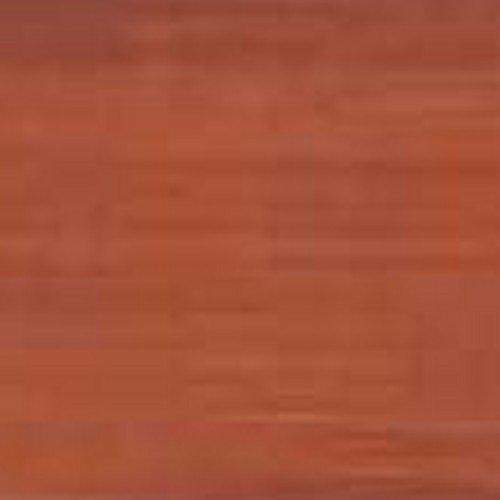
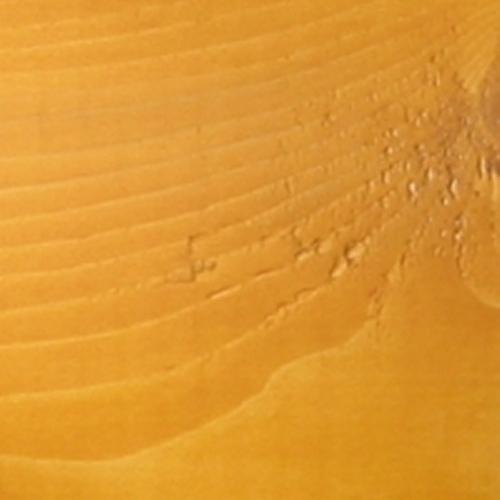
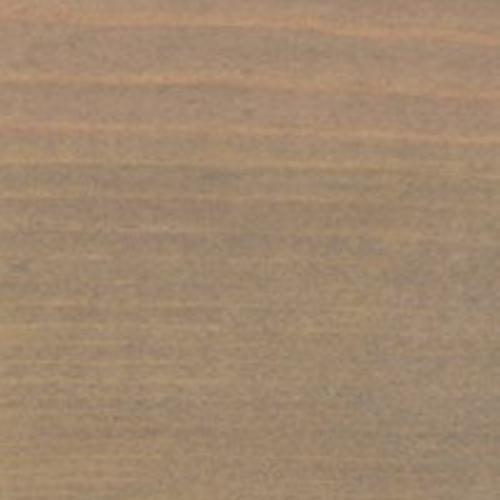
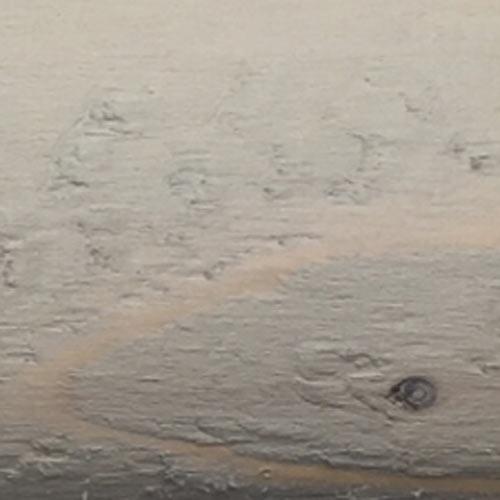
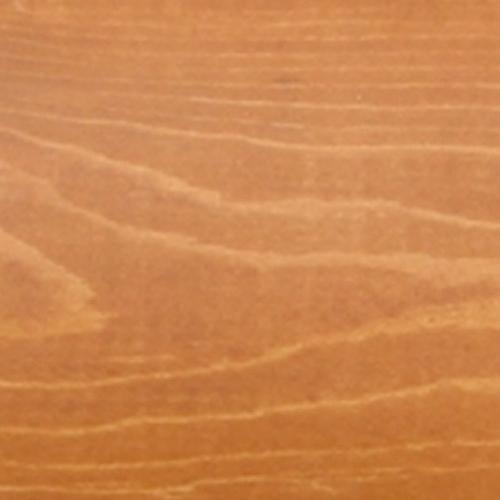
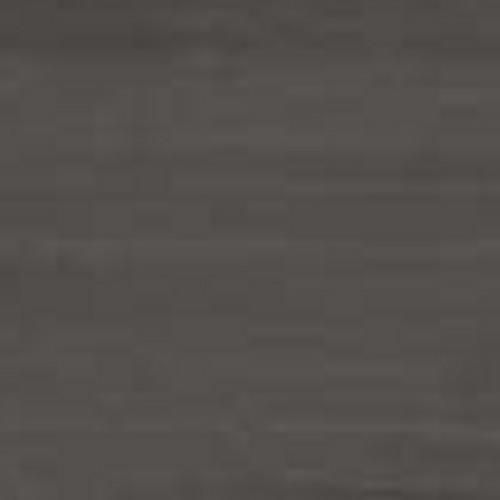
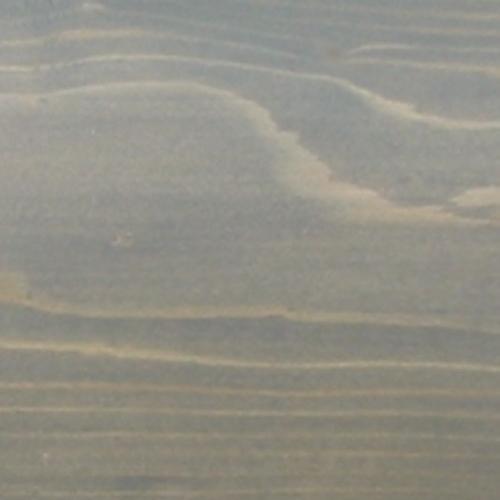
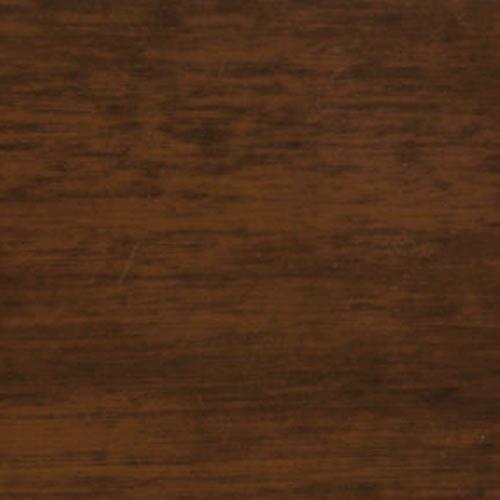
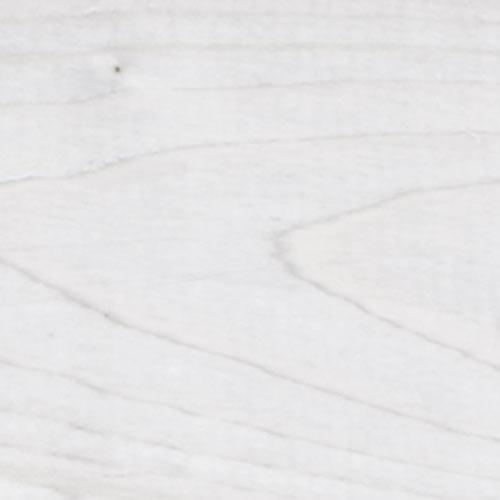
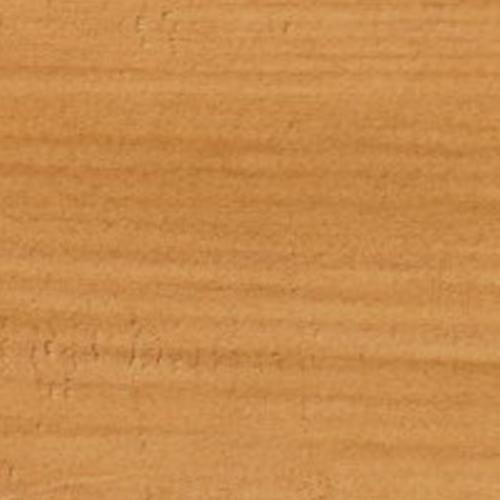
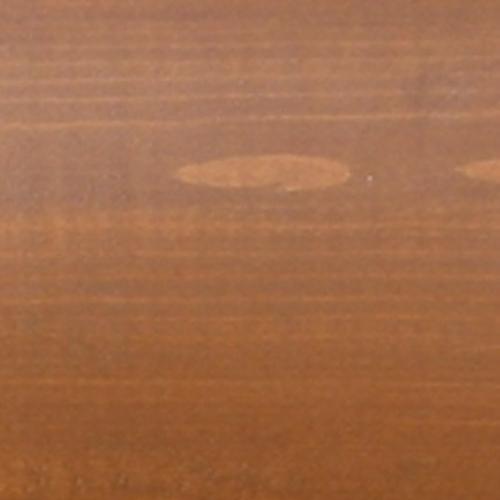
UNLIMITED COLOR CHOICES
I think we have already convinced you that Lifeline Ultra brand is the best there is in the industry for any wood home. Now here is the icing on the cake – you can choose any color your heart desires!
Choose from any colors below or send us your desired color chip. Then let us know what base you want the color to be in – Lifeline Ultra-7, Lifeline Ultra-2, Lifeline Accents or Lifeline Exterior.
If you’re looking for a different color than what we offer, we will make a custom stain color for you the same day. Don’t wait, call us today for your custom color at 1-800-548-3554.
Just A Sample Of Available Colors