Blog & News
There are many great things about log homes that make them appealing to the owners and future owners. Usually at the top is the look and design of the log home, capturing the spirit of the frontier and settling the wild west. Sometimes a custom home, sometimes an ordered home from a builder, but definitely a chosen home for the owners. Achieving this look is completed with the final design choice – the color of the log stain and log sealant. The two main options are contrasting colors or blended colors. Our stains and finishes pair with our sealants to make sure your home looks the best, no matter what you decide.
Color Choices
On occasion, our team is asked “What color should I choose?” While it’s up to you as the log home owner, our color selection is unmatched and we can give recommendations. Then owners have the follow-up question: “What color of log home sealant goes with this?” There are so many different combinations possible, it’s hard for us to answer for the owners.
The first decision to make is the choice between wanting a contrasting sealant to the stain or a blending or matching the sealant to the log stain. Our photo galleries reflect the many different combinations of stains and sealant, and, in the humble opinion of this author, all of them look fantastic on log homes.
Samples of Contrasting and Blended Colors
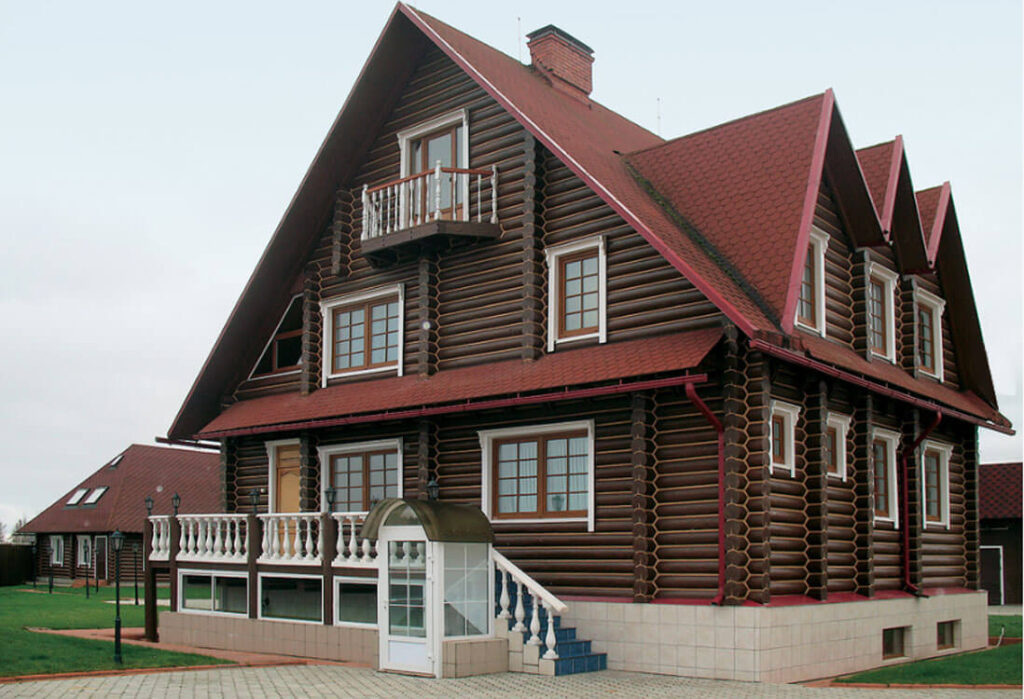
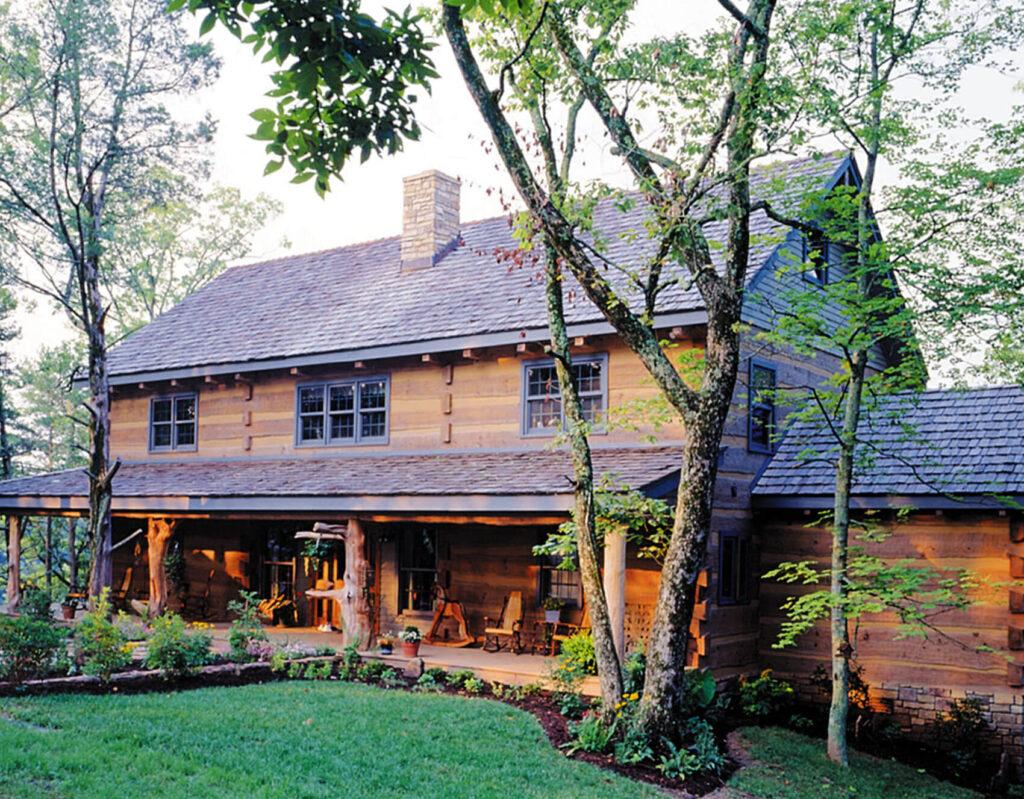
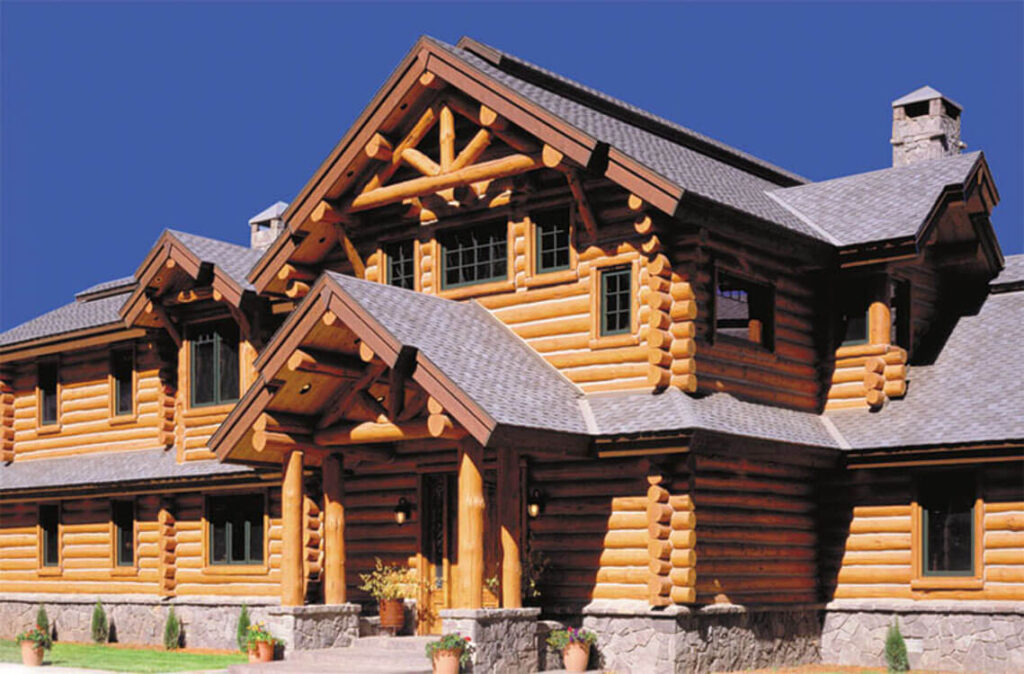
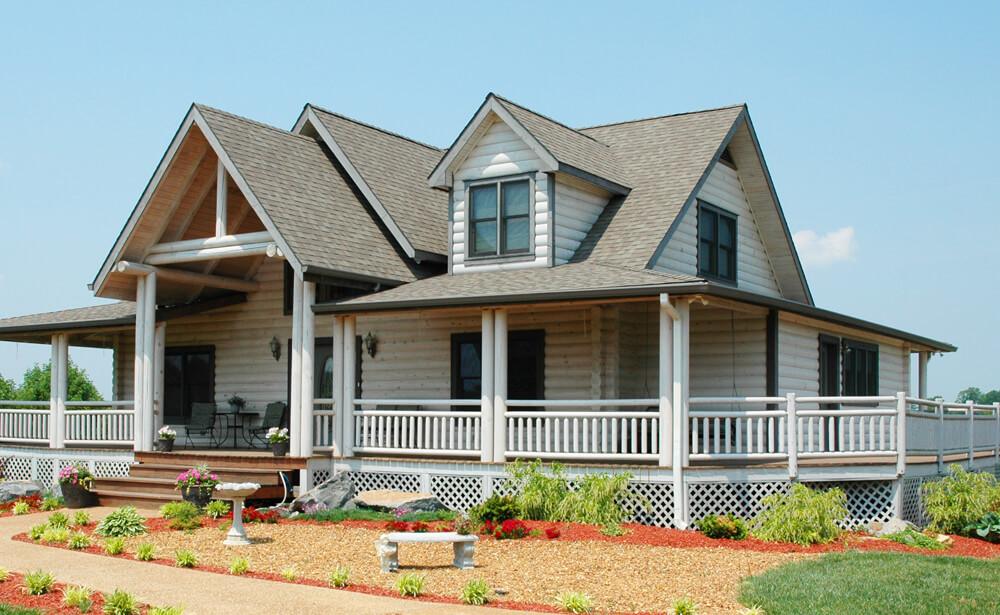
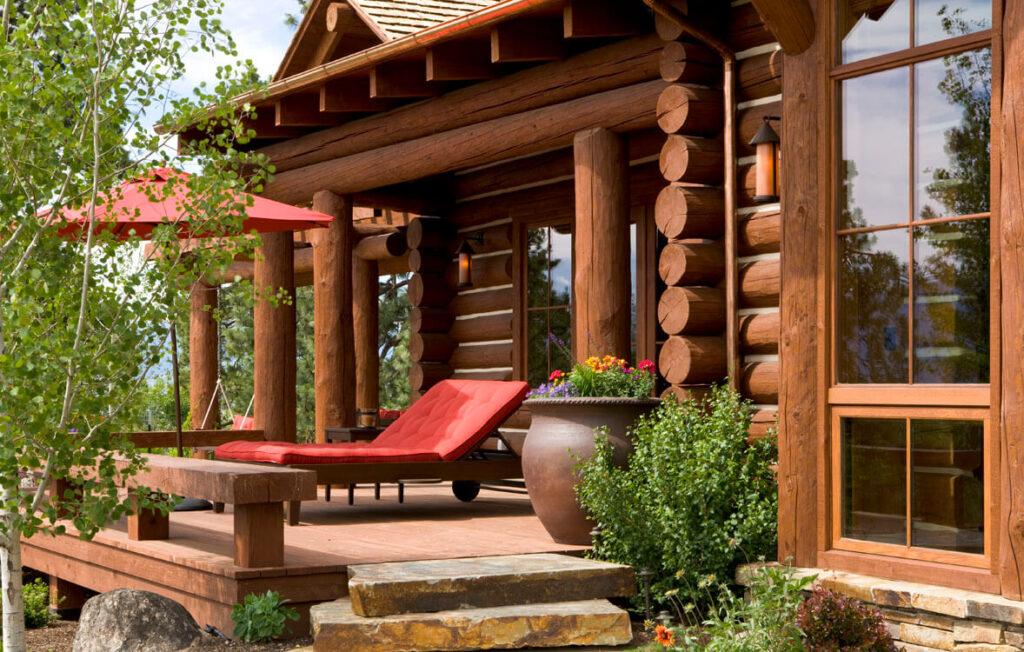

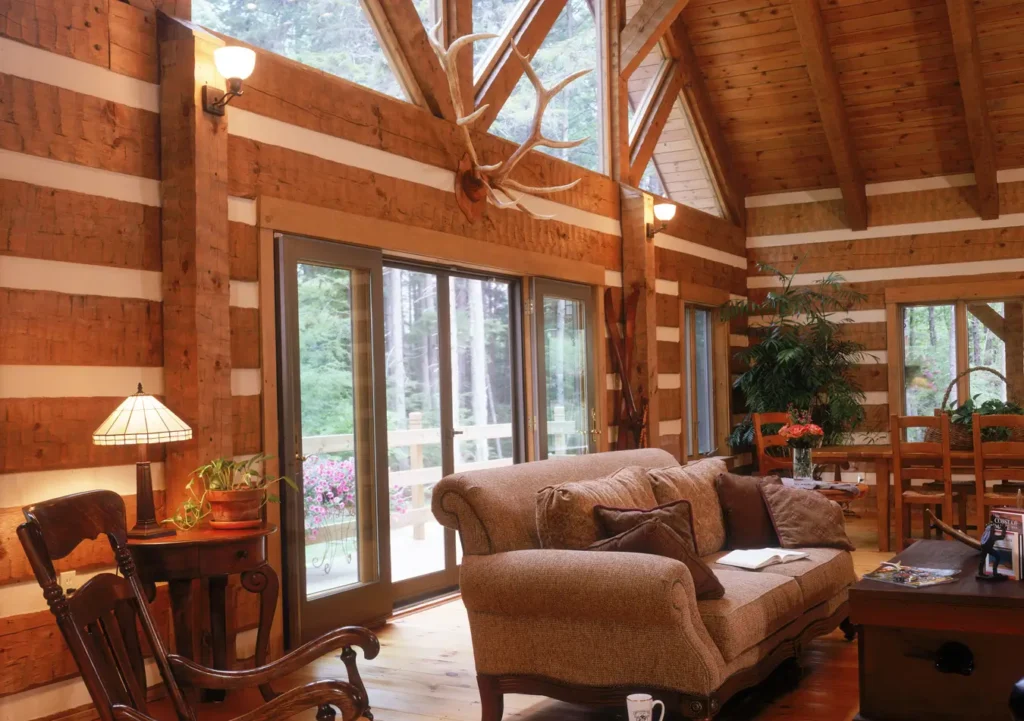
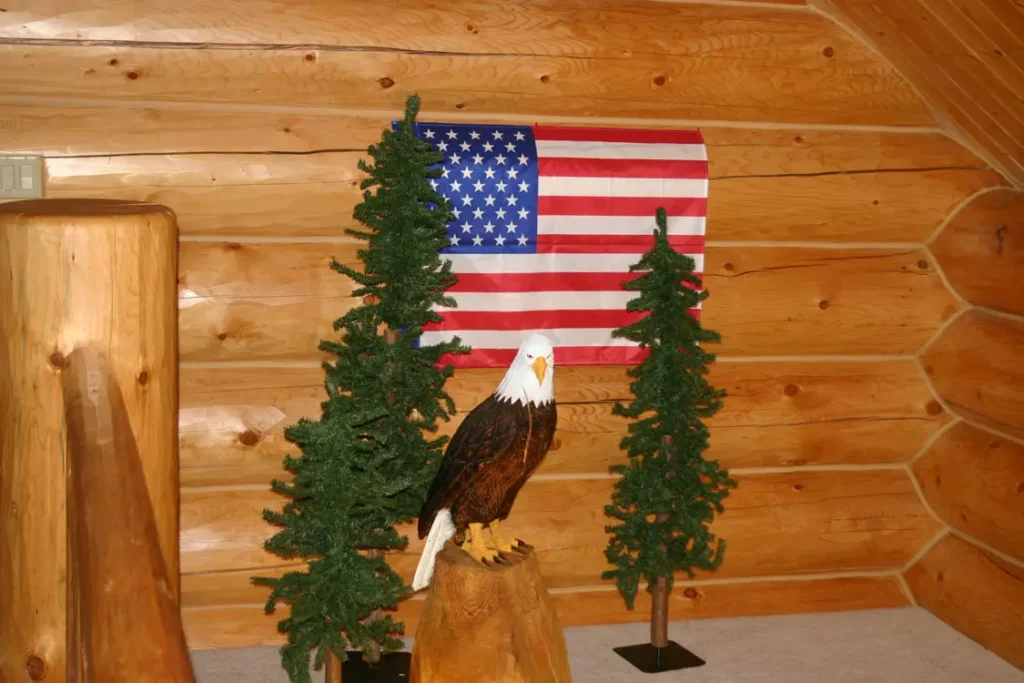
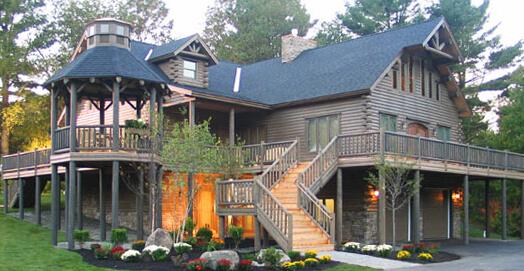
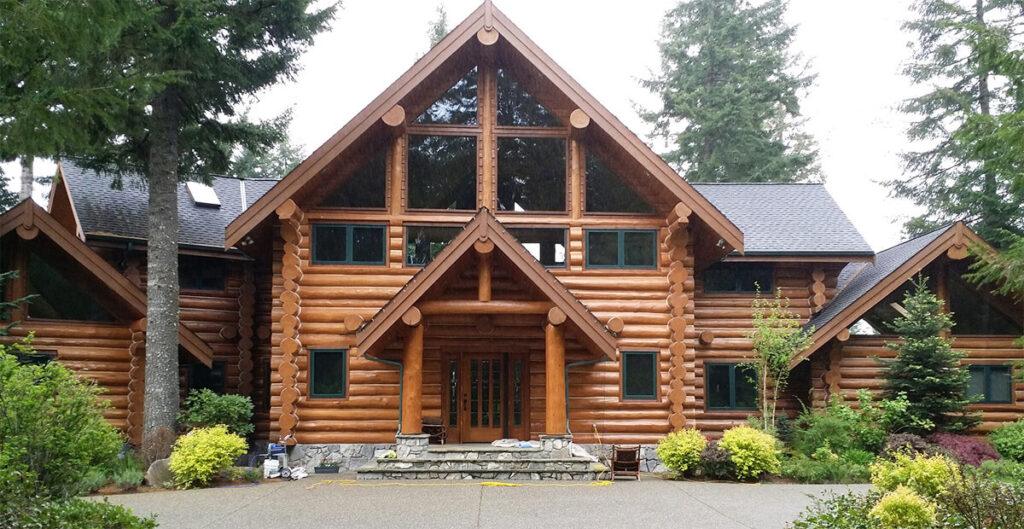
It tends to be personal preference how the home looks at the end of the day. Perma-Chink Systems’ photo galleries offer great visualizations of the possible combinations, both contrasting and blending. Our staff is more than willing to help you find that perfect combination, and we offer free color samples to make sure you like the color.
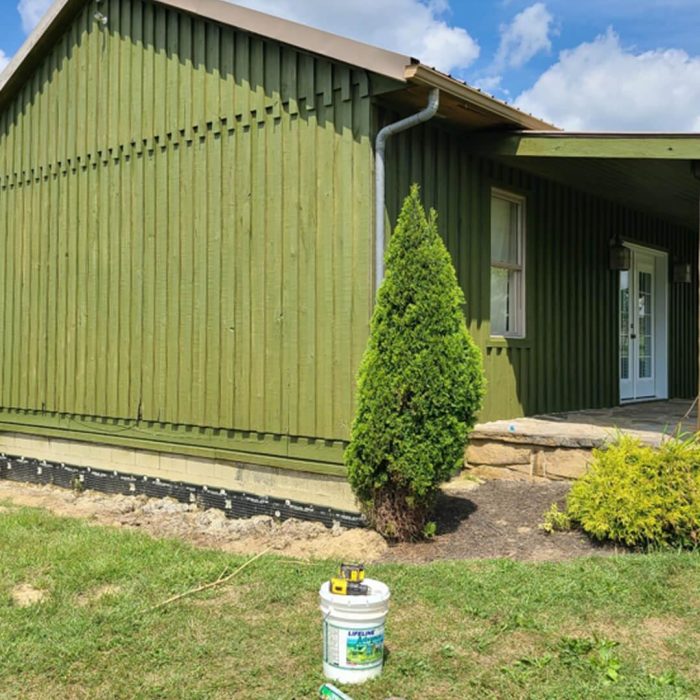
Being green isn’t being the color green – although we make a family of bold colors like this green finish in the picture above. Our standard and custom colors aside, being “green” is how our products are produced to be safe for the environment.
We know that in today’s environment being “green” is considered an important factor in the decision process of many of our customers. Being “green” – environmentally friendly – is one reason why log homes are so popular. But what about the finishes used on log homes, can they be “green” as well? The answer depends on the criteria used to define “green.”
For example, there are several manufacturers of oil-based finishes that claim their products are “green” since they contain linseed or soybean oil which are considered renewable resources. What they don’t say is that their products also contain large amounts of petroleum-based solvents and the only way to clean-up these products is to use turpentine or mineral spirits, products that fall under regulated disposal requirements due to their toxicity and high, negative environmental impact.
One standard for being “green” is the amount of volatile organic compounds (VOC) contained in a product. Both state and federal agencies regulate the amount of allowable VOCs contained in coatings, since VOCs have been implicated in both depletion of the ozone layer and global warming. These regulations have had a serious impact on oil-based products forcing manufactures to reduce solvent content by adding fillers and other solids with a subsequent reduction in attractiveness and performance.

All of Perma-Chink Systems’ LIFELINE-brand stains are water-based products that contain no petroleum distillates and comply with all state and federal regulations for contained volatile organic compounds (VOC). Ever since our inception in 1981, we at Perma-Chink Systems, Inc. have always tried to formulate our products to have the least impact on our environment. In addition, we’ve targeted healthy living areas with our specifically-formulated interior finishes by meeting the highest interior air quality standards. Through our testing, we’ve found that solvent or petroleum based finishes don’t perform as well in exposure testing compared to our water-based LIFELINE finishes. In case you doubt testing, here are some real customer testimonials:
I have been very impressed with how well your product has preserved my home for nearly three decades. – Greg D.
Very pleased with Perma-Chink products. They are easy to use and they brightened up our 35-year old cabin with a warmth of color, couldn’t be happier! – Valerie K.
I am a ticketed carpenter and a ticketed log builder. I believe that if you build with wood you must protect it. I believe that Perma-Chink provides you with the best line of products to do so. They are environmentally friendly and if you apply them as they recommend then they will perform as you expect them to. I use only Perma-Chink products and I recommend you do so as well! – Dave B.
Our stains and sealants are recognized by environmental organizations as being truly “green” since they have minimum impact on the ecosystem. And since clean-up requires only soap and water, they do not contribute any toxicants or pollutants to our surroundings.
It’s a sad fact that being “green” has become a meaningless term used by companies’ marketing departments to help promote and sell their products. We are proud to say that our technical staff will continue to produce and develop superior products that do not damage our environment and have no adverse health effects on either the people applying our products or individuals who live in log homes stained or sealed with materials supplied by Perma-Chink Systems, Inc.
In fact, our chemists evaluate all the components that go into our products to ensure they are the safest for our employees, product applicators, the homeowner, and the environment. Our sealants are completely free of petroleum distillates which has improved the sealant’s performance as well as made it safer for people and the environment.
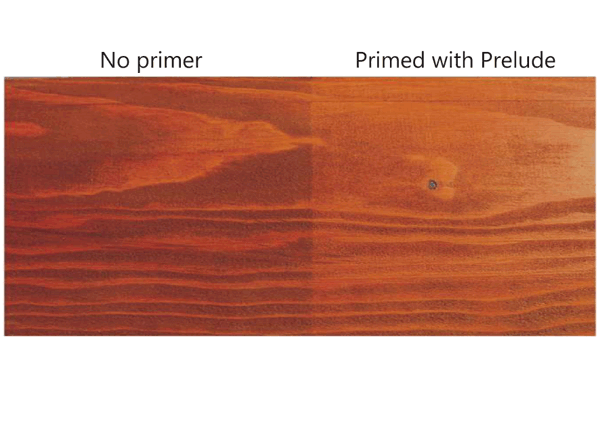
Although paint primers have been used for many years, clear primers for wood are few and far between. Lifeline Prelude™ is the only water-based clear wood primer on the market that’s specifically designed for use on log and timber homes before the application of a water-based stain.
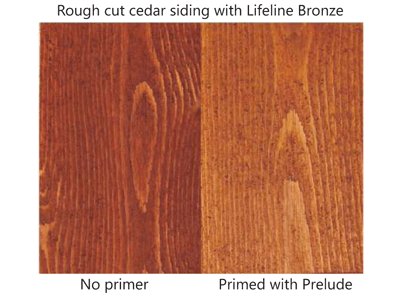
Following are a few situations where we recommend the use of Lifeline Prelude:
1. After a home has been media blasted.
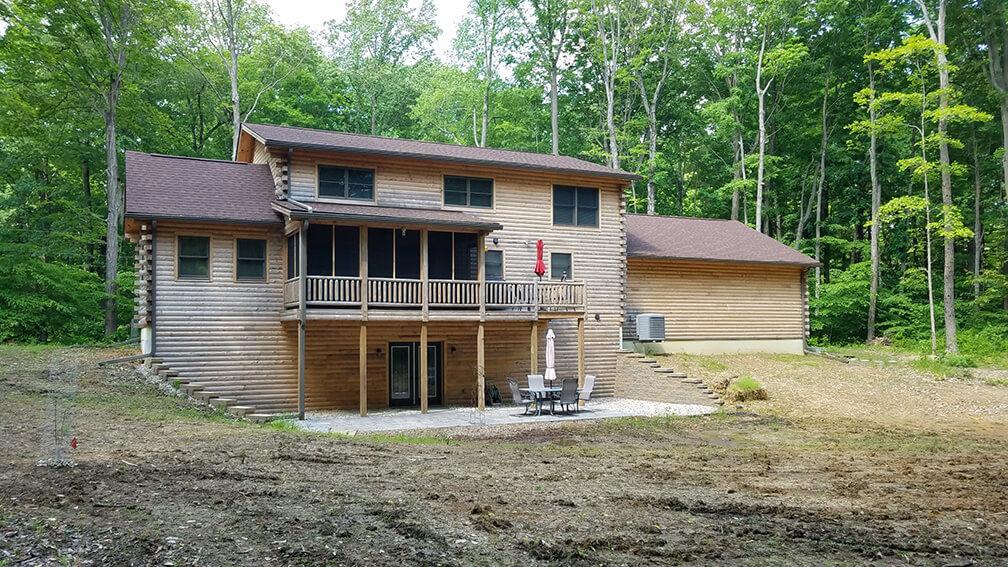
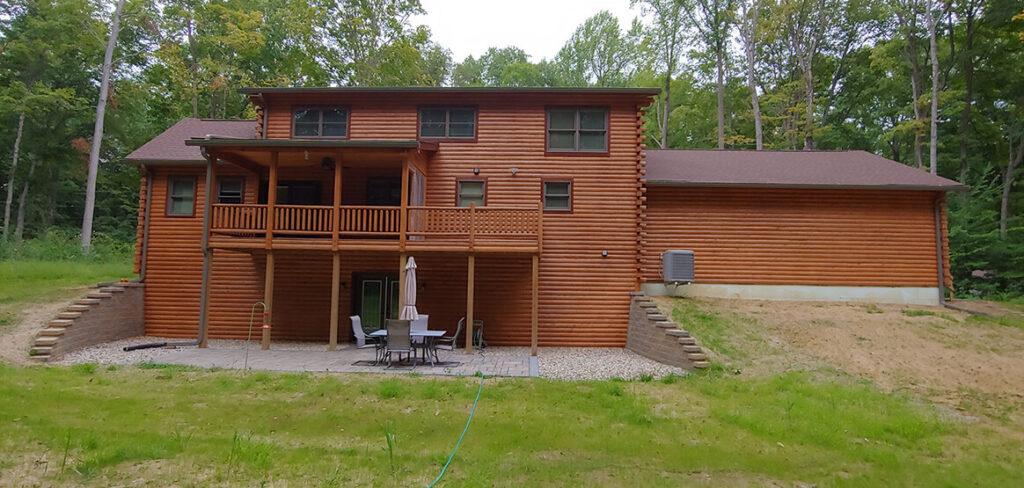
2. If a home is aggressively pressure washed to the point where the surface is feathered and the porosity of the wood varies from area to area.
3. On wood where the surface has been unevenly sanded.
4. On rough cut siding before the application of the color coat(s).
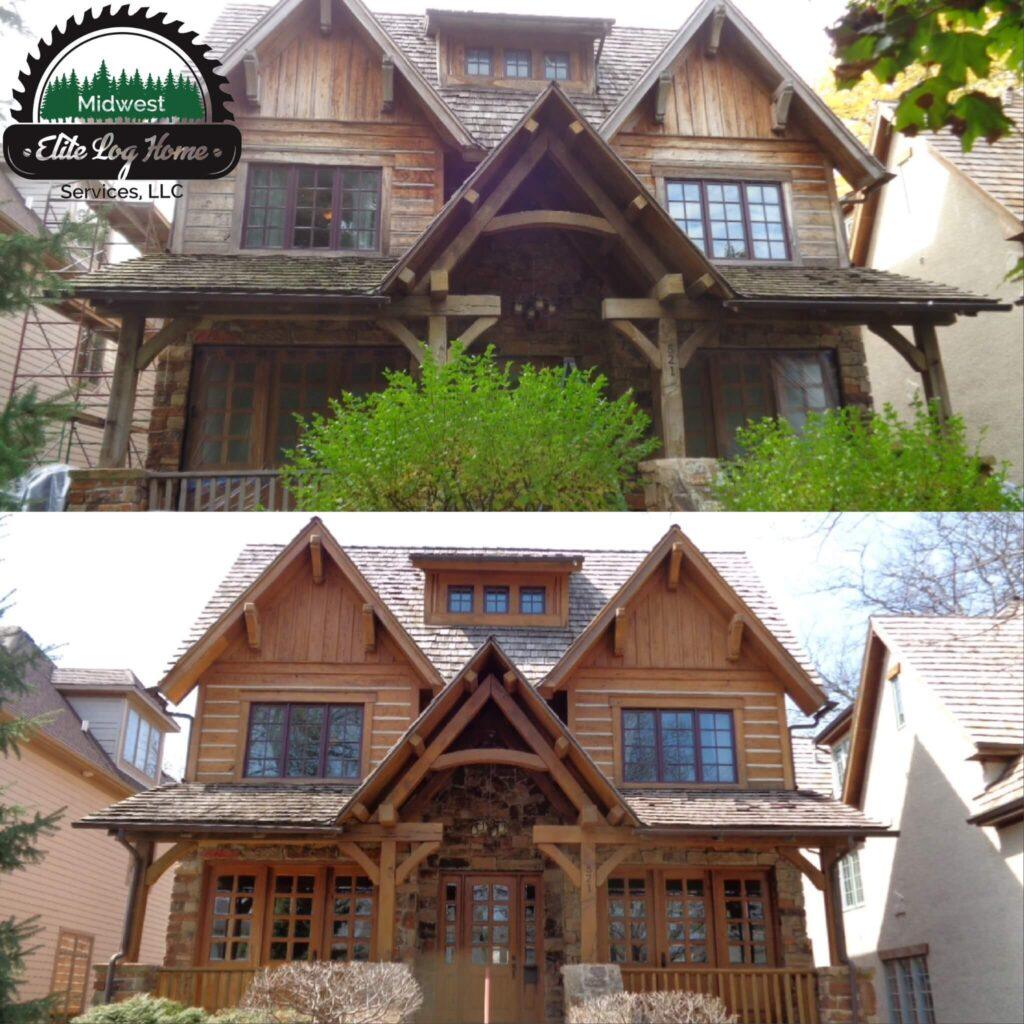
5. If a section of a wall has been repaired or replaced and the new sections don’t match the surface characteristics of the old.
6. Whenever an older log home (more than 80 years old) is going to be restored. Once the surface of old wood is cleaned of grayed wood it typically takes on the porosity characteristics of a blasted surface.
7. Whenever you want to use only clear coats on interior surfaces. Although Lifeline Interior Clear can be used, the use of Lifeline Prelude as the first sealing coat is a somewhat better deal, since it already contains UV Boost. Once the Prelude dries, Acrylic Gloss or Satin or PCS Clear Shield™ Gloss or Matte can be applied over it.
8. Whenever a home is completed but may remain without an exterior finish for many months, a coat of Lifeline Prelude will help prevent surface graying and make it easier to clean when it comes time to stain.
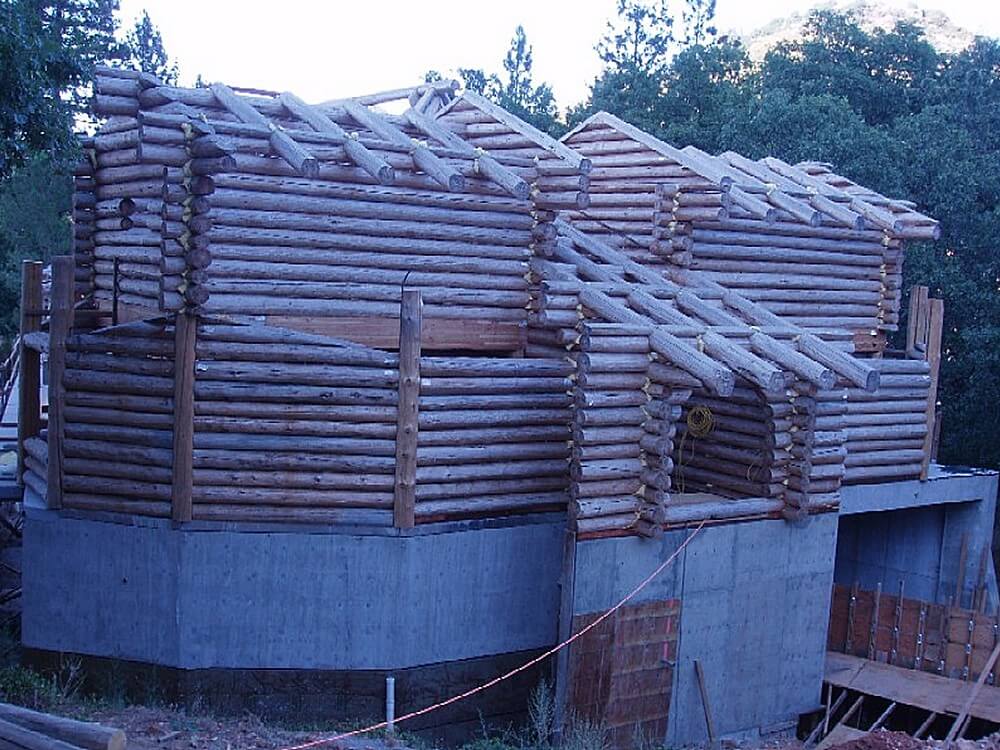
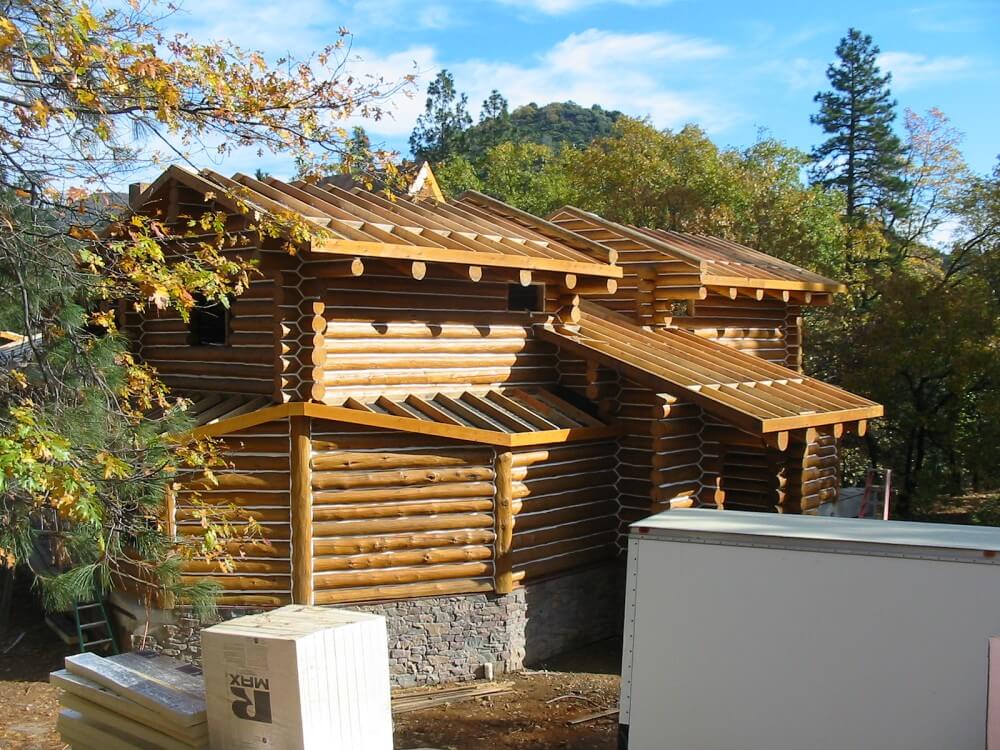
There may be other occasions when a priming coat will make a home more attractive, easier to stain or add to the longevity of the finish system, but it should never be used on smooth surfaced wood to obtain a lighter final color.
Lifeline Prelude should never be used as the final coat. It is a primer and must always be covered with one of our interior or exterior finish systems.
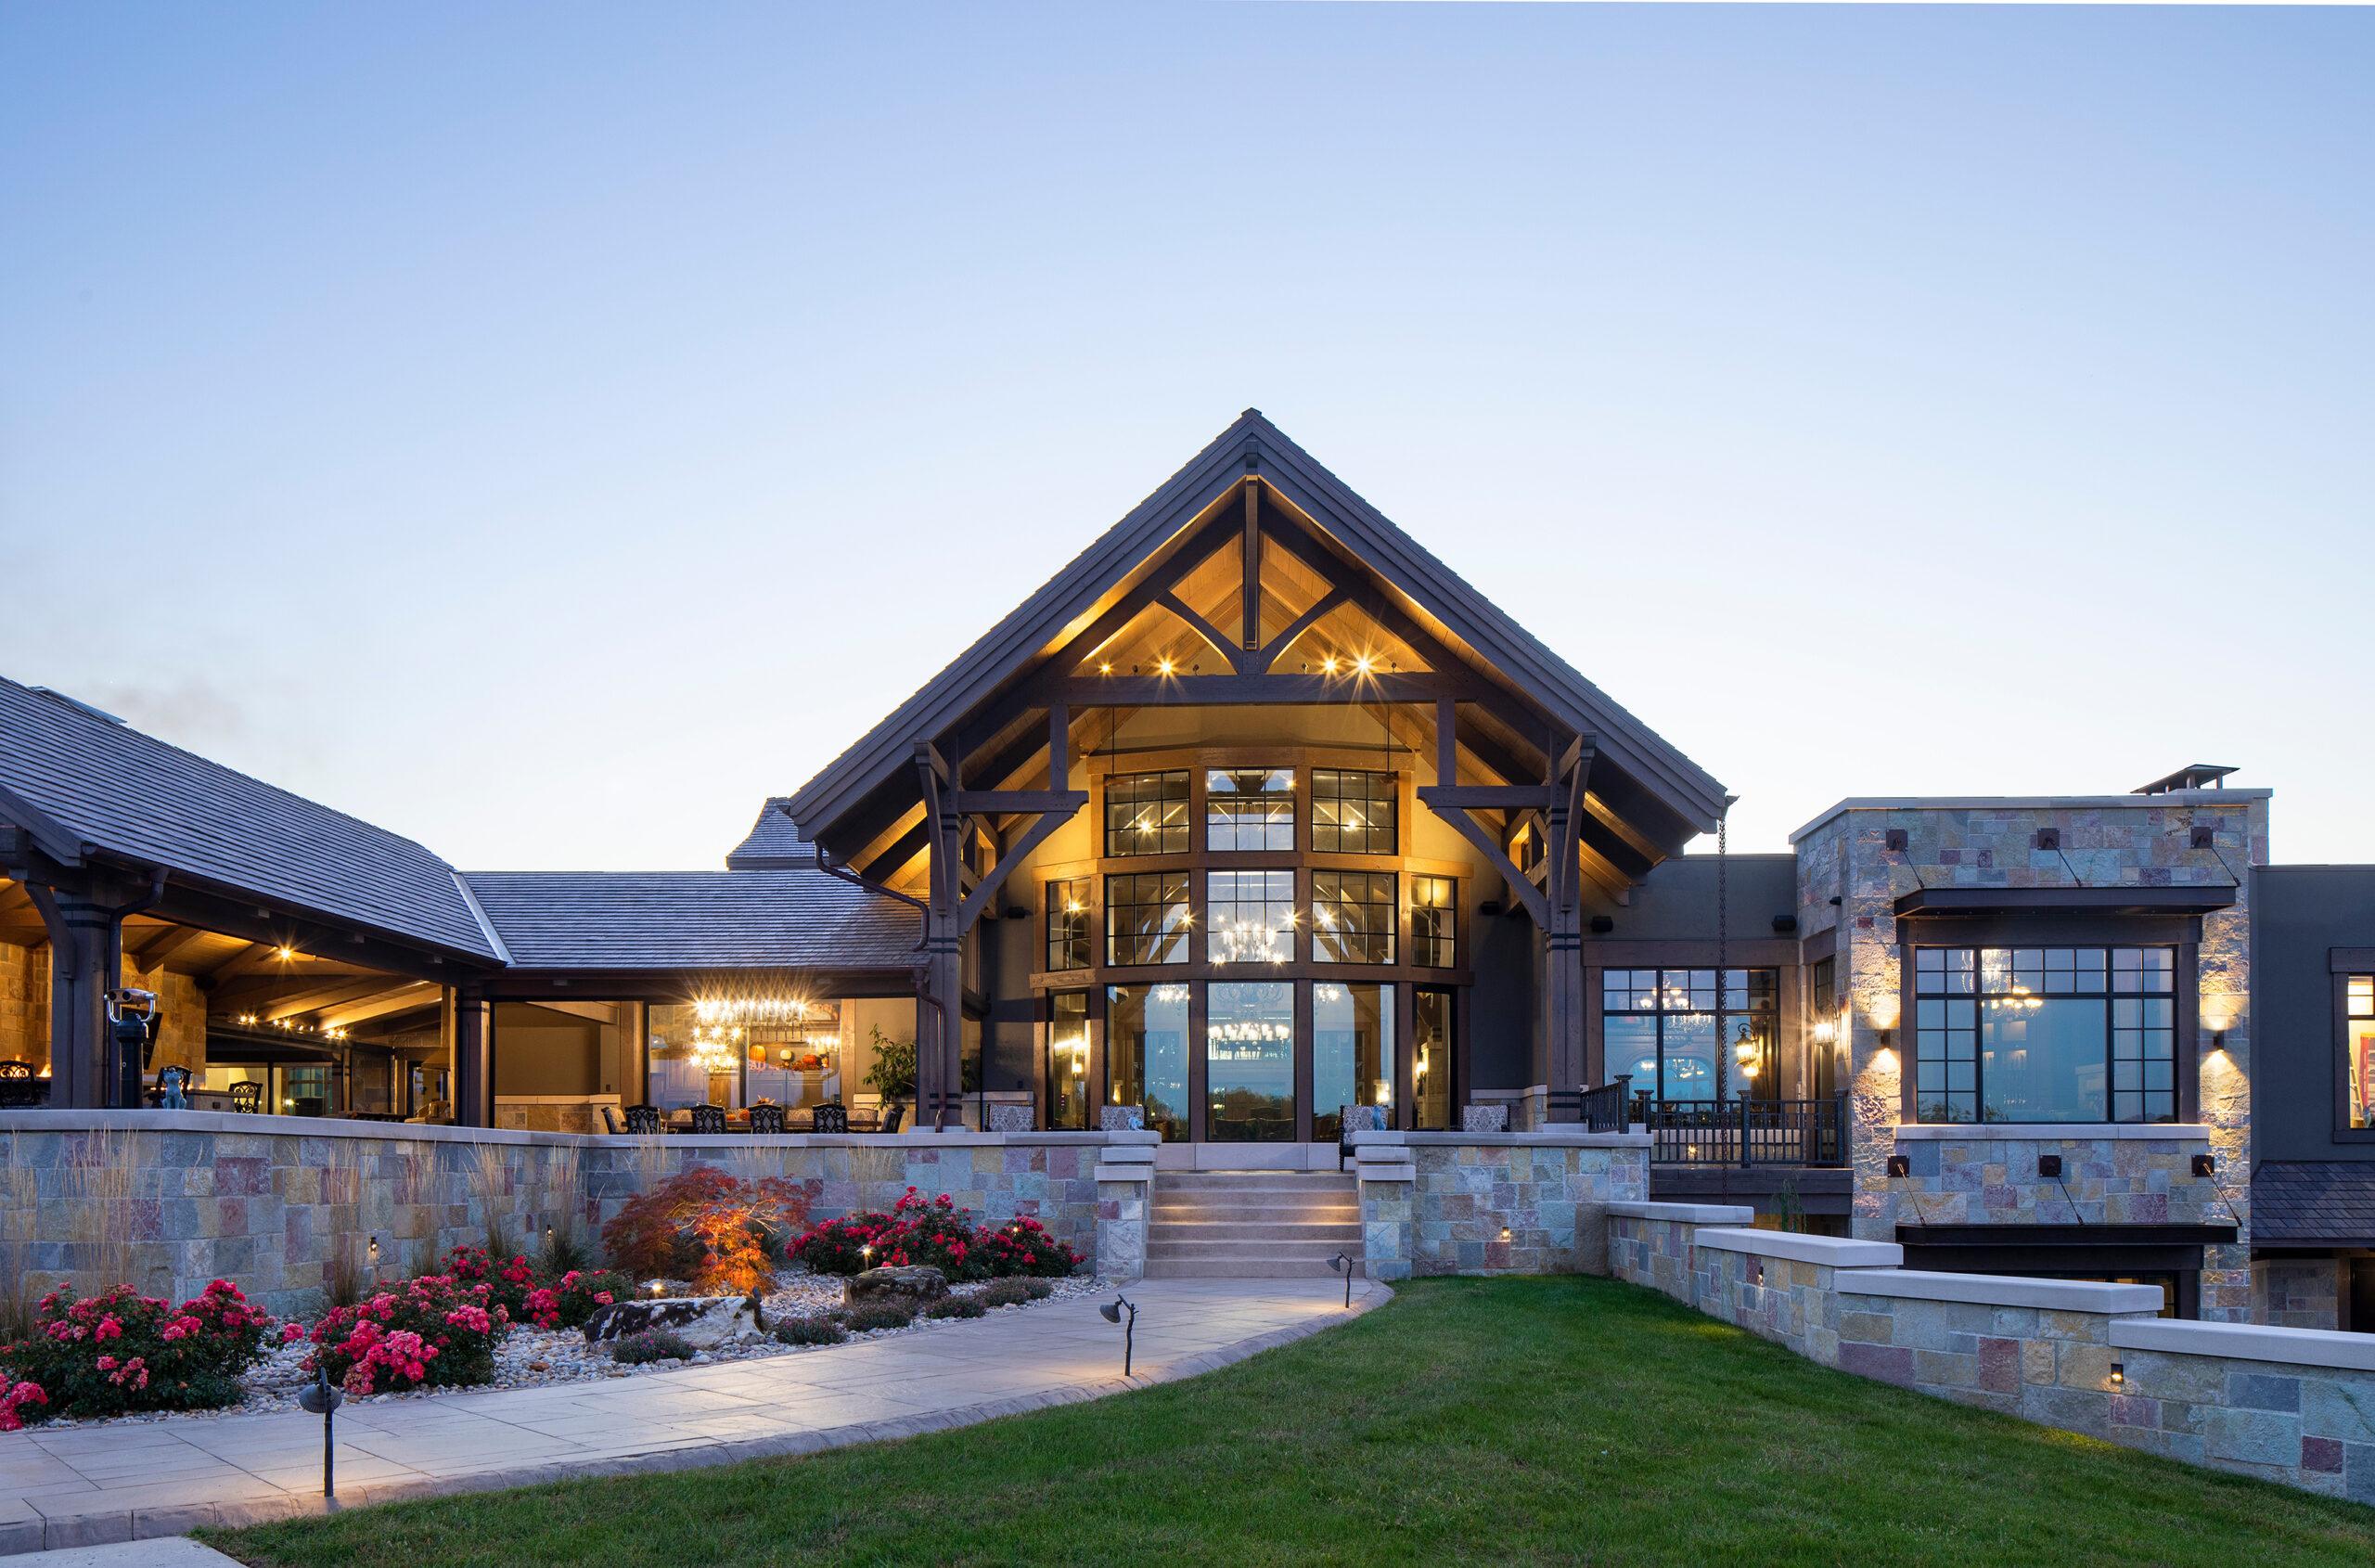
This Custom Luxury Timber Home Is Draped In Perma-Chink Systems Ultra-7 And Advance Satin
This extraordinary custom timber frame home was designed by Jan Donelson with Timberland Design and Hearthstone Homes, in TN. Hearthstone Homes feature an unmatched ability to create any imaginable style of custom, luxury, handcrafted Heavy-Timber or Log-Based Home. Timber framing is a noble type of construction that utilizes exacting variations of mortise-and-tenon type joinery and massive timbers to form the framework of a building. Note Hearthstone’s signature ‘antique weathered’ texturing on the Doug Fir Timbers
Log Home Care crew did the staining and energy seal application in 2018.
Picture Gallery
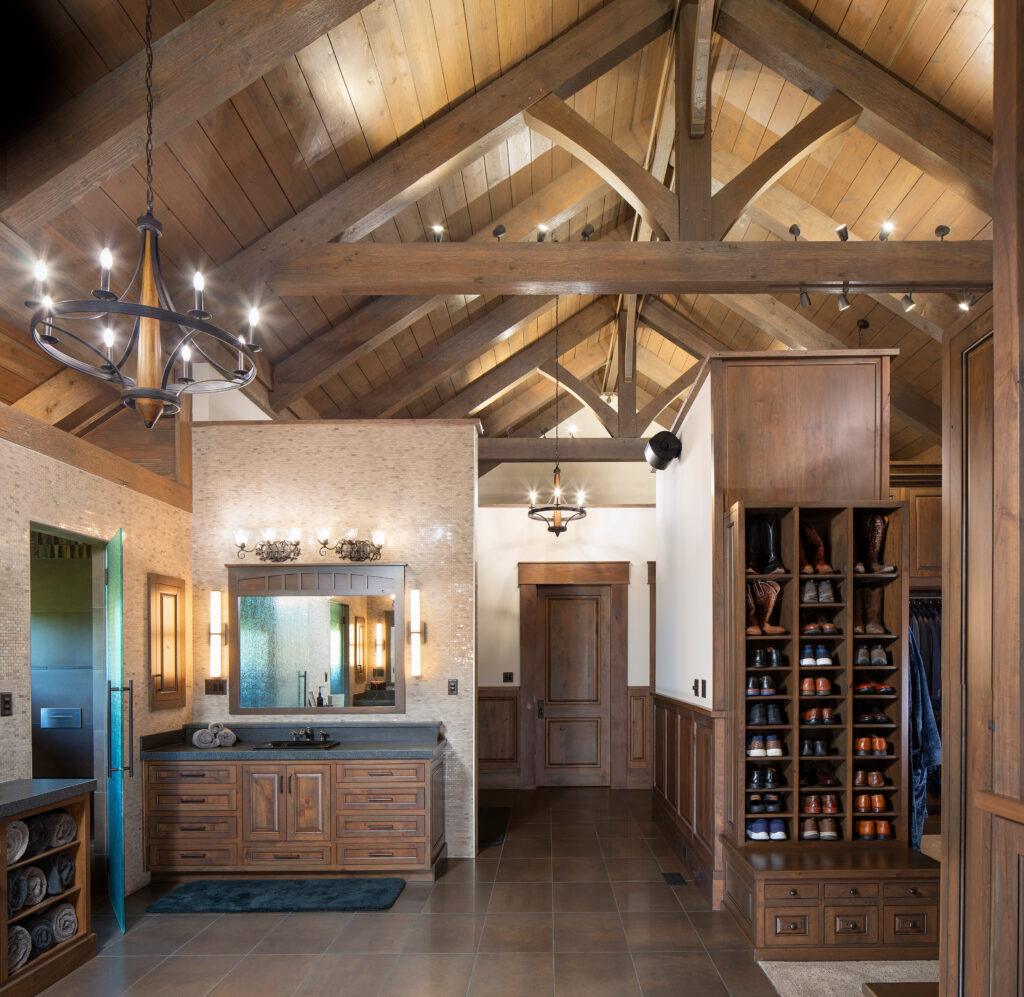
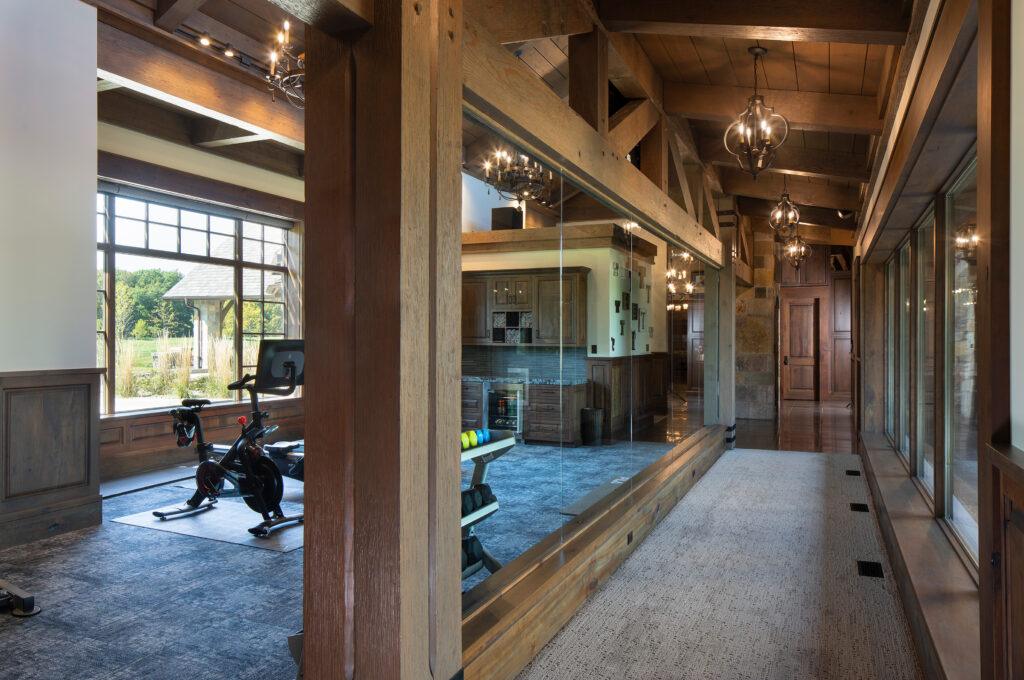
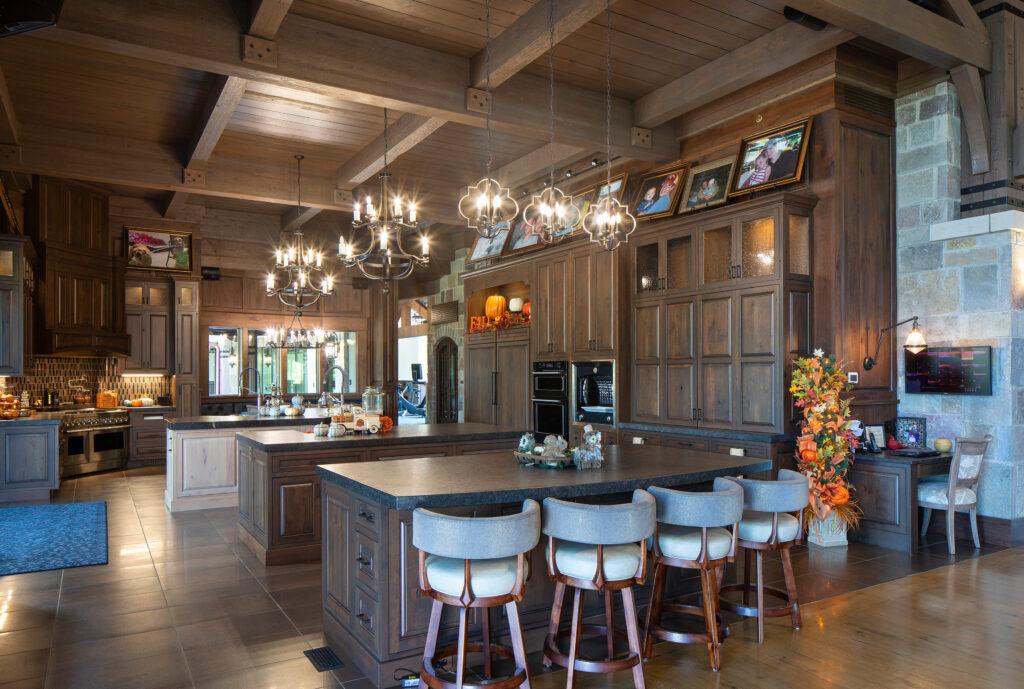
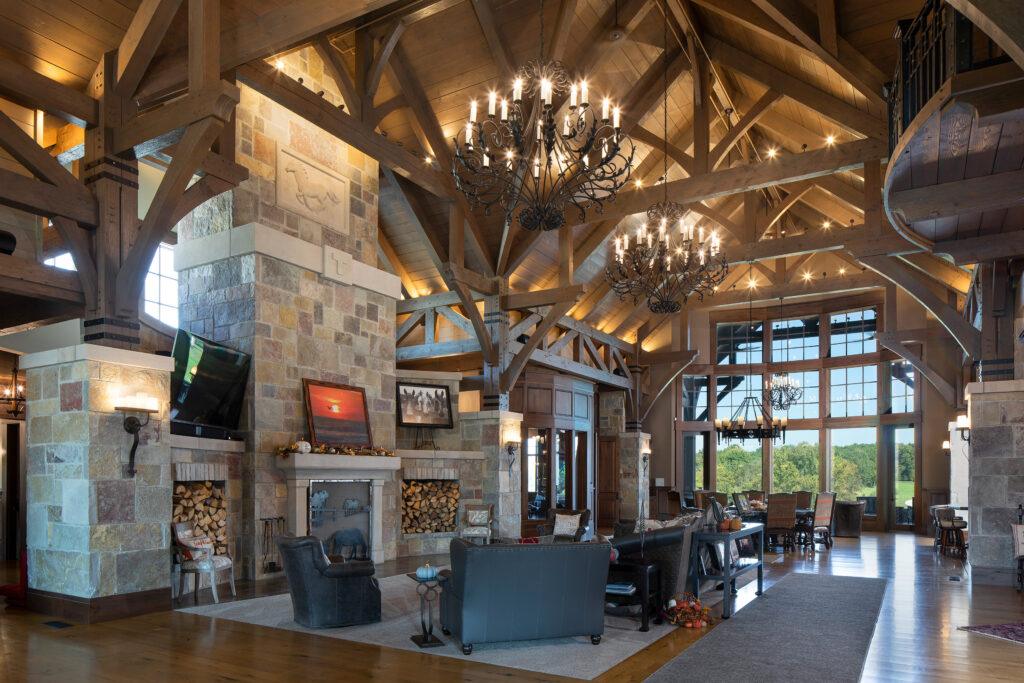
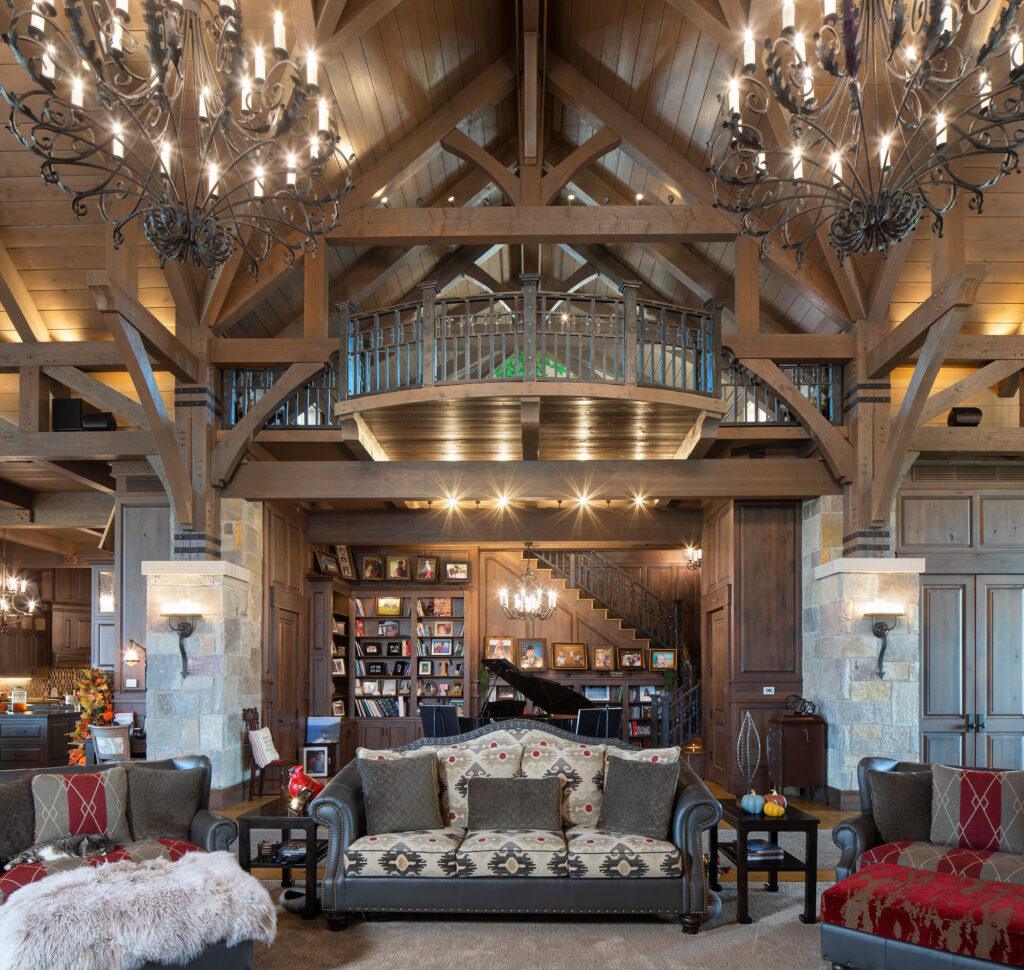
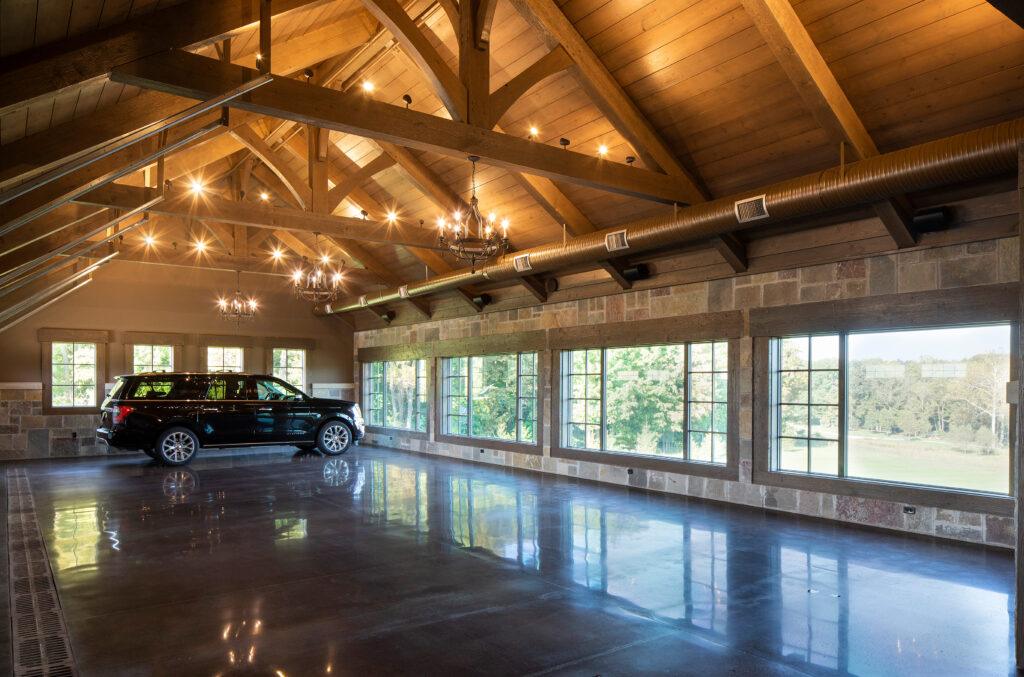
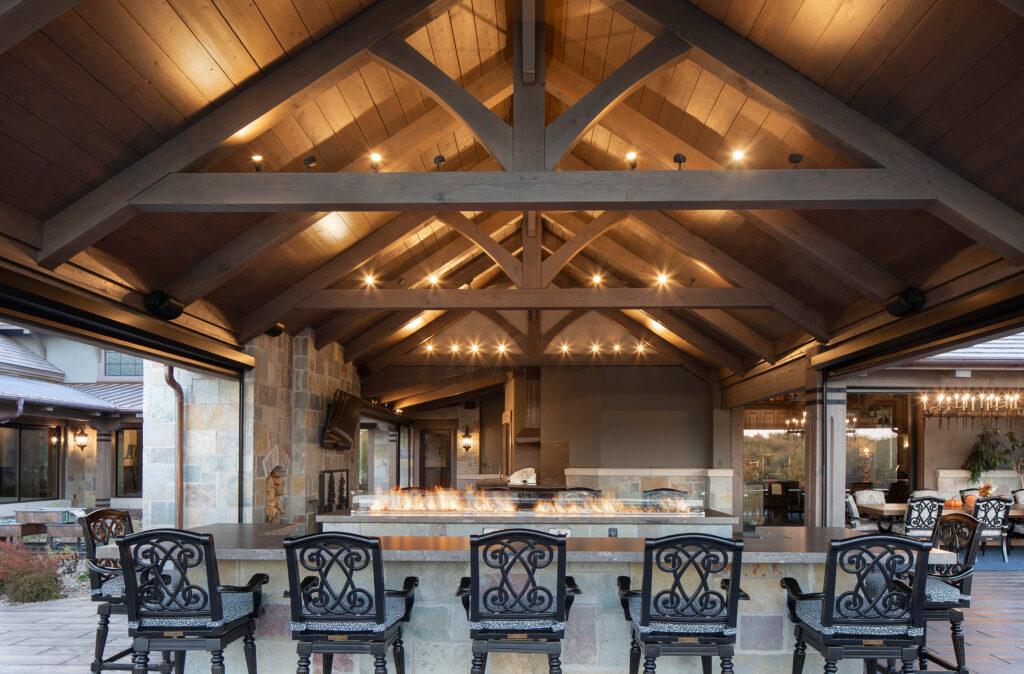
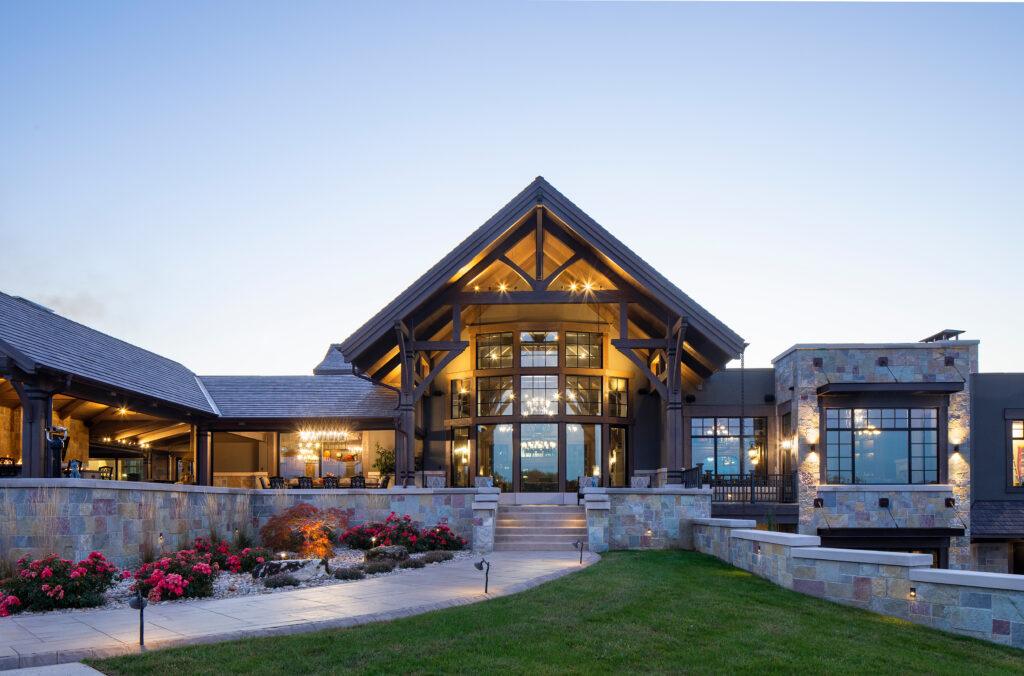
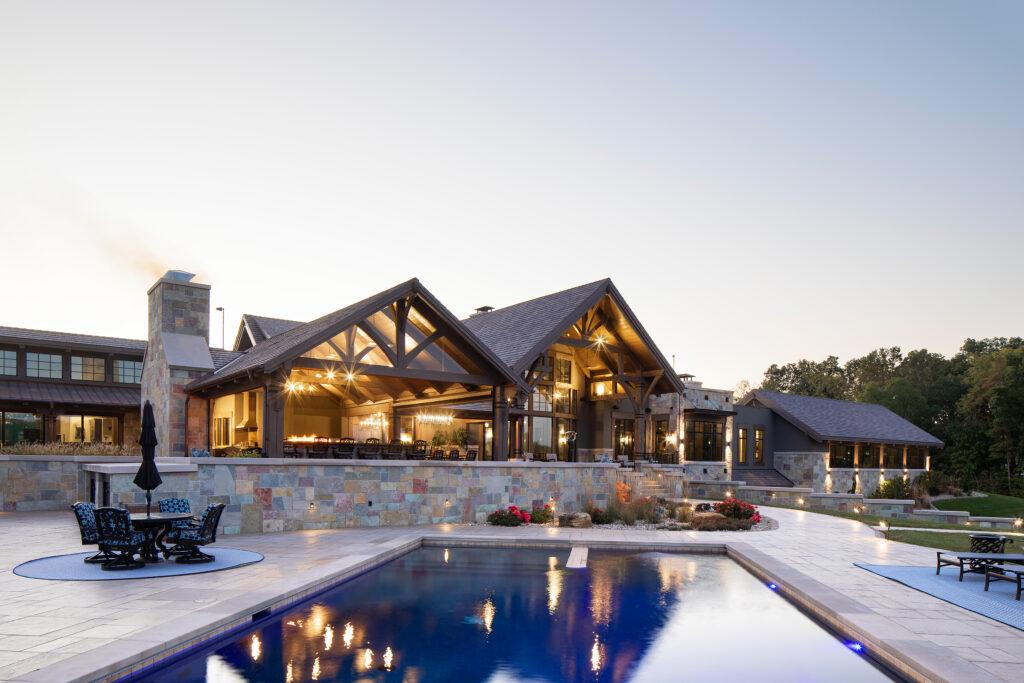
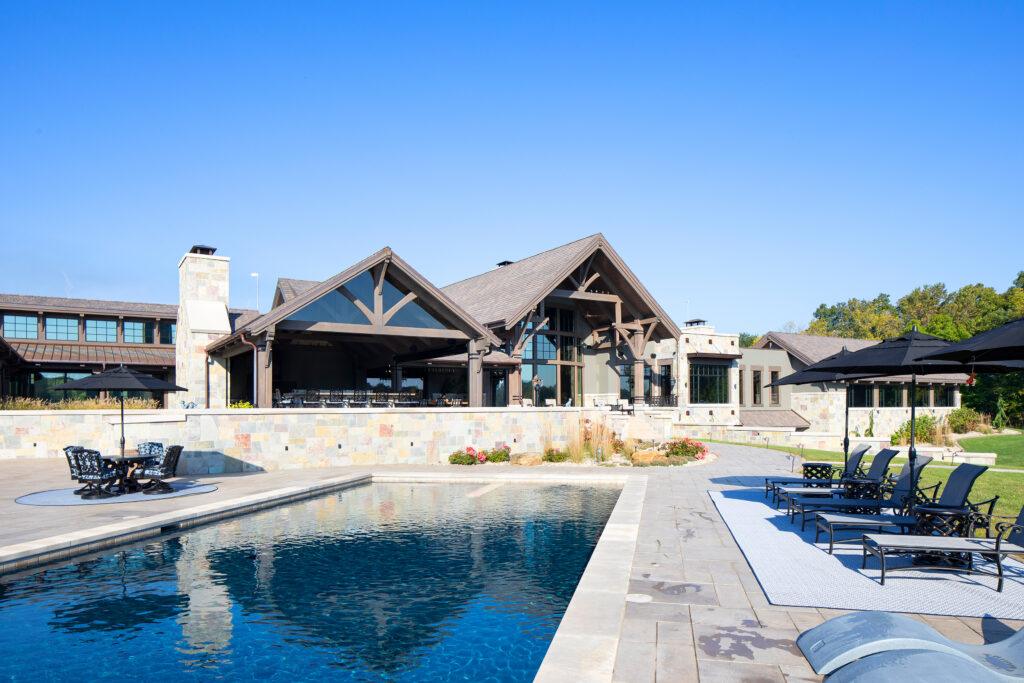
“Thompson Thrift Construction has been a national residential and commercial builder since 1986 with over 500 employees operating in 21 states. Being asked to complete the interior and exterior stain application on the owner’s personal new build residence was an honor. This client set high standards for every facet of the planning and execution of the build process, including the finish work, and after extensive product testing Perma-Chink Systems LIFELINE Ultra-7 Smoke and LIFELINE Advance Satin were selected for the project. The surfaces were treated with Log Wash, and some areas with Wood ReNew, and the stain/topcoat applied as specified by the manufacturer. The results are stunning.”
Wayne Bell, Owner Log Home Care, www.LogHomeCareOnline.com
For more images of this home visit:https://hearthstonehomes.com/photo_gallery/paris-il-timber-frame/
Perma-Chink Systems History Over 40 Years
The Beginning
In 1980 my neighbor told me about building a log home in Eastern Washington. He said that he loved the home and the lifestyle but was disappointed that with the wind constantly blowing and harsh cold winters, there was no real effective way to seal the gaps between the logs. The house leaked air and heat, and wind-driven rain literally came right through the walls.
He tried various caulking materials with little success. Caulking around a bathtub or sink was significantly different from ‘caulking’ literally miles of seams between logs in a log house. After a number of conversations and experiments, it became apparent that there was no readily available product that could seal the gaps, look like authentic chinking, and last more than a few months.
After literally months of trial and error, it became apparent that if we were going to design a material that would be acceptable, we would have to design it ourselves.
Defining a New Industry Standard
The product we were designing was to be a replacement for what was known in the Log Home Industry as chinking – the sealant that historically provided the seal between the logs. A “chink” is a gap – as in Biblical Times, “A chink in his armor’. Therefore, chinking is a material to fill a gap. Throughout the centuries of constructing dwellings out of logs, a number of methods were used to seal in between them. Early builders used pretty much anything they could get their hands on – mud, straw and mud, cow manure, mixtures of cement and mortar, and a method I discovered in Russia that was a particular type of moss that, when pounded into the gap, excreted a compound that delayed wood rot.
During our investigation we determined that in order to be a true solution the sealant must meet most important requirements.
- It had to be textured to look like authentic mortar chinking.
- It had to ‘look like it belonged there’.
- It had to be able to expand and contract in order to follow perpetual log movement.
As logs dry out in the summer, they shrink in diameter – in the winter and rainy months they absorb moisture and swell, increasing in diameter.
- The sealant had to adhere tightly to the logs and form a continuous watertight seal that would not separate from the wood.
- It had to be easy to apply – in some cases, gaps up to 4 and 5 inches, and not slump or wash out.
- And most importantly, it had to LAST for decades.
Common caulking materials were quickly ruled out. Everyone has seen thin caulking beads applied to exterior trim that inevitably separate, peel off, flake, crack, and ultimately fail.
No ‘caulk’ could adhere to the wood well enough, could not be applied to the thickness and height required without slumping and running out of the joint, and all caulks had that smooth, artificial look that frankly, of course, looked like caulk! It’s okay for around the tub or sink, but not for my log home, thank you.
Creating the Industry Standard
So, after months of experimentation and learning a tremendous amount of the chemistry of what are called polymers (the chemical building blocks of literally everything that we commonly call paint, plastic, vinyl, glue, etc.), we designed a unique sealant that met all of the most important requirements.
During the design phase we located an innovative small company south of Seattle that manufactured a synthetic stucco. They had experience and machinery that helped us scale up lab designs to large-scale production. We began selling early product in 1981, and the first house we did was in Sun Valley, Idaho – in the middle of winter.
Soon after we had a saleable product that met every design requirement, I did a little market research and discovered that the larger part of the national market for log homes was in the eastern part of the United States, and in particular, the southeast. I also discovered that of the numerous styles of log homes, the three largest manufactures of ‘Dovetail’ log homes were within 100 miles of Knoxville, Tennessee. I liked the Dovetail design because the nature of the structure, and the way the logs are stacked resulted in a chinking gap of up to 4 inches! In some cases, almost 25% of the wall area was chinking!
So, we set up a manufacturing plant in Knoxville, Tennessee. Timing was right because as soon as log home owners and log home manufacturers discovered that we could finally provide a dramatic solution to one of the most significant and perplexing aspects of a log home – the business grew rapidly.
Winning the Manufacturers
Early adopters such as Hearthstone, Honest Abe, Stone Mill, and Appalachian Log Homes helped pave the way for essentially all others to follow. As a matter of fact, one of the earliest applications for any manufacturer was Appalachian. Turns out they had a contract with the US Forest Service to build an outhouse. The location was remote, and the house needed to be completely assembled and transported via helicopter. Obviously, mortar chinking could not withstand that type of stress, so they tried Perma-Chink. That outhouse is still standing today and is weather tight – some applications simply CANNOT fail!
The development of synthetic chinking solved one of the most serious and vexing aspects of the Log Home Industry. The chinking formulation is unique and not simply ‘caulk with sand in it’ as others have offered.
Rick Denton, Honest Abe Log Homes President Emeritus said, “Perhaps the invention of Perma-Chink kept Honest Abe in business, as well as every other log home company using a chinked product line.” Read his story here https://www.honestabe.com/blog/perma-chink/.
What started out as an idea has revolutionized the entire industry. Worldwide, every log structure uses synthetic chinking, and the largest supplier of the most authentic and highest-performance log home chinking is Perma-Chink.
Expanding the Preservation of Log Homes
The next vexing challenge was with log home stains and finishes. Every log home owner wants a log home that looks like an outdoor piece of furniture. One that blends in with the rustic back to nature look and feel of the surroundings. No one would consider painting a log house. That would be like painting a beautiful hand rubbed antique! Log home owners tend to start down the following path after stains start failing: That beautiful stain we applied only lasted a year or maybe two and after two recoats, we may as well paint it. Why can’t someone develop a stain that looks like a furniture grade finish and LASTS?
We began to have literally thousands of people say, ‘You solved my sealant dilemma – now do you have a solution to the stain and finish dilemma?’ So challenge number two was tackled.
Creating the Best Log Home Stains
We used the knowledge and expertise we developed in formulating Perma-Chink Chinking (remember the polymers?) to design the longest lasting semi- transparent stain in the Industry. The formulation is also unique, provides that ‘furniture grade’ appearance, and outlasts any exterior stain on the market. Also, with a Clear Coat (which Perma-Chink Systems also introduced), when the finish is finally starting to “wear” out, all that is needed is a cleaning and application of an additional clear coat. That eliminates the tint buildup and subsequent hiding of the wood and completely eliminates the phrase ‘After two re-coats, I may just as well paint it.’
I personally require hands-on experience with every product Perma-Chink Systems offers. We are dedicated to providing the best products available for the care and maintenance of Log and Timber Frame Homes. As history has shown, and something we take pride in, is ‘Whenever a log home owner becomes aware of a concern, whether it be sealing, staining, or preservation or maintenance, we already have a solution.’
Take a Look At Total Cost
An interesting story – I recently had a heating problem with my log house in Colorado. The bill to repair the system included a small starting capacitor in one of the air handlers. The bill for the part was $6.25 and the bill for the labor was $220! So why would I try save sixty cents on the capacitor when the cost by far was in the labor to replace it? Same is true with a log home stain. By far the largest cost is in application and labor, so it pays to use the best product available. Cheaper stain is a cheap solution that sets you up for a repeat in a year or two, and in the meantime your exterior looks like crap! Pay the extra sixty cents and buy yourself some peace of mind.
By choosing our high-performance finish like Lifeline™ Ultra-7, you are ensuring that the finish will look as beautiful years after application as it did the second day it was applied thanks to a balanced formula of transparent iron oxides, mildew inhibitors and an advanced polymer resin.
Our Success is From Working With Great Customers, Industry-leading Partners, and Fantastic Employees
I am humbled that Perma-Chink Systems has become a ‘household’ name in the log home industry and is recognized for highest of quality. Our products grace the log houses of such noted Americans as former President Jimmy Carter, clothing designer Ralph Lauren, movie stars Tom Cruise, Olympic champion figure skater Kristi Yamaguchi, Nascar champion Dale Earnhardt (read the story here) and thousands of great American home owners.
I am proud of my company, of my employees and our customers. Beginning with our 40th Anniversary, Perma-Chink Systems’ new slogan is “Simply Unmatched”.
By being engaged in best quality products and the best customer service, we will attain our goals and make great strides towards meeting our customers’ expectations for years to come. We raise a toast to the next 40 years of great products, service, and customers of Perma-Chink Systems.
Rich Dunstan, President Perma-Chink Systems, Inc.
How to Prepare New Construction Log Surfaces for Finishing
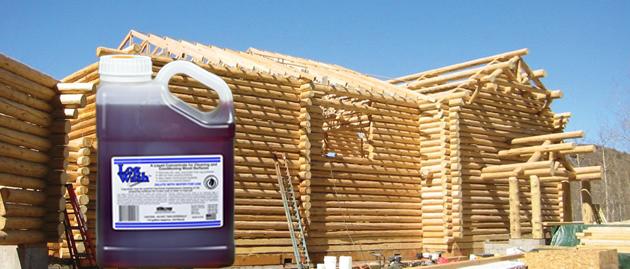
New logs may look clean and fresh to you, but it doesn’t mean that they are ready to stain. There is some preparation involved in getting new logs ready for finishing.
Logs that have been exposed to the sun may have slight gray areas on them and dirt, dust and mold spores are probably on most of the logs. It is important to start with a clean, uniform surface before applying a coat of stain, since dirt and discolorations will show through semi-transparent stains and the stain will seal in any blemishes. Cleaning also opens up the pores of the wood, allowing better adhesion of the stain. This is especially true if there is a mill glaze present on the logs. Not only will the mill glaze reduce the stain’s performance, but caulks and chinking will have a difficult time adhering to mill glazed wood.
Aggressive cleaning of a new log or timber home is not required. A light cleaning with Log Wash and a pressure washer will usually remove the dirt and mill glaze, as well as clean the surface to prevent the formation of mold under the stain. If the new logs have started to gray from sitting unprotected in the sun, a percarbonate cleaner like Wood ReNew will restore the wood back to its original color. Log Wash and Wood ReNew are much safer products to use compared to bleach solutions which destroy wood fibers.
The leading cause of stain adhesion failures and discolorations appearing under the semi-transparent stains is inadequate rinsing of a bleach-cleaned surface. Bleach (sodium hypochlorite) solutions are alkaline (high pH). Wood, on the other hand, is slightly acidic (low pH). Whenever low pH materials are exposed to high pH solutions, chemical reactions occur. Often these chemical reactions are minor and do not affect either material, but in the case of wood, exposure to bleach solutions may result in several irreversible reactions that may not become apparent for several months. Once the wood fibers are damaged or destroyed, a stain will not properly adhere to the surface and eventually will chip or peel. Even when used at a low concentration, a bit of bleach residue left of the wood will eventually result in discolorations due to iron tannates coming to the surface under the stain.
Occasionally, steel straps used to bundle the logs during transportation will leave iron stains that need to be removed with OXcon oxalic acid. Whenever oxalic acid is used, be sure to clean the entire wall to avoid blotches and streaks.
We never suggest media blasting new construction, but if that is what your log home manufacturer recommends, be sure to use a fine grit media to avoid damaging the surface of the wood.
Congratulations on your new home and happy cleaning!
One of the key bits of information for keeping hardwood floors shiny is knowing what type of finish has been applied to the wood. Was your hardwood sealed with a polyurethane or polyacrylic urethane finish, or was it finished with a paste wax? If you don’t know, here’s a test to help you make the best cleaning choices:
- In a spot with normal foot traffic, place a drop of water on the floor. If the water is quickly absorbed or causes spotting on the finish, this indicates the hardwood has not been sealed and should never be cleaned with water. But if the bead of water just sits on the surface without being absorbed, it means the hardwood floor has been sealed.
- To test for a paste wax finish, grab some fine steel wool and rub it lightly over the floor in a corner. If the floor has been waxed, there will be a gray, waxy film left on the steel wool.
How to Clean Hardwood Floors and Make Them Shine
Unless you have neglected the floors for weeks and have mud and sticky messes everywhere, there is no need to damp mop more than four times per year, suggest experts from The Spruce.
With a lightly dampened microfiber mop, clean in the direction of the wood grain. Never use a sopping-wet mop because too much water can cause floors – even sealed floors – to buckle. For step-by-step instructions, follow these steps from Spruce.
How to Refinish Hardwood Floors?
Up until about 20 years ago, the “Swedish Finish” was the only way to go. Extremely high-performance, it worked well, but as a solvent-based product, it was highly caustic. Certainly not a do-it-yourself project, it required trained professionals and total evacuation for up to a week (including the houseplants!)
Sure Shine offers all that original wearability, durability and beautiful shine, without the toxic fumes and disruption to your life. Instead of solvent-based, it uses a water-based technology that is both environmentally and user-friendly.
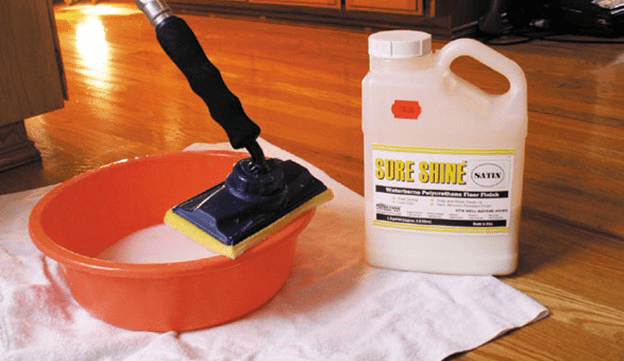
If you want a deep, clear finish using fewer coats, Sure Shine premium finish is the one to use!
Sure Shine can be used to re-coat older oil-based floor finishes. Sure Shine cures to a smooth, hard surface that resists scuffing and abrasion. It prevents discolorations from water and most household cleaners and chemicals.
How to Apply Sure Shine Hardwood Floor Finish?
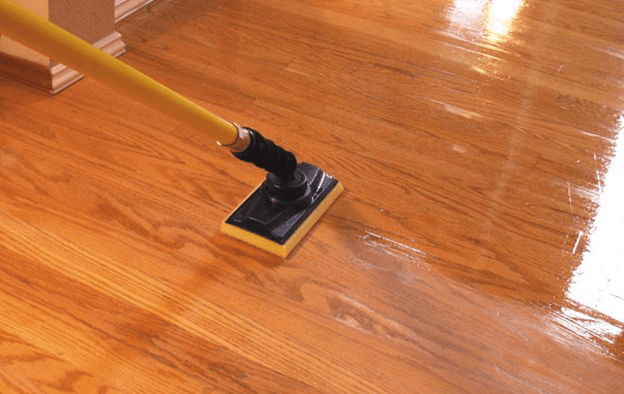
This product shines even brighter from an application standpoint. It’s easy to do yourself, and it dries so quickly (only one hour) you can apply it in one day. Sure Shine never yellows, is non-flammable and there are no fumes, which means there is no reason to suffer the inconvenience of vacating your home. Cleaning up your tools is a simple matter of a little soap and water. And when the work is done, you can walk on your new floor finish in 8 short hours!
More on application of Sure Shine here.
Order your free sample of Sure Shine in Satin or Gloss finish to try on your floor or your walls here.
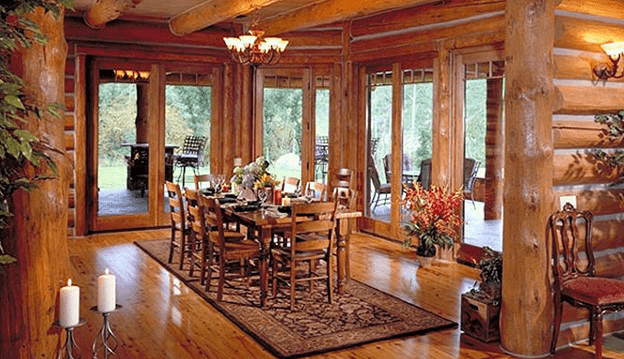
Projects can be daunting if you have limited or no experience. You gain experience by doing, and getting expert advice when you need, whether it’s before the project, during, or after. Our customer service exists to help all log home owners get the best results using the best products for their log or timber home.
One recent homeowner project done by our customer Beth H. required removing the old finish and sealant, then restoring the home with Lifeline Ultra-2 Natural and Energy Seal in Cedar. Lifeline Advance Gloss topcoat encapsulated the wood, ensuring a long-lasting finish and great look.
| Products Used | |
| Log Wash | Log gap caps |
| Prelude | 1/4″, 3/8″, and 1/2″ backer rod |
| Lifeline Ultra-2 – Natural | Lifeline Advance Gloss |
| Energy Seal – Cedar |
With DIY-friendly products, anyone can tackle a home project and have fantastic looking results like this. In addition to our excellent customer service available to all customers, we have a library of Tech Tips for in-depth information on maintaining your log home.
Take a look at these pictures from Beth, showing the home before and after.
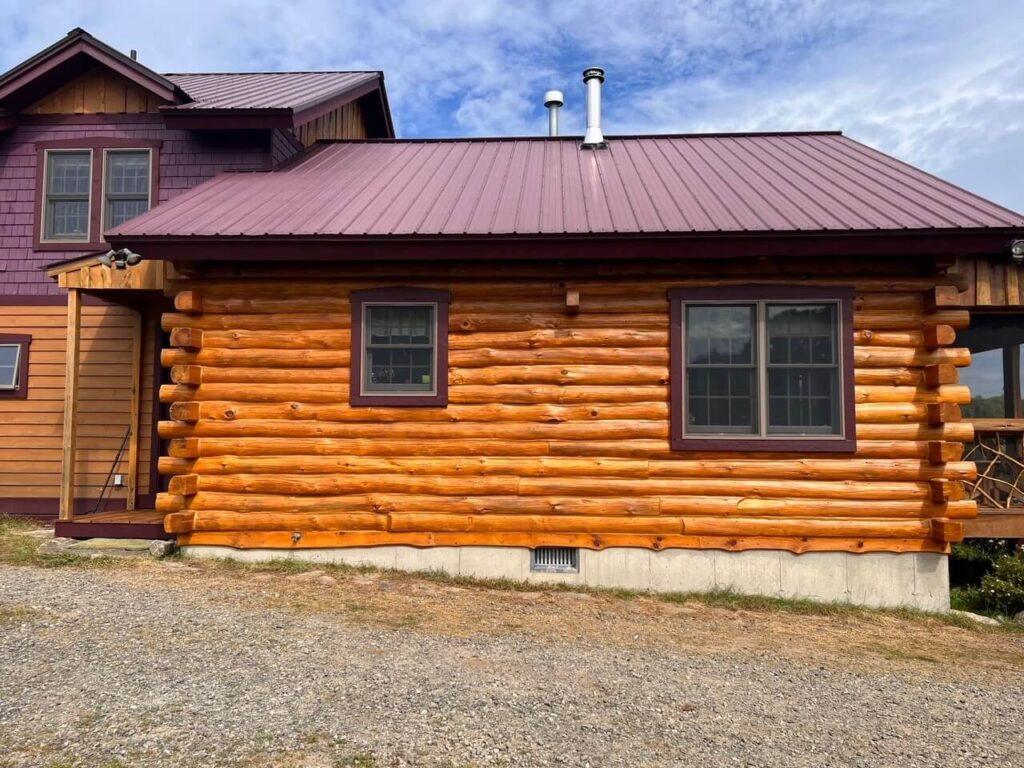
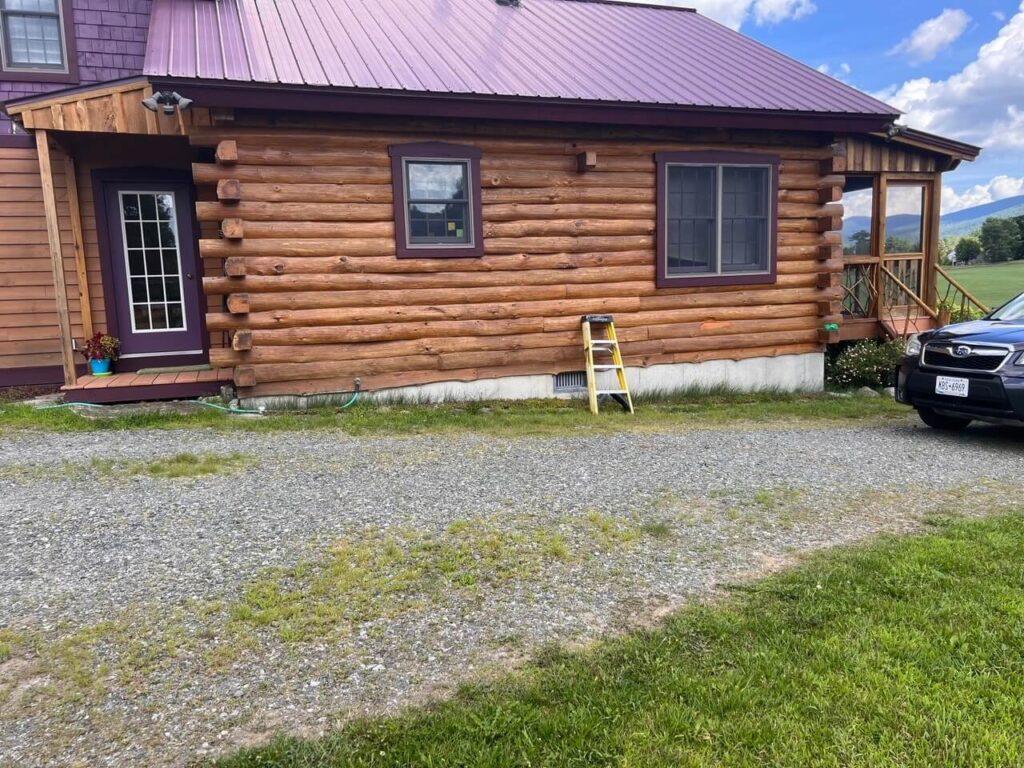
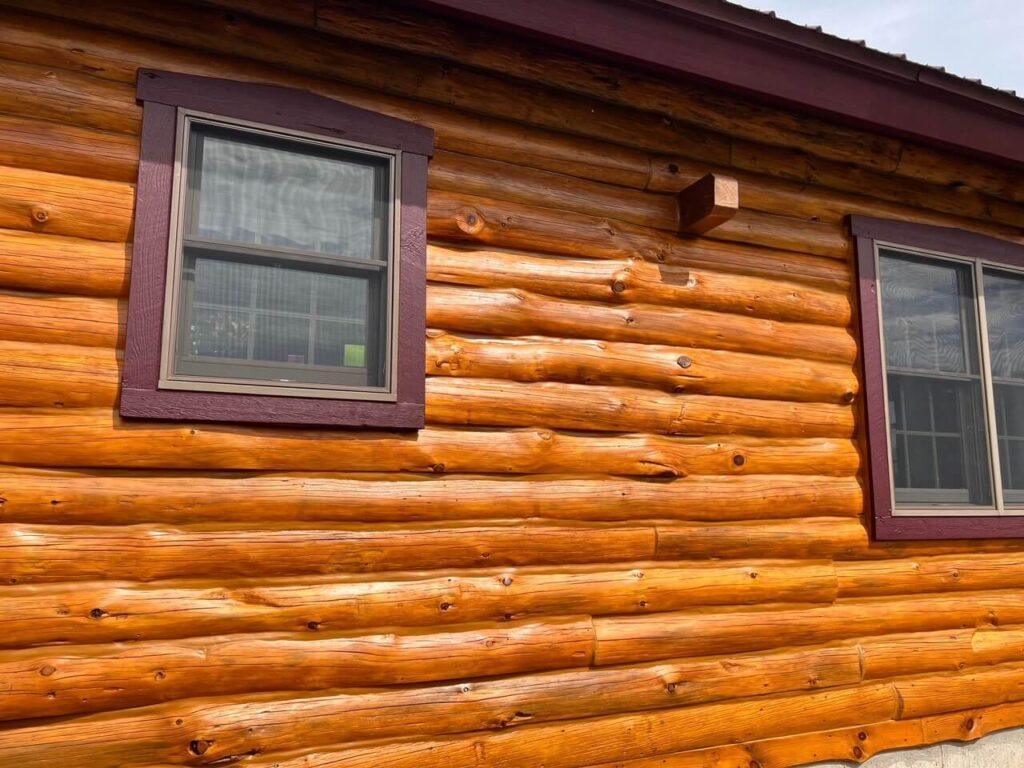
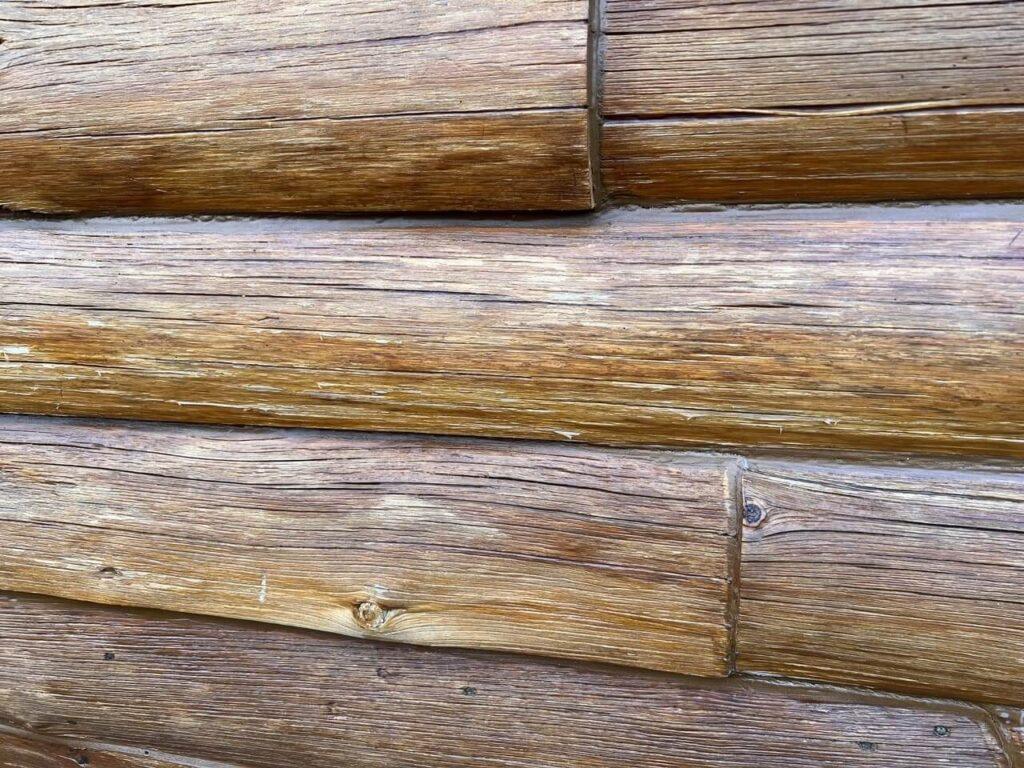
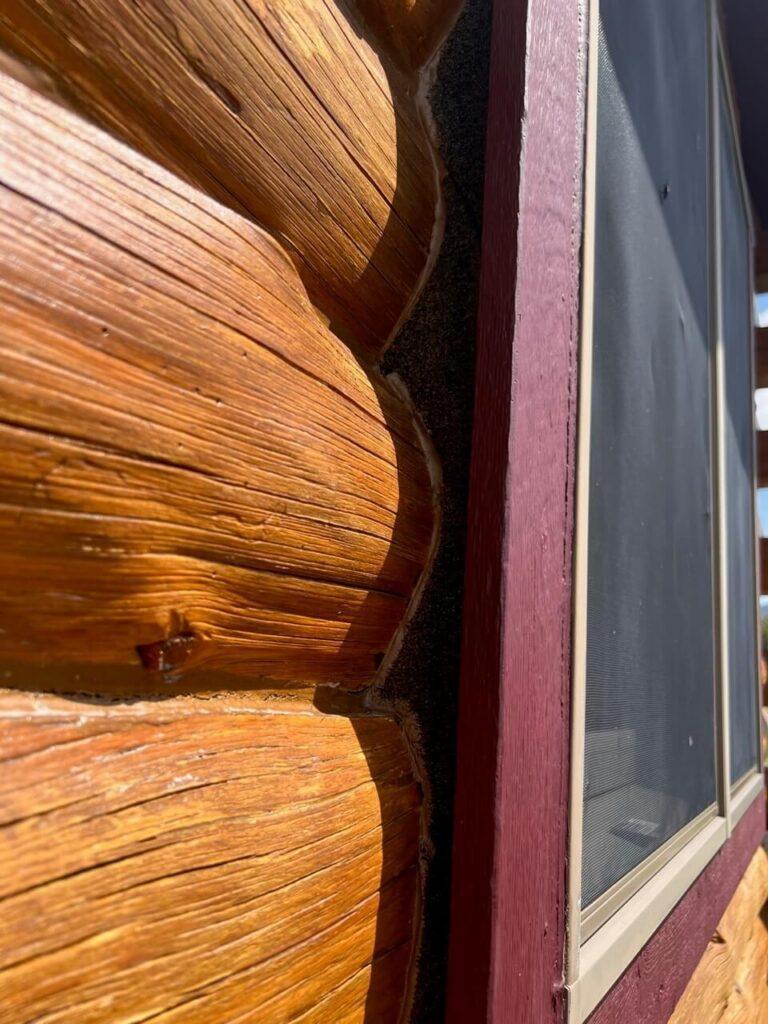
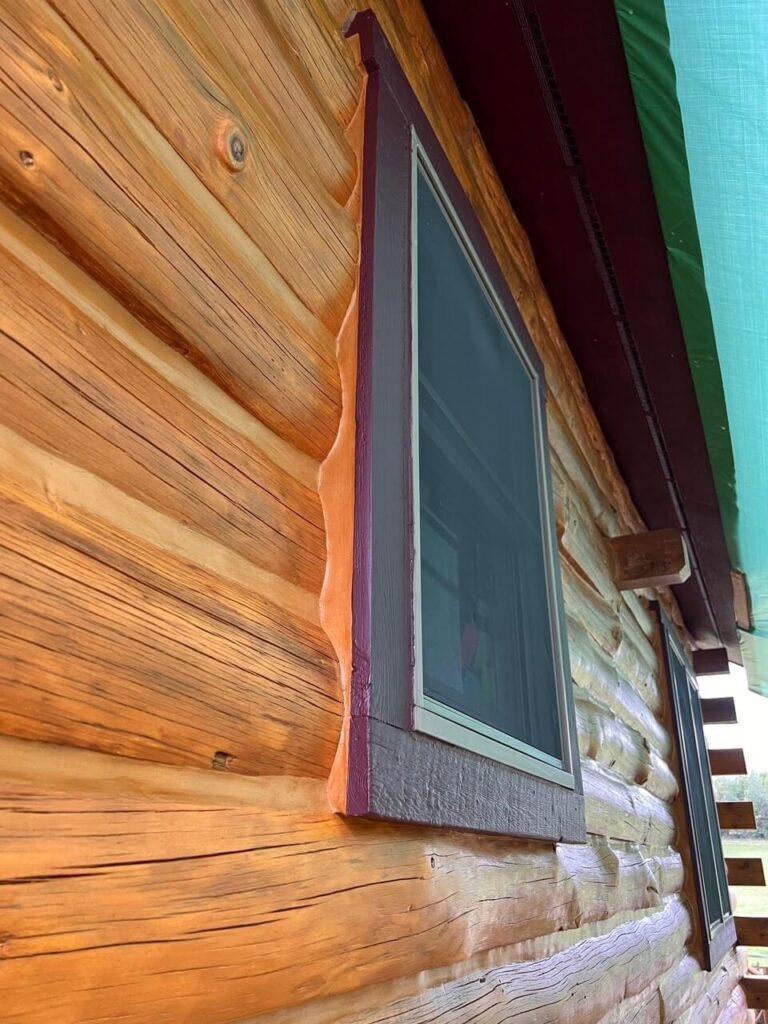
Take note of the proper use of Log Gap Caps and Energy Seal. We get a lot of questions about the best method to seal around windows and doors. We have a quick reference Tech Tips article here, but here are some pictures to illustrate how they work.
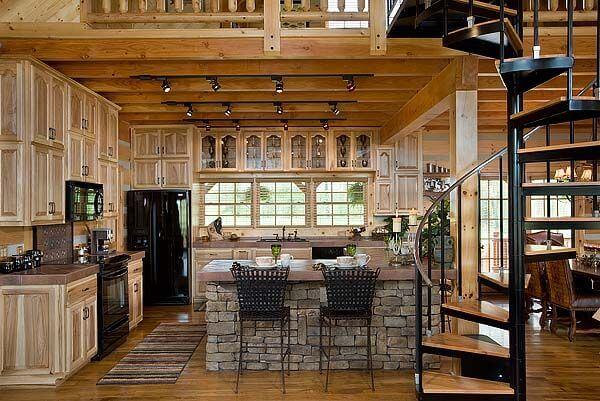
Lifeline Interior™ is a natural looking, transparent wood finish. It forms a breathable, protective layer for your walls and ceilings while highlighting the beauty and grain of the wood. Our unique breathable formula allows natural wood moisture to escape from the wood, yet provides a tough film surface that can easily be cleaned and dusted, especially when top coated with our Lifeline Acrylic Gloss or Satin clear finish.
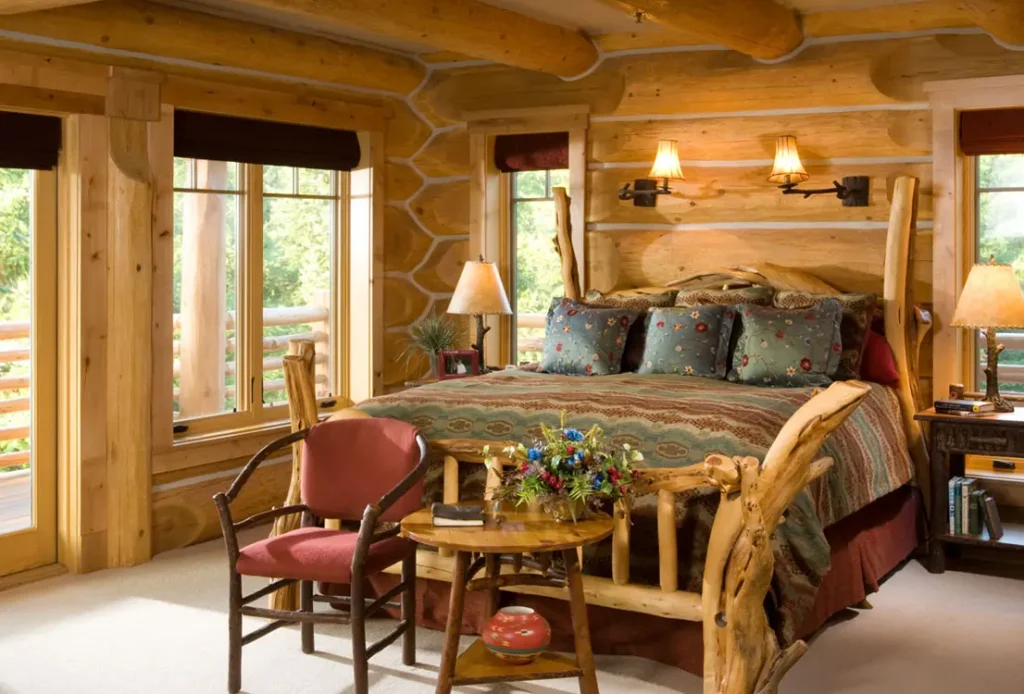
If you use one of our Lifeline Interior color stains, the colorants in the finish help stabilize color of the wood and slow down, or even prevent, the fading that you may notice when removing pictures or furniture from against the wall. If using Lifeline Interior Clear, we recommend the addition of UV Boost to the first coat to help prevent this “picture frame” effect due to UV light exposure. The addition of UV Boost should also be considered when using lightly tinted stains like Light Honey and Light Natural. Since interior surfaces are not subjected to the adverse effects of weather, two coats of Lifeline Interior are not necessary. However, you can apply multiple coats of Lifeline Interior in order to achieve the appearance you desire.
Lifeline Interior is easy to apply. It can be applied by brush, spray or pad. Lifeline Interior dries to the touch in as little as one hour and clean-up is easy- just use soap and water.
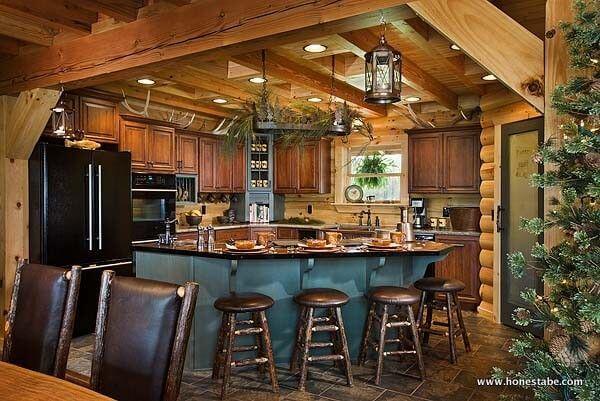

One of the best reasons to use Lifeline Interior is that it reduces the absorption of pet, fireplace, and cooking odors into the wood of the home.
Lifeline Interior resists yellowing and is non-flammable and virtually odorless. Like all of our premium finishes, it allows the natural look and beauty of all species of wood to come through. Lifeline Interior can be used on new or existing log homes, as long as the surfaces are clean and dry.
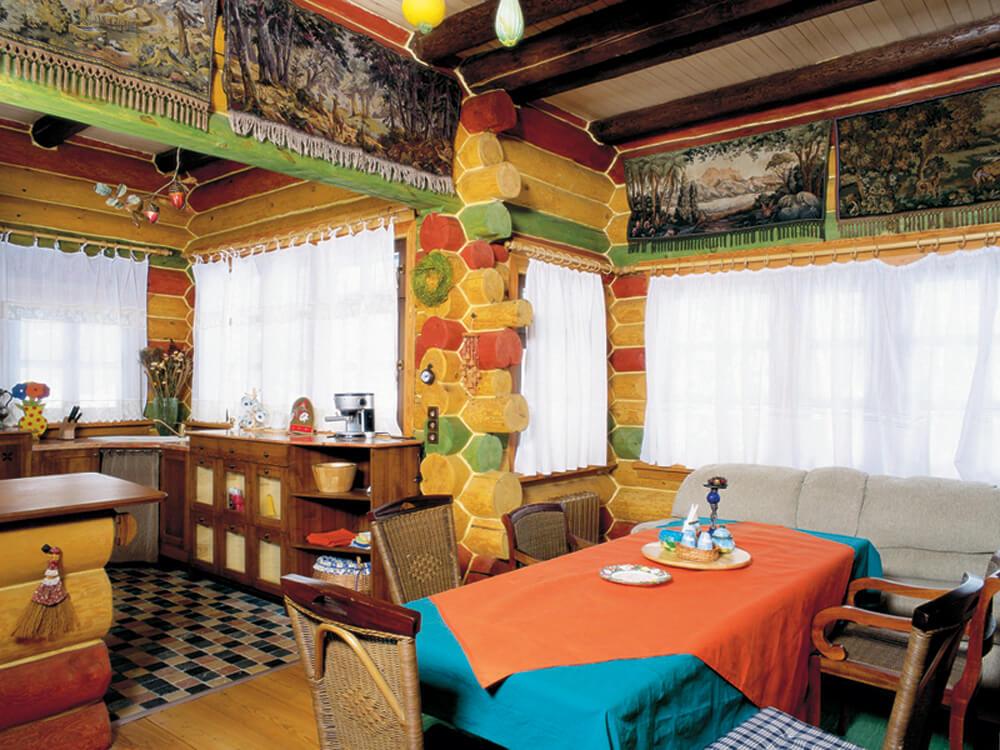
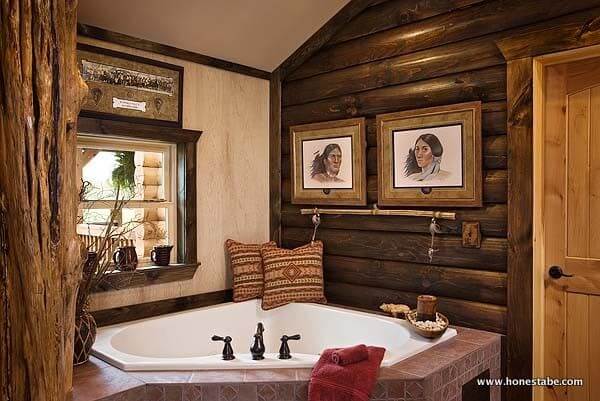
Now you can order Lifeline Interior in any color you desire in addition to our 13 standard colors plus Clear. For a custom color or color matching, please call 1-800-548-3554. You can request wet samples to try on your logs by calling 1-800-548-3554 or by visiting our online store.
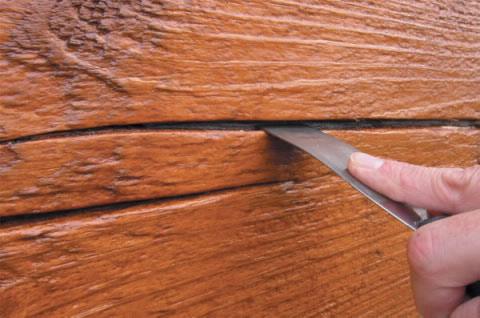
Every homeowner has found checks in the logs at one time or another. Checks are those longitudinal splits that appear as logs lose their moisture. While you may like or dislike checks, they are a part of the character of wood. Some species of wood are more susceptible to checking than others. This susceptibility comes from the different rate at which wood shrinks in its own geometry. Because wood dries out from the surface, the wood at the surface shrinks faster than the wood further down in the core.
Additionally, researchers have found that wood shrinks faster in the tangent direction (around the perimeter) than it does radial direction (toward the center). The ratio between these shrinkage rates tells you which species of wood are more likely to check. The greater the ratio the more the wood is likely to check as the logs dry.
Late summer or early fall is the best time to seal up your checks.
Should you always seal up checks?
The answer is partly a matter of practicality. If your checks are protected from any source of water or the opening is downward and they do not allow air drafts to enter the interior of the house, then it is really not necessary to seal them up. However, if the checks face upward to that they can collect blown rainwater, then weather conditions can introduce water into the heart of your logs – a very undesirable condition that can result in wood rot in the log.
What should you use to seal up checks and how do you do it?
Because seasonal weather variation cause checks to open and close slightly, you must use material that tolerates the movement. By the way, this movement is reduced when you have a good water-repellent and flexible coating on your logs such as Lifeline stain and Advance topcoat.
When you are sealing checks up, do not fill the check completely up with the sealant. On wider checks you should able to push some backer rod into the check so that you have about ¼ inch depth remaining for your sealant.
How big should the checks be before you seal them?
Ideally, you would seal all upward facing, weather-exposed checks. However, checks get small enough that it is very difficult to apply a sealant to them. Seal whatever you can, but don’t try to fill hairline checks. We always advise filling side facing or upward facing checks that go into windows or doors to prevent water intrusions into the frames. Spiral checks that twist into the interior of the house should also be sealed up.
What do you use for sealing up your checks?
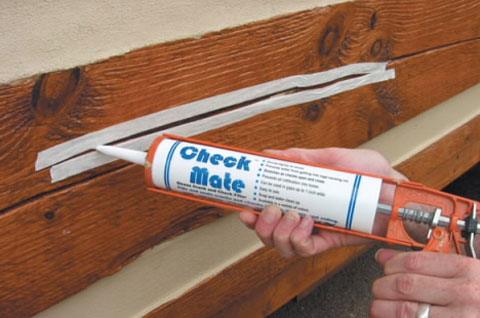
Regular caulking is generally not a good choice to seal checks. Our Check Mate 2 specifically developed for this purpose. It is colored to match our exterior stains and available in tubes to make an application easy.
Even though Check Mate 2 is our preferred sealer, some customers use Energy Seal for the purpose. When you are sealing checks, use a line of masking tape along the edge of the check to keep the sealer off the surface of the log. This works whether or not you already have stained the logs.
If the wood within the check is dump from cleaning, rain or borate treatment (it is important to treat an existing check with Shell-Guard RTU before sealing it), make sure the check has time to dry before applying Check Mate 2.
Want to Learn More?
Watch our video that teaches how to seal checks here.
Remember to use a backer material to keep the sealant thickness between 1/4 and 3/8 inch along the check. Also, fill the check completely up and a little beyond the log surface to allow for some shrinkage for the sealant as it dries.
TOGETHER WE STAND AGAINST BUG INFESTATION
Shell-Guard RTU is your best choice for protecting larger logs and timbers, and eliminating existing bug infestations.
You will be happy to know that you don’t need to use water to apply borate treatment against wood decay and bug infestation. When it comes to treating a log home, the drier and more absorbent the surface is, the better the treatment will be. If you haven’t done it already, this could be your perfect interior project this winter.
Remember, the borates will not work when applied over any finish, as this prevents the product from penetrating. It works only on the bare wood.
WHAT CAN YOU EXPECT FROM APPLYING BORATES TO YOUR INTERIOR WOOD SURFACES?
Our Shell-Guard RTU Borate wood preservative comes in borate/glycol formulations. The active ingredient in Shell-Guard RTU is disodium octaborate tetrahydrate, chemically similar to a combination of boric acid and borax, but with higher concentration of boron which is responsible for the effectiveness.
The borate is toxic to fungi that cause rot and decay, subterranean and drywood termites, carpenter ants and wood boring beetles. It is also toxic to beetle eggs that may be in the wood at the time of treatment or eggs deposited sometime later.
Applying Shell-Guard RTU
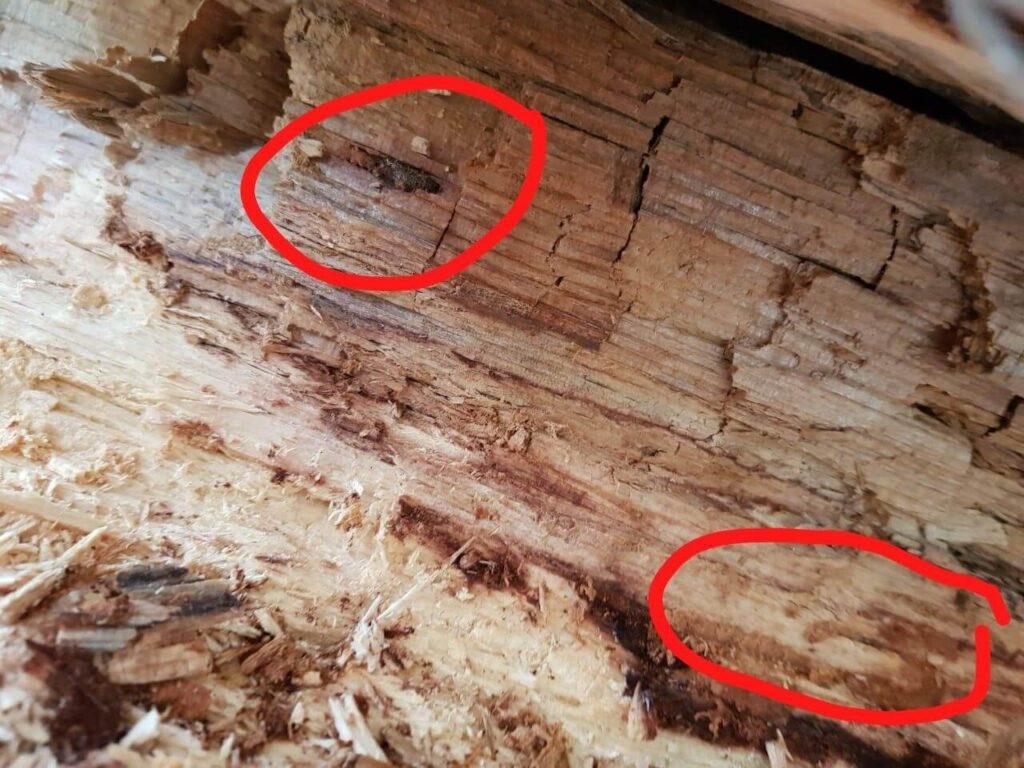
An application of Shell-Guard RTU should end powder post beetle activity (small round holes) within a few months to a year after treatment. However, if there is an existing infestation of old house borers (oval holes), it may take time, sometimes a year before total control is achieved.
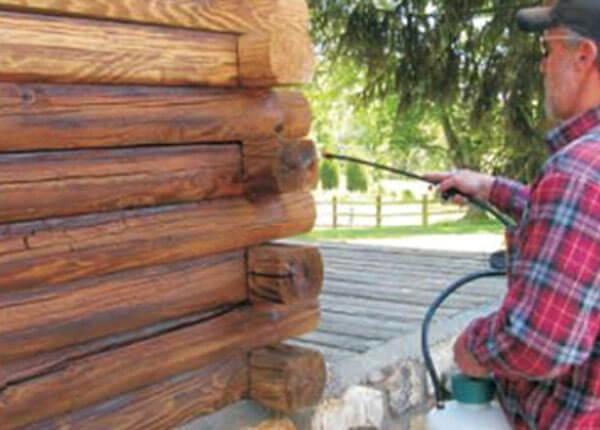
Shell-Guard RTU is best applied using a compressed air, garden-type sprayer. You can use either a fan or cone spray tip, it really does not matter as long as you completely wet the log surface with the solution.
The amount of time it takes Shell-Guard RTU to dry depends on the density and porosity of the wood, and temperature and humidity. In warm, dry temperatures the drying time may be as little as a few days. Under humid conditions it may take weeks of drying time before a stain can be applied. You can check to see how drying is progressing by touching the treated wood. If the wood still feels damp, it is not ready for a topcoat.
Once the Shell-Guard RTU has dried, you need to inspect all the treated surfaces before applying a stain. Occasionally a white residue may appear over knots and other areas of the logs. These white deposits are created by a small amount of the borate crystalizing on the surface. Their appearance does not mean that the treatment will not work! Wipe this residue off with a damp sponge. If you stain over any white spots they will show through the stain.
Unused solution should never be left in application equipment overnight. Clean and rinse your equipment after each use.
New Log Home? Apply Shell-Guard Now
If you just built a new home and the borate treatment was not included in the package from the manufacturer, Shell-Guard will be your cheapest insurance against wood decay and bug infestation. If the weather prevents from applying it outside, the interior application as effective as an exterior due to the penetrating properties of the Shell-Guard products.
And how toxic are borates? Here’s a chart comparing our borates to common household products:

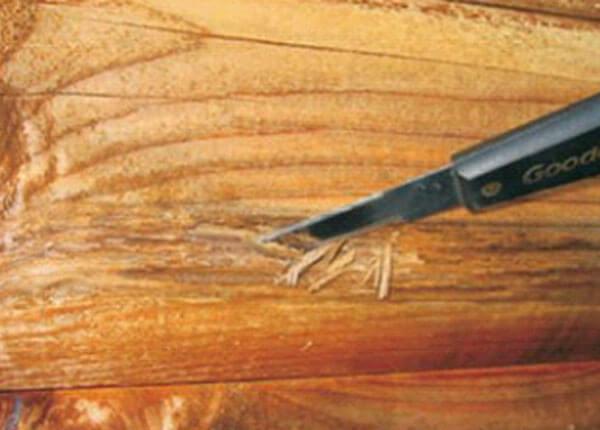
More wood is replaced each year because of decay damage than all other factors combined! Commonly called rot, wood destroying fungi need three things to survive: air, water, and food. Since we can’t eliminate air and their food is the wood in our homes, the only mechanical control mechanism available to us is the elimination of water. Water is the enemy of wood! Although we’ve all heard the term “dry rot,” dry wood will not rot!
There are three basic categories of wood-destroying fungi: soft rot, brown rot and white rot. Soft rot fungi are typically found in wet wood showing the first signs of decay. Wood infected with soft rot can become quite soft and spongy. Other than the softness of the wood and perhaps discoloration of the surface, there may be no apparent signs of a soft rot infestation.
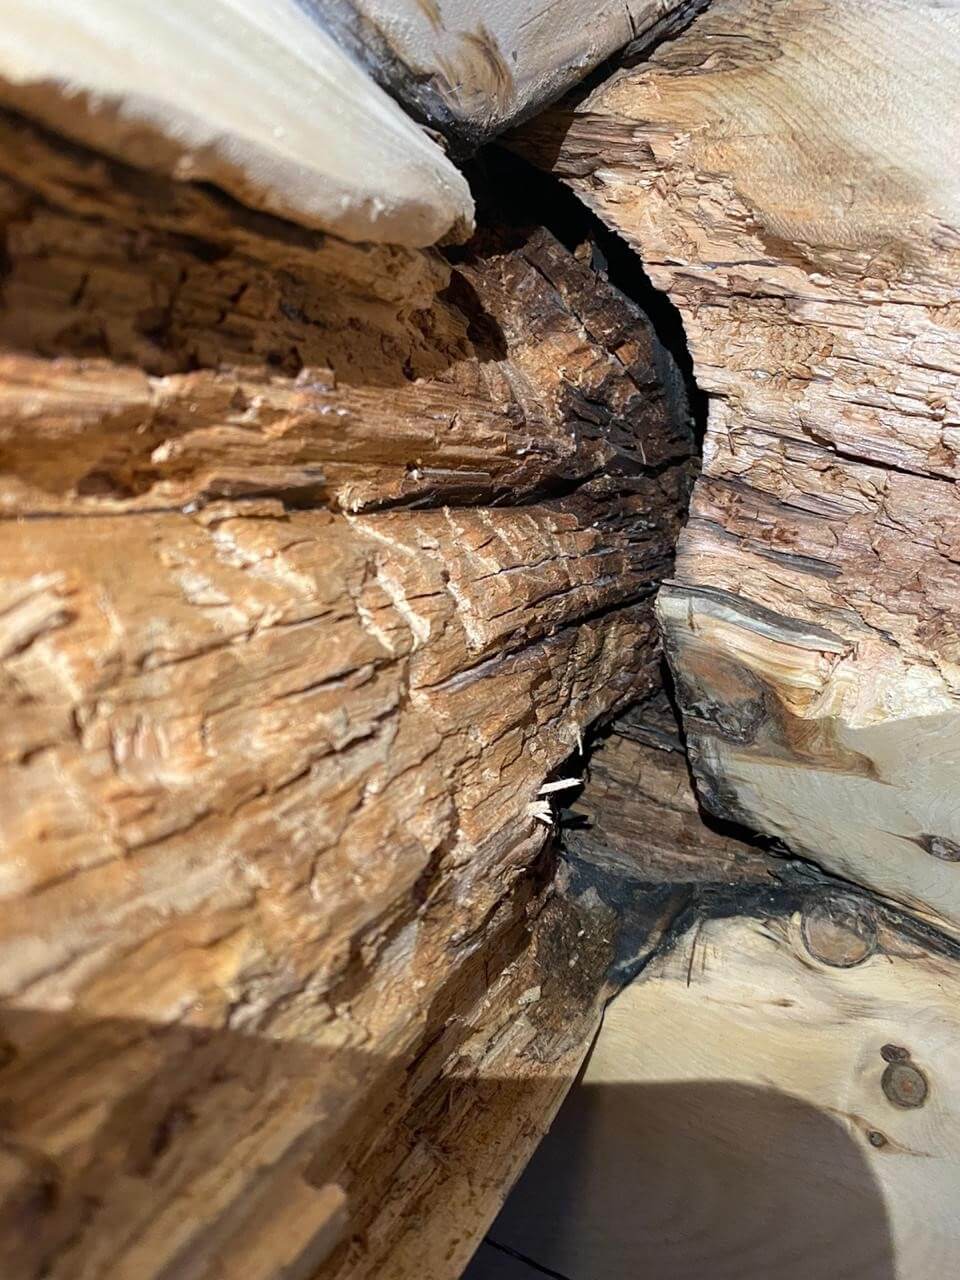
Brown rot fungi commonly attack softwoods like pine, spruce and fir thus turning the wood dark brown. In advanced stages of decay, wood attacked by brown rot becomes friable and splits appear across the grain giving the wood a “checkerboard” appearance. Infested wood may be structurally weakened in a relatively short period of time.
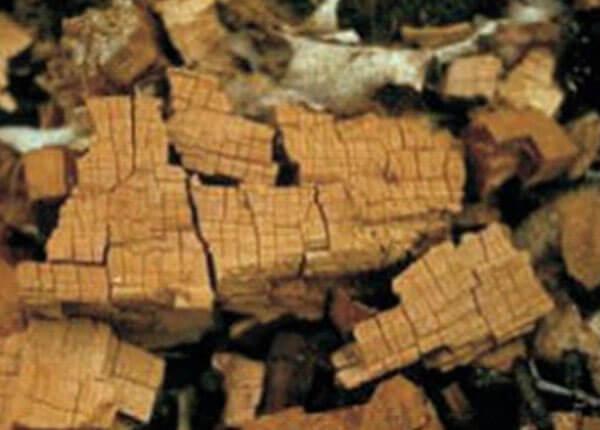
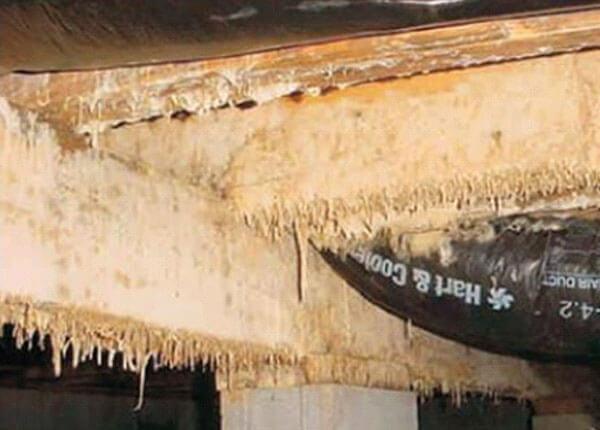
Once brown rot has extracted all of the nutrients from the wood, the wood may become dry and powdery. This gives the impression that dry wood has rotted (dry rot) but in reality it is the result of an old infestation of brown rot. One of the most destructive types of brown rot fungi is poria (meruliporia) incrassata, otherwise known as the water-conducting fungus. One indication of a poria infestation is the presence of rot in wood with no visible source of water. This type of fungus actually transports water through root-like structures known as rhizomorphs. Infestations of poria can progress quite rapidly destroying portions of flooring and wood members in a year or two. Thankfully, infestations of poria incrassata are fairly rare.
White rot fungi attack the cellulose and lignin in wood, eventually giving the wood an off-white appearance. In the later stages the wood may become spongy to the touch. Wood attacked by white rot lacks the cubical checking appearance of brown-rotted wood. Shelf fungi, bracket fungi, and mushrooms are all forms of white rot fungi.
Preventing Decay – 7 Rules
Moisture control should be an integral part of any program designed for preventing wood decay. The following 7 rules are a good place to start:
- Wood should never be in contact with the ground. Wood posts, piers, supports, etc. should rest on metal plates imbedded into concrete footers raised above the level of the surrounding soil.
- Basements should be waterproof and equipped with a floor drain. If the relative humidity in the basement exceeds 50%, a dehumidifier should be installed.
- Crawlspaces should be adequately ventilated with at least one square foot of free vent area for every 500 square feet of crawl space floor area along with a moisture barrier covering at least 80% of floor. One vent should be placed within three feet of each corner to prevent “dead air” spaces. In high humidity environments additional vents should be considered.
- Plumbing leaks should be repaired as soon as they are noticed.
- Rain gutters need to be clear of debris and roof leaks fixed.
- All exterior wood surfaces should be coated with a long lasting, water repellent finish system. This is especially important on log homes. Water-based, breathable film-formers like LIFELINE stains and topcoats work best since they allow water vapor to escape while preventing liquid water from penetrating into the wood. Log ends should be provided an extra measure of protection with Log End Seal.
- Upward facing checks should be sealed with Check Mate 2 to prevent water from entering the interior of the logs.
Borate Preservatives

There are four borate products designed for the control and prevention of decay fungi. Shell-Guard Concentrate and Shell-Guard® RTU are borate-glycol liquids that kill wood decay fungi and when properly applied to bare wood and protected with our finish system, provide permanent protection against decay.
Armor-Guard® is a pure borate powder that is dissolved in water and applied to the wood. Since it does not exhibit the depth of penetration of the Shell-Guard borate-glycol products, Armor-Guard should only be used to protect new, un-infested wood. Any time the surface is stripped of its finish, another application of Armor-Guard should be made.
Cobra™ Rods are two-inch-long, borate glass rods that can be used to spot treat decay prone areas such as log ends that are already coated with a finish. Once inserted into damp or wet wood, the borate/copper complex in Cobra Rods dissolves, spreading the active ingredients into areas surrounding the rod. Cobra Rods eliminate active decay fungi and help prevent rot for eight to ten years.
If you have any questions about controlling decay fungi or repairing decayed wood, give Perma-Chink Systems a call at 1-800-548-3554. We have number of products that are designed for repairing damaged wood and preventing future problems from occurring.

